Photography Tips Blog
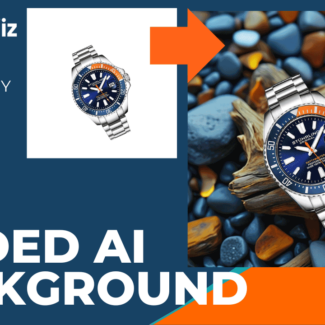
How to Create Digital Background with AI
This blog post will help Photigy students understand how to use the new tool, while incorporating SEO-optimized phrases and structure to help it perform well in search engines. The natural, conversational tone ensures that it reads smoothly without sounding automated
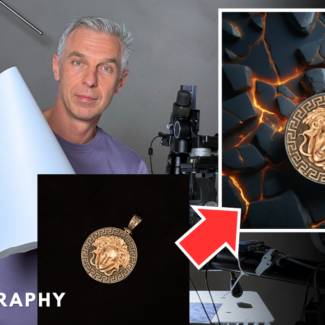
Mastering Jewelry Photography: Behind the Scenes with Photigy
Mastering Jewelry Photography with AI: How to Create Stunning Product Visuals in Minutes.
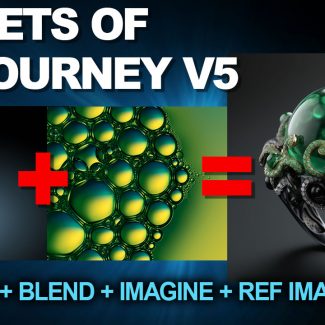
Secrets of MidJourney V5 -Video Tutorial
I’ll show you how to use a new features of MidJourney v5 to get PRECISE images that you need for your work. Example: you take a picture with your phone and turn it into a professional studio-like shot with Midjourney using “describe”. And much more..
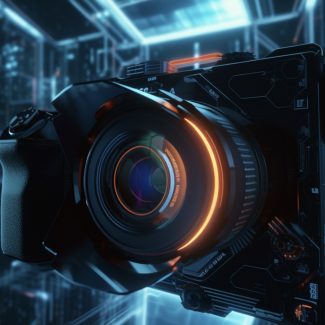
Breaking News: Sony and Oracle Unveil the Ultimate AI-Powered Camera for Photographers!
Sony and Oracle have announced the launch of a groundbreaking AI-powered camera designed specifically for professional photographers.

Professional Grade Image using focus-stacking- Retouching Technique
In this retouching session, we wanted to illustrate how we can get a high-end image after the shoot, by using focus stacking, and on the way, using various retouching techniques that will enhance your Raw Image into a publishable advertising picture.
Success Story with Enrico Viappiani
Enrico Viappiani is a commercial photographer and an engineering graduate. Where he perfectly combines being artistic and technical in all his amazing works. He gives attention to every detail of his project that will bring your e-commerce picture to the next level.

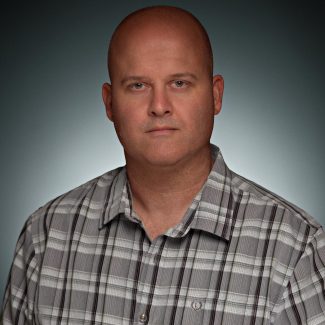
Success Story with Benjamin Harty
Benjamin Harty is a Marine Corps veteran in 2004 and has over 12 years of experience in digital content creation. Benjamin is a digital media strategist in Skyline FBA together with his wife Sheila Harty..
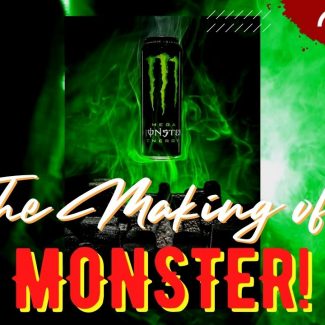
The Making of Monster
The making of the Monster picture is a tutorial for a renown Alien poster; however I didn’t want to replicate it, but rather pay tribute to it.

Success Story Interview with Wenbo Zhao
Wenbo Zhao is a certified professional photographer living in Sydney, Australia with a Masteral degree in Art of Photography. He is a 3D Artist and the founder of Wenbo Zhao Photography studio, where they provide a high-quality product CGI that helps e-Commerce business to launch their products successfully.
Success Story Interview with Norman Krimholtz
Norman Krimholtz is a professional photographer for 15 years. Photography is always been part of his life since his first box-brownie camera was given by his dad at the age of six.
Success Story Interview with Jasalyn Thorne
Jasalyn Thorne is a professional photographer and jewelry designer from Vancouver BC, Canada. She’s the ultimate winner of the Birks Jewelry Design Challenge.
Success Story Interview with Aidan Hughes
Aidan Hughes is a photographer who specializes in Product Advertising Photography and CGI, a photographer with great passion in his work.