Light Painting technique in Product Photography
Using Light Painting (Lighting Brush) Technique in Product Photography.
Painting with light. You probably have seen the images composed with the light from a pocket flashlight before. Here I’ll be talking of how we used this technique in product and advertisement photography.
The idea behind the technique is simple: steady camera, long exposure (10-30 seconds or longer), flashlight in your hand and imagination in your head:- )
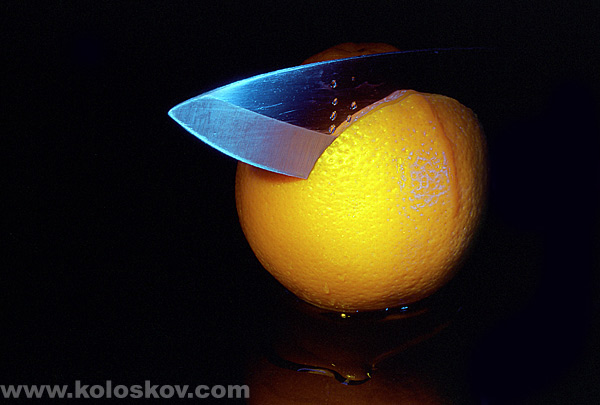
My first experience with light painting was 9 years ago, the shot was done on first my first Canon (it was Elan 7e, film camera). I’ve got two exposures to capture composition below with blue (for knife) and then, in second exposure, white (for the orange) flashlight.
Imagine how curious I was to see the results the next day, when I got the film developed (do you miss film era? :). Surprisingly, my first light painting shot came up very well:
Light painting in 2002: Fuji Velvia, 2 exposures , colored flash light
How Can Light Painting Technique can be used in Commercial Product and Advertising Photography?
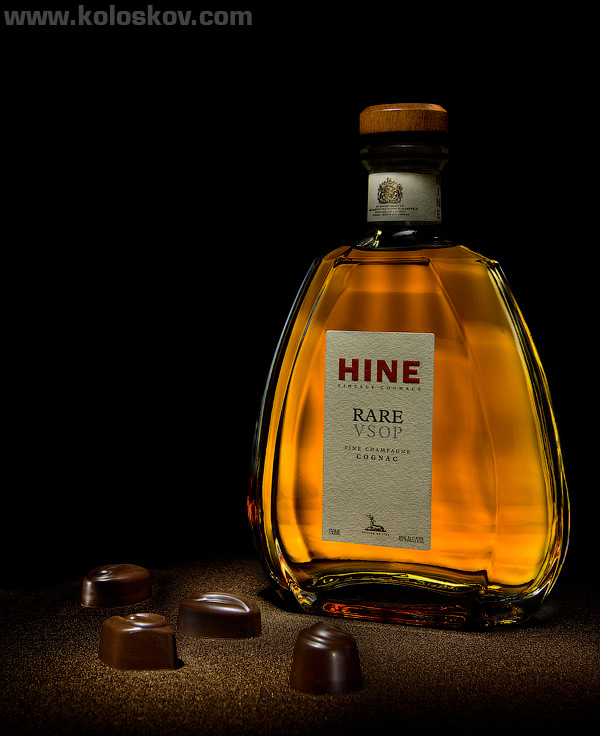
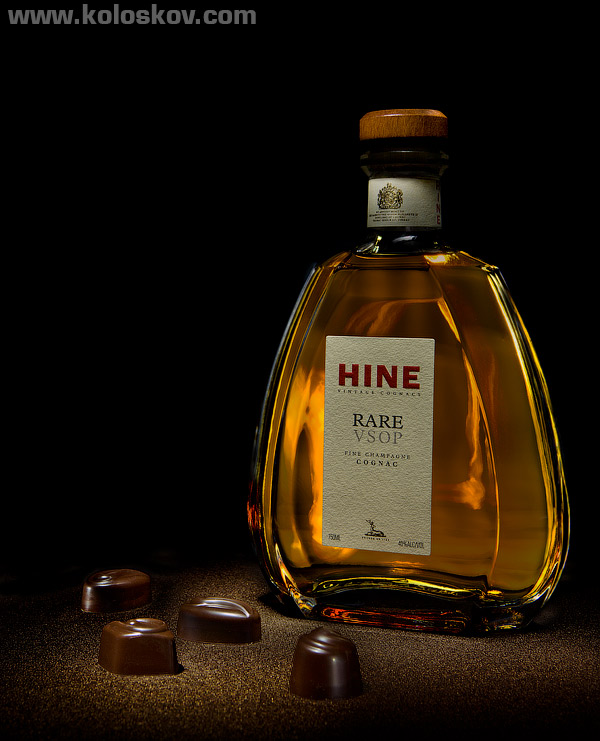
The images below are good illustration on how light painting technique can be used to create unusual and eye-catching advertisement photo.

This is just another variant of one shot:
The cool thing about such a photo is that you may not need to have any special tools or even a studio, except the flashlight and a camera. Oh, yes, and Photoshop (nothing fancy though). Obviously there are professional equipment that exists to help a photographer to use this technique, but like in most cases, gear is not that important:- )
The Studio Lighting Setup for Light Painting Looks Like This:
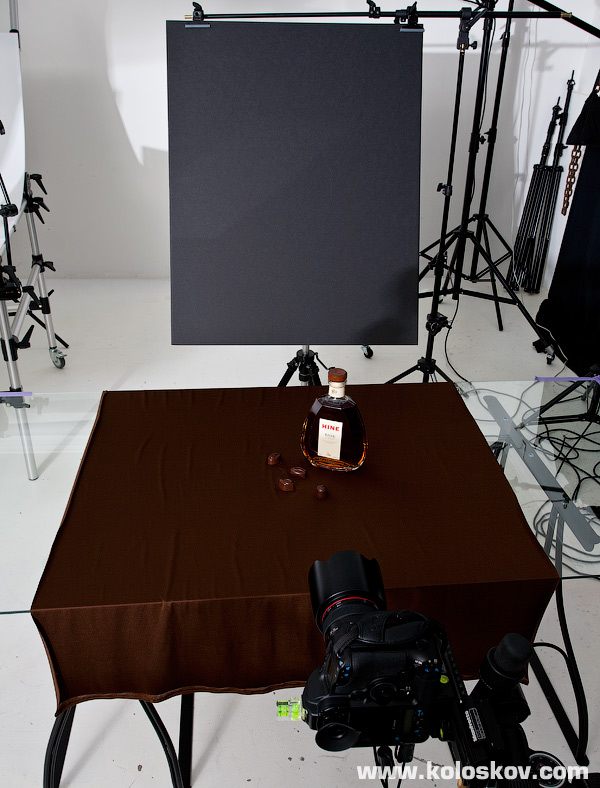
Pretty basic stuff here: a table, some black screen behind it, fabric as a background, and a few sweet props…
The magic begins when you turn all of the lights off, set your camera (it is important) to mirror lockup ON, and start to shoot. During the shot I’ve made about 30 exposures, (5-30 second each), painting with the flashlight every piece of the composition.
BTW, No need to get the whole shot done in a single extra long exposure:
it is hard (sometimes impossible unless 10 hands + 10 flashlight are used simultaneously) to highlight everything the right way in one shot. Think of how many layers artist can put on the canvas before the masterpiece gets completed?
Same here: Do a brush-like move, turn flashlight off, then move to a next position, turn it on again, do the next move to get other side, and so on. Every move can be captured in a separate exposure, so it will be easier to see what EXACTLY you are getting each time. (still missing the film era?: )
The lighting technique is simple. However, the realization requires a pretty good understanding of how every spot should and will look like: you need to control not only the shape of the spot you are painting with, but the brightness as well. The camera’s shutter stays open, and we can only regulate the brightness by adjusting the time we are exposing each particular piece and/or a flashlight output.
I’ve used some (forgot brand) LED flashlights with Fresnel lens, no variable power or beam adjustment (which was not the best idea, as I had to add some snoot-like modifiers to control the beam size). Here it is,
LED flashlight with Fresnel Lens:
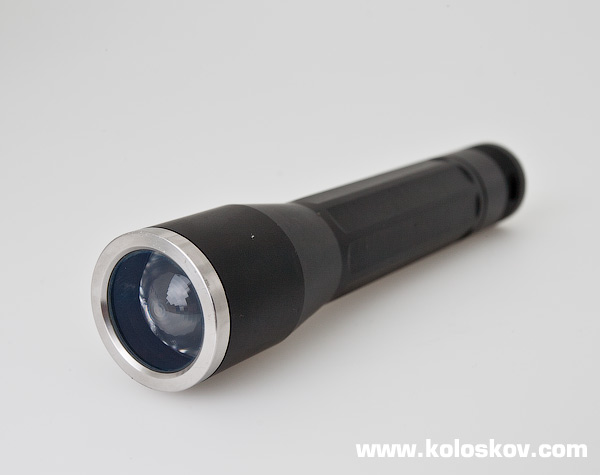
Like I said, this flashlight IS FAR FROM what I should to use, and here is why:
Ideally, It should be a halogen-powered flashlight, as halogen bulb will give exactly the same color temperature across the entire beam, while LED tend to have a bluish hue at the edges of the projected circle. Mine did not have such problem, I think, because of the Fresnel lens.
It is suppose to have an adjustable beam AND power output. The narrower beam is better, as it will give you more precision when painting (think about brush size for the conventional painting)
This is how the beam of my flashlight looks like:
Fresnel lens flashlight beam projection:
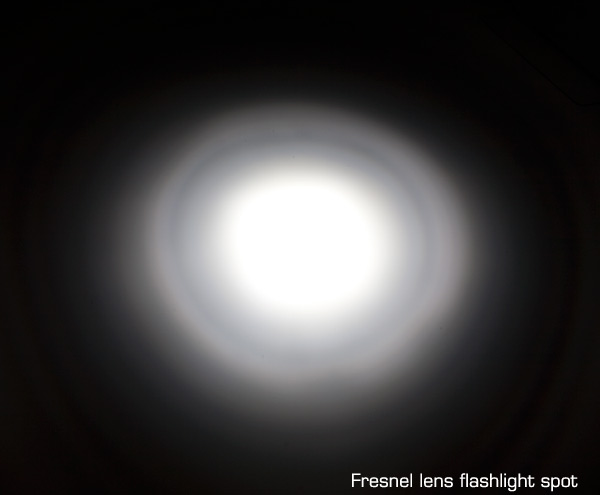
The beam is not completely smooth, which is not a problem, but the most important a constant color temperature of the light circle.
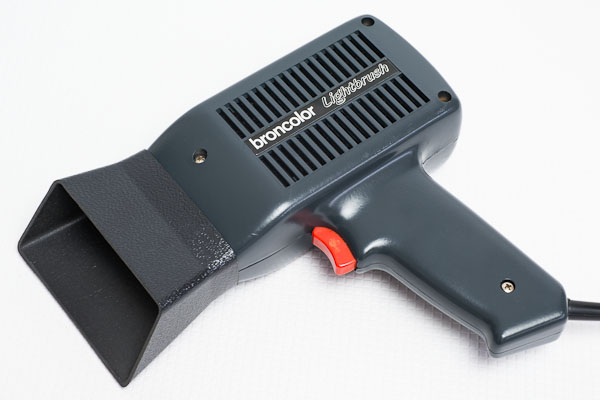
If you are going to use light painting (or light brushing?) technique in studio photography on a regular basis, the good idea would be to get a professional lights, like Broncolor Light Brush:
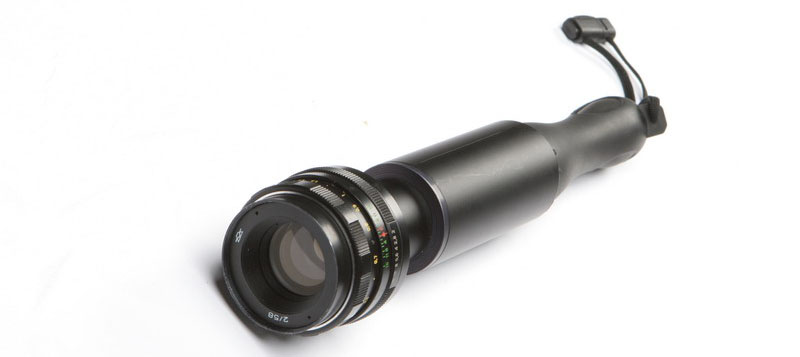
or a DIY flashgun from a good flashlight and a lens, like this one below:
Ok, back to our light painting photo-shoot. One of the exposures, captured by a second camera:
On this particular exposure i was able to get the subject highlighted from both sides. But like I said: Such shots are easier to separate by different exposures. BTW, the red light is a shooting camera running light, if you are curious.
In the Middle of the Light Painting Process, Dark Studio Shot:
However, shooting is the only a first part of the process, only about 49% of it ;- )
When you got all the pieces of our future image done, its time to review them and move to a Photoshop photo editing, where you will select useful shots to be combined into a perfect light painting product image.
Simple masking and a good eye should do the job fairly quickly. Below are all the pieces (already masked) we have used for these two final images, in a short sequence from the photo editing in Photoshop. (Flash is required, sorry mobile readers..)
And here is how Photoshop Layers looked like on the final composition:
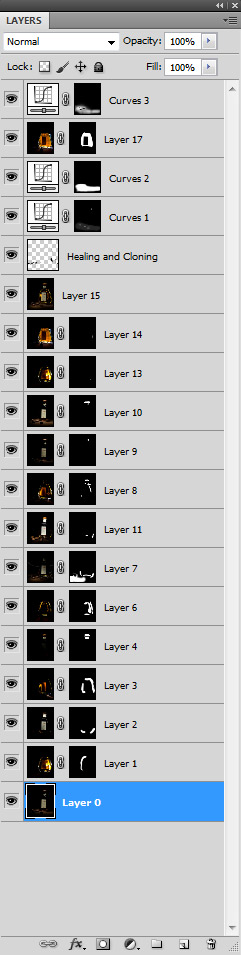
Looks cool, doesn’t it? The most interesting thing I like in this technique is the fact that the photographer has almost no limitation on how to highlight the subject, and can capture the movement of the light, which in most cases, is impossible to do in a “conventional” one exposure shot.
However, the light painting technique requires lots of practice: take a look at the bottle label texture. It was only possible to capture it with the steady light almost directly on top of the bottle. Steady light was a key here, as texture become visible only if shadows are not “squeezed” by light movements.
How We Captured the Texture of the Subject During the Light Painting Shoot

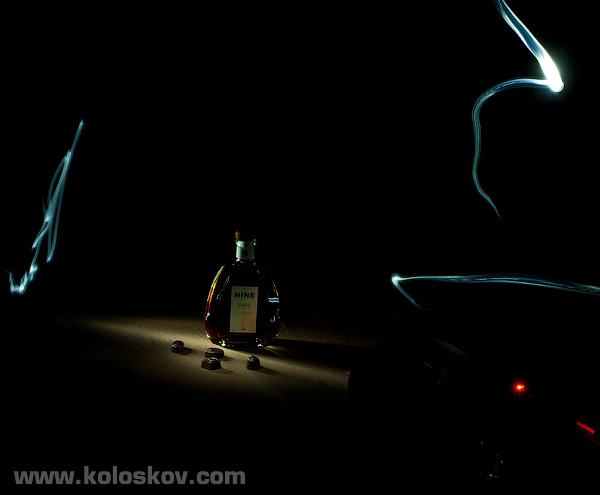
The final (one which I like the most) composition below.
Light Painting Photography Example in Advertisement Product Photography

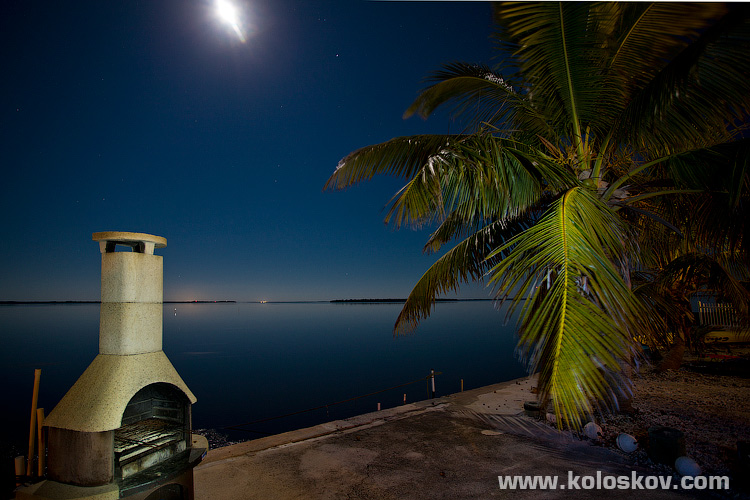
Another time I’ve used lighting brush during our vacation stay at Key West in December 2010 (more about this here) where I took several night landscape shots (the one you see below) using 30 second exposure and my pocket flashlight to highlight the surroundings.
Key-West Night Landscape Shot: Light Brush Used for the Close Objects.
 |
In the Gearbox |
|
Camera gear: Canon EOS 1Ds Mark III DSLR Canon 24-70mm F2.8 L lens and Manfrotto 454 Micrometric focusing rails Lighting, light modifiers and accessories: Flashlihgt Adobe Lightroom 3 and Canon EOS Utility as a remote capture solution for tethered shooting |
Do you have any experience with light painting? Post on the forum discussion for this article (the link is below), it would be cool to see what you have gotten:-)
