The Most advanced techniques, made easy to understand.
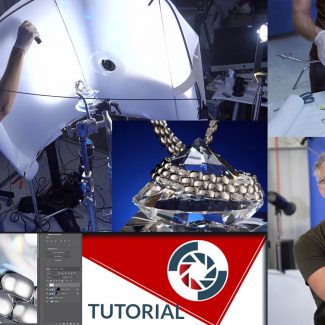
Watch our monthly creative workshops, where our instructors guide you through the entire process of creating stunning commercial-quality images–everything from composition to lighting to complete post production. Then join the fun by submitting your take on the workshop and participate in the live review and critique to gain valuable feedback on your efforts.
And that’s not all. You can submit an assignment from ANY previous workshop at any time and receive a personalized critique to help you hone your skills.
New Pro Club Tutorial!
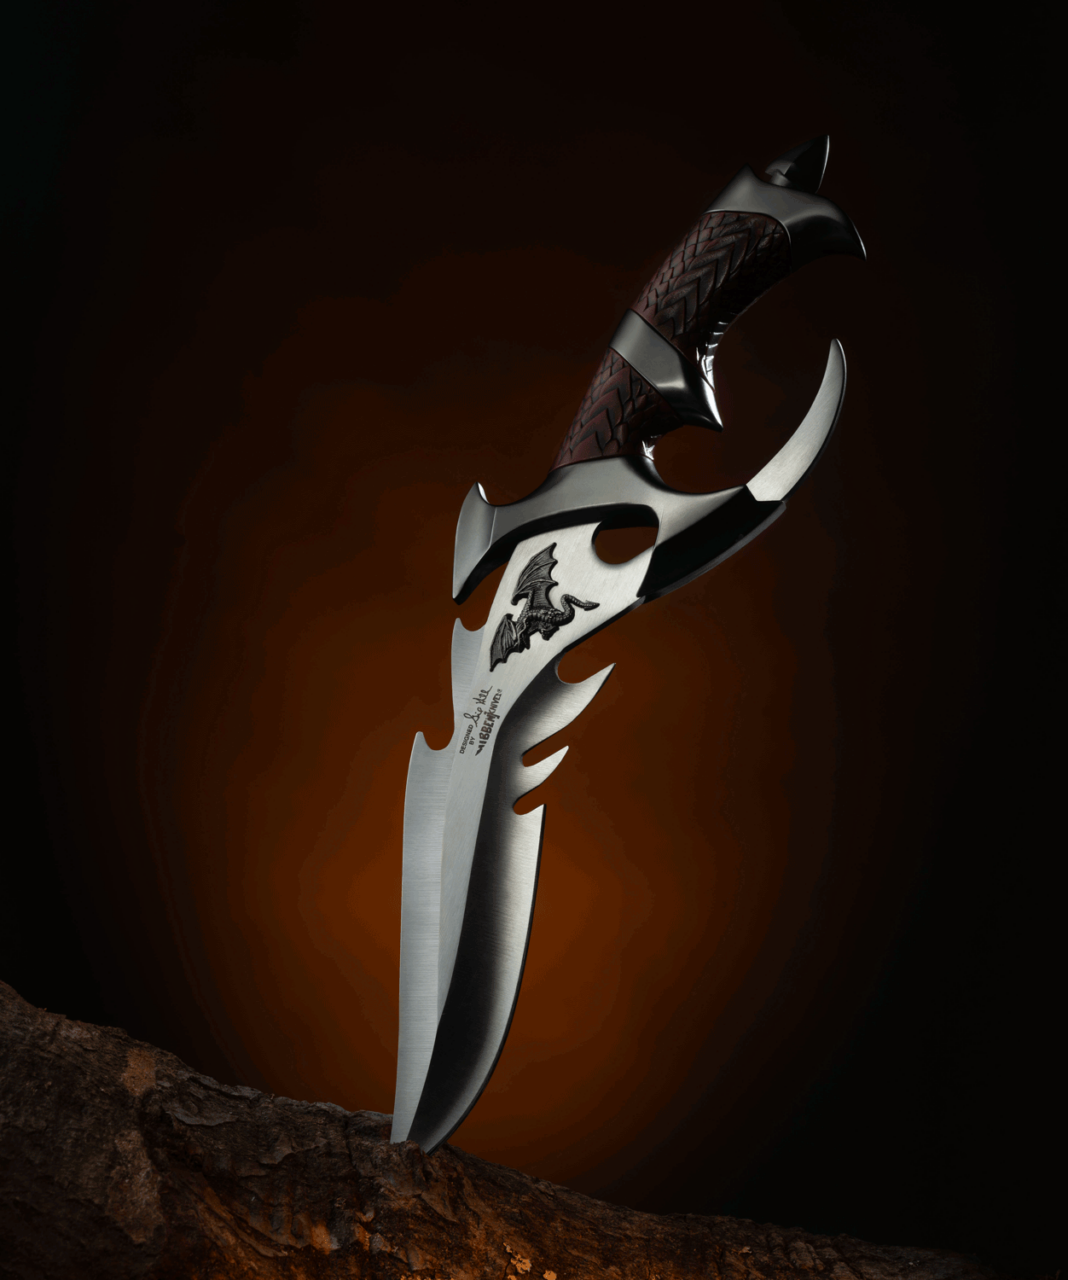
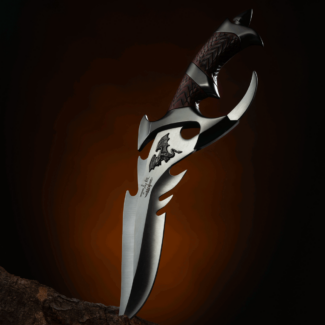
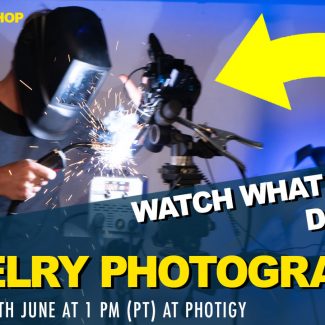
Creative Knife Photography
Master the art of photographing knives with precision and drama! Learn to light blades flawlessly, highlight intricate details, and add creative effects like smoke and fire. From shooting to post-production, this workshop will equip you with the skills to craft stunning, portfolio-worthy images that stand out. Perfect for product photographers and knife enthusiasts alike!
Workshop/Tutorial is included in Pro Club, Unlimited, and VIP memberships of Photigy. If you are a premium member, you do not need to purchase and it is already available on your account.
Master the art of photographing knives with precision and drama! Learn to light blades flawlessly, highlight intricate details, and add creative effects like smoke and fire. From shooting to post-production, this workshop will equip you with the skills to craft stunning, portfolio-worthy images that stand out. Perfect for product photographers and knife enthusiasts alike.