10-DAY SPECIAL SALE
SAVE UP TO 96% TO ALL INDIVIDUAL COURSES
NO COUPON CODE NEEDED
Offers expire in:
Days
Hours
Min
Sec
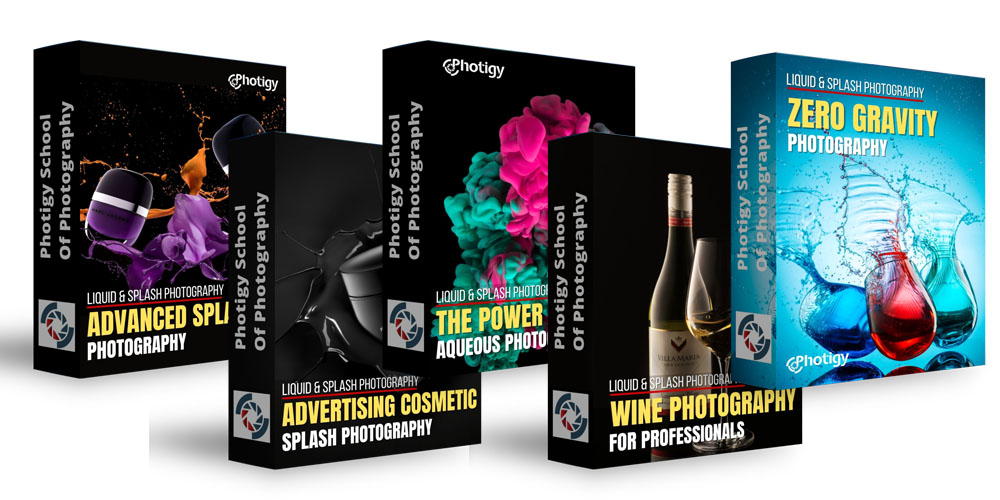


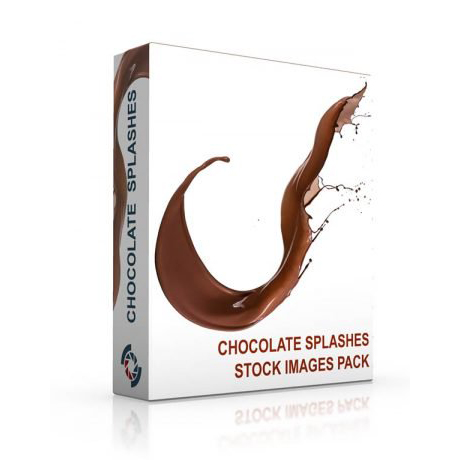
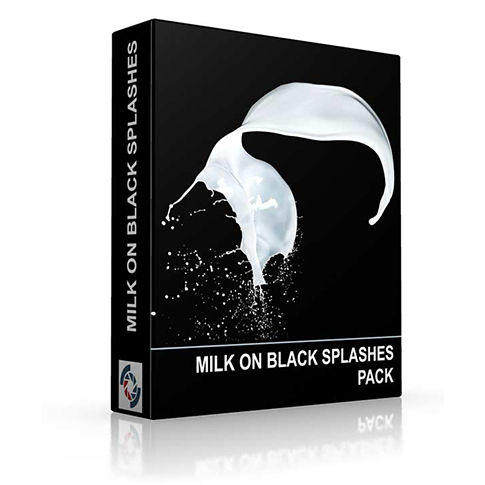
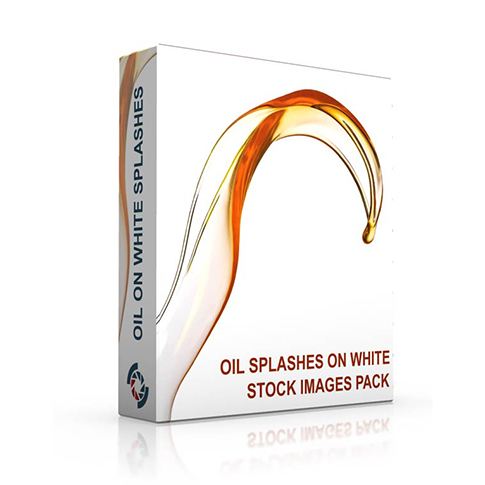
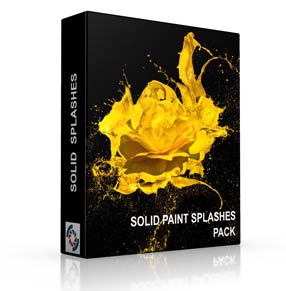
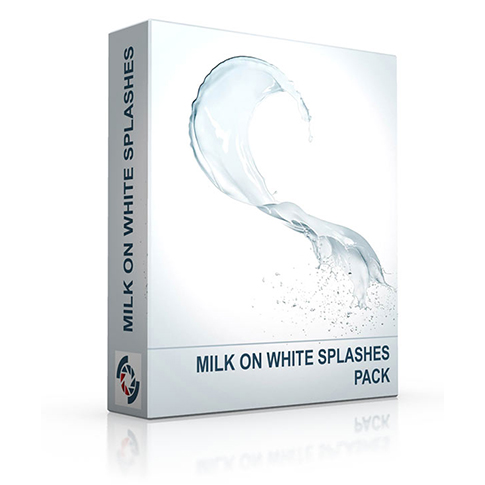
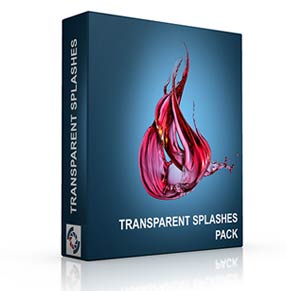
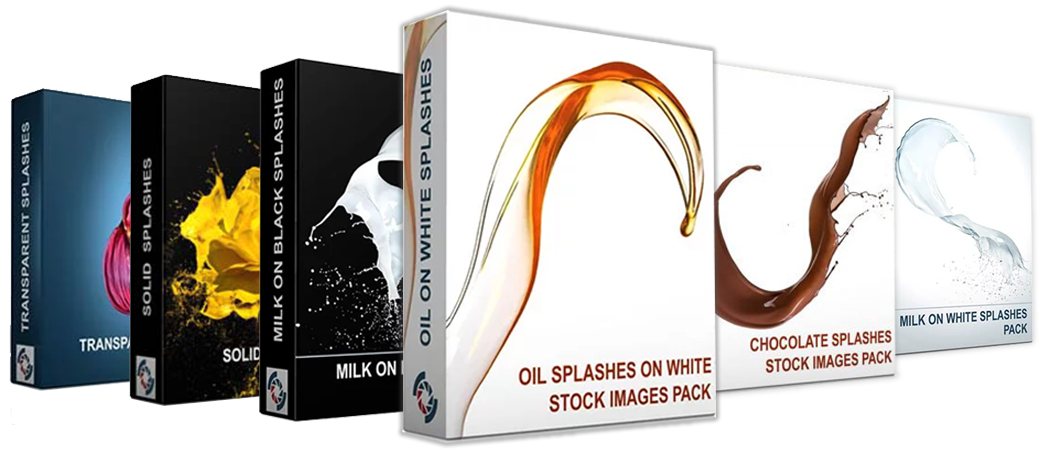
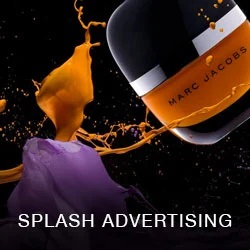
Splash Photography Pack 600 Hi-Res RAW stock photos of various liquid splashes for product photographers + free bonus tutorial

“Let me just start off by saying you are an AWESOME TEACHER your tutorials are BOMB dude! I have learned so much from watching you it’s truly awesome.”

“I have learned so much in such a short time, I can’t imagine how much time it would have taken me to learn all I did without photigy!”