Jewelry Photography Behind The Scene:
How To Photograph a Necklace
Hello guys!
My name is Aron and this is my another BTS for Photigy – it will be short but I hope it will be interesting for you.
Jewelry Photography Behind The Scene
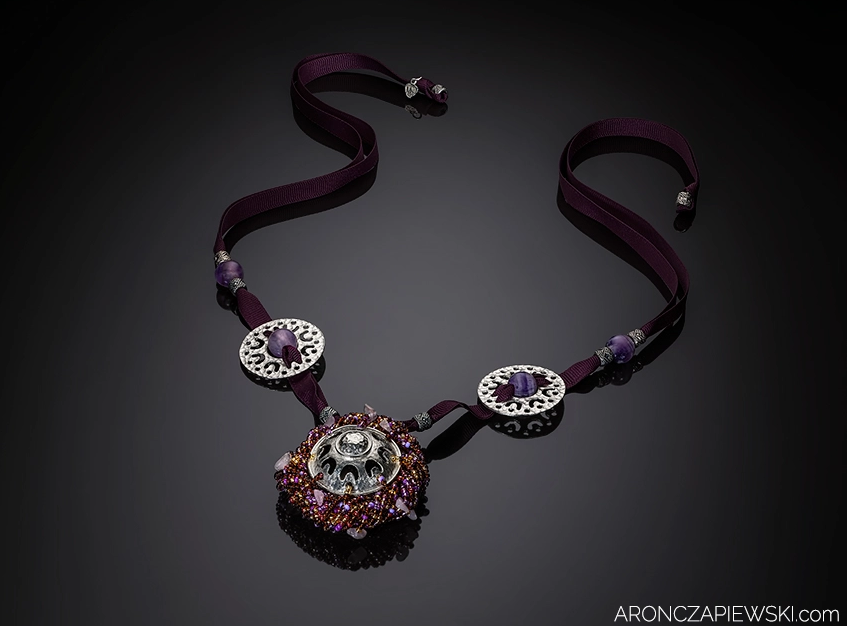
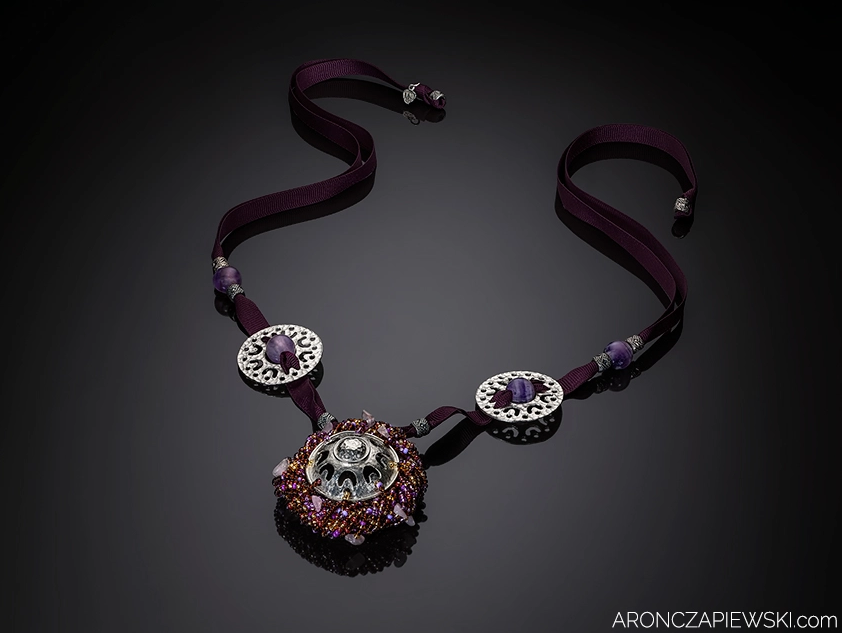
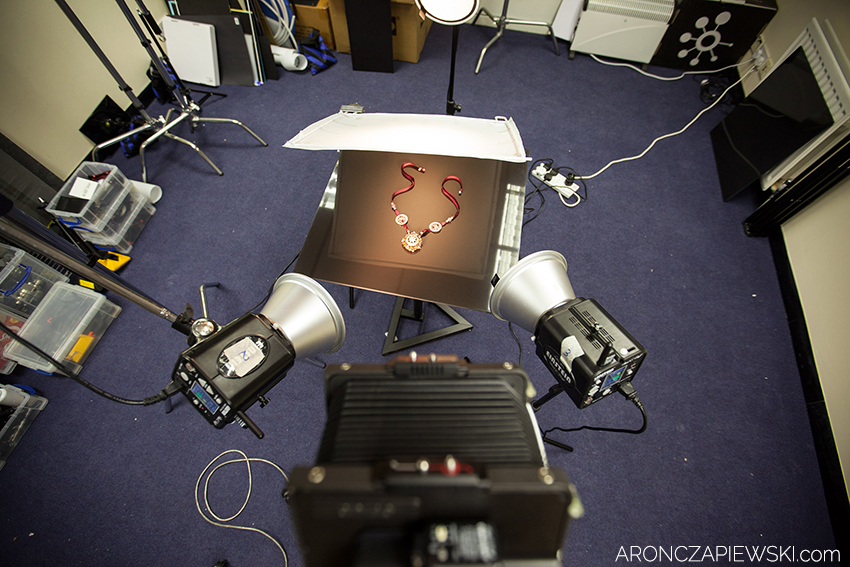
They idea was to get necklace shot on dark background with spot gradient on the surface and this all was done in the single shot (no stacking)
As shooting surface I used large floor tile (black gloss finish).
I like that more than acrylic because is much harder to scratch and there is much less dust then on plastic. Black glass will works great as well.
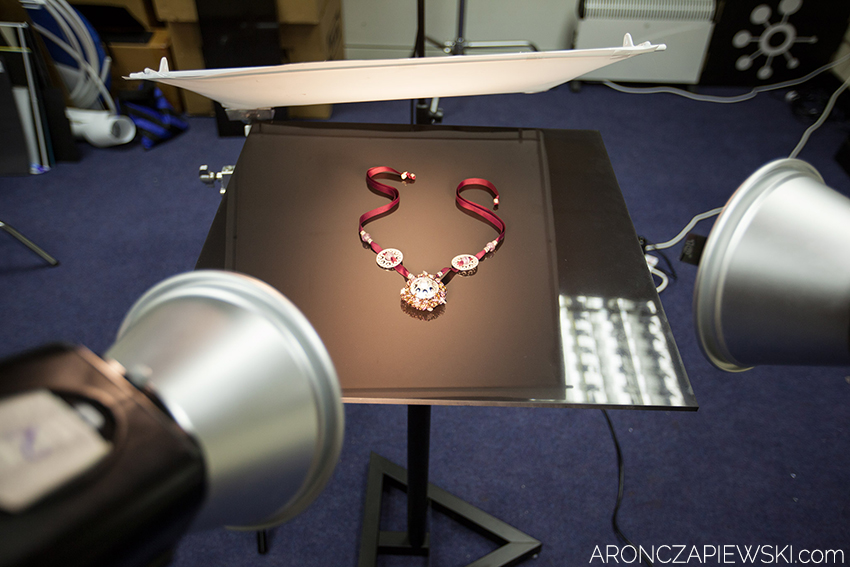


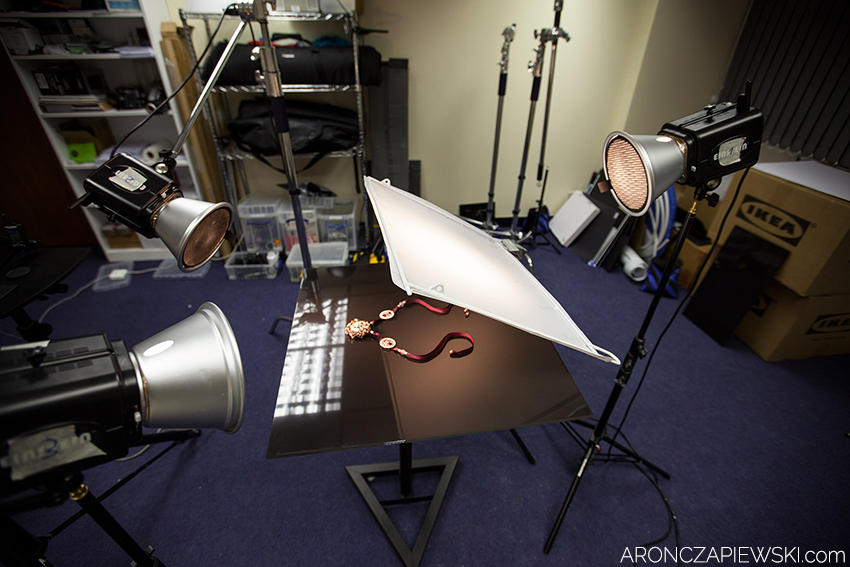
I used three lights for this shot.
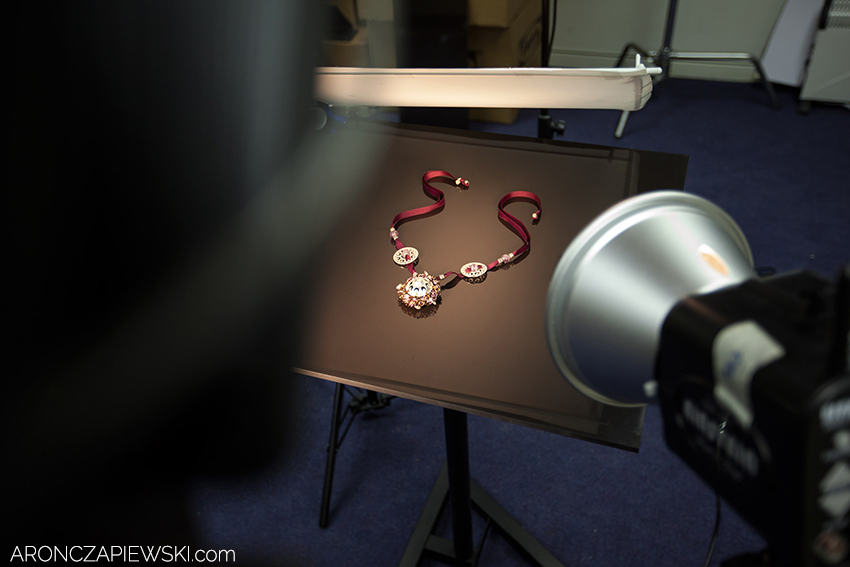
Light number 1 with 30 degree grid behind the DIY diffuser behind the subject (that light giving nice spot on the surface)
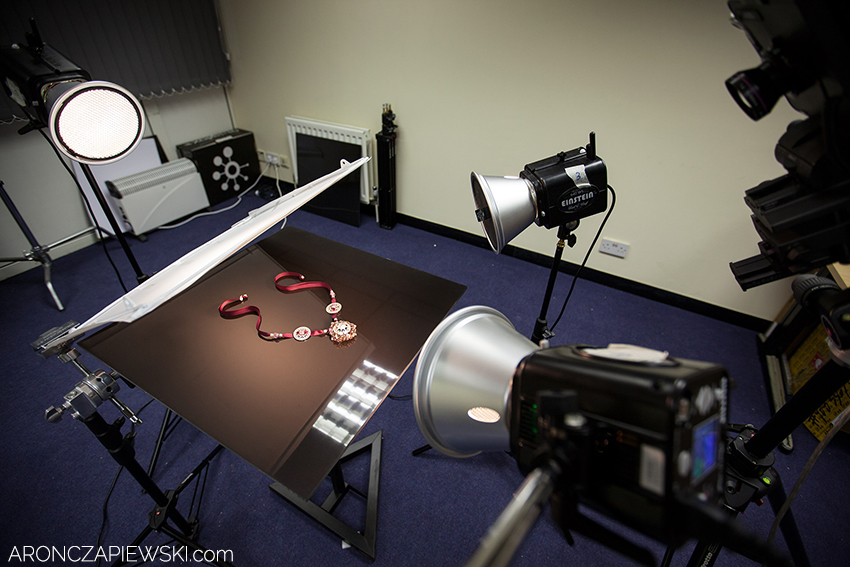
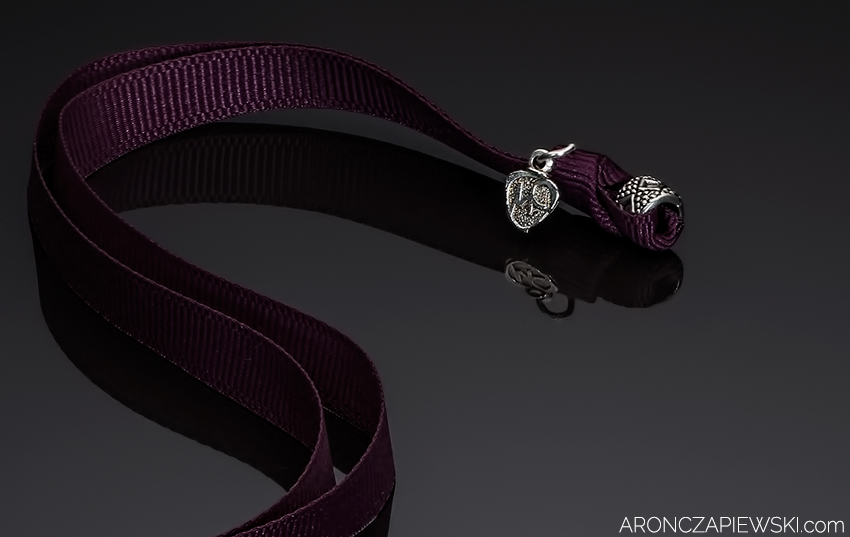
Light number 2 on the left hand side with 20 degree grid to highlight little stones and a bit of ribbon.
Light number 3 on the right hand side with 10 degree grid to highlight ribbon.
As diffuser I used DIY solution – metal frame from old laundry drying rack and Savage transom diffusion.
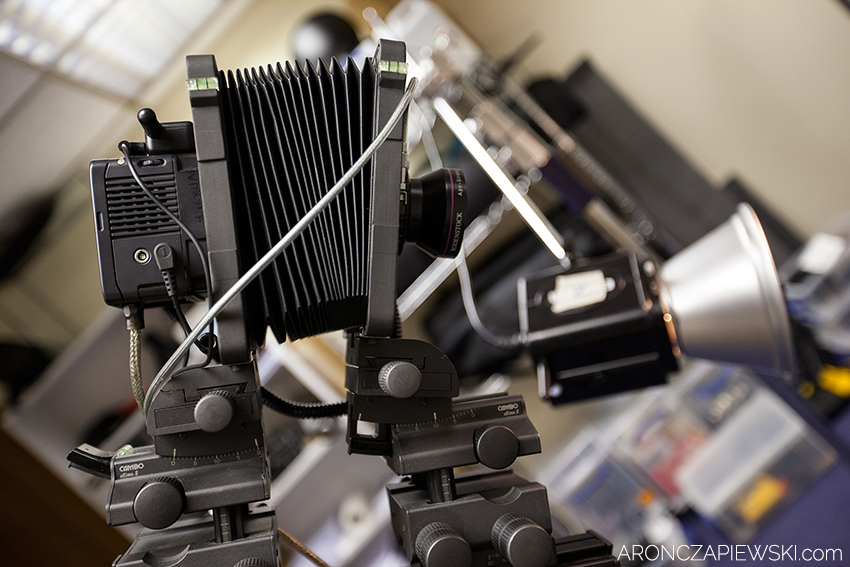
To avoid stacking I used technical camera. Front element with lens has been tilted so whole subject is in focus at f11.
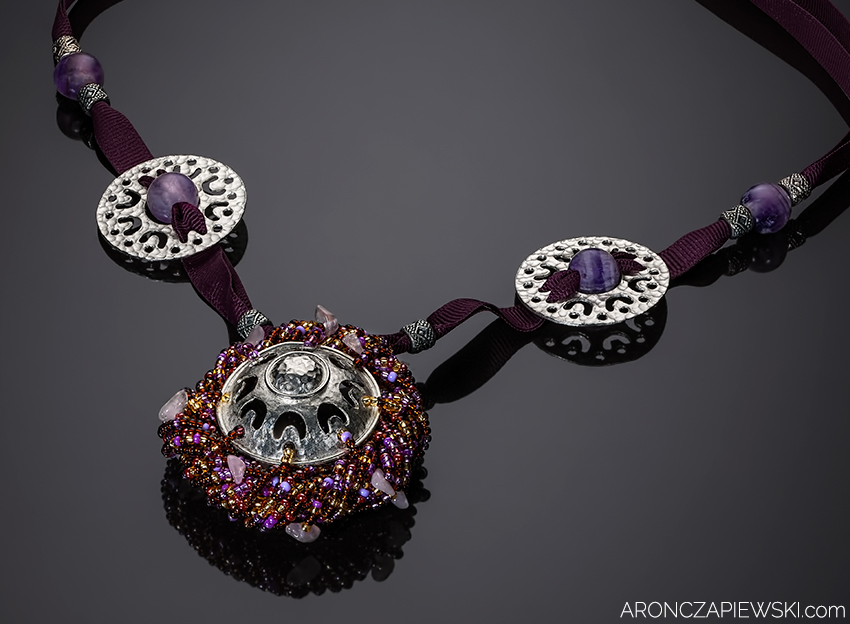
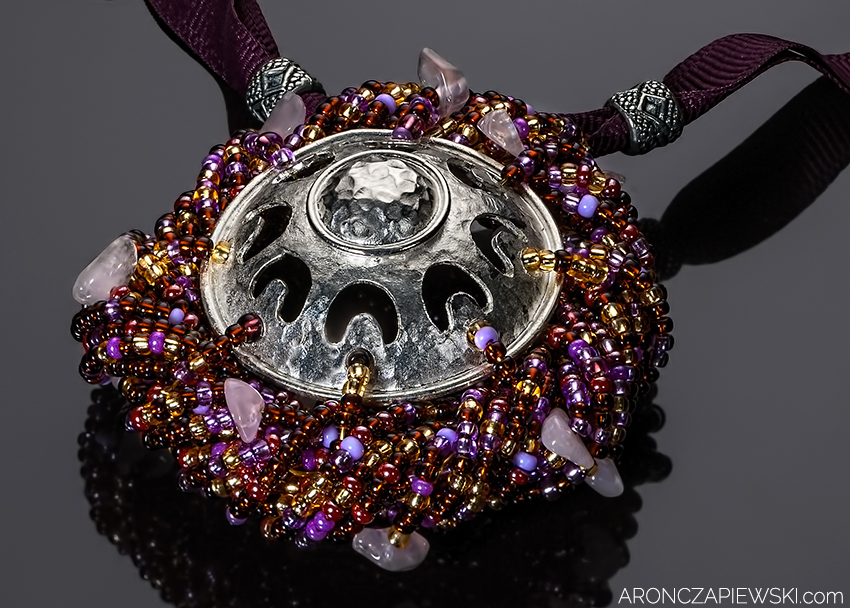
And here is the final shot and crops: