
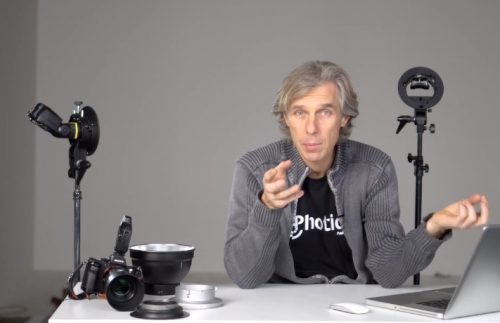
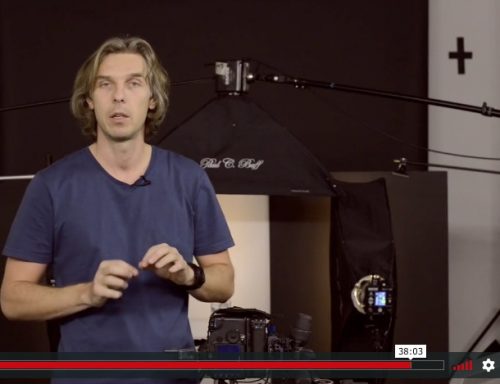
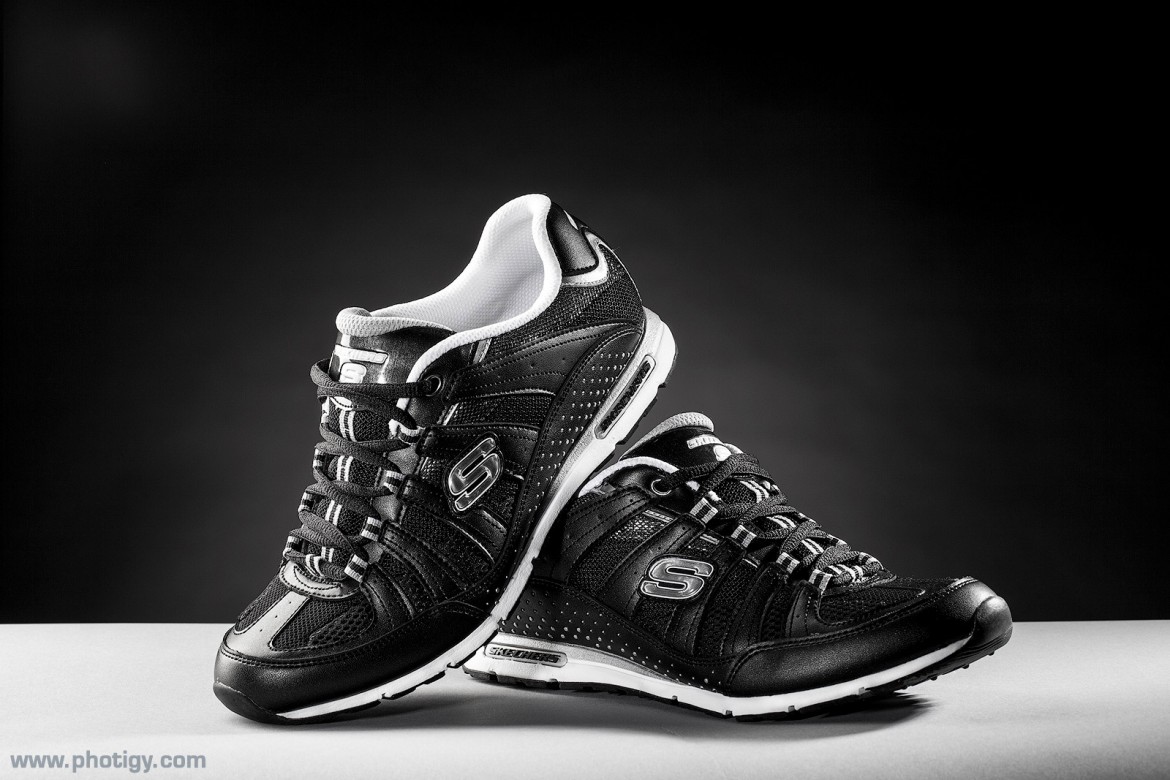
This module breaks down the fundamentals of studio photography and helps to build a strong foundation of basic photography skills. You will start by looking at the essential gear that you need to begin your professional career in photography.
Keep in mind that it’s not about the brand of the gear, but rather about having equipment that is good enough to get the job done.
Product and studio photography have more to do with the directing light than with fancy features of the camera or lenses. Light and the ability to control it is what will make the difference in your images.
Product photography online course
This module will take to assume that you understand those techniques and will continue to build on them. Also, most of this course is very free-form. This means that viewing it will resemble a live online workshop. The benefit here is that not only will you get to see what works, but also the problems that occur and how to troubleshoot them on the fly.
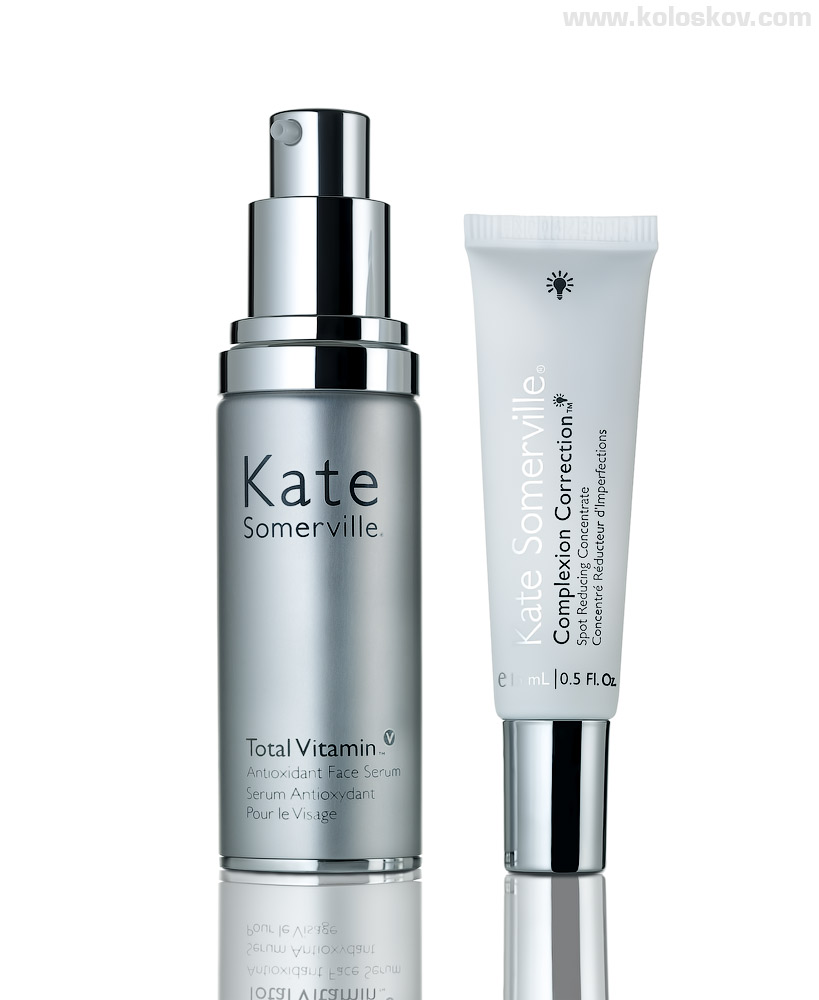
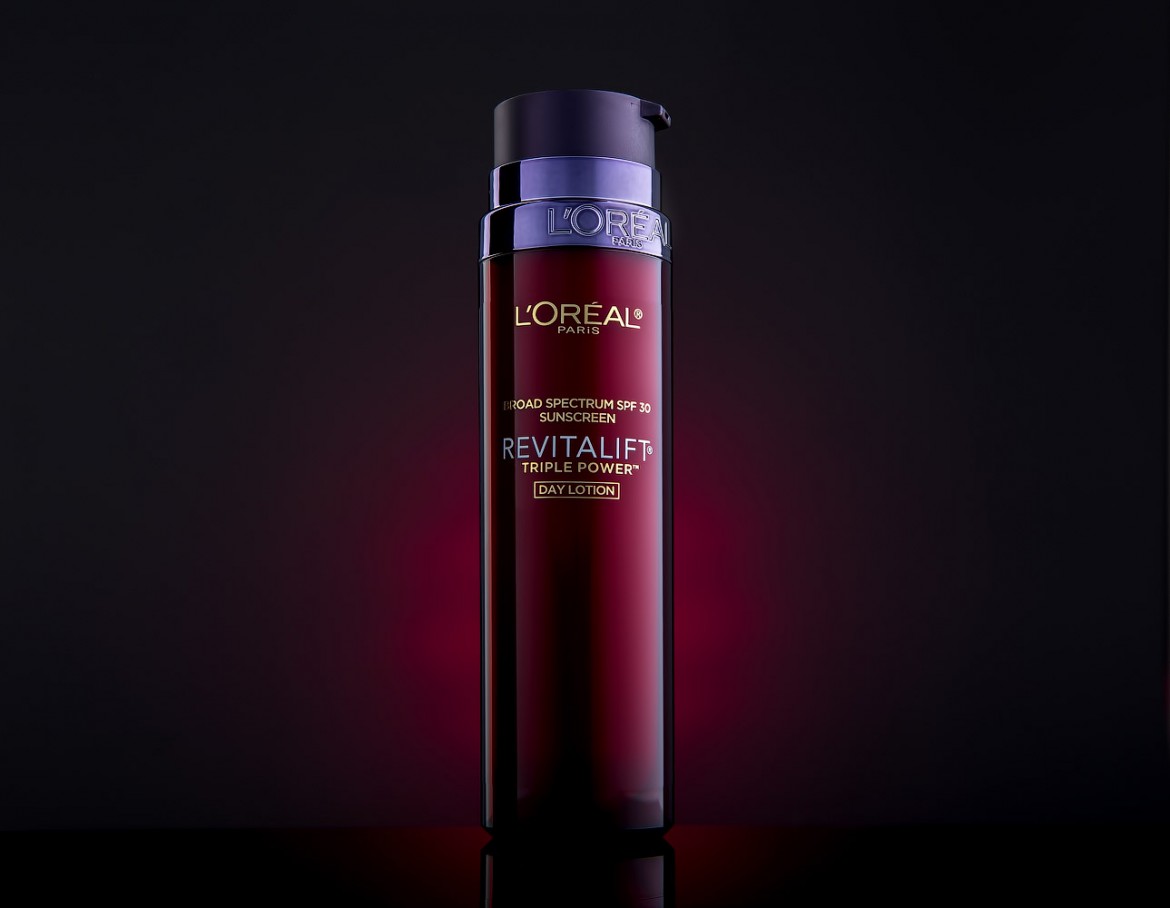
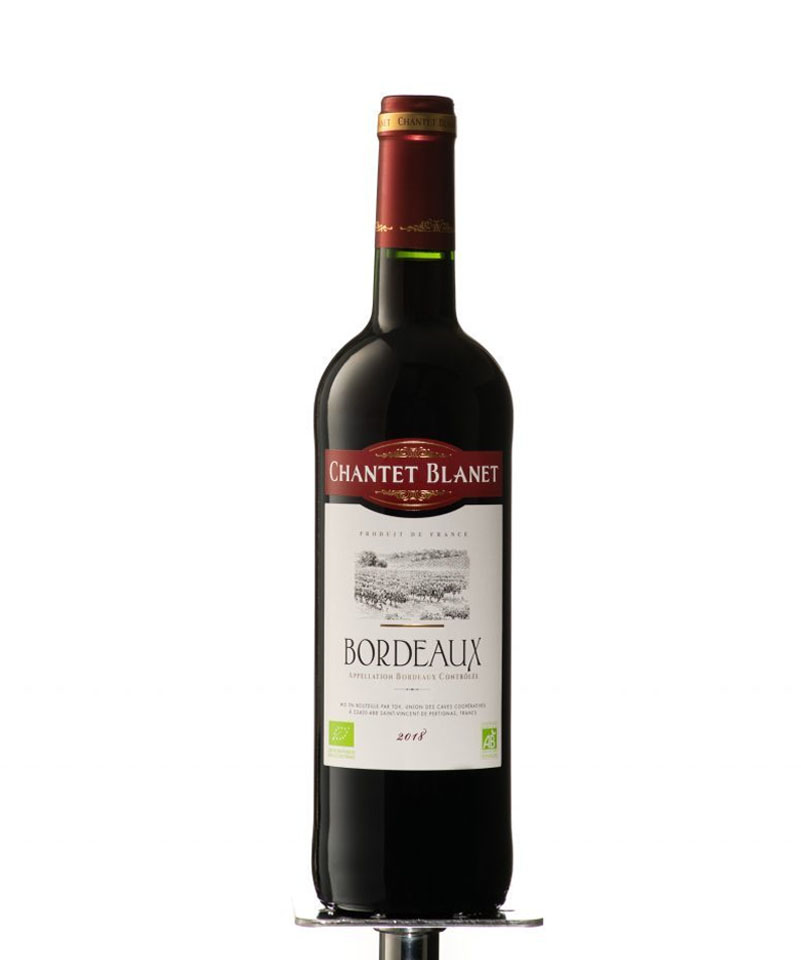
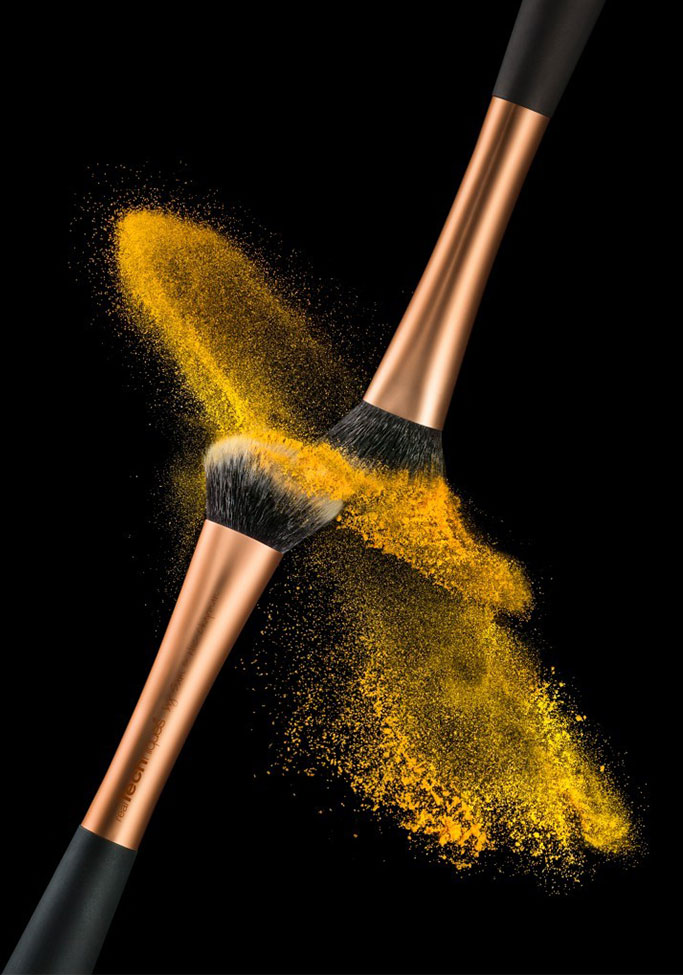
After a brief introduction and a look at the equipment that will be used for this course, you will explore, in real-time mode, the setup and shooting of a number of different products. The first will be a cosmetics product shot which will look to photograph a cylindrical product.
From there you will move on to a bottle of Bailey’s Irish Crème as well as a bottle of Vodka. Both of these provide additional challenges based on container size and shape.
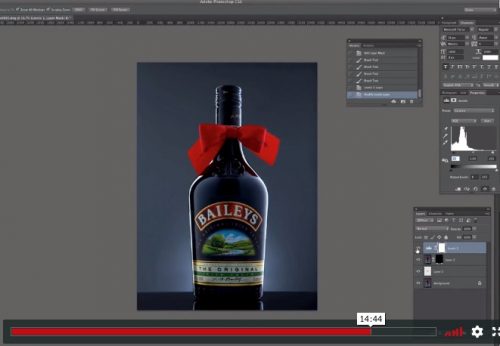
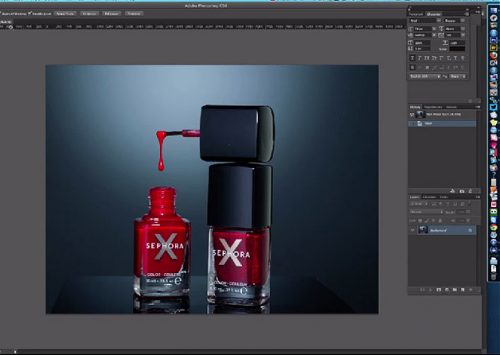
Now that you have taken the shots and completed the photographic work all that is left to do is the post-production. You might think that if you get it right in the camera, there should not be much to do in post-production. For many other photographic disciplines, this may be the case, but not for professional product photography.
By its very nature, product photography is created to sell products. This means that the output must be exactly as the client envisions it. This could lead to extensive work in post-production.
In many real-world situations, this would call for the outside help of professional retoucher to complete the task. You, as a professional, should have some fundamental skills for working in post-production. The goal here is to have the ability to prepare a quality image for the client to review in as quickly as possible.
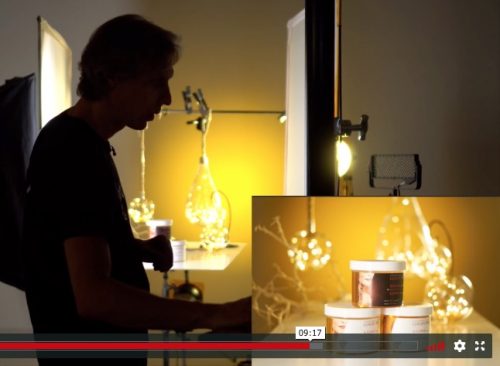
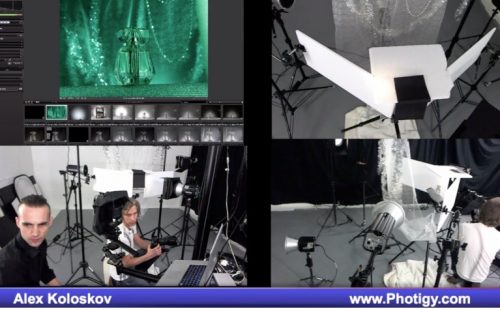
In this module, you will learn how to build various DIY light modifiers, camera support, diffusers, and other gear to save thousands of dollars from buying all this equipment in stores. It is not always necessary to have a big budget to stat in production photography!
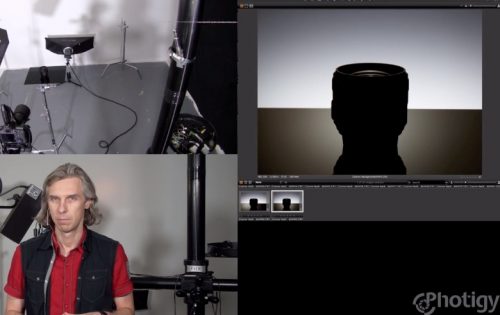
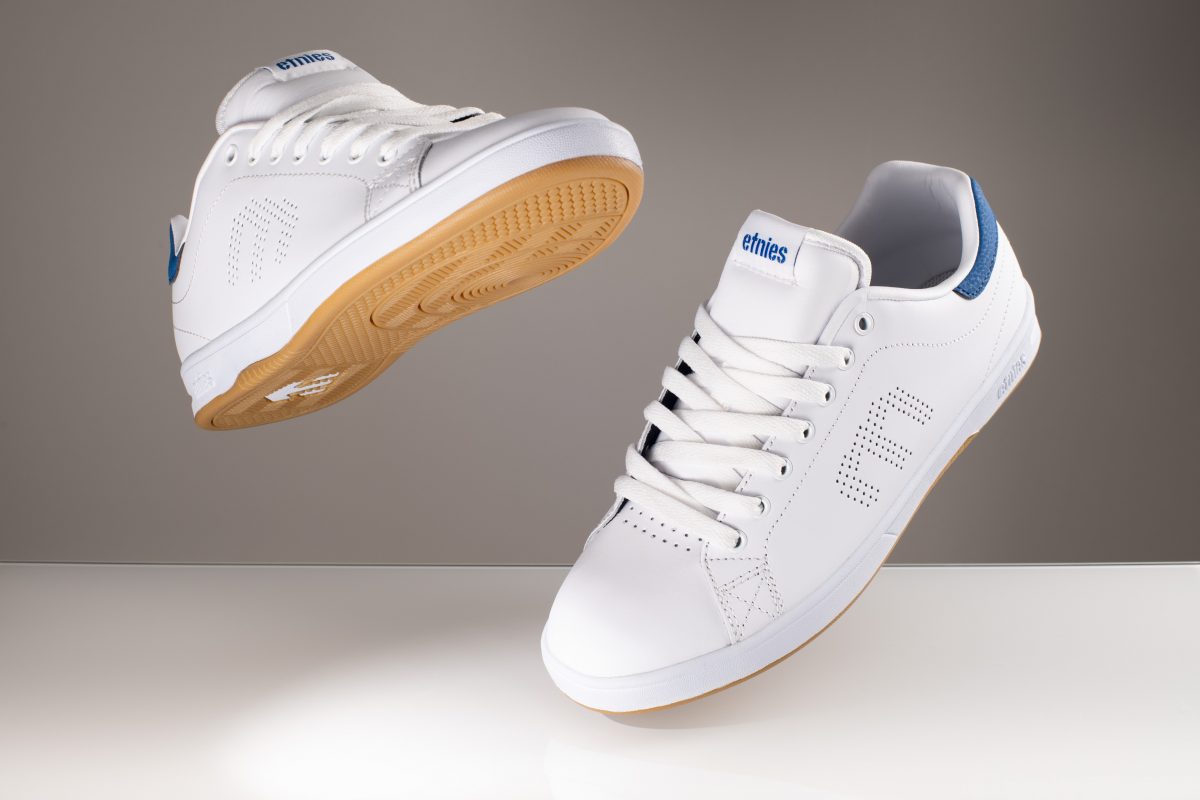
Catalog Product Photography module is a series of videos that will take you through various real-world situations of photographing products in the studio.
By working through four main scenarios you will gain a fundamental grasp of working with different lighting situations as they present themselves. These are step-by-step demonstrations that are shown in free-form mode.
This means that you will see how the process works in real life where you diagnose the problems and learn how to solve them.
You will begin with a through look at studio lighting, cameras, lenses, support, and all of the other items that will come in handy when working in the studio.
At this point, you are not required to have all of this gear, but by gaining an understanding of what is available, you will be in a better position to know what you may need for a particular shot.
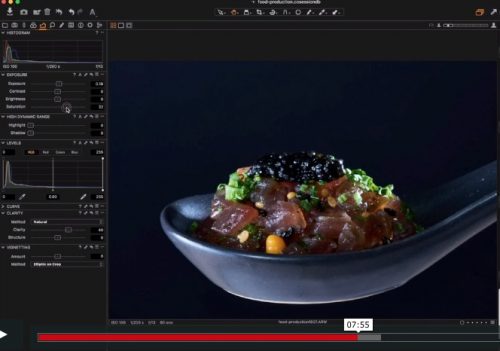
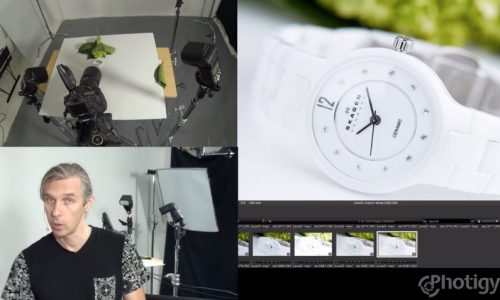
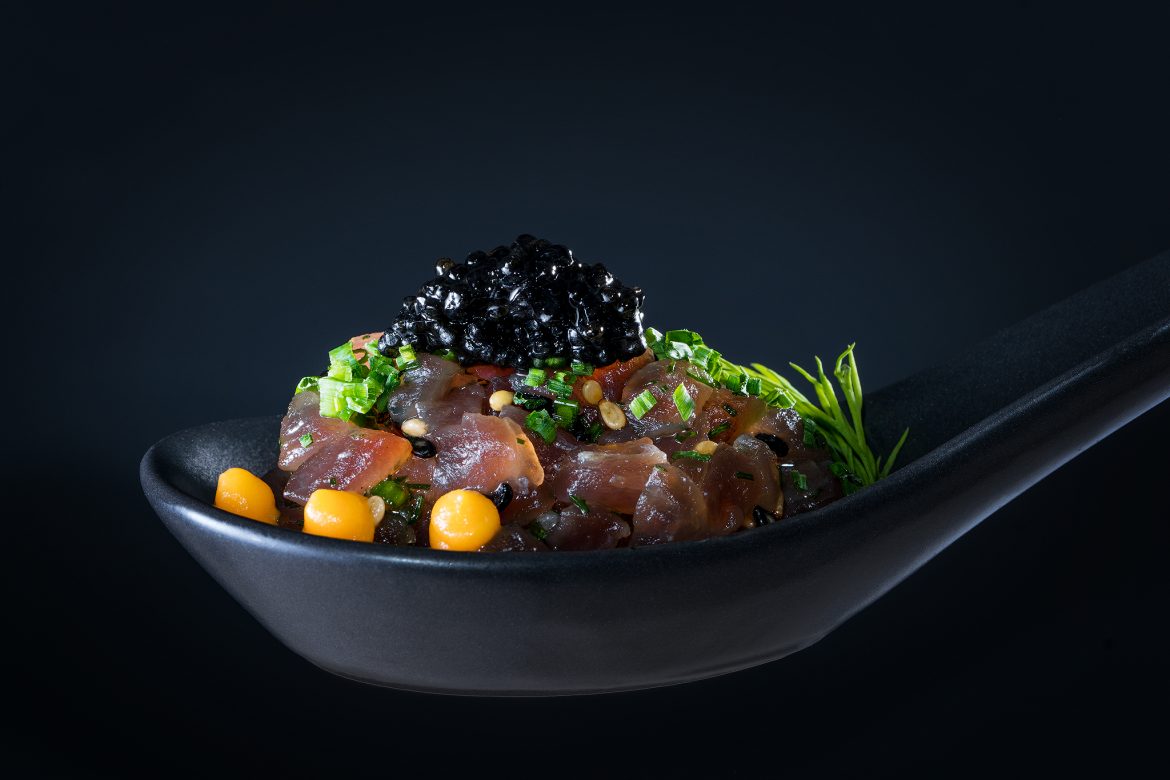
In this food photography module, you will learn:
- How to use minimal equipment to get a job done
Only 3 speedlites, a few foam-core boards, few mini-stands, camera and a lens is all you need to start taking great images of your favorite food - Easy to follow photography scenarios
Learn how to work with different types of food to make it juicy and create the most interesting images for each dish you shoot
In this module you will learn:
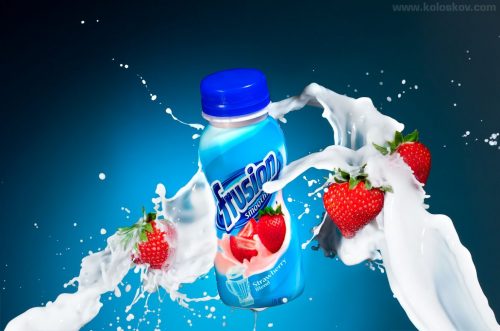
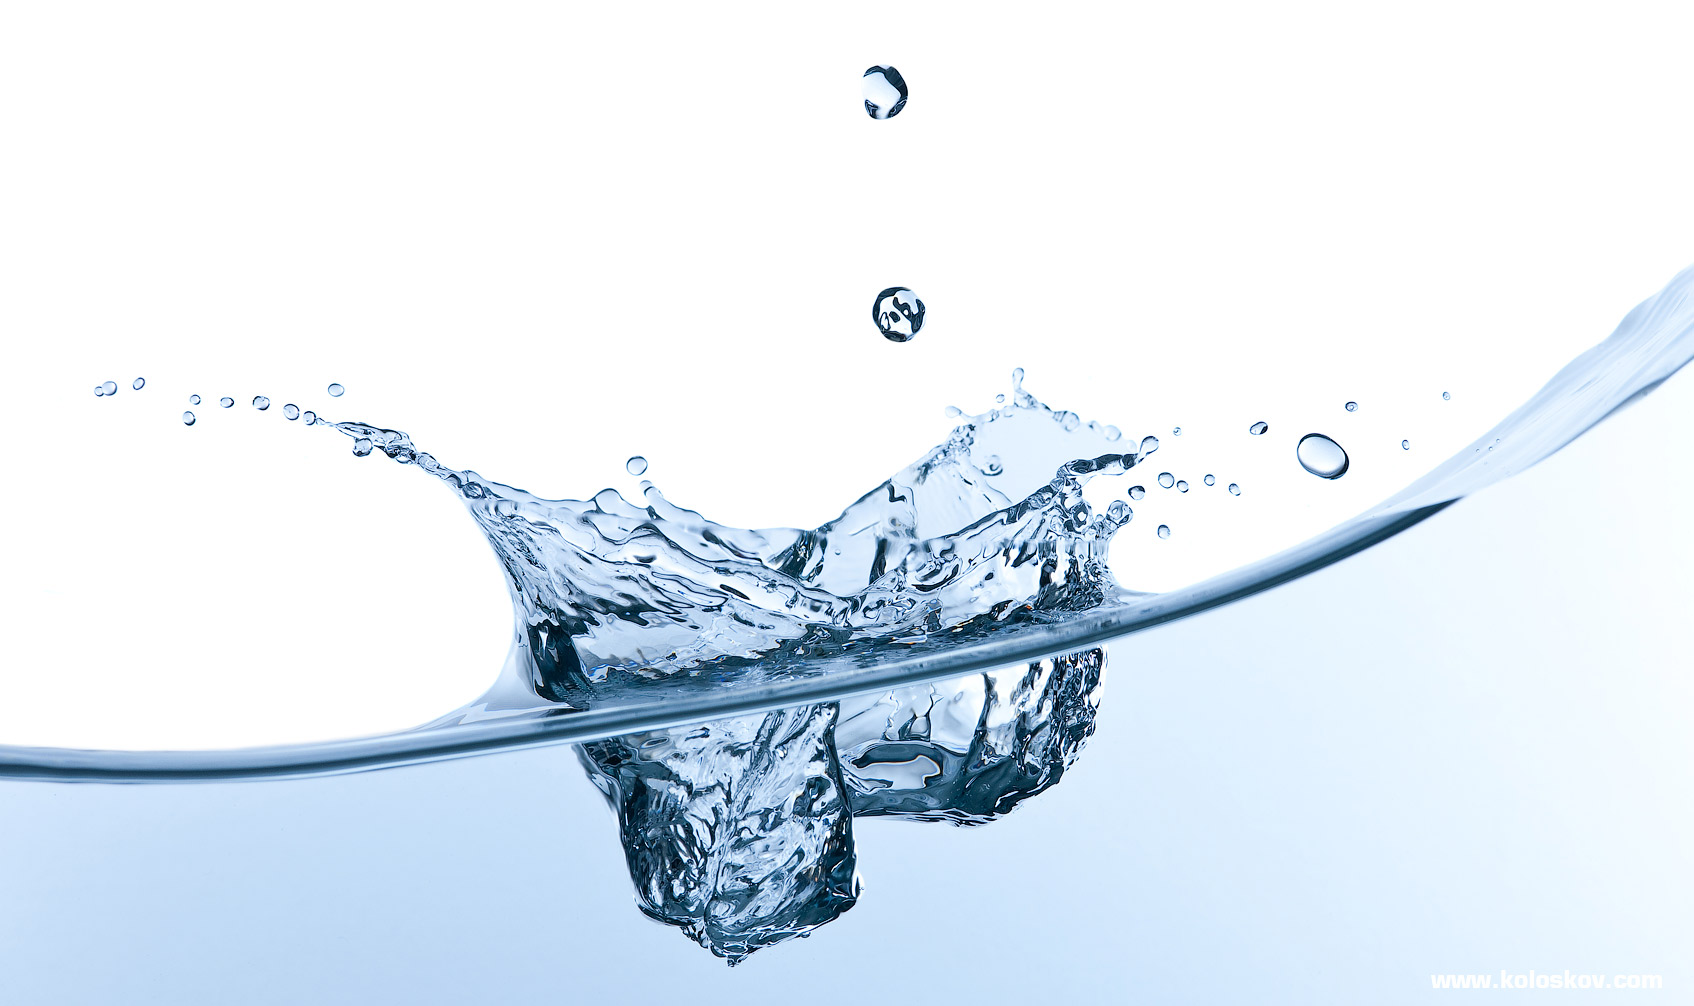
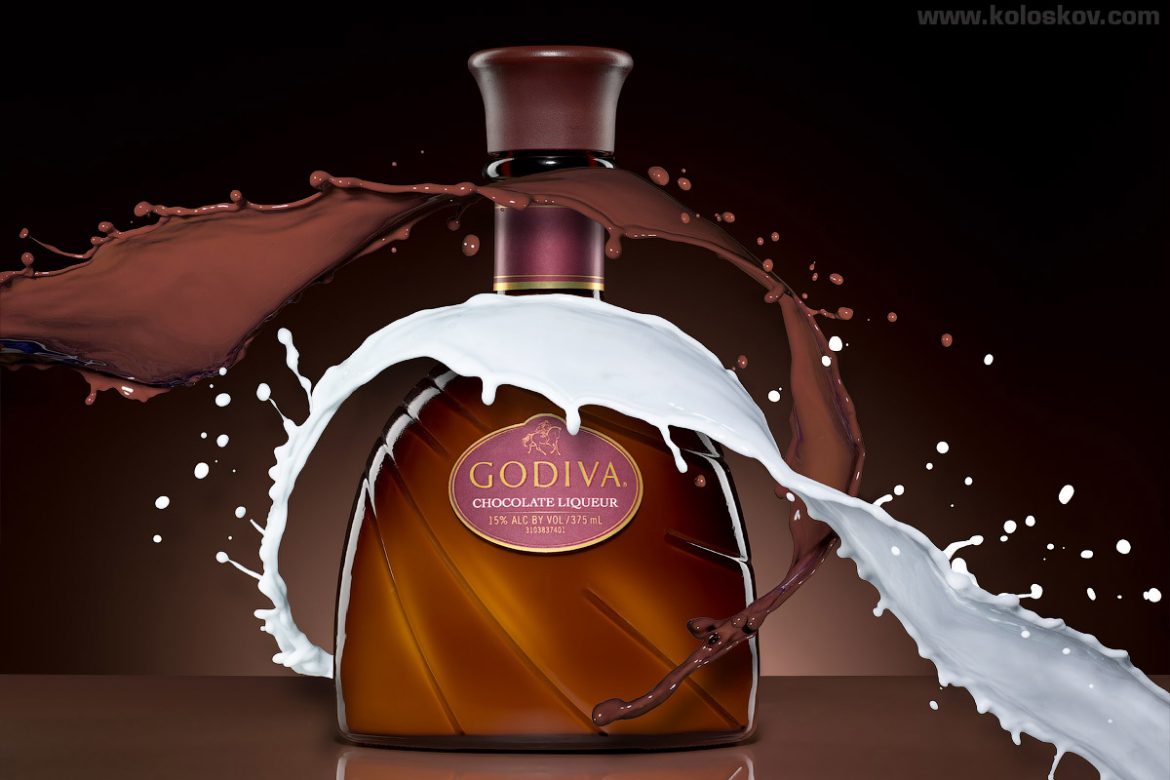
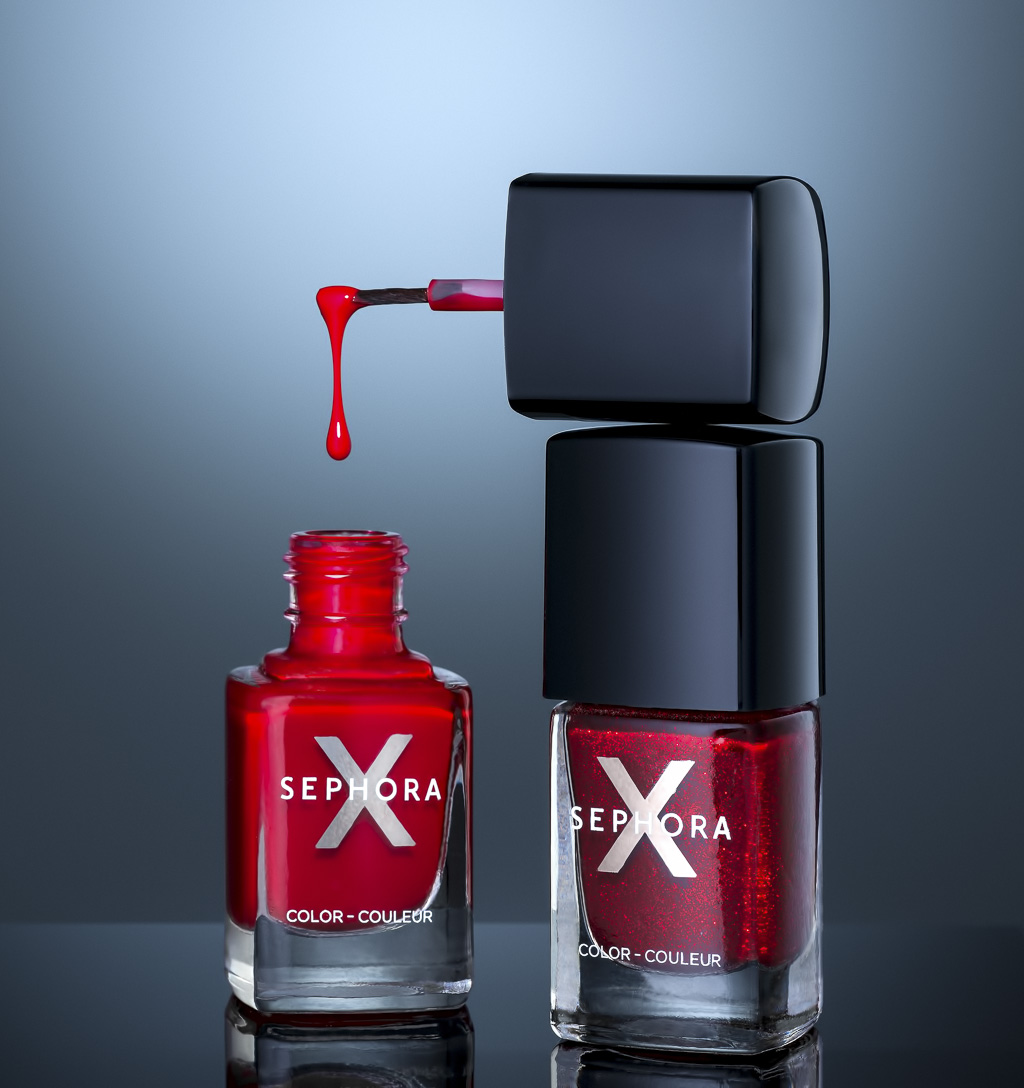
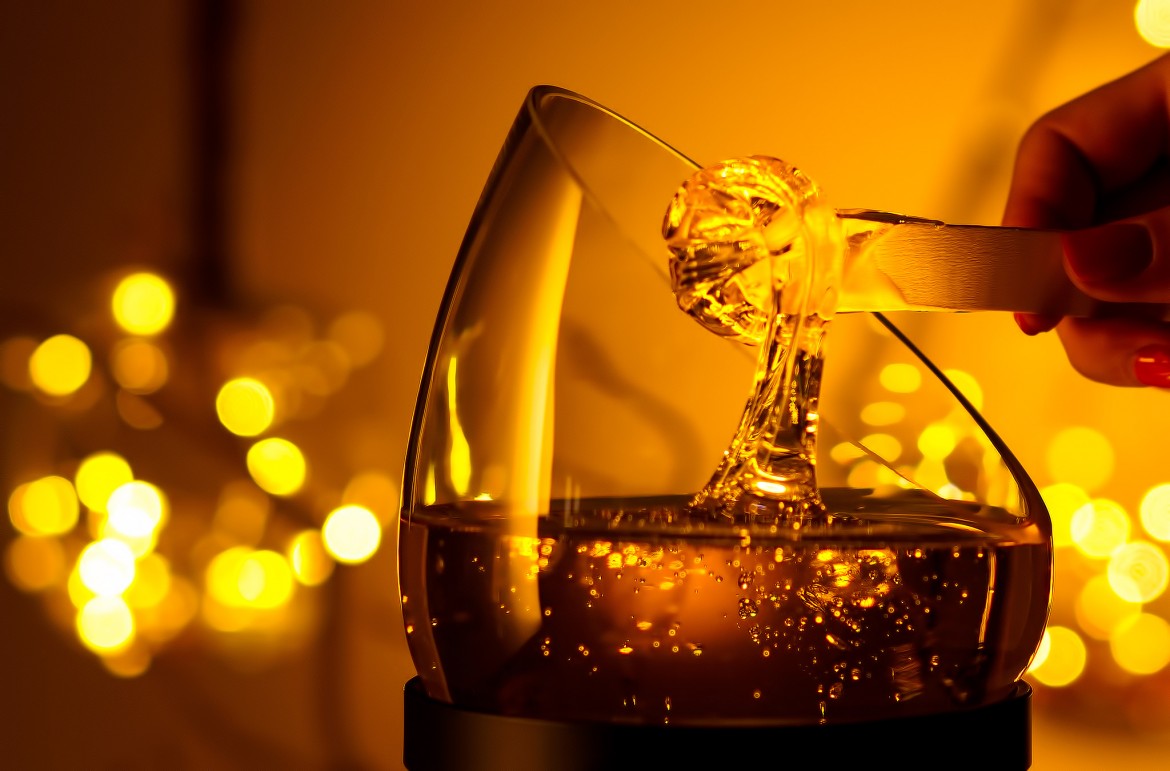
- Discover what equipment is good for hi-speed liquid photography: which lighting systems are good and which are not, and why. Speedlites, Monolights and expensive power packs are compared.
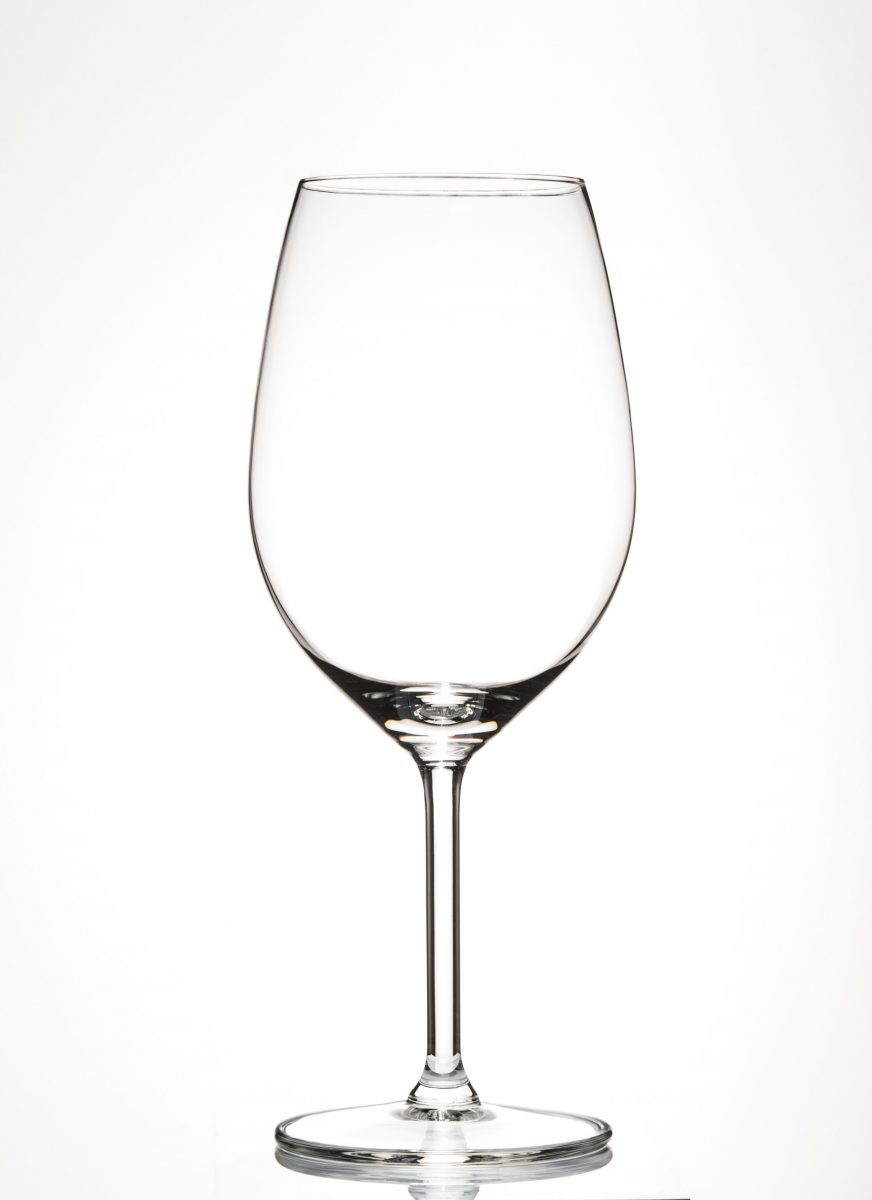
- How to shoot different types of liquid: clear, colored, and completely non-transparent, and what the difference is in how to highlight them.
- How to shape unique splashes, and how to catch the right moment
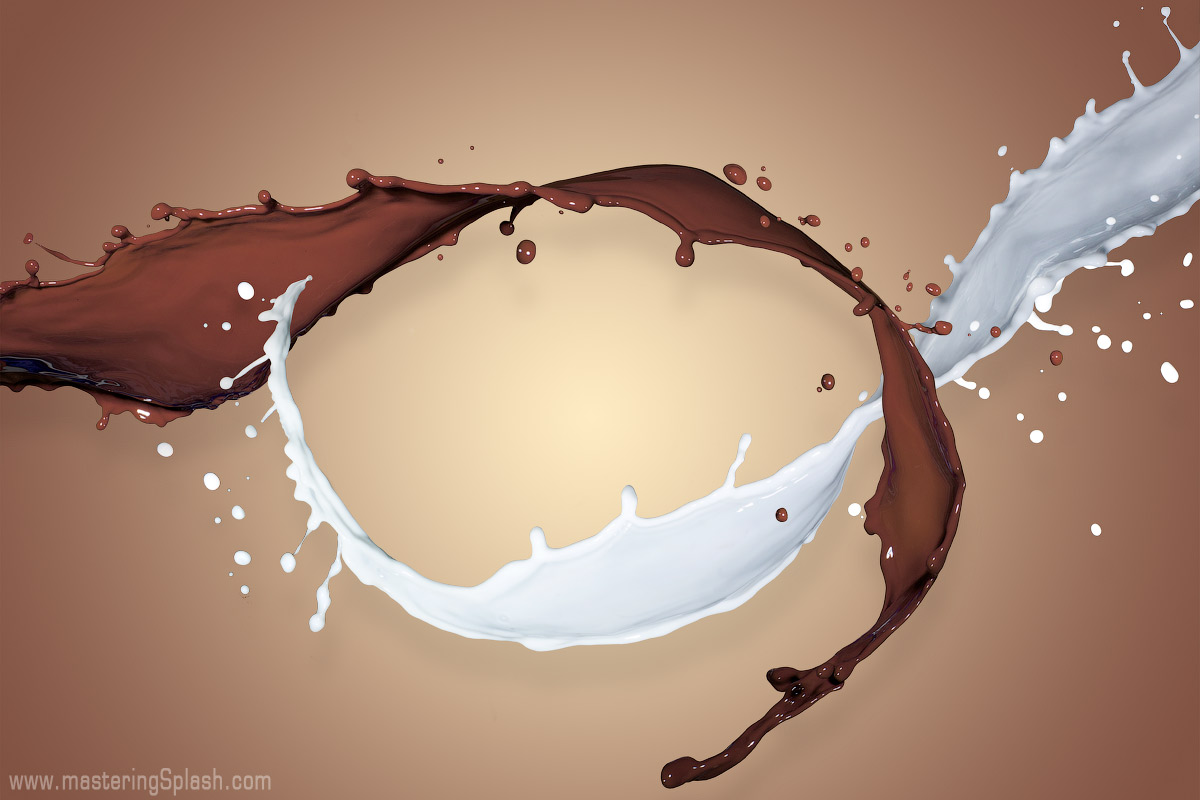
- Find out how to simulate different types of liquids: milk, chocolate, etc
- How to create a composite shot, how to combine separate photos into one mind-blowing composition
- Photoshop techniques on how to manipulate with shots of liquid
- In the First Part photographer will learn how to approach a client that interested in working with a studio. Understanding requirements, creating an estimate, preparing for the shot, etc
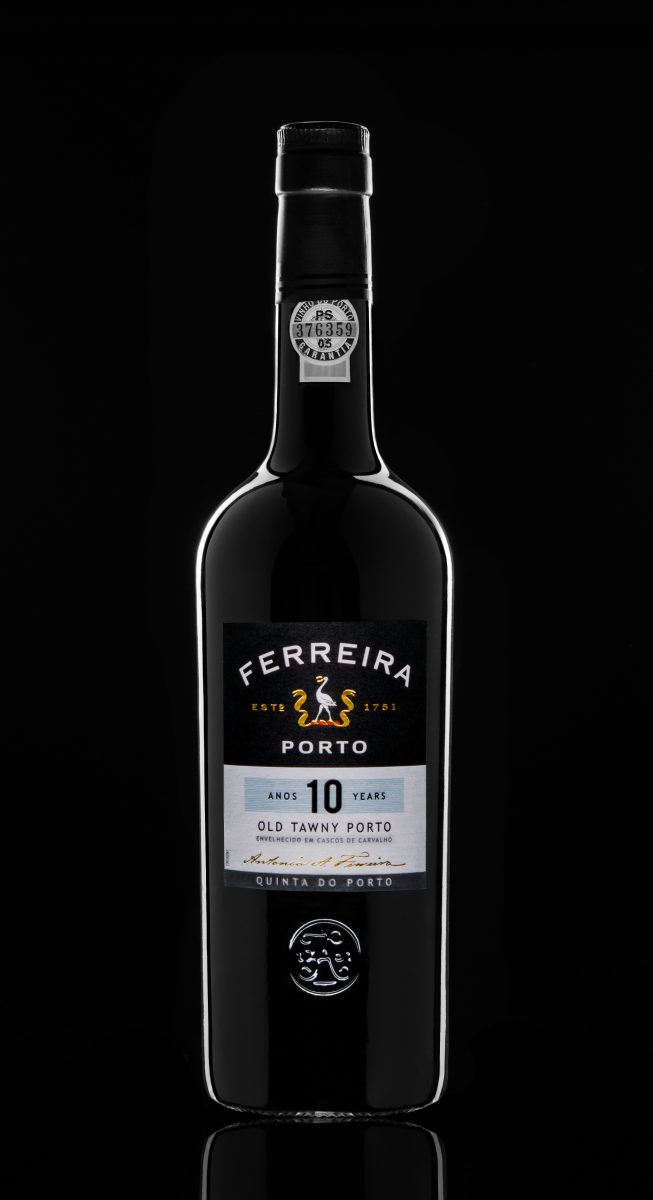
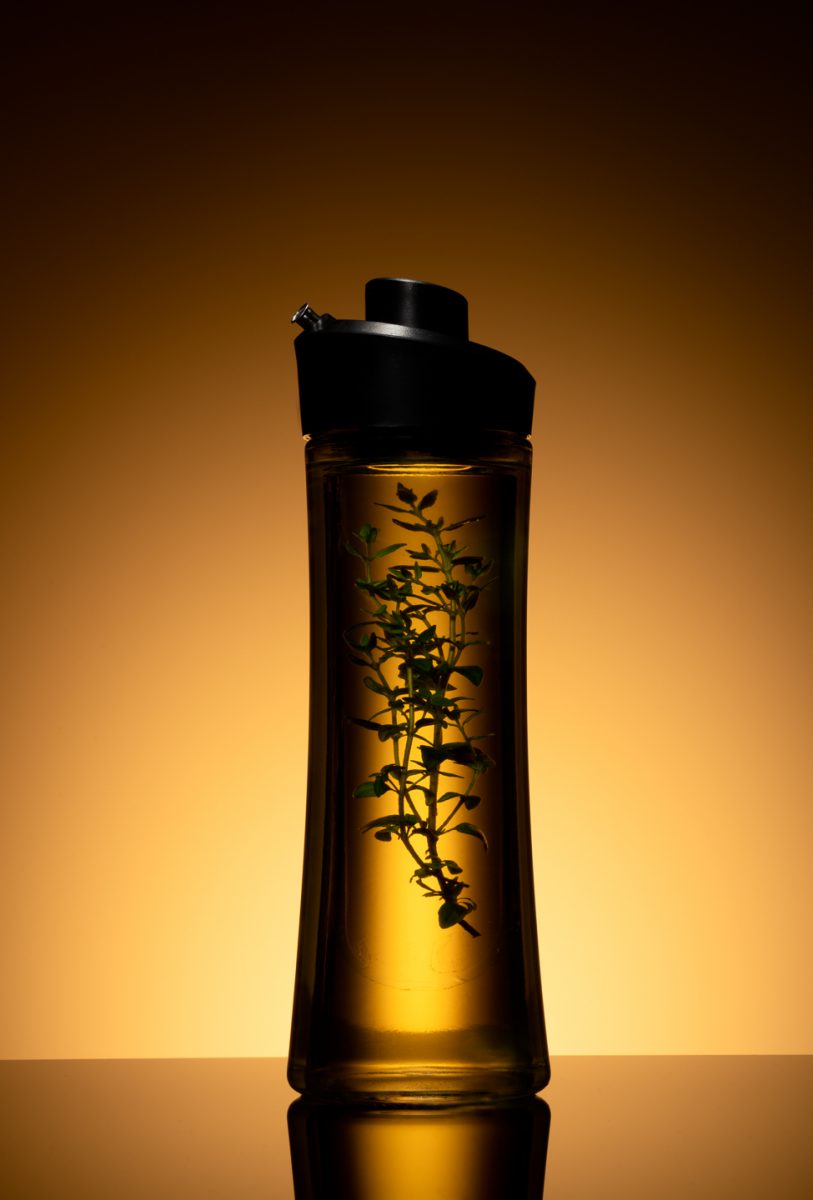
- In the Second Part photographer will learn how to take catalog-style pictures of bottles and jars.
- In a Third Part we cover a creative part of the project, working with interesting lighting techniques and cameras.
- Fourth Part showcasing high-speed photography, creating splashes and motion.
- Fifth Part of the course concentrates on post-production techniques of making the composite images. How to blend layers together, how to modify and match colors and shapes.
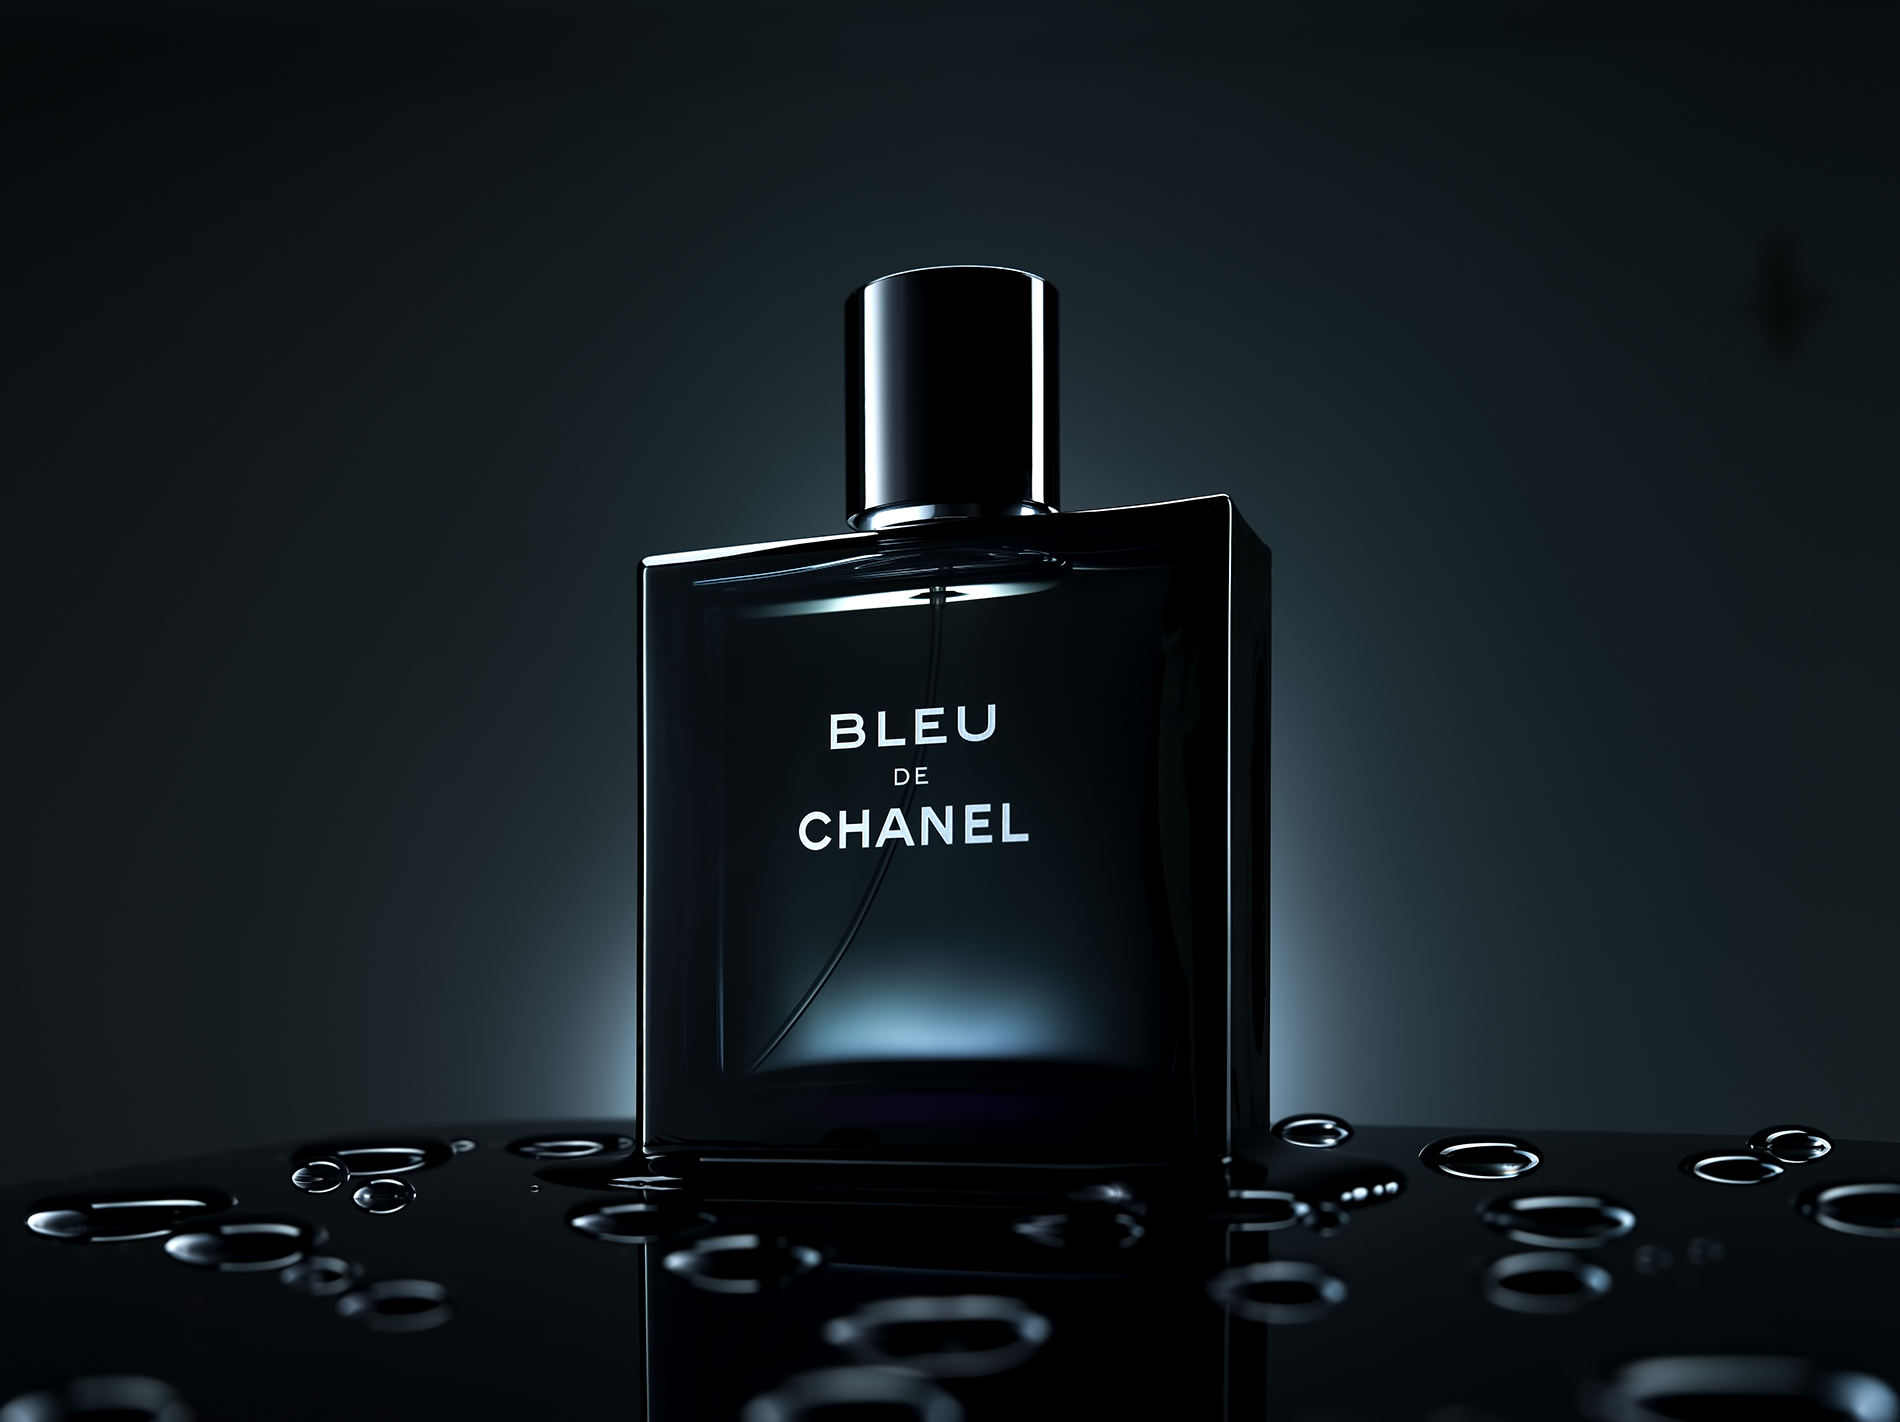
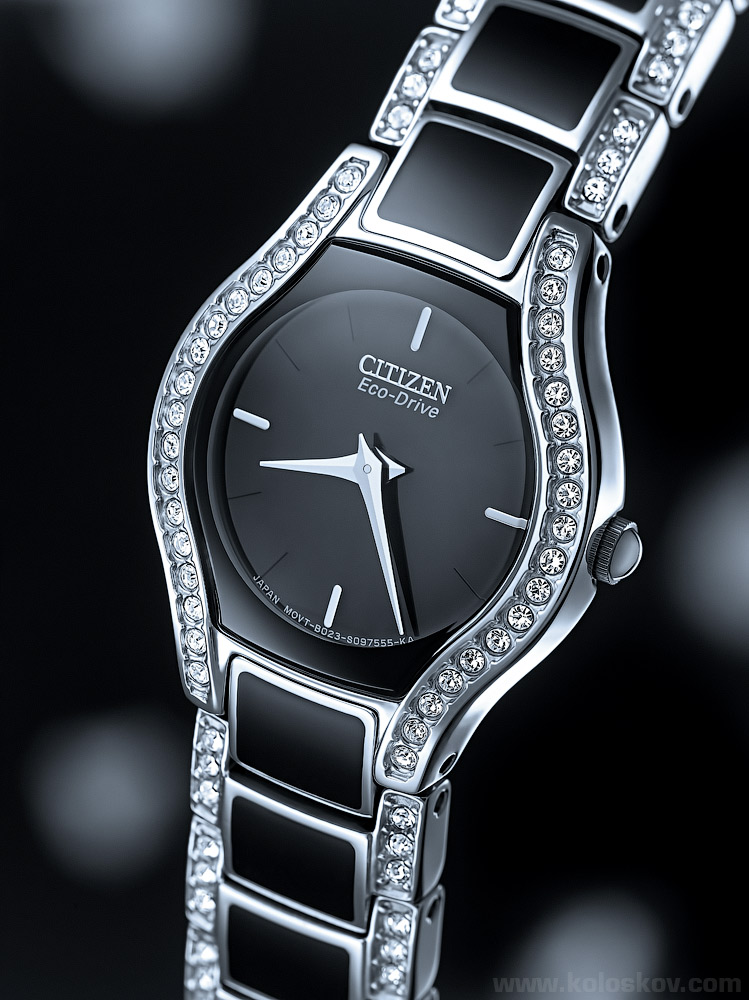
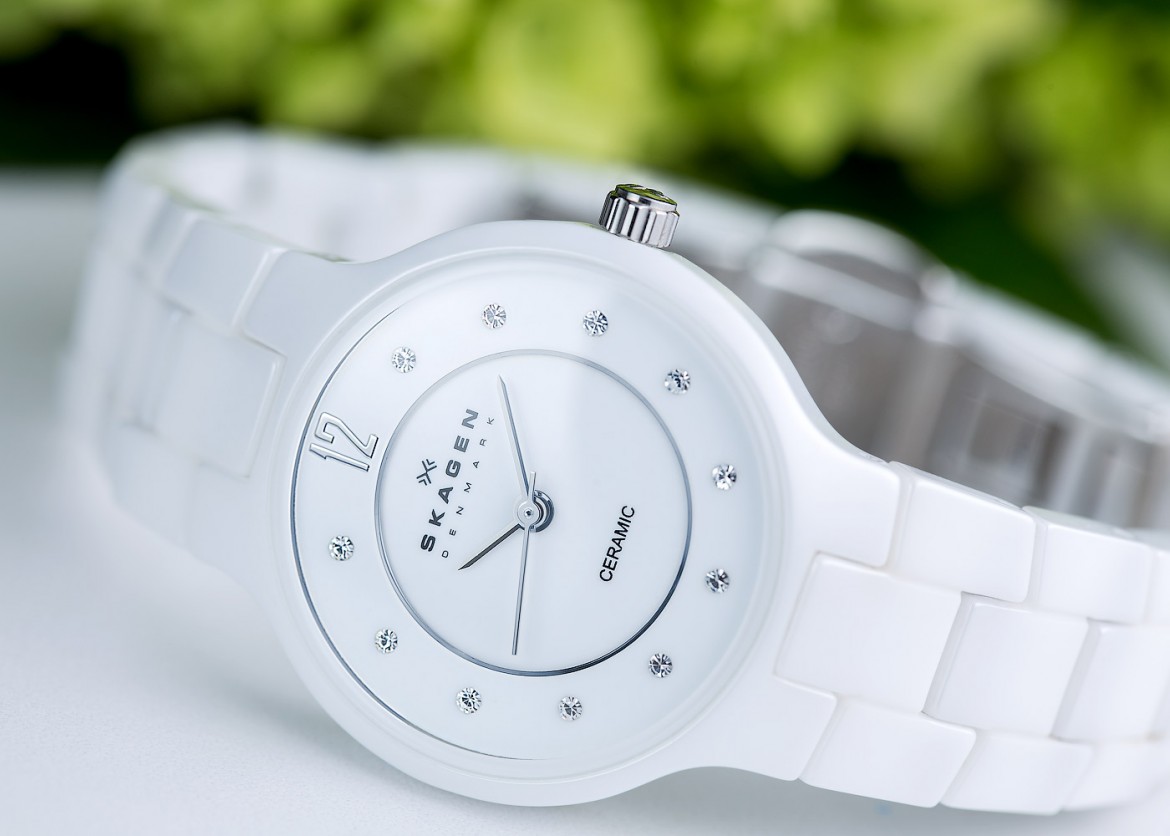
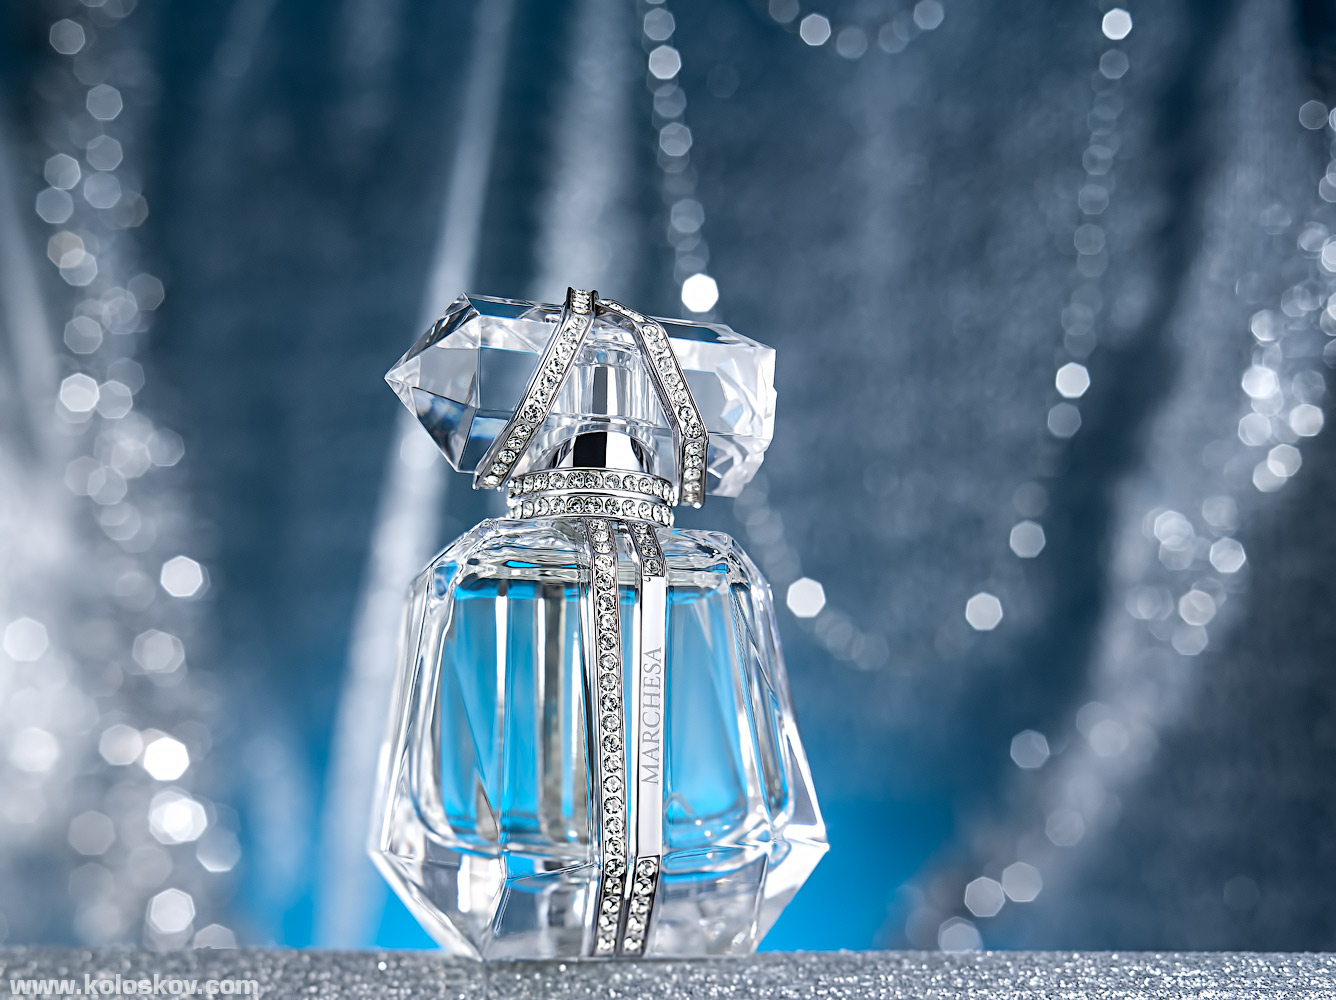
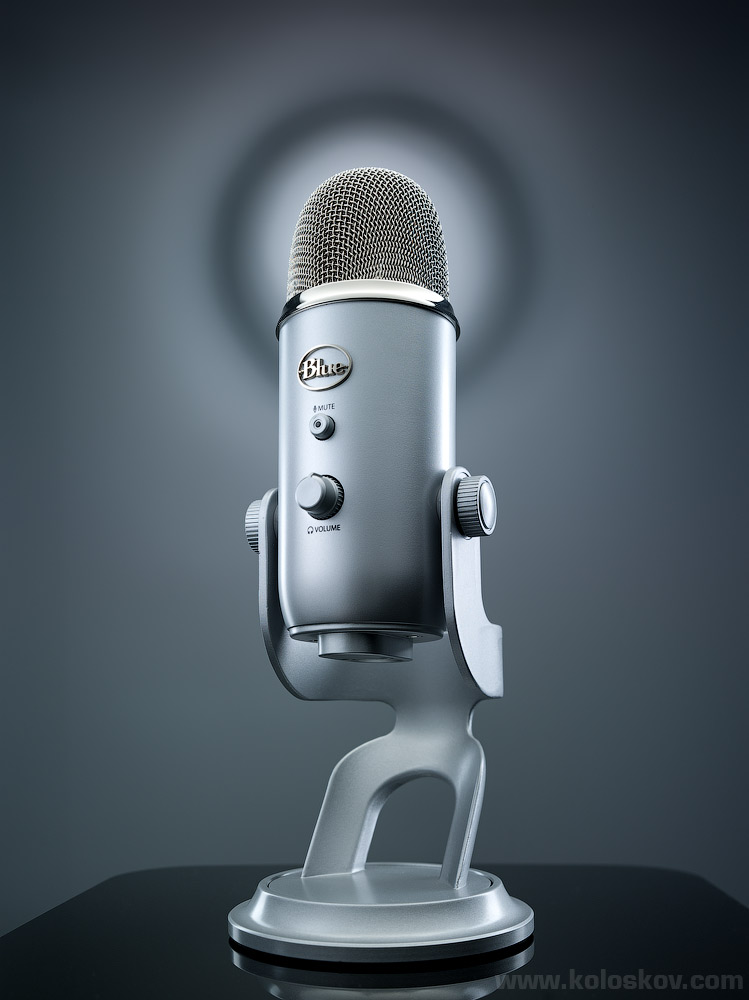
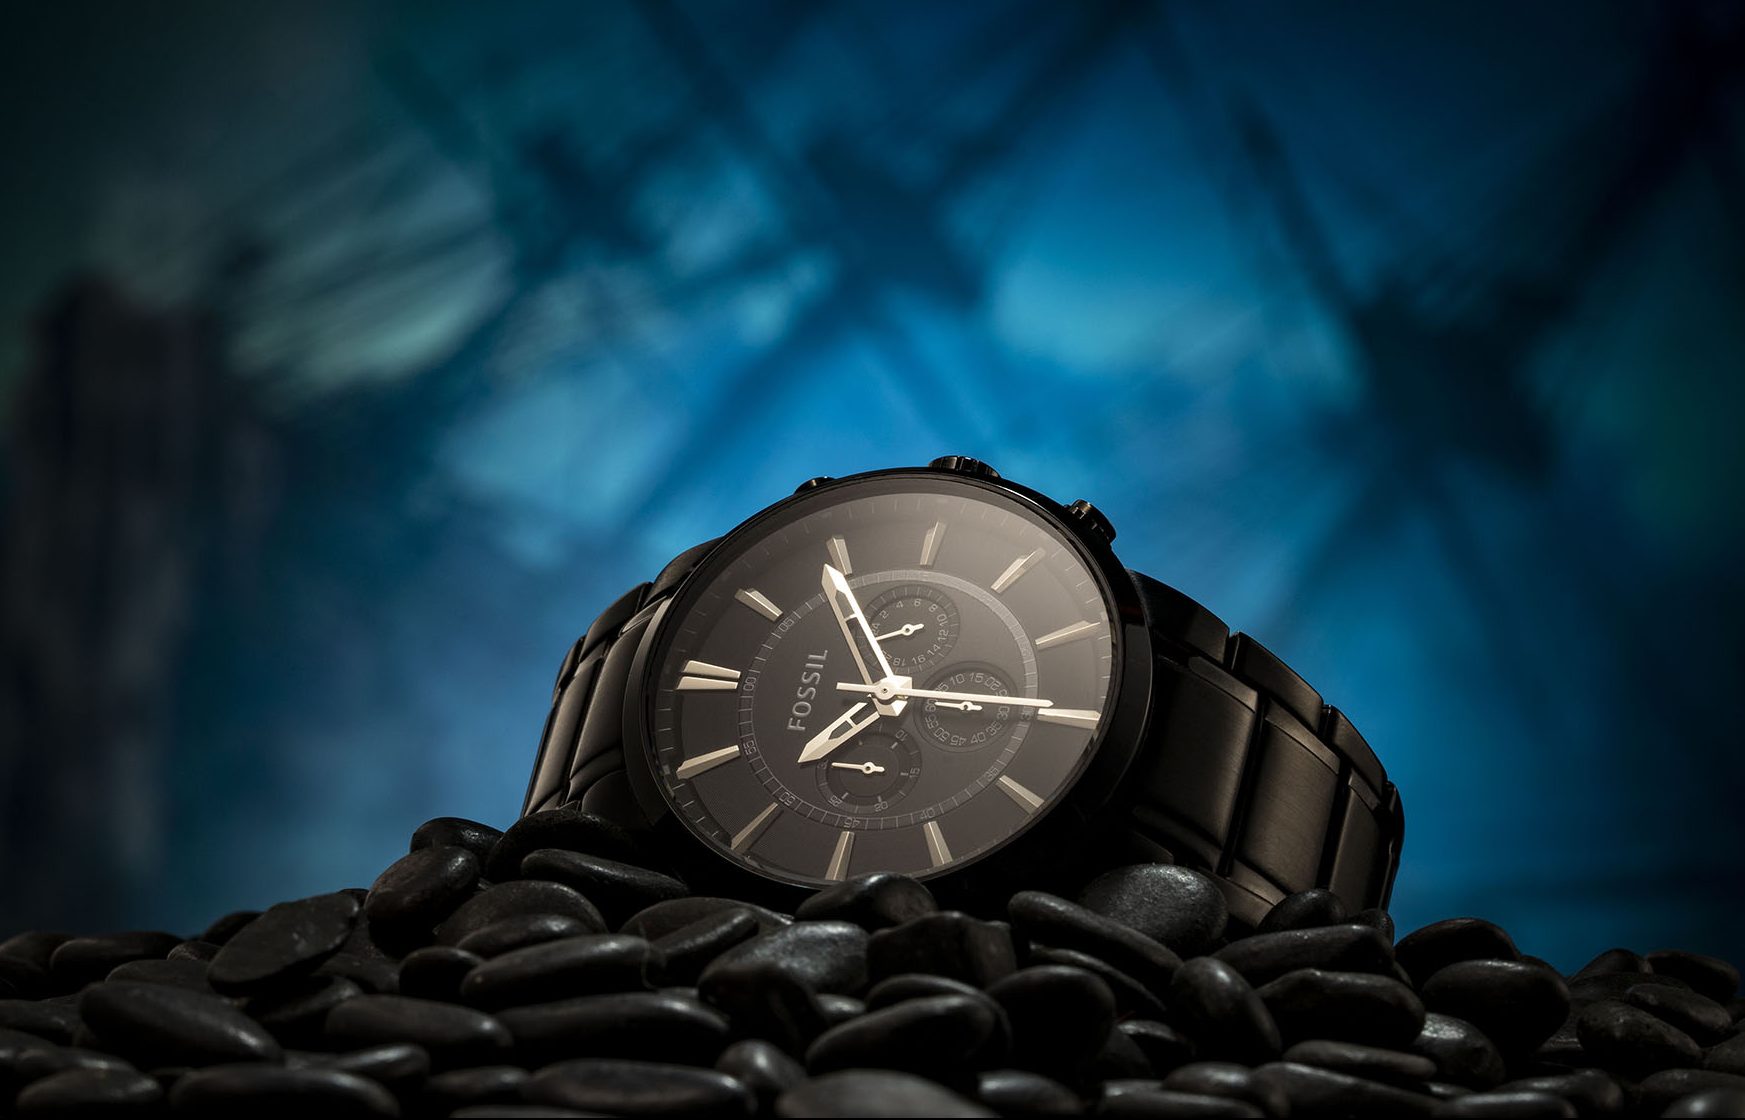
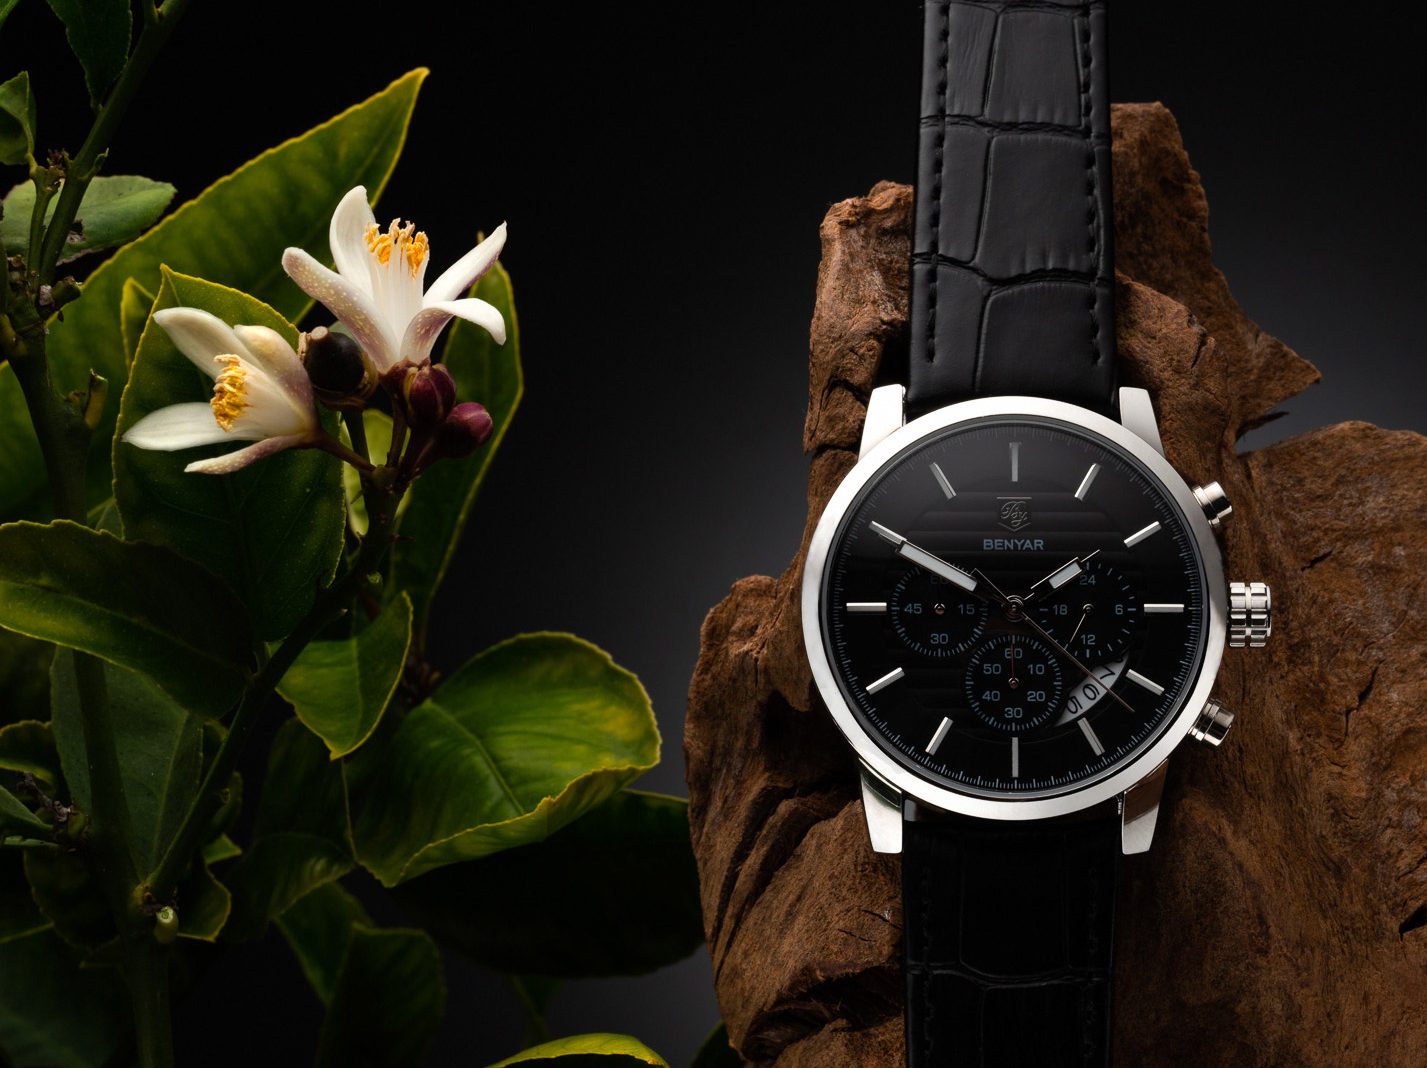
This module is divided into two main areas – the first is practical work that was done in the studio. This includes a perfume bottle, a microphone, an iPhone, and a woman’s watch.
The second part consists of in-depth workshops that were used to create detailed images that will show you how to work through a lot of complex situations.
After completing this set of training you should have a good grasp of what it takes to build up and execute a creative advertising shot from start to finish. If you take on the challenge to replicate these images or create new ones based on what you have learned here, you will have created as many as 15 portfolio pieces that can showcase your work.
 This module, Advertising Product Photography Part 2 – Post-Production, takes on some of the images that were created in Advertising Product Photography Part 1 – Studio Work and now shows you how to prepare them for final display.
As a professional product photographer, your work is not done yet. Even the best of shots in the studio will still need work done after the shooting is done.
In this module, you’ll be building your photography business. You’ll get a personalized business plan: we’ll help you to find your client’s avatar, build a standout portfolio, create a marketing plan and start reaching your potential clients.
You will have several assignments to be completed and reviewed by your course instructor.
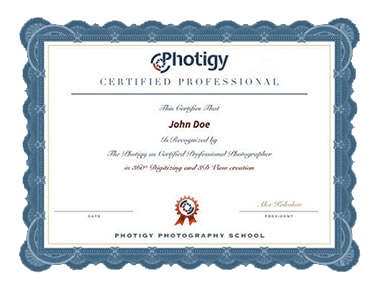
In this module, you’ll be given a chance to do your best work and get the final review and words of wisdom from your instructor. After a successful completion, you will receive a professional certificate.
Time to receive congratulations and drink champaign with friends!


