Starting in Product Photography:
Behind The Scene of a Pepsi Splash Shot


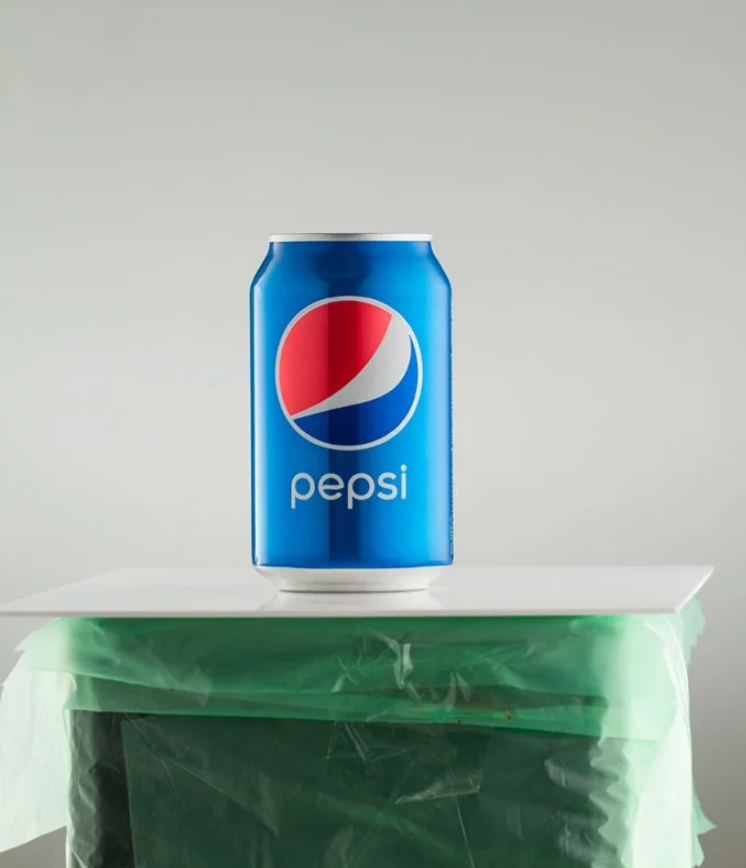
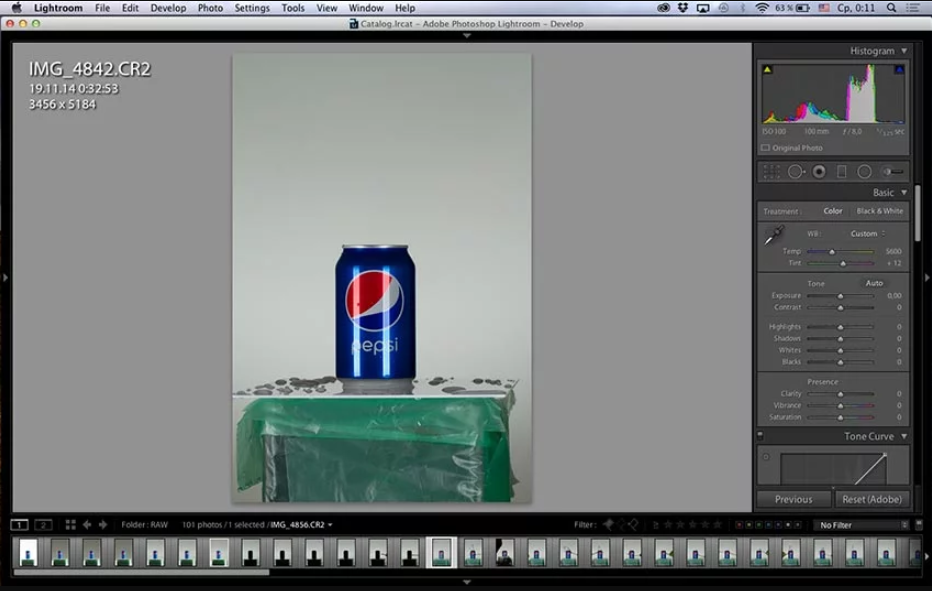
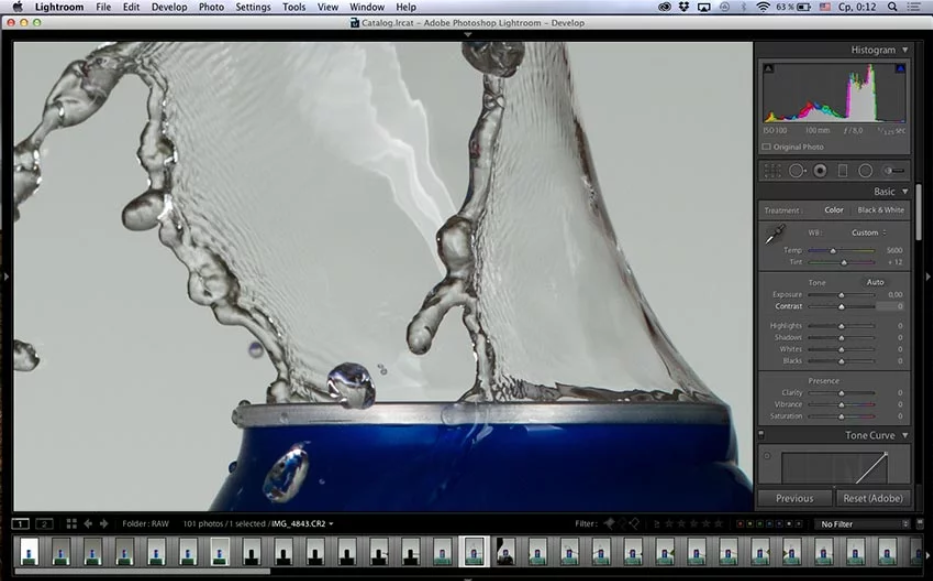
Today I’m gonna walk you through the composite shot, which includes reflective silver can and some splashes around it. I hope you’ll find helpful information in this article to create your own stunning image!

Part I. Preparation and shooting
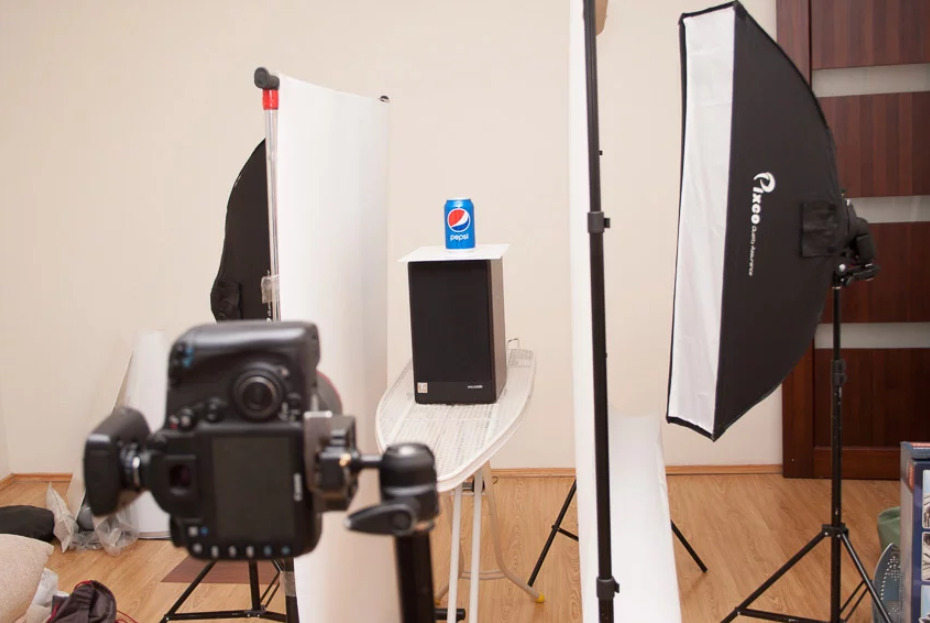
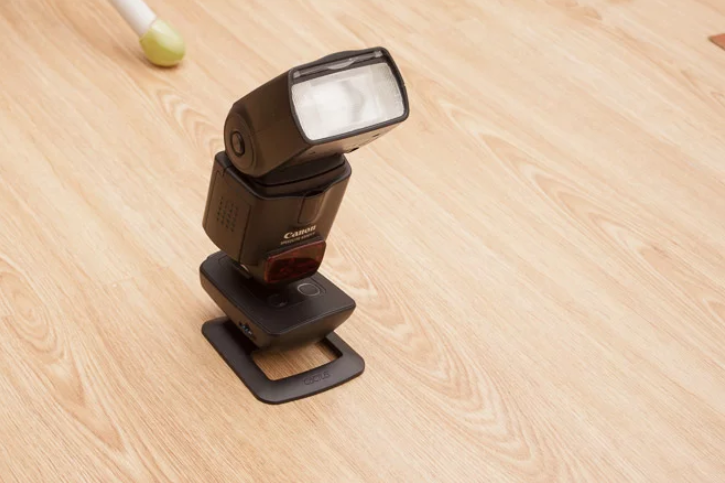
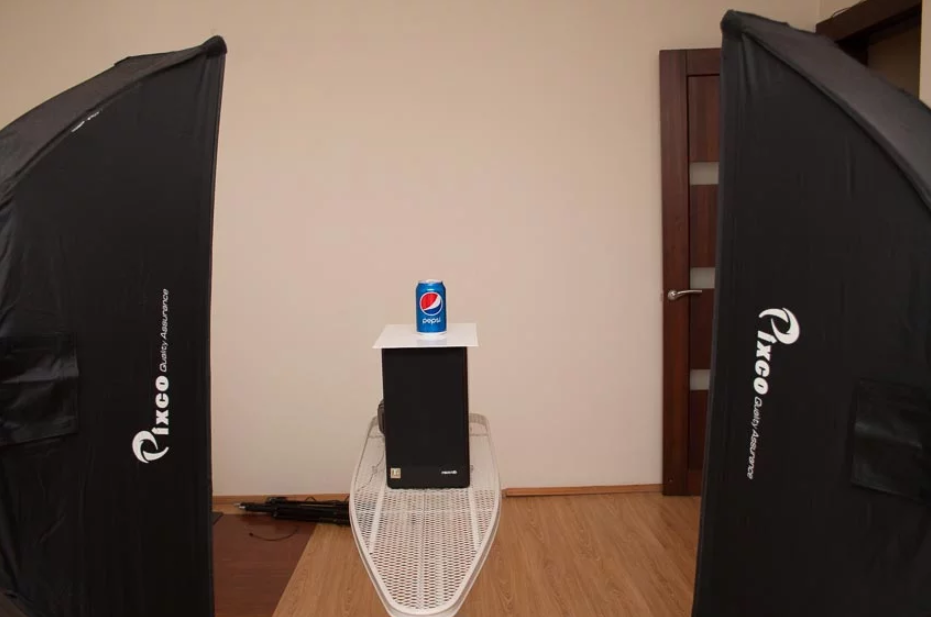
Above you can see lighting setup. I used two stripboxes 8,8″x36″ and three speedlites. Actually any kind of speedlites will work, you don’t need fancy stuff. Popular chinese flashes like Yongnuo do it well.
To create nice gradients on the can, I put diffusion panels on both sides. As diffusion panel I used Savage Translum plastic. Another flash was positioned to the wall behind the object. I’ve tried to experiment with position of light sources to get interesting reflection, but at the end of experimentations I found that “classical” setup is the best for my tasks. Take a look at this scheme below.
Stripbox on the right doesn’t touch diffusion panel, that gives smooth reflection on metal can. While stripbox on the left creates crisp gradient, because I put it close to diffusion panel (stripbox touches diffusion material). This basic knowledge allows you to create countless variations of gradients.
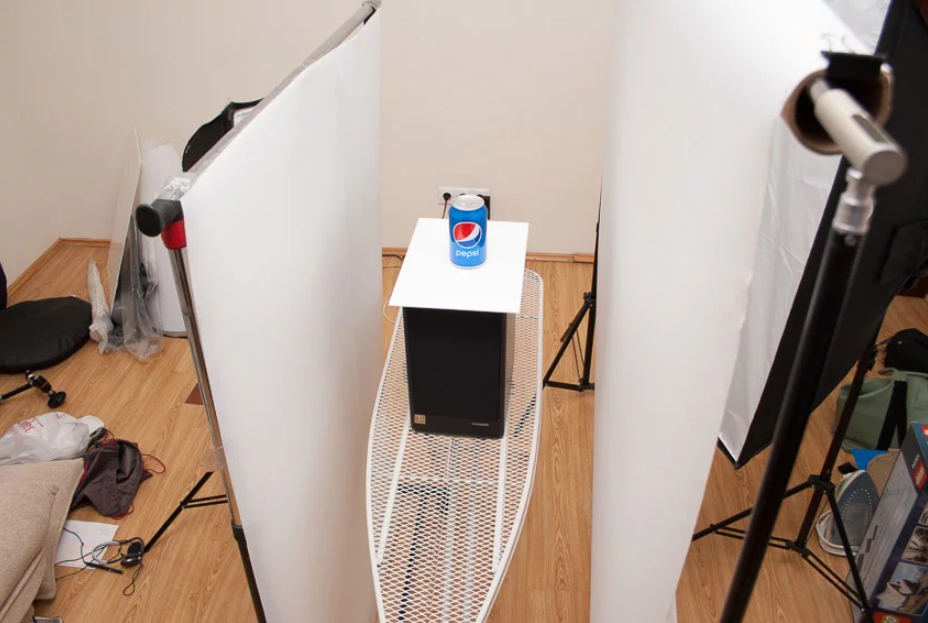
Another speedlite was positioned to the wall without any light modifiers. I knew that I don’t need special light pattern on the background since I’m going to cut out my object and put it on digital background. I prefer don’t do unnecessary moving.
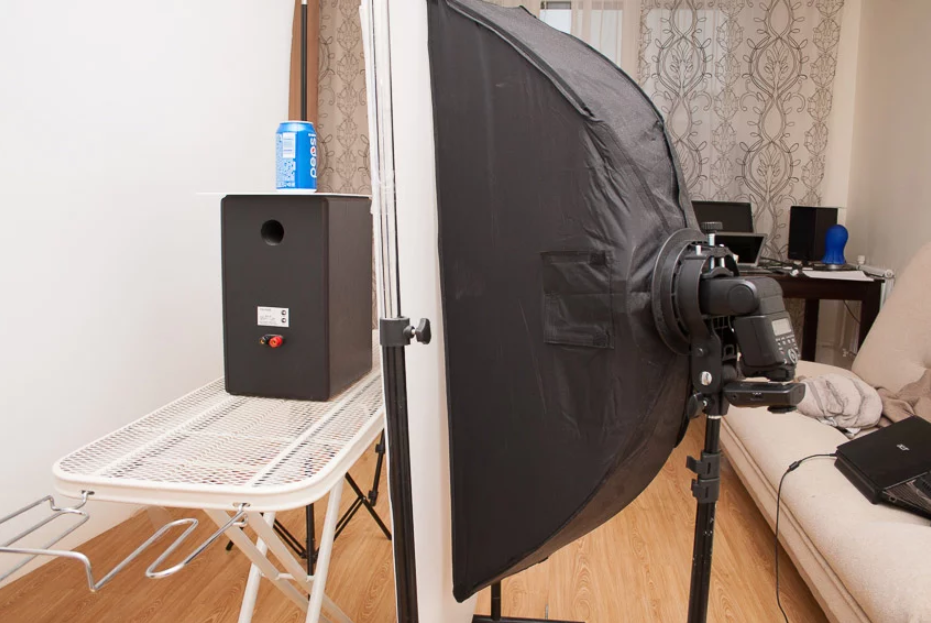
As soon as I get final shot which I like, I decided to change my lighting setup to capture splashes. There are couple reasons why I did it. Firs of all, stripboxes and diffusion panels are dramatically affect on power of speedlites. If speedlites will work at high output power, let say at 1/2, they won’t allow to freeze the motion because of long flash duration. You have to keep power as low as possible. Another reason is uncomfortable environment to throw water. I needed more space around object.
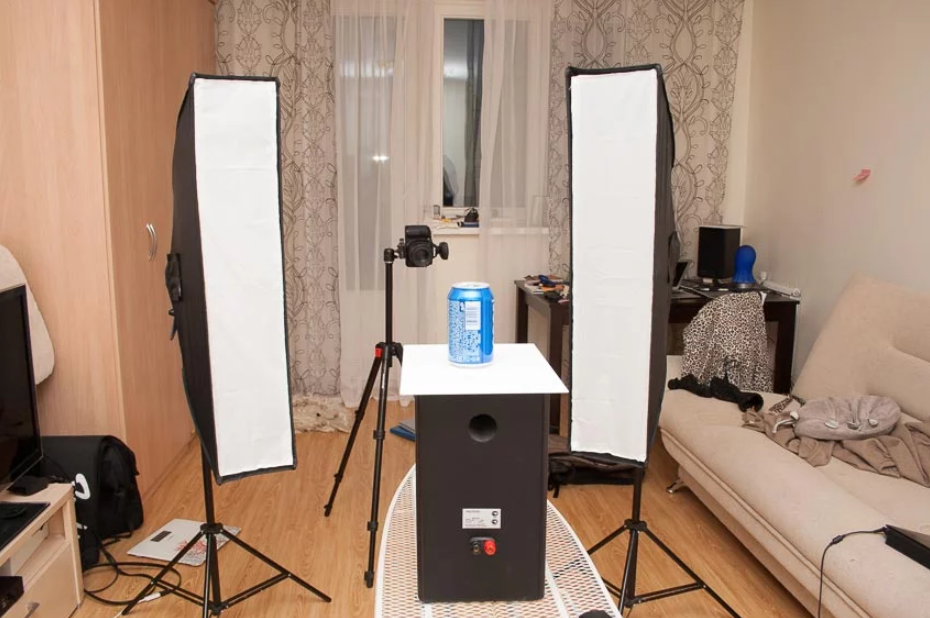
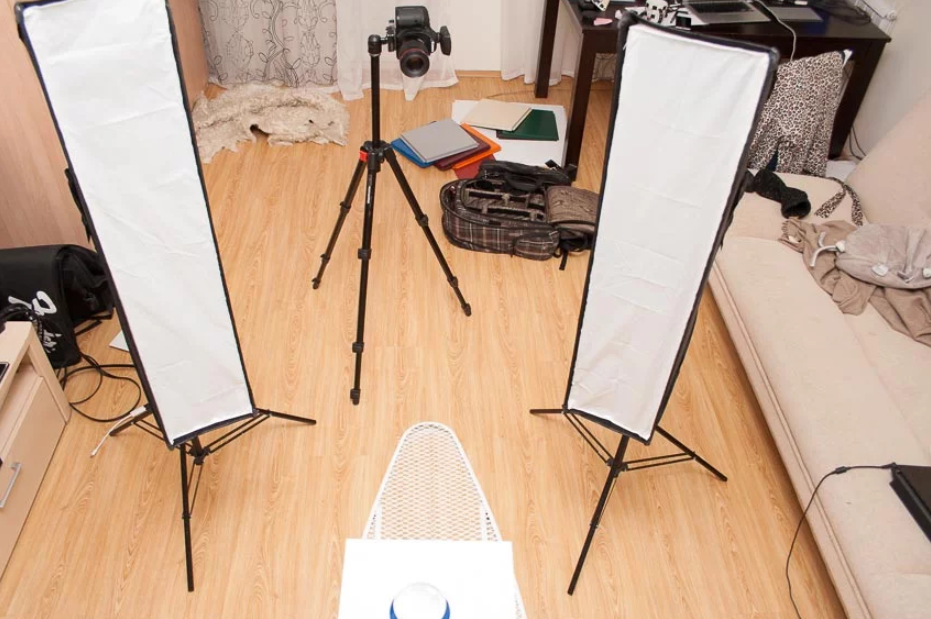
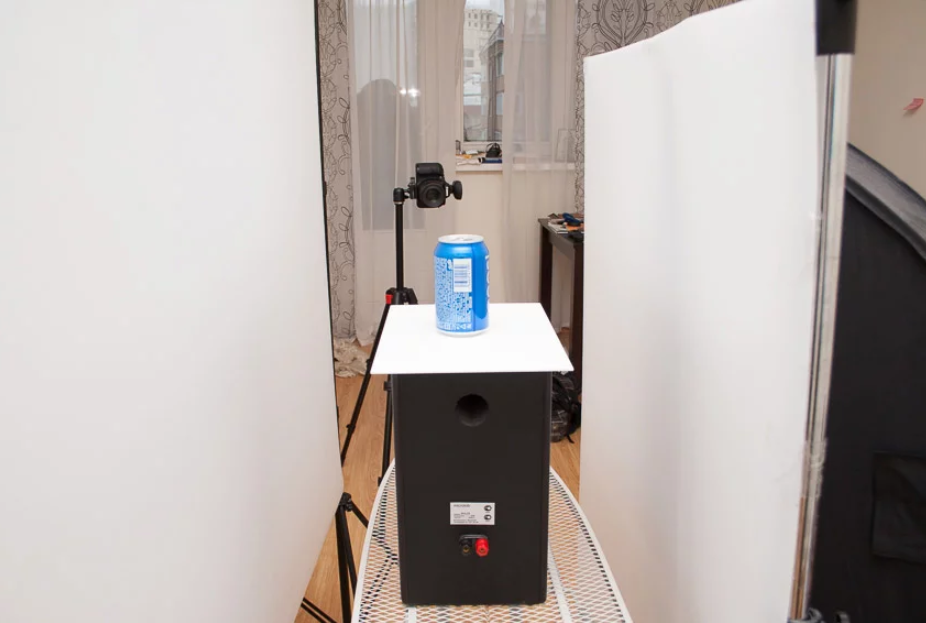
With this setup I started to shoot splashes. I didn’t change position of 3rd speedlite which was pointed toward the background. Previously I attached can to the shooting plate with plasticine. This way it won’t move in random directions while I throwing water.
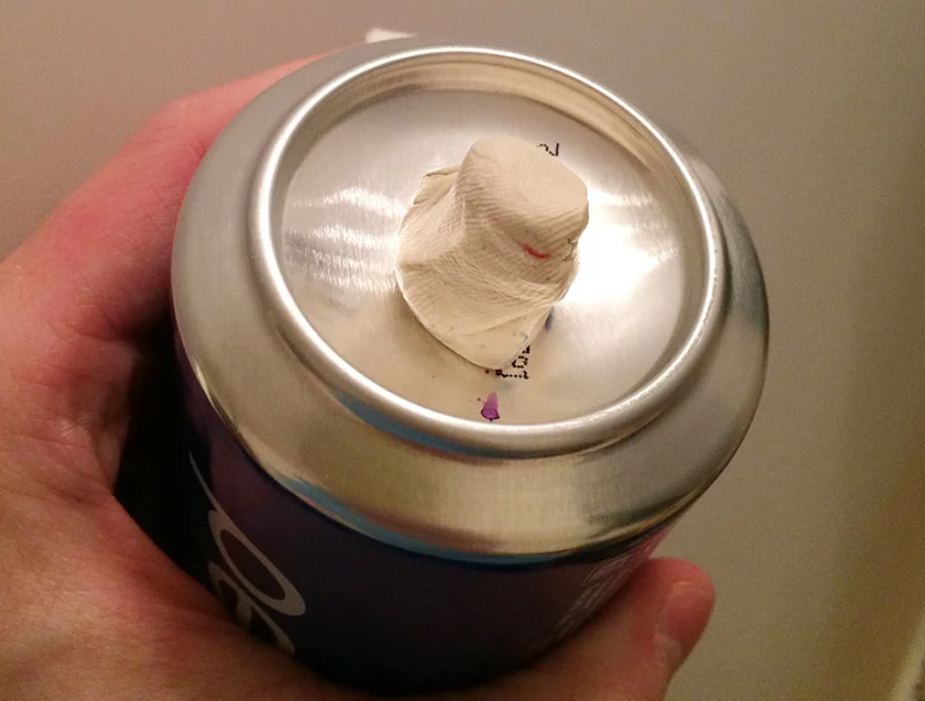
Using same plasticine I attached shooting table to the speaker. This construction became pretty solid.
I was throwing water in different directions, different angles to get as many possible variations of splashes as possible.
It’s much easier to deleted unnecessary files later than reshoot the whole process if you didn’t get right shots. I always try to imagine what kind of pictures I need to build my final scene if I shoot for composite.
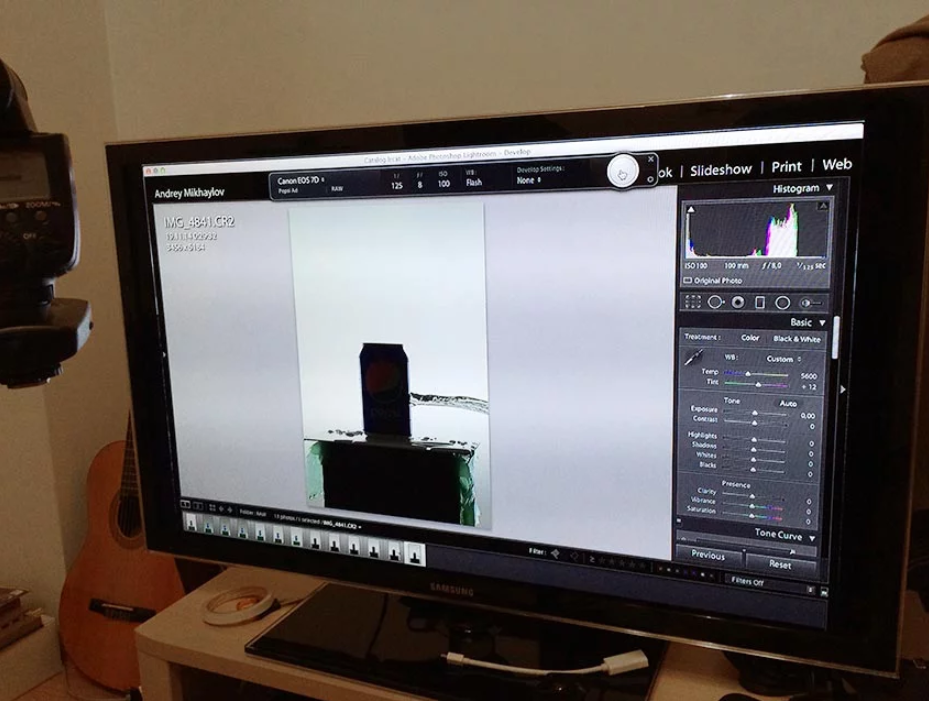
I often translate my screen from mac to a TV. Big screen allows very easy evaluate shots.
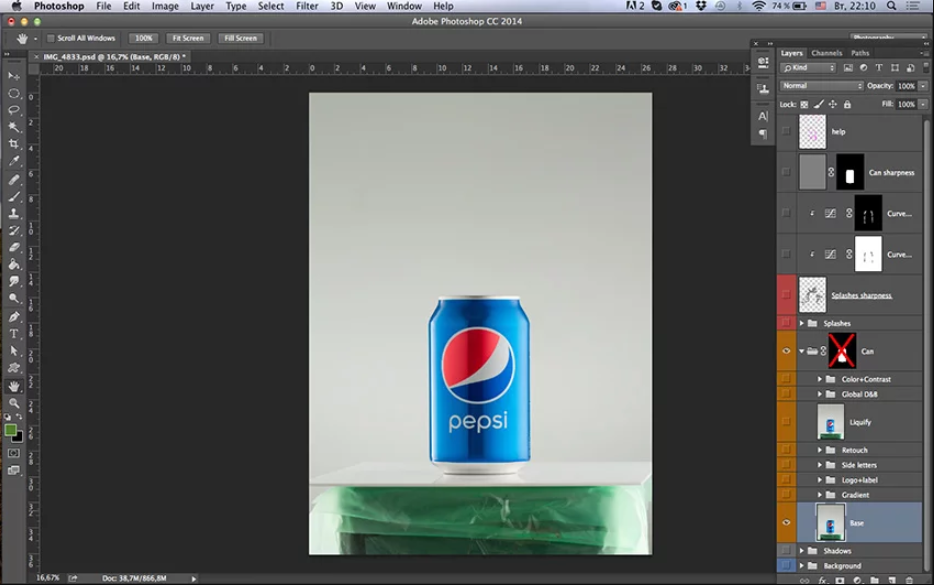
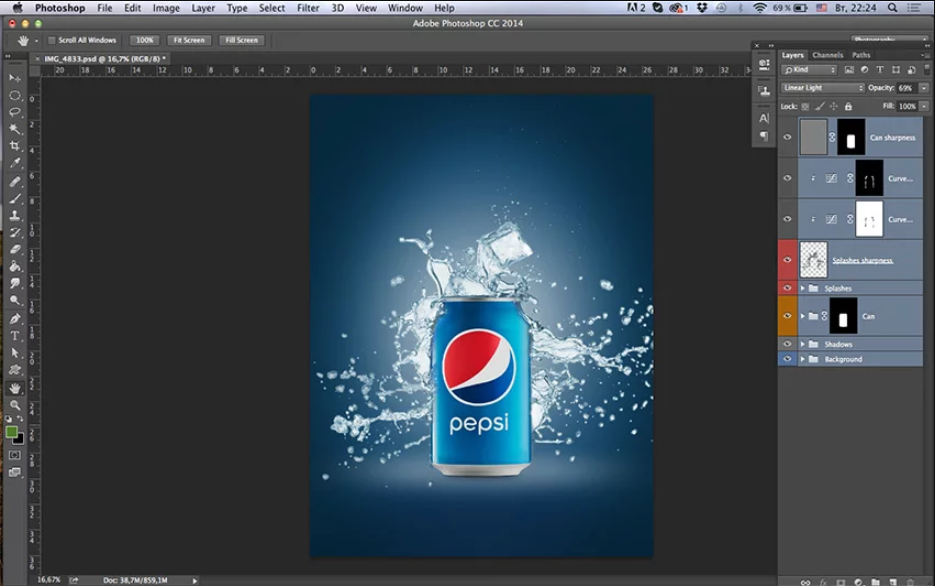
Part II. Postproduction
 |
In the Gearbox |
|
Canon 7D |
