Jewelry Photography with iPhone:
Nimbus Cloud Dome review
Jewelry Photography with iPhone? Are you guys serious?
I found this strange device while picking up lenses for my iPhone lenses test at BHPhotovideo.com. It was nothing strange in the actual device: this is a cone (or dome) to shoot jewelry. What was unusual is that it was made for shooting jewelry photography with iPhones. I’ve seen Cloud Dome for smartphones project in kickstarter.com some time ago, and while I wished guys success ( I usually like crazy ideas:-) I did not believe they can make it. Glad I was wrong, they did it, and Nimbus Cloud Dome on sale now!
I immediately ordered one to play with, as it falls into our iPhone jewelry photography expansion here on Photigy.
So, here is the device for jewelry photography, with iPhone attached:
the view from inside:
BTW, the home of the device is here: www.clouddome.com, I suggest you to check out their other products, there are few really useful things for a jewelry photography with iPhone.
Now, the shot: I was using my LED lights and photographed silver bracelet and silver ring using iPhone 4S and Nimbus Dome. We almost got a little jewelry photography with iPhone class here, check out the top video:
I was using 645 PRO camera to capture images, and then I’ve opened those TIFF iPhone images in Adobe Camera RAW, converted to grayscale (white balance was way off), reduced size for web and applied sharpening. Minimum post-processing, for purpose of keeping thing as simple as the use of iPhone suggests. The results are below.
Jewelry Photography with iPhone: the results
Studio shot, 2 lights:
This one is from a studio, with 2 LED spot lights on the cone (it is all on the video). The only issue I see in the shot is the dark background. However, the simple solution would be to shoot it on a shooting table (or any piece of translucent plastic) and have one more light behind the table. The light from underneath will highlight the background and will make this bracelet ready for website placement, as intended.
The second shot was done near the window, w/o any additional lighting:
Ambient light (near the window) shot
The same issue with the background here, plus, because the light source was much larger than in studio, it created less contrast image (it terms of bright and dark shades on the bracelet). Also, because the whole dome was illuminated, and background is glossy white, the lens hole become slightly visible (look at the center). Not a big deal though.
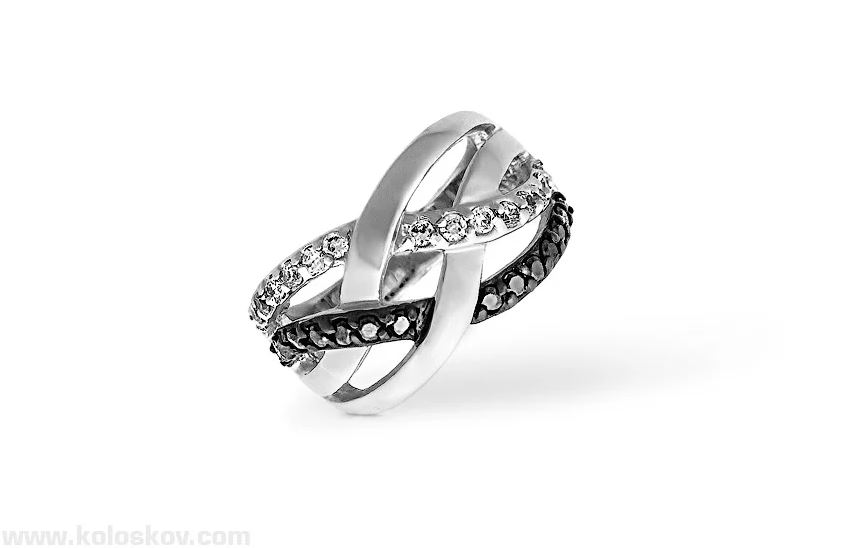
The ring shot, 2 spot lights, no retouchin
Similar darkness on the background, but the rest is pretty cool. Noise levels are slightly more that I expected, but they easily fixed in RAW converter. I did not touchup this shot much, and imagine how it would look like if professional retouches will spend 10 minutes on it. But the use of Cloud Dome does not include retoucher’s service, as it will defeat the idea of the device. Now, take a look below:
Another image from the set with some 30 minutes of pro retouching
iPhone shot? yes, but a different one from what I’ve shown above it. My fault, sent another image to my retoucher. But this is still iPhone.
Now, this is a pretty serious jewelry photography 🙂
Conclusion
Make it yourself. I do not want to say anything: I’ve seen what I wanted, and I like the result 🙂 Here are the source TIFF & JPEG files for you if you want to see yourself: Download iPhone source files


