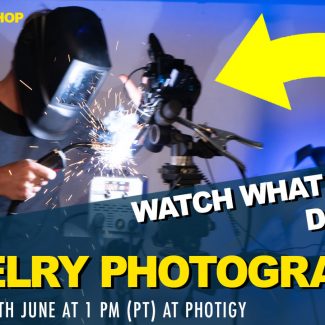
In this jewelry photography workshop you will learn how to prop your jewelry to tell a story with your photography.
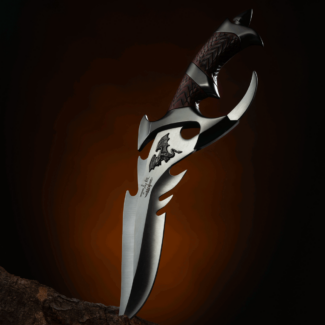
In this jewelry photography workshop you will learn how to prop your jewelry to tell a story with your photography.
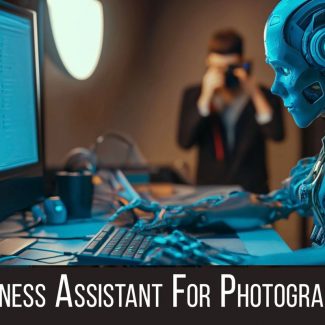
In this workshop, you’ll learn how to use AI to analyze local markets, find business opportunities, and engage with local businesses effectively. You’ll discover how AI tools can help you understand market trends, make informed decisions, and develop strategies to grow your business. Gain practical experience and insights that you can apply immediately.
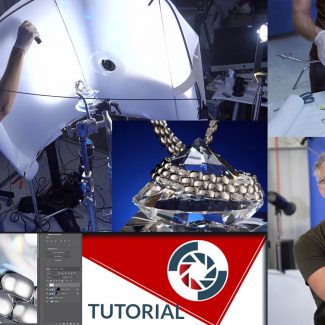
This tutorial is suitable for medium-level and advanced photographers. Basic knowledge of speed photography is good to have but if you would like to learn levitation product photography on a tabletop you can still take advantage of the techniques.
This is a jewelry photography tutorial for the Professional Interactive Education Program, Workshop #93
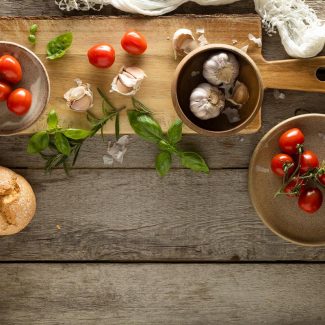
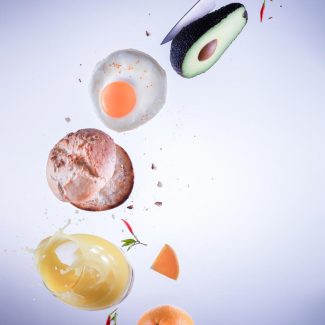
In this food tutorial, students will learn how to: Compose and Style their food layouts. We are going to explain and use the most common composition rules in the food photography
Also, you will learn how you can light up nicely your whole scene with only one speed light in a strip box.
Jewelry Photography Online Workshop Pro Club Workshop #92https://youtu.be/PChKH9J7V6UJewelry Photography Online Workshop,This is a jewelry photography tutorial for the Professional Interactive Education Program, Workshop #92 During this 2-hour online workshop, you...