Photigy Course
Jewelry Tabletop Photography plus Post-production
Professional, step-by-step online course — watch every lesson at your own pace, forever.
$145one-time · lifetime access
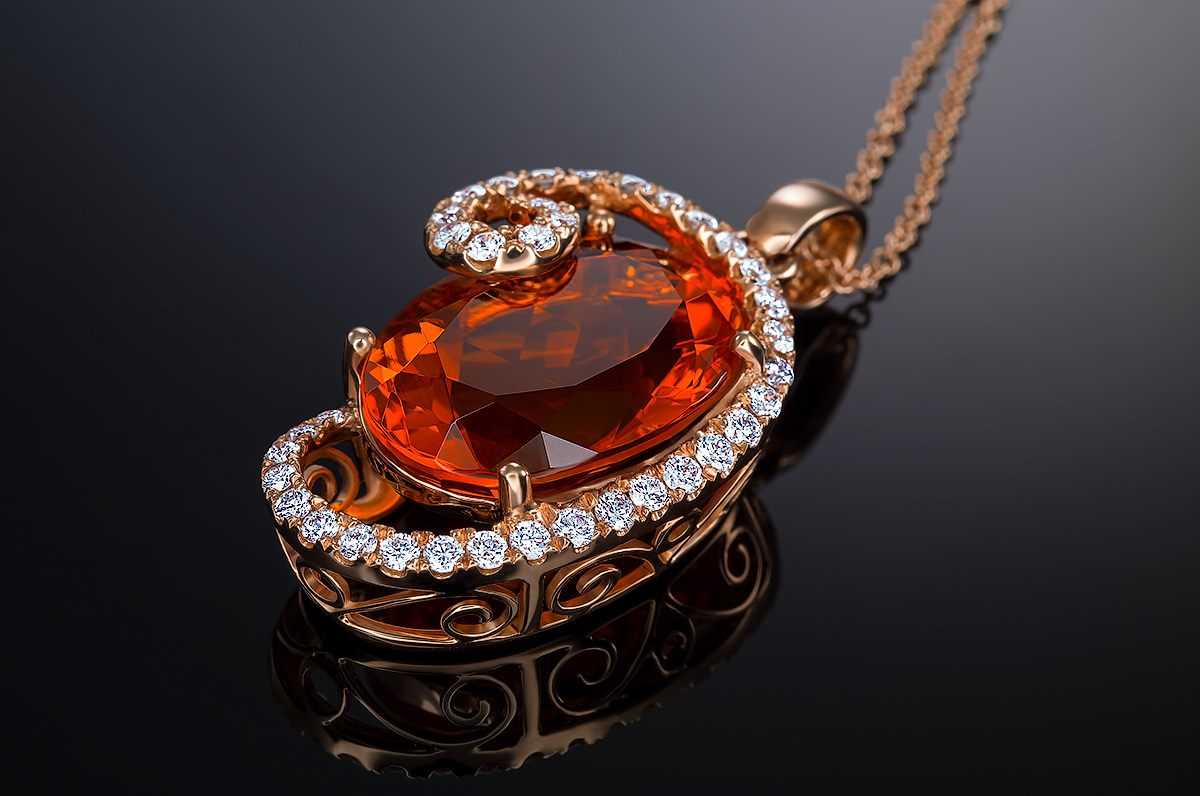
Professional, step-by-step online course — watch every lesson at your own pace, forever.
ONLINE COURSE
This course is for you, if you are:
Photographer looking to expand your business offerings to jewelry makers
Part of a jewelry making business that looking to teach own grew members to take jewelry photos with a minimal investment in gear.
Hobbyist that going to have fun taking pictures of jewelry and gemstones
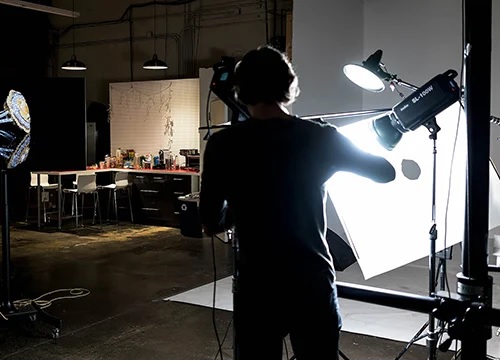
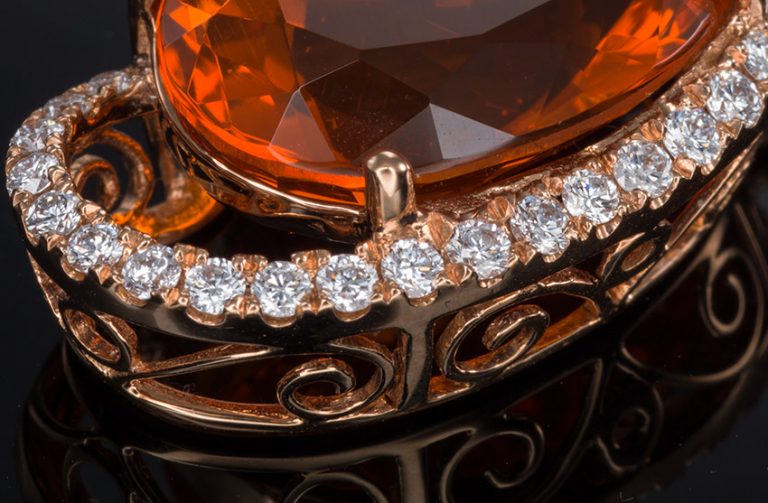
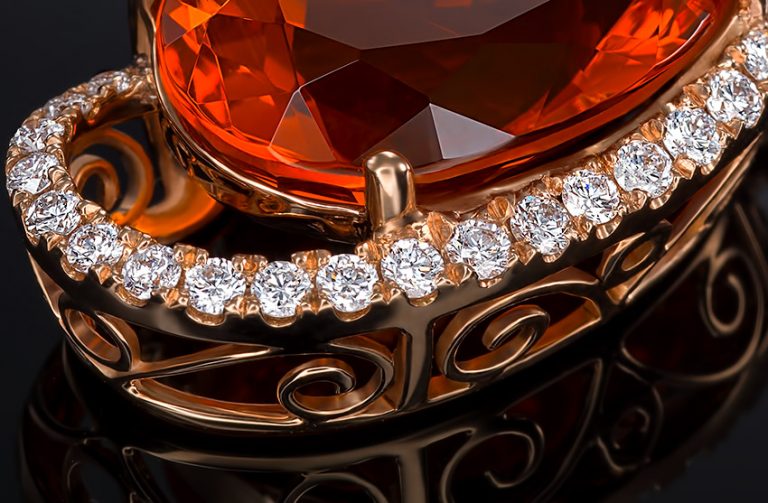
Before-After Post-Production
Left – SOOC (straight out of the camera), Right– after Adobe Photoshop
SOOC - BEFORE
AFTER
Course Curriculum
Total Running Time: 5.2 hours
SHOOTING
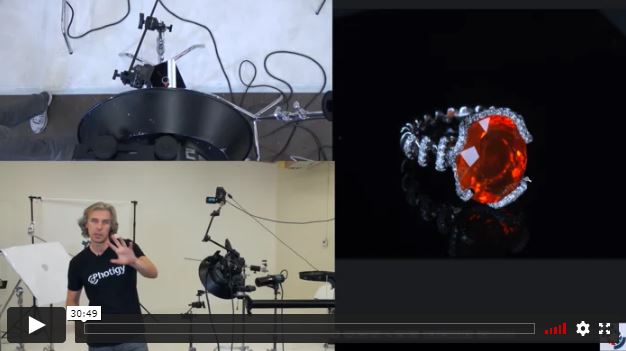
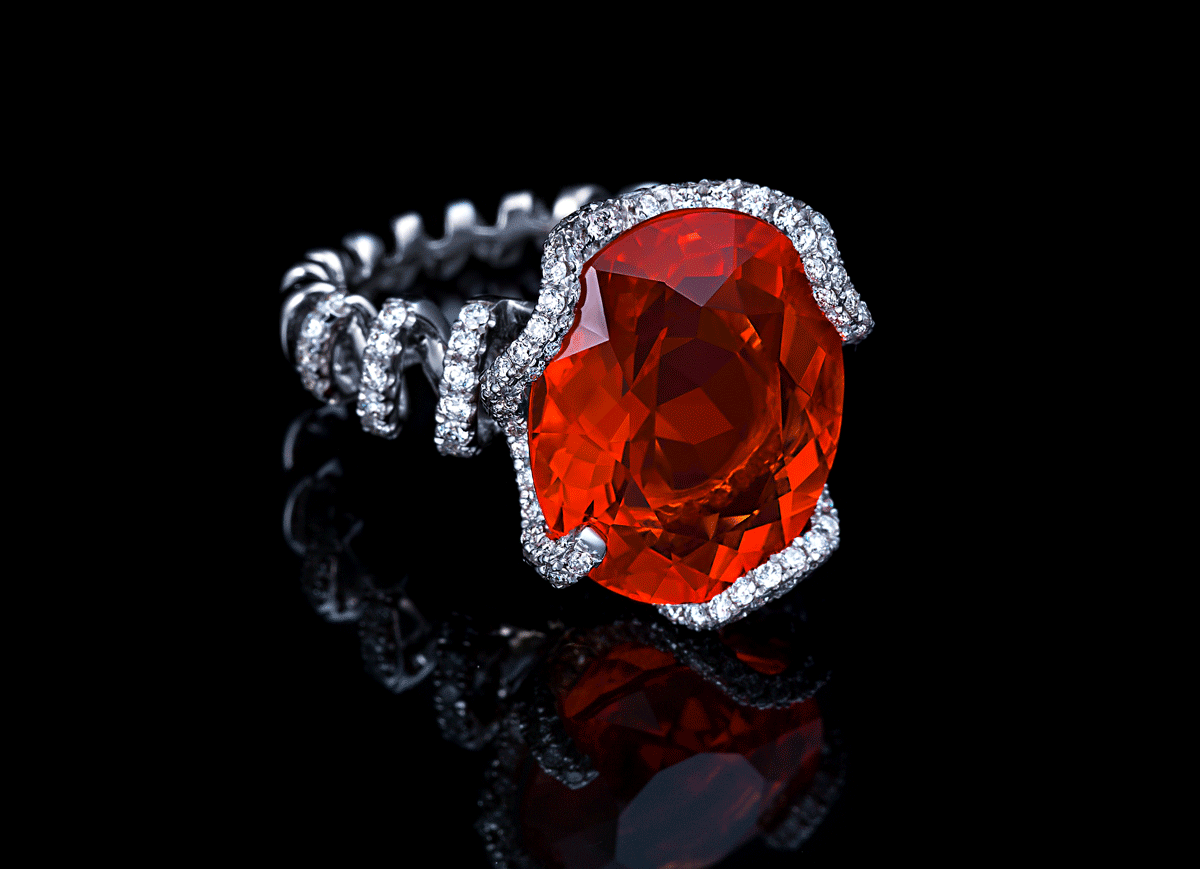
Alex begins the first lesson by comparing the pros and cons of shooting with a cone modifier for large gemstone jewelry vs. using a ring flash. He explores how to achieve the best results to illuminate not only the gemstones, but the metal ring mount as well, employing a combination of diffusers and light sources.
Duration: 00:31:00
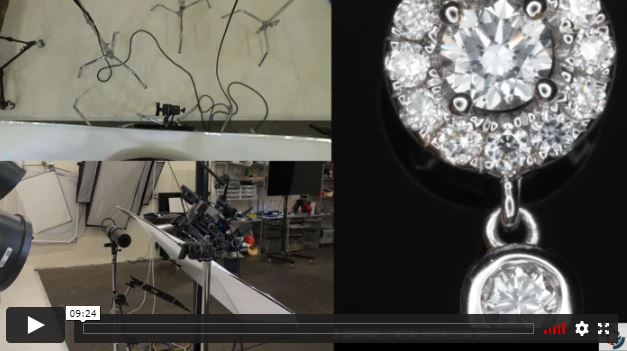
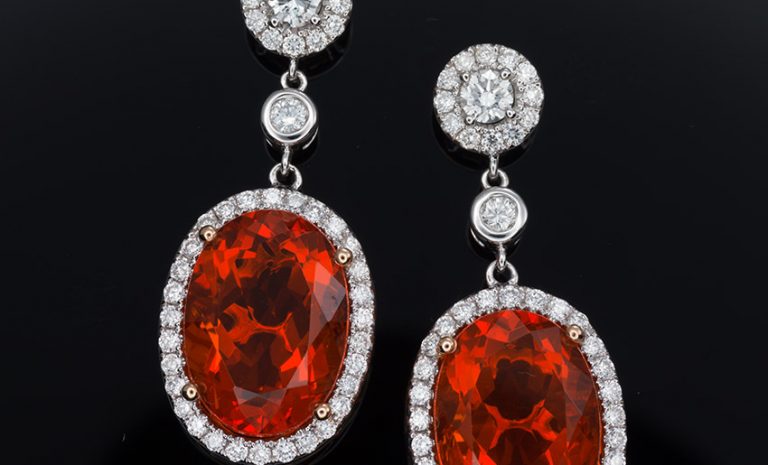
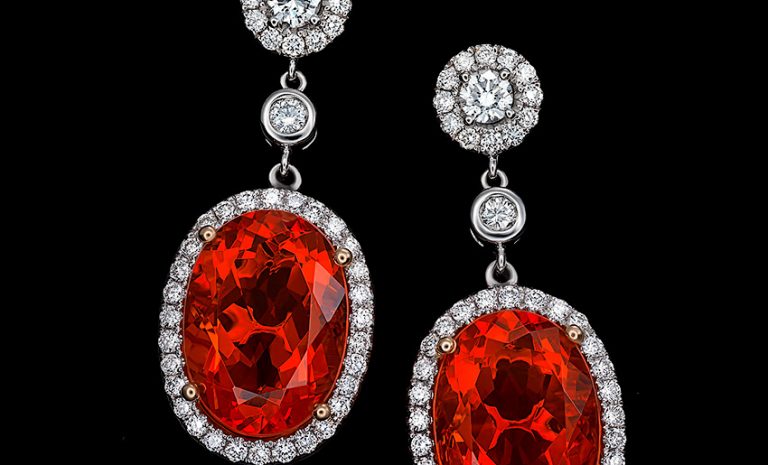
Alex demonstrates how to mount a pair of gemstones earrings on a plexiglass sheet with holes for the posts. He shows how the camera position affects what gets reflected in the jewelry and how to take advantage of that, while adding additional lights and diffusers to ensure the metal elements receive the desired illumination.
Duration: 00:09:00
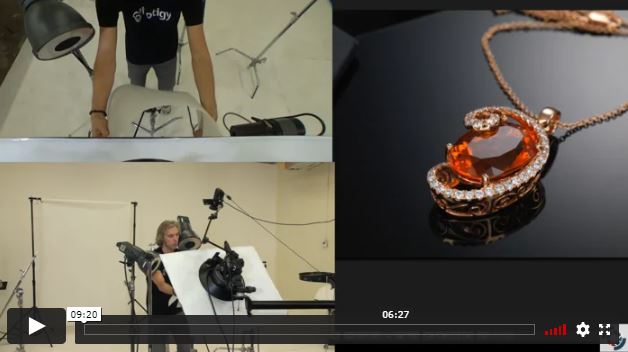
PART 1
Alex starts the necklace shot using the same lighting set up used for the ring shot. He discusses whether focus stacking will help. Alex then addresses the facet reflection and shows how to place a black flag to remove the reflected area of the diffuser.
Duration: 00:49:00
PART 2
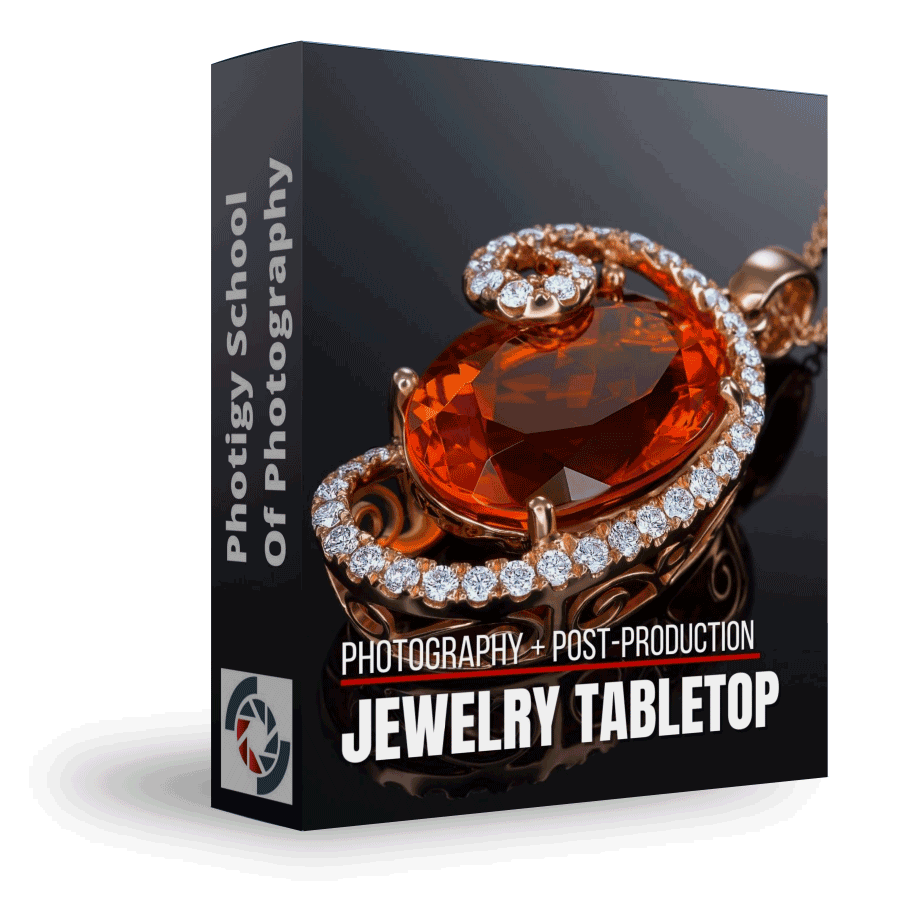
In the second part of the necklace lesson, Alex experiments with combining the earrings with the necklace to capture them as a set, but decides to keep the necklace as the main subject for the final shots. To wrap up, Alex summarizes the lighting setup and how it creates the best results for large gemstone jewlery pieces. Duration: 00:10:00
BONUS
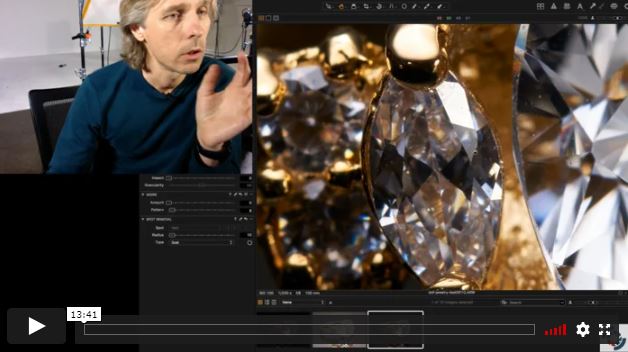
In this bonus lesson, Alex compares focus sharpness at various aperture settings while shooting a ring with a full frame Sony A7RII and Canon lens.
Duration: 00:15:00
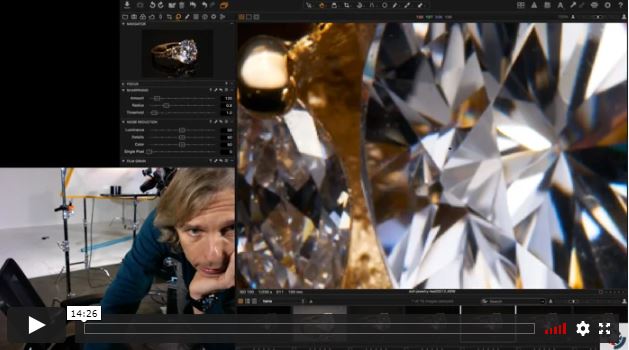
In the second part of the bonus lesson, Alex compares focus sharpness at various aperture settings while shooting a ring with a medium format Hasselblad with Hasselblad lens mounted. He then compares the two sets of images and discusses the benefits of shooting with the 35mm camera.
Duration: 00:14:00
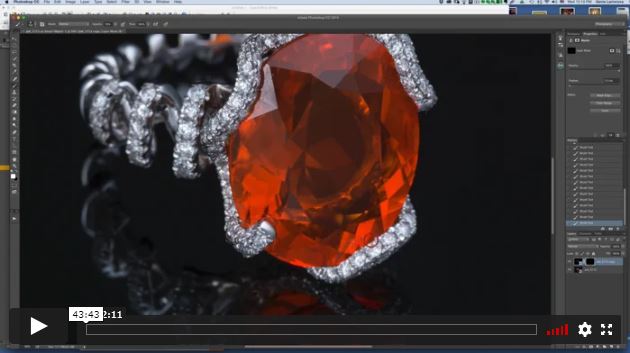
PART 1 Retoucher Genia Larionova shows how to make adjustments to the Raw file in Adobe Camera Raw before beginning the retouch in Photoshop. She demonstrates how to blend images to bring out the desired details and performs some digital cleanup using a combination of techniques.
Duration: 00:44:00
PART 2 In the second part of the ring retouch, Genia shows how to add more facet visibility to the stone and makes color adjustments along with contrast and sharpening tweaks
Duration: 00:41:00
PART 3 Genia wraps up the retouching of the ring by performing additional cleanup and sharpening.
Duration: 00:22:00
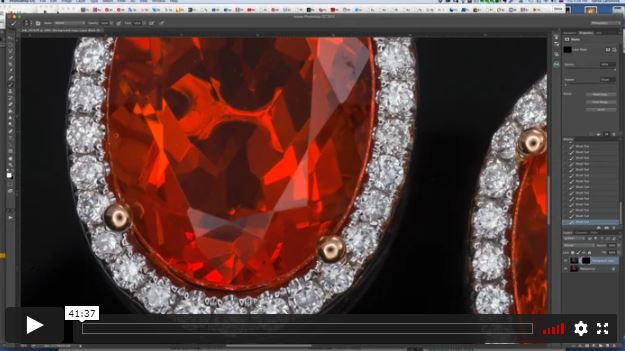
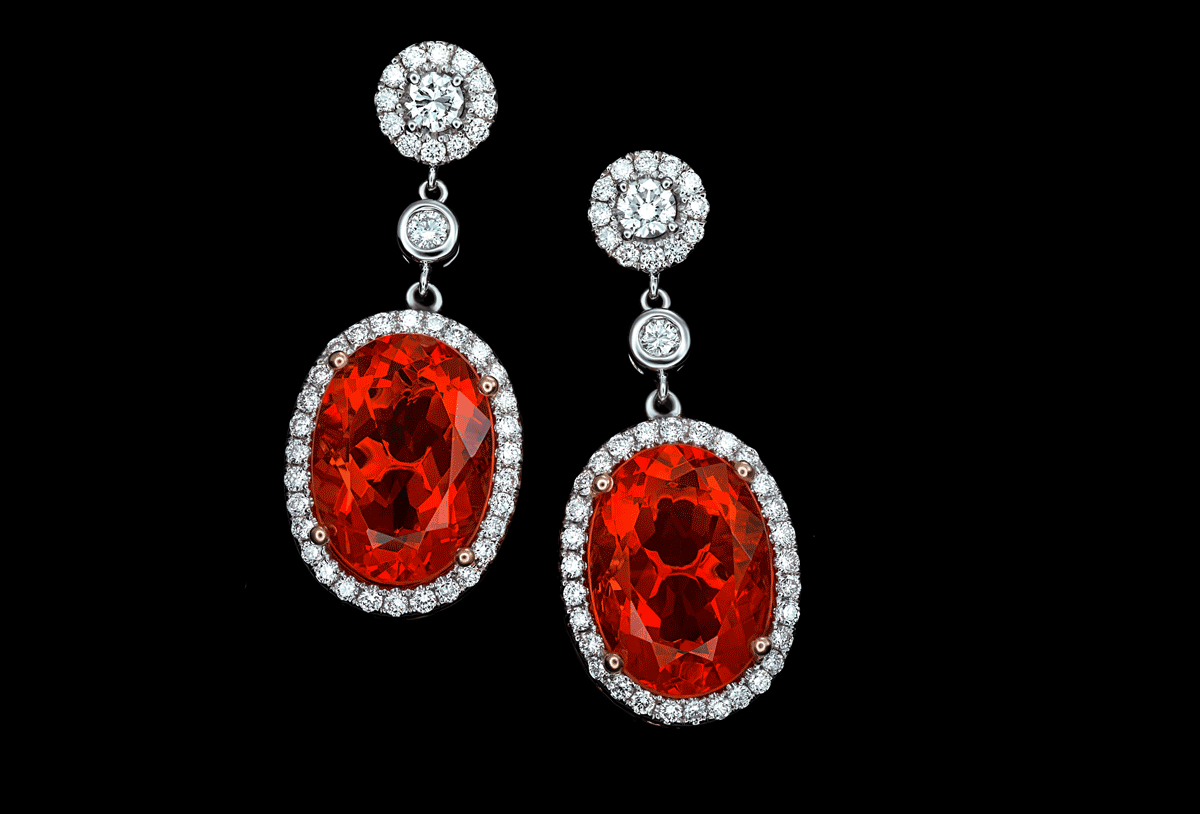
PART 1 Genia demonstrates her method of making the initial Raw file adjustments to the earrings image before bringing it into Photoshop where she shows you how to handle some essential cleanup tasks, including methods of repairing gem edges and facets, along with the metal setting. She concludes the lesson by adjusting hue and saturation and tweaking the contrast.
In the second earrings post-production lesson, Genia shows how to work on the diamonds to enhance their brilliance and sharpness, before tackling issues like the shape and color of the stones and overall noise in the final image.
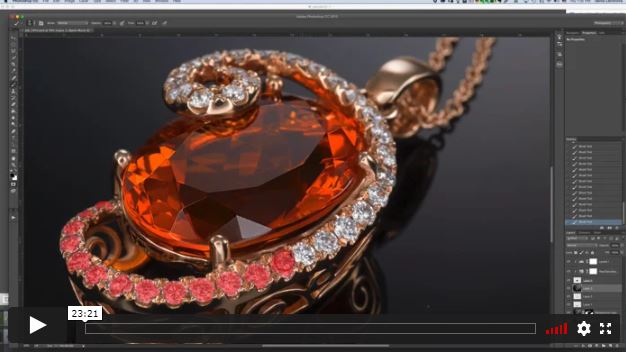
Genia takes you through another round of her Raw file adjustments with the necklace image before going into Photoshop to demonstrate how to clean up the jewelry.
Duration: 00:08:00
PART 2 Genia demonstrates her technique for cleaning the metal and gemstone using the Mixer Brush.
Duration: 01:05:00
PART 3 In the final lesson for the necklace retouch, Genia shows you how to add contrast to the gemstone and diamonds as well as clean up the background before applying the finishing touches to the final image.
Duration: 00:23:00
Gear for the Course
Mirrorless (4K resolution is recommended)
Tripod
Studio Stands
LED LIGHT SOURCES:
Godox SL-200
Genaray LED 1200
Aputure Light Storm LS C120d
Support , clamps and grips
LIGHT MODIFIERS:
Diffusion panels
Standard reflectors and grids
Snoots
Turntable for 360° (more details about the turntable are provided in a course)
⭐⭐⭐ SIGNATURE SERIES
Best for long-term access, more DIY approach
Lifetime access
Weekly Q&A
24/7 Email Support
VIP Membership
Best for ongoing learning
Unlimited access to all courses
Priority support
Yes, you can ask an instructor, as well as get a feedback on your work. We have a support forum for this course where you can ask questions, get answers, and feedback from your instructor.
There is a lesson about gear needed included into this course.
Please refer to a “Course gear” section of this page above.
Photigy School Of Photography 2020

Most frequent questions and answers
Is there a way to ask an instructor a question/to show work and get a feedback?
There is a lesson about gear needed included into this course.
What camera, lens and lighting do I need to have in order to use this course and make similar photos?
Please refer to a “Course gear” section of this page above.
Own this course for $145, or unlock it plus every Photigy course and workshop with a VIP membership.
Try the course. If it is not helping you make better images, email us within 30 days for a full refund.