ONLINE COURSE
About the Course
Win clients and boost your photography business with this unique Cosmetic Splash Photography Course For Professionals
This course is for commercial photographers that want to learn a specific way to shoot advertising images for the cosmetic industry. Highly dynamic and eye-catching images for advertising campaigns.
The course consists of three parts:
In the first part, the photographer will learn how to create splashes that can be used for advertising cosmetic images. What type of both liquid and lighting, and techniques of shaping a splash to match the shape of a product.
In the Second Part, the photographer will learn how to take pictures of bottles and jars.
The third part of the course concentrates on post-production techniques of making the composite images. How to blend layers together, how to modify and match colors and shapes.
This course is for you if...
Splash photography seems like black magic (it isn’t!)
You think you need expensive equipment to capture amazing splash images
You have struggled with creating convincing splashes that “interact” with a product
Imagine you could...
Fabricate simple, DIY splash tools to create a wide variety of splash shapes
Learn to light splashes for consistent, high-quality results
Blend your product seamlessly with splash images for an amazing and believable final result
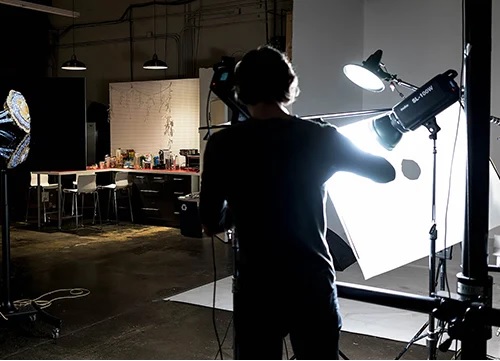
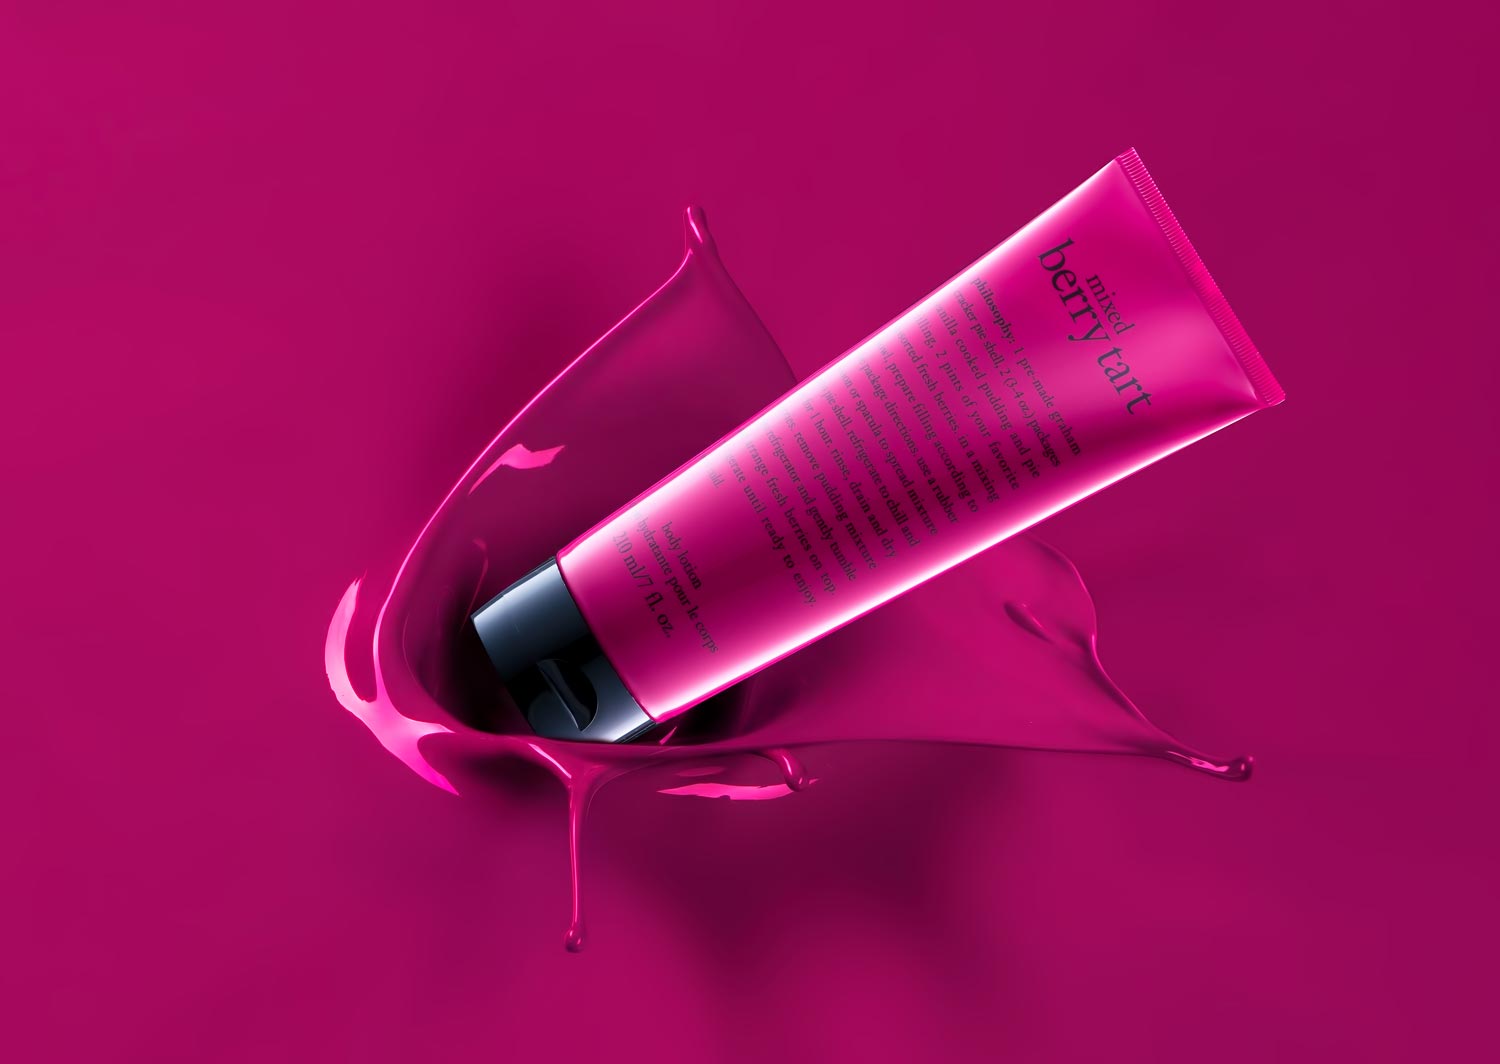
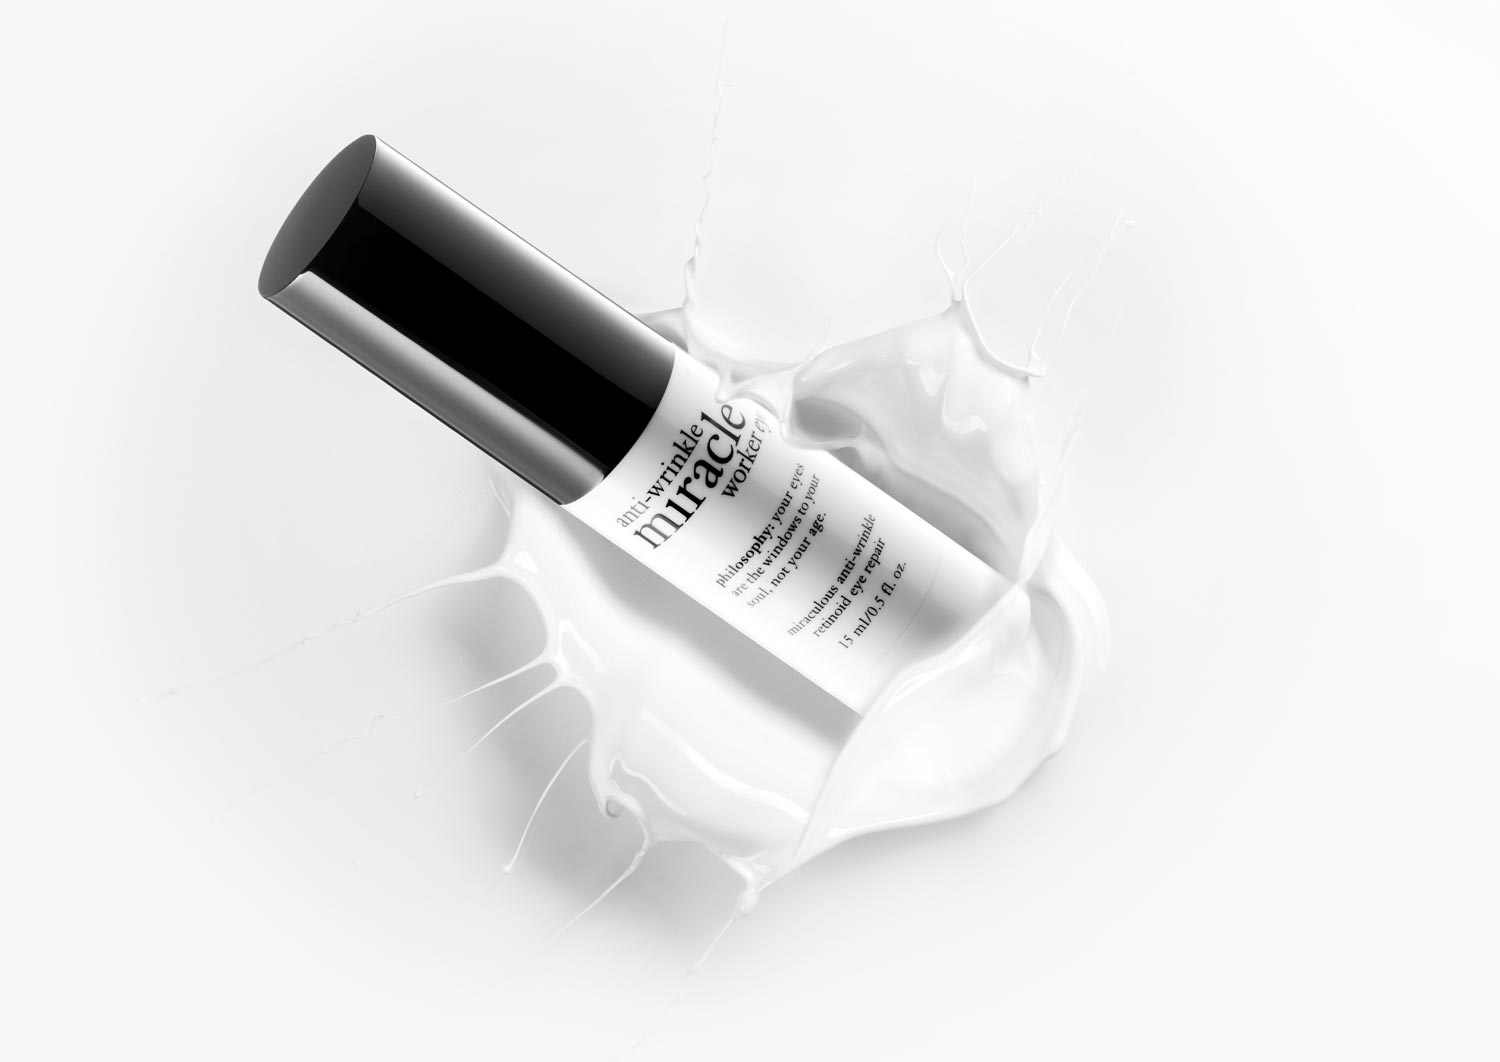
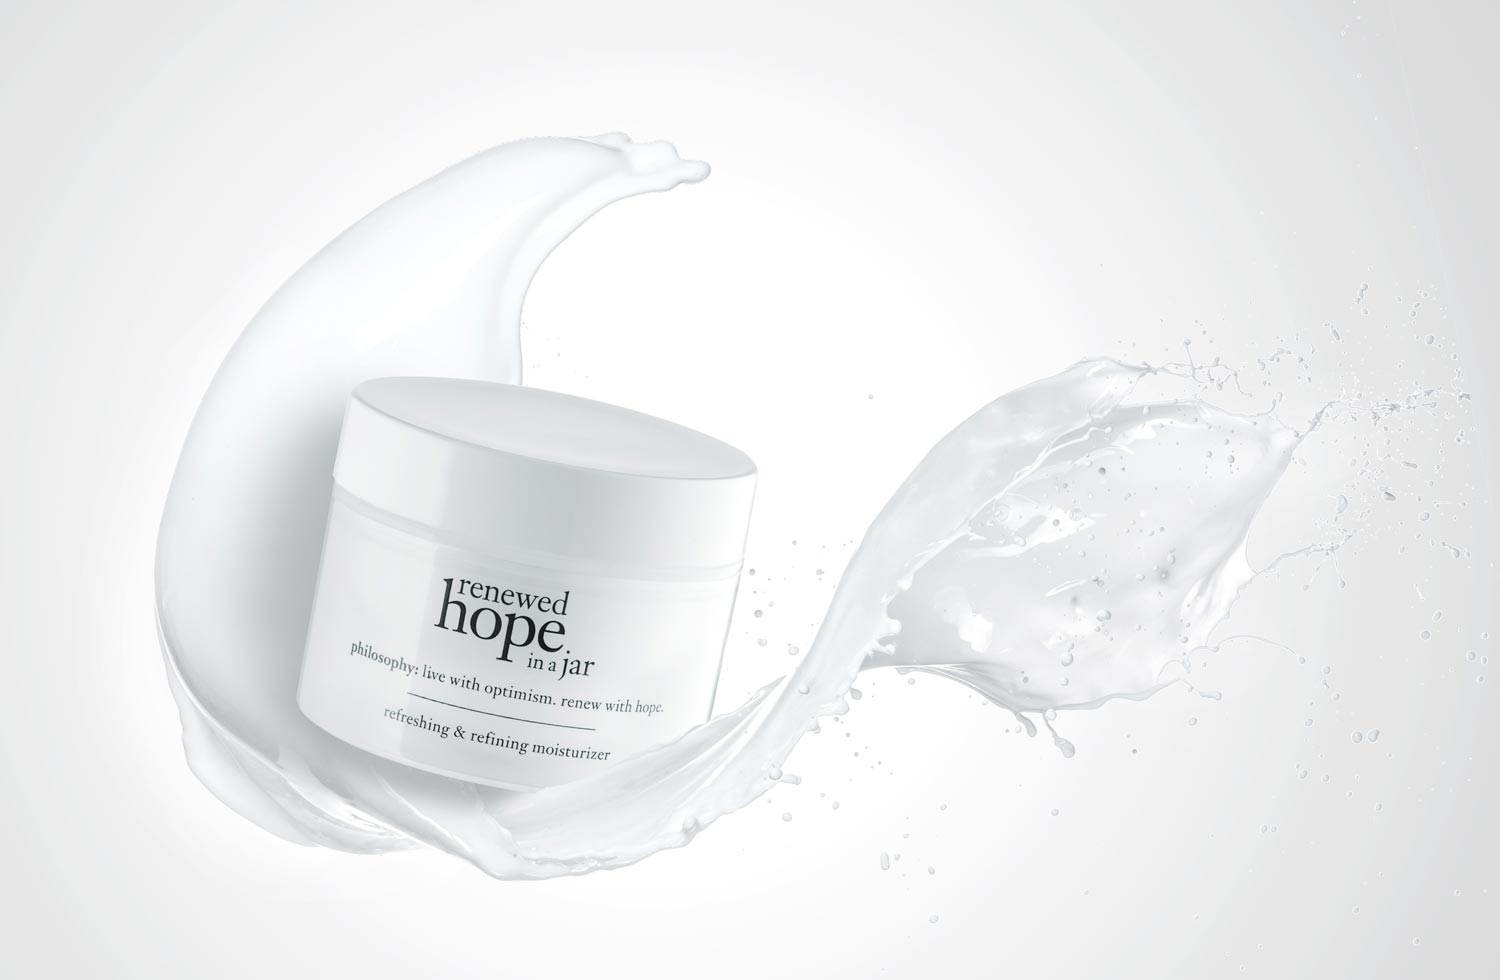
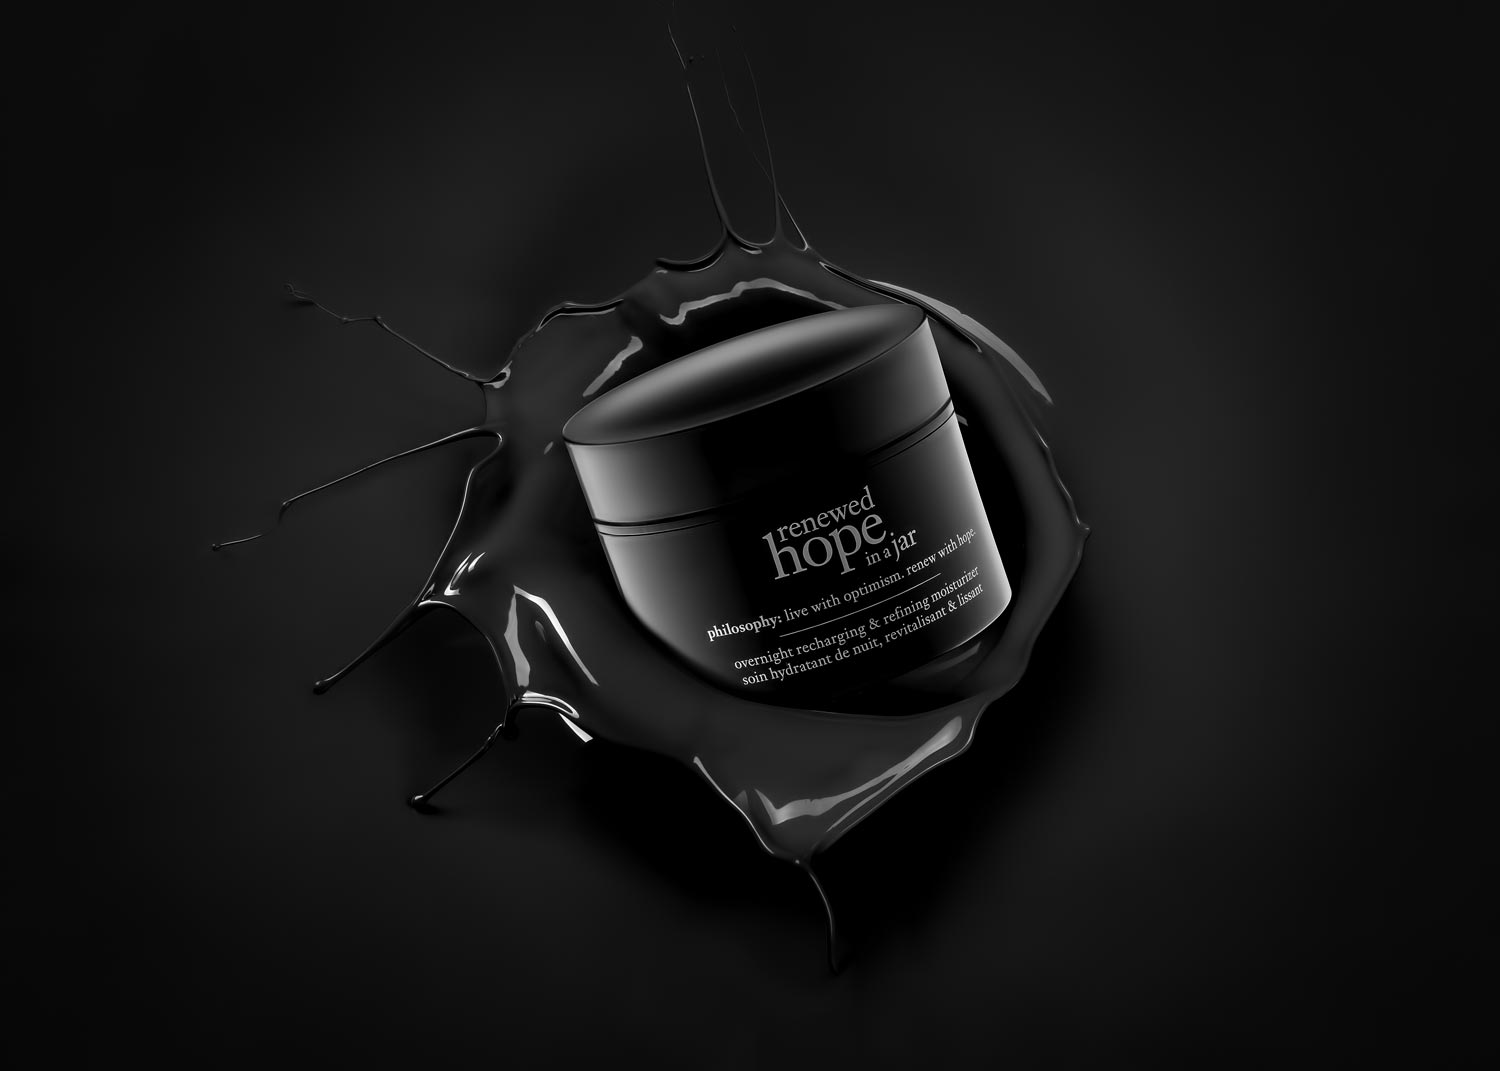
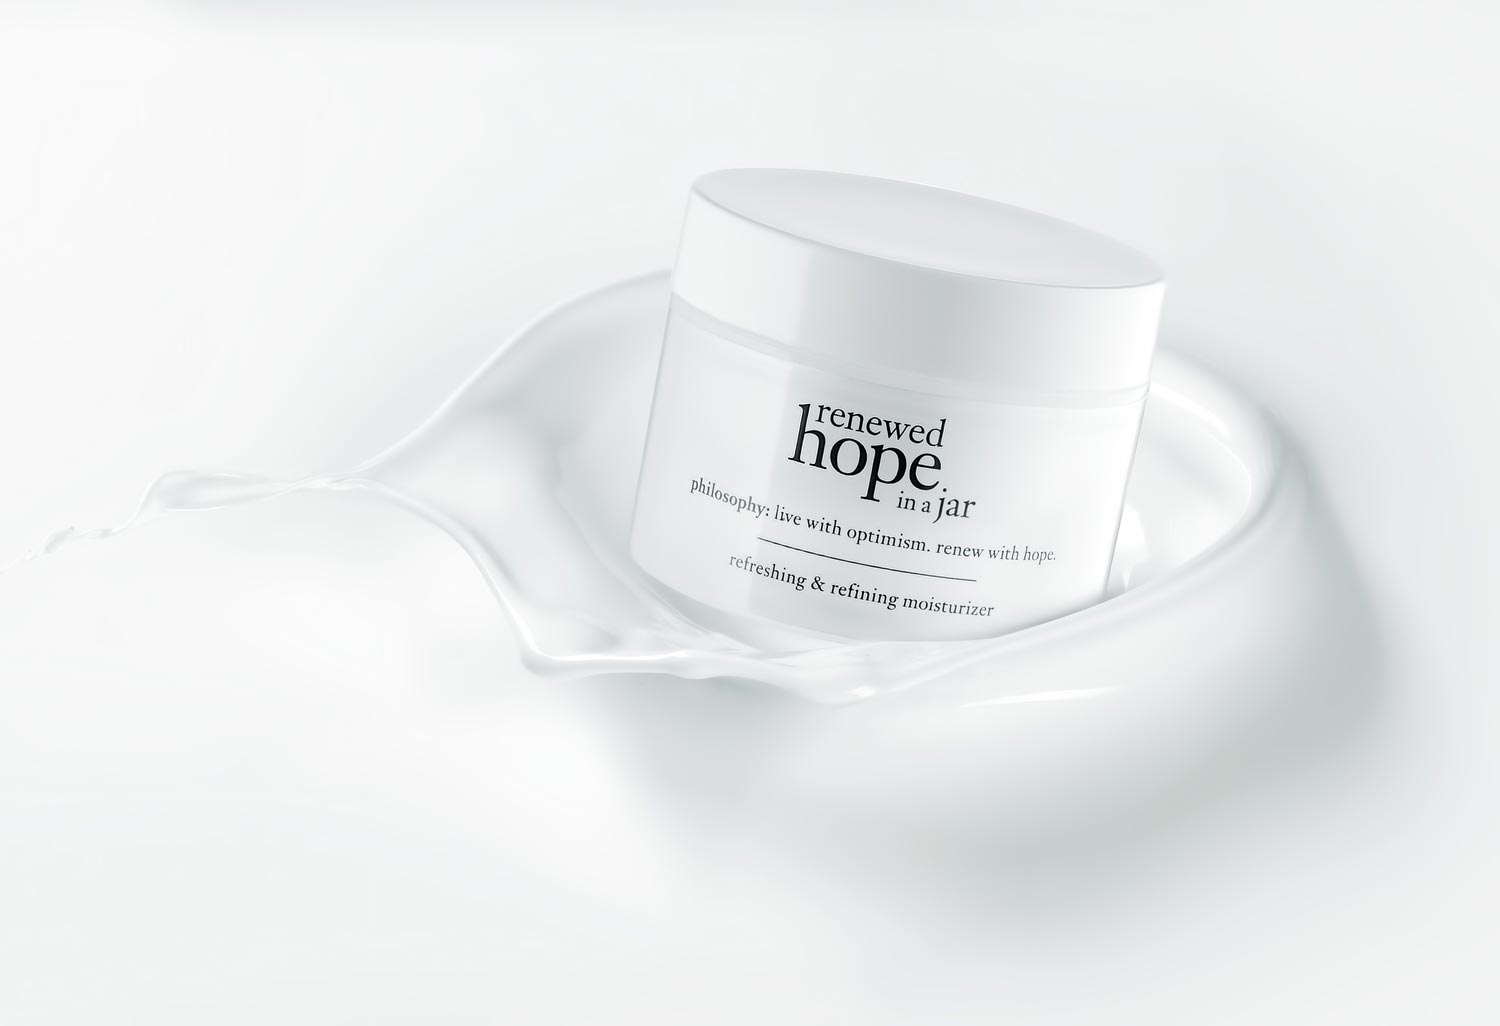
Learn how to create photos like these!
Sample photos from the program’s video lessons that you will learn
Course Curriculum
Course includes 4 modules and 29 video lessons
MAKING SPLASHES
Find out what equipment you need to create advertising images and start to shoot splashes!
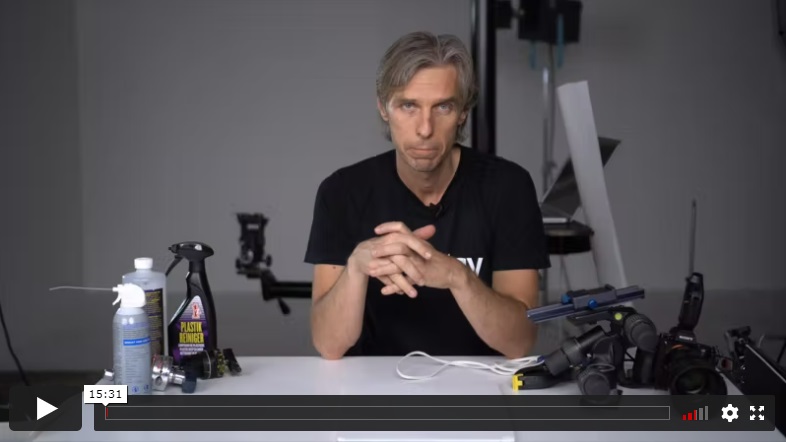
Alex provides an overview of various equipment you might use and alternatives to achieve the course goals in this and other lessons.
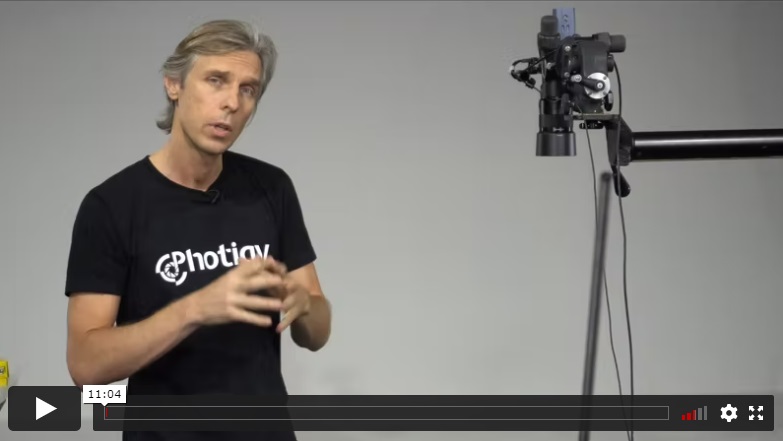
Alex begins with showing and explaining various equipment used in the lesson. He explores placement, settings and the relationships of what is being used before discussing flash types and how duration of flash affects the shot. Alex then moves on to working with lighting modifiers and explains the reasoning behind the choices he makes. He wraps ups with a discussion about the paints and liquids used in the course and their properties.
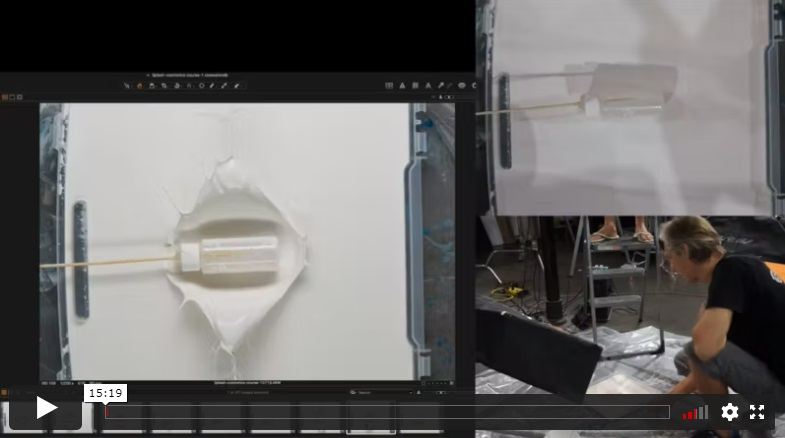
Alex begins creating splashes with his DIY splash making tools. His assistant Genia triggers the shutter when Alex creates the splash. He creates large number of splash images, adjusting the positions of the two splash makers to obtain a variety of results.
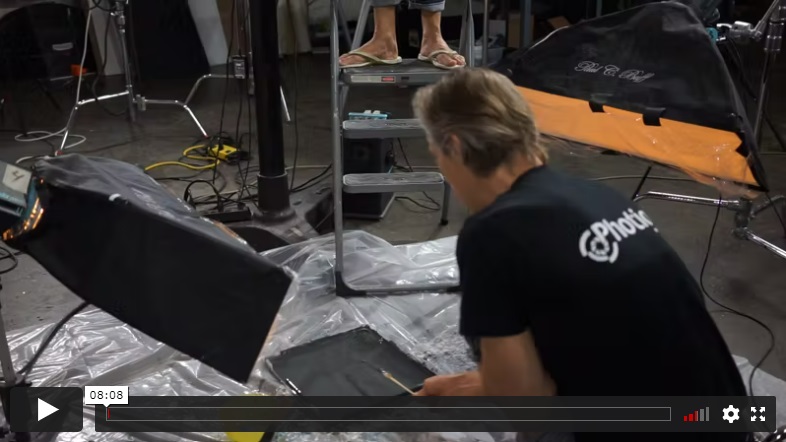
In this lesson, Alex continues creating splashes with an almost black liquid. He adjusts light settings as he works through the lesson and explores new splash tool shapes for variety.
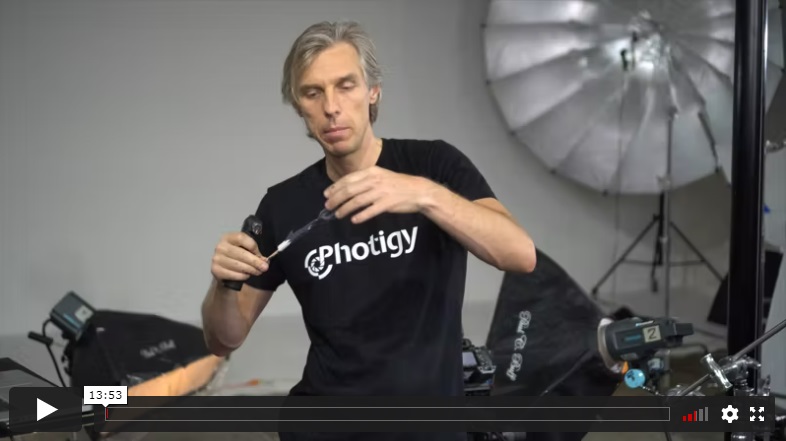
Alex repositions the camera and ingroduces a more splash tools to the mix while repositioning his lighting to achieve greater variety.
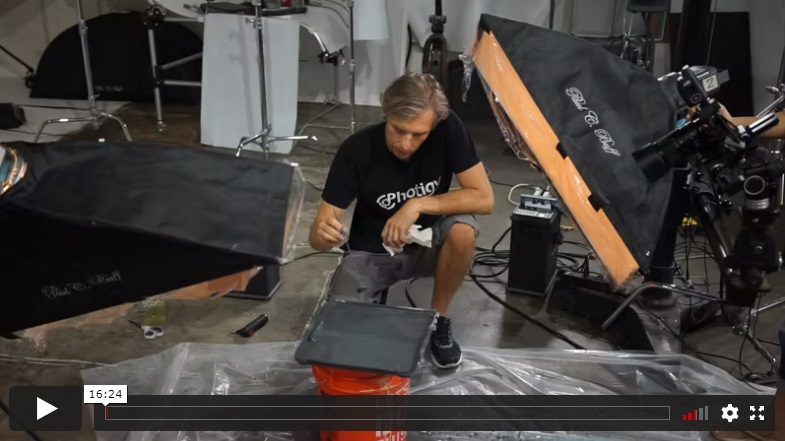
Alex creates a new DIY splash tool and captures a large number of unique splashes, demonstrating how the same tool can achieve a variety of results.
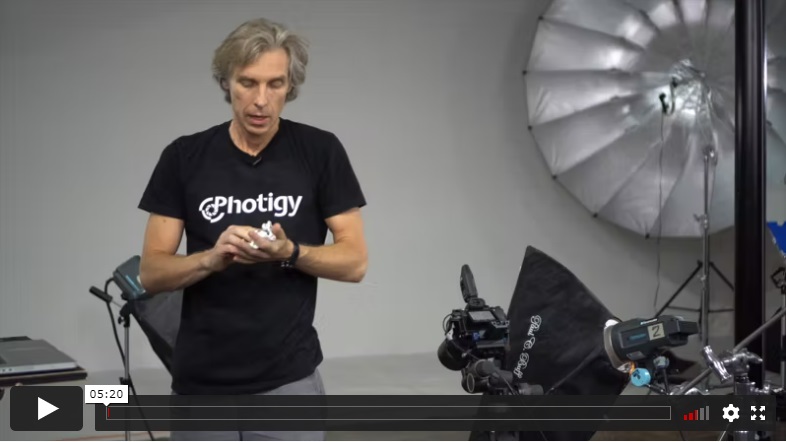
In this lesson, Alex works with white paint, adjusting the lighting for this new liquid.
STILL LIFE SUBJECT, SHOOTING
Techniques for shooting tubes and other cosmetic items are covered in this unit
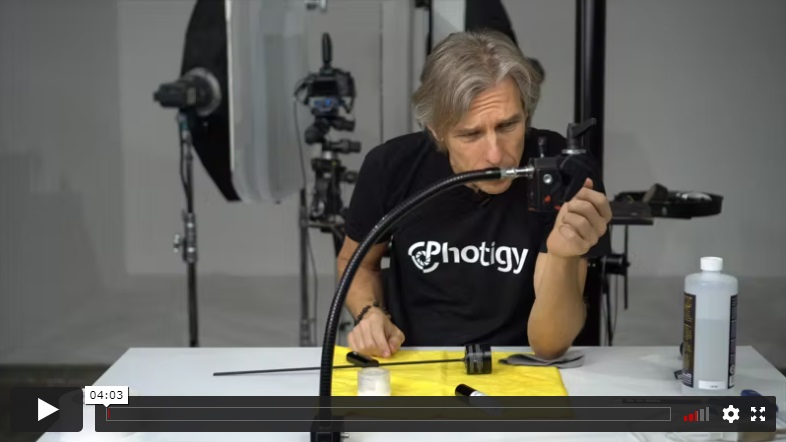
Alex shows you how to create a clamping jig to help hold a rod in position while affixing the rod securely to the plastic body of a product.
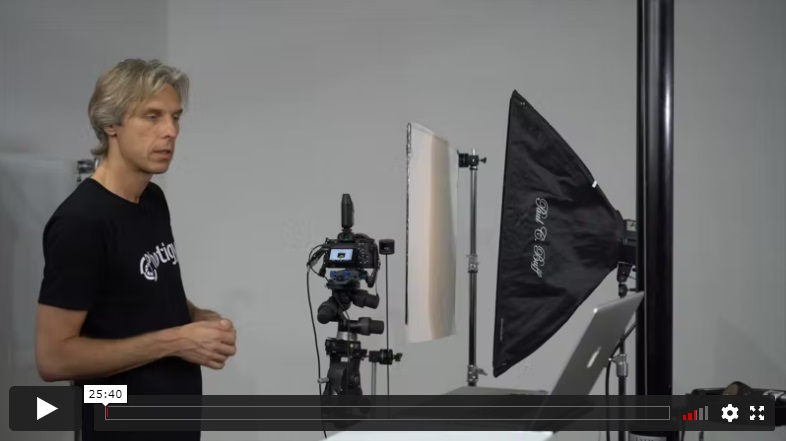
Alex begins this lesson by explaining the idea behind the placement and lighting of a black jar. He describes the equipment used and how to position it to achieve the desired gradient lighting that will show the glossy surface of the product. He demonstrates the varied results from moving the light sources and diffusers, shooting a number of variations for use in compositing a final image.
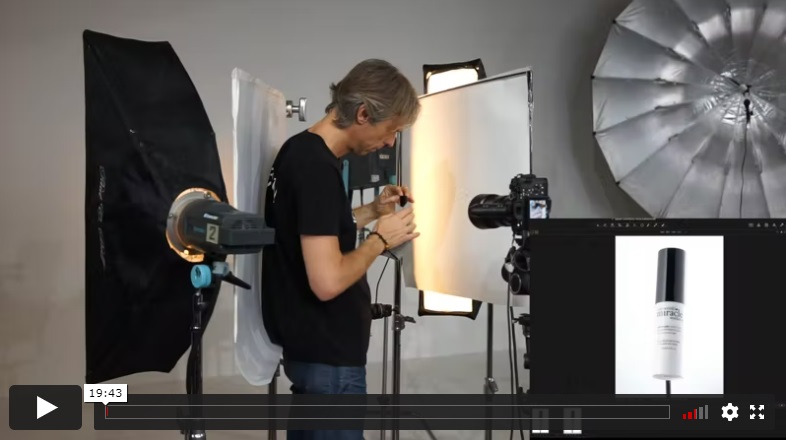
Alex mounts a white bottle and positions it to achieve the desired position for capturing the shot. He then sets up the lighting and diffusion to achieve the desired effects, adding a back light and top cap lighting.
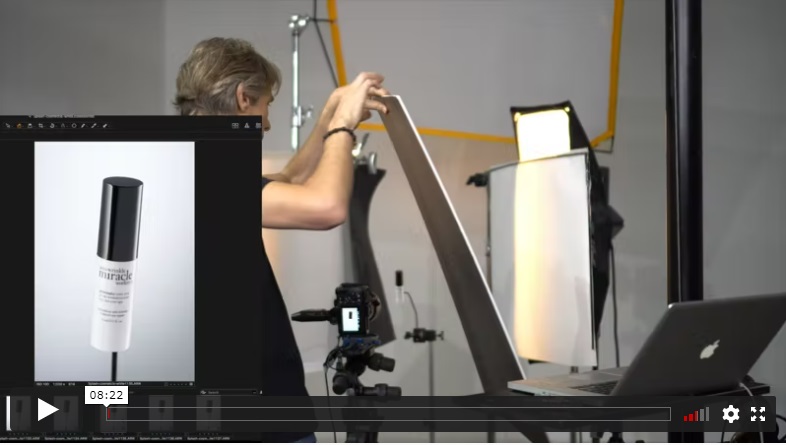
Alex continues working with the bottle, making a variety of adjustments to ensure he has plenty of options for future compositing.
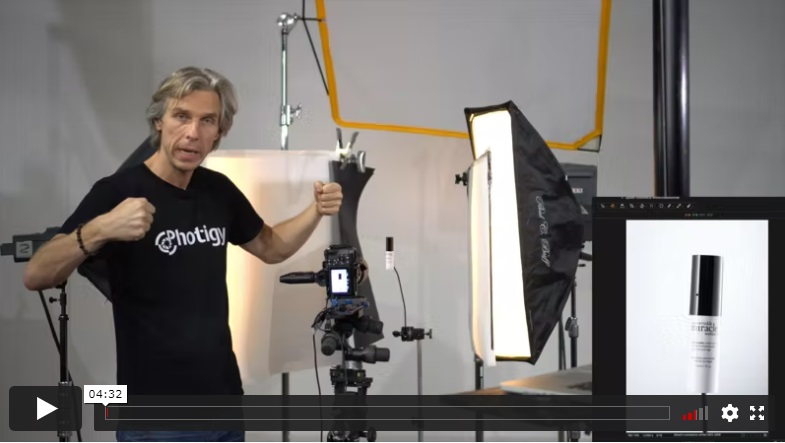
In this final bottle lesson, Alex repositions the bottle to achieve another image for compositing.
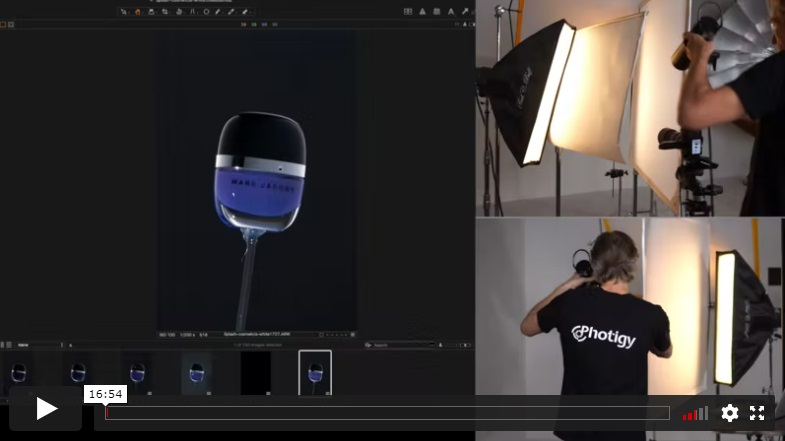
Switching subjects to a bottle of nail polish, Alex contemplates how to shoot this different shape. He captures plenty of shots to get a variety of lighting results on the bottle, as well as some done just for the lettering to achieve a believable end result in the final composite.
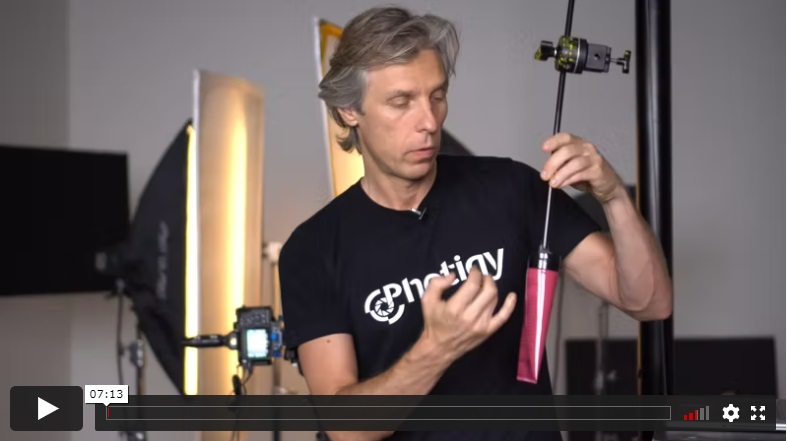
Alex works with a tube of body lotion using a simple set up as seen before to capture dark and bright background images. He demonstrates in real time how to achieve the desired captures.
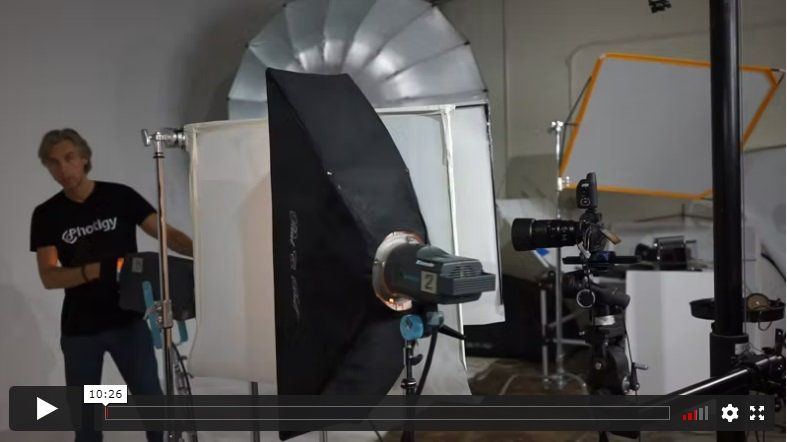
Alex readies the white jar for shooting and contemplates the style of lighting needed to achieve an image that will be composited with white liquid splash. He then takes a variety of shots with various light positions for compositing later.
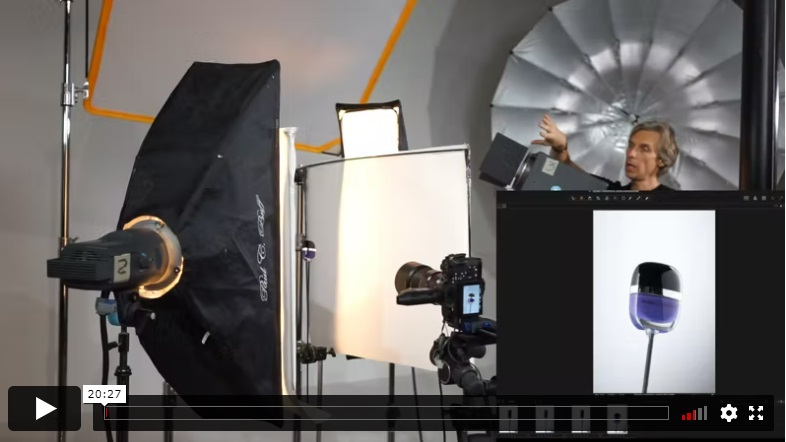
Alex demonstrates, in real time, how a shot may finish in the end with the result being unusable for the final compositing.
POST-PRODUCTION
Bringing all parts together in Photoshop for smooth results!
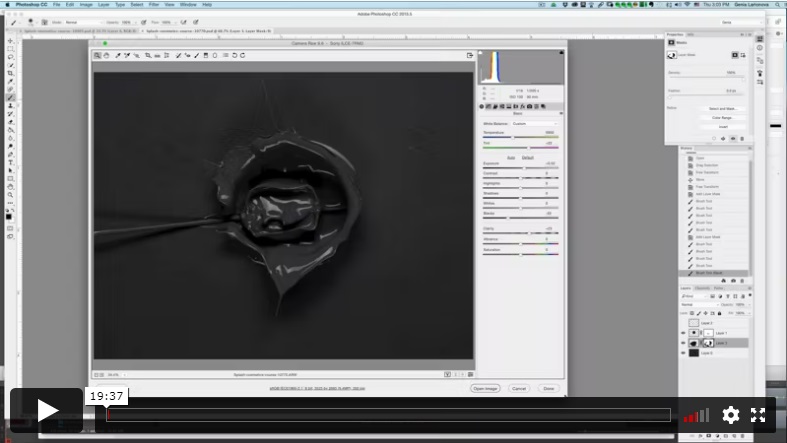
Retoucher Genia Larionova begins her post-production of the splash and black bottle by starting out with adjustments made in Adobe Camera Raw before bringing the image into Photoshop for cleaning. She combines this image with other taken from the same series, adjusting for color variations as she works.
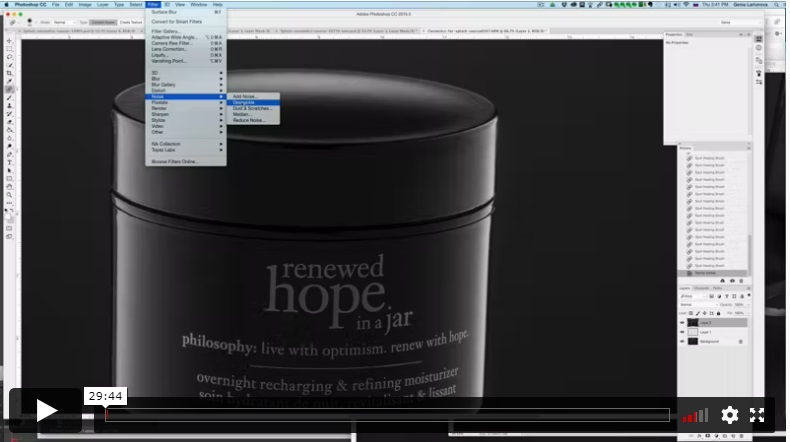
Genia continues the retouch, combining the necessary images for the end result. After cropping the image, she adds a dark vignette with the brush and finishes the image with the Topaz Denoise plug-in for Photoshop.
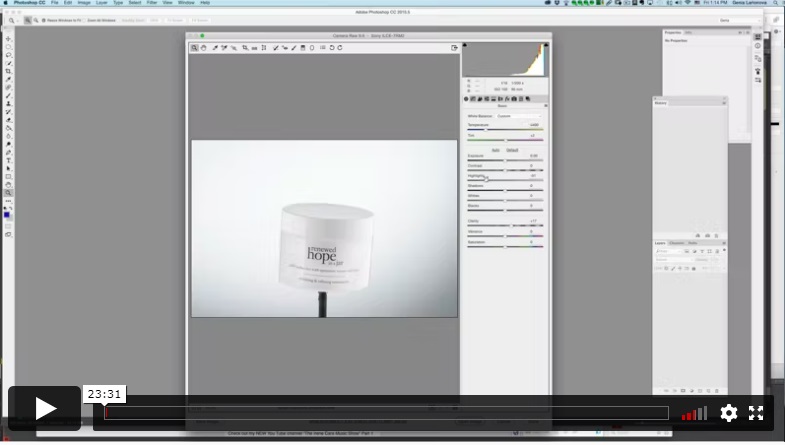
In this lesson, Genia starts the retouch for the white jar image, beginning with adjustments in Camera Raw before proceeding to Photoshop. She uses a variety of tools and techiques to combine several images, adjusting each as necessary.
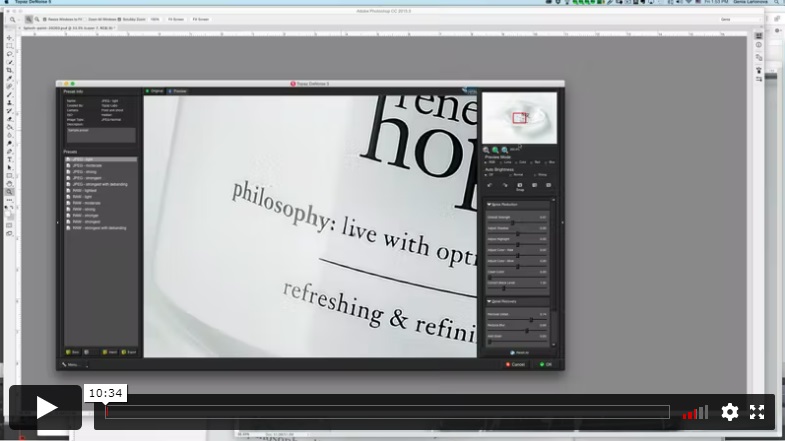
In the wrap up for the white jar image, Genia demonstrates how to clean the background using Surface blur. She applies a variety of adjustment layers to address colors and highlights of the splashes, then completes the image by doing tweaks for noise and sharpening.
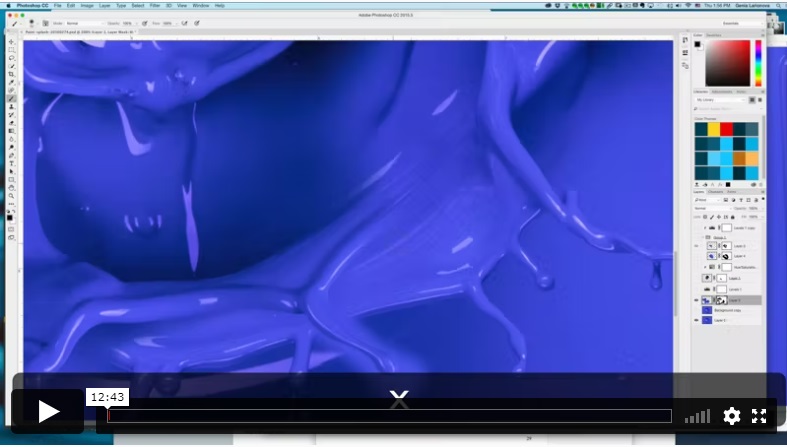
In this lesson, Genia begins by showing a quick draft of a composite she put together that will serve as a guide. She then starts work on the final image, making the necessary adjustments in Camera Raw before going into Photoshop to begin the compositing process.
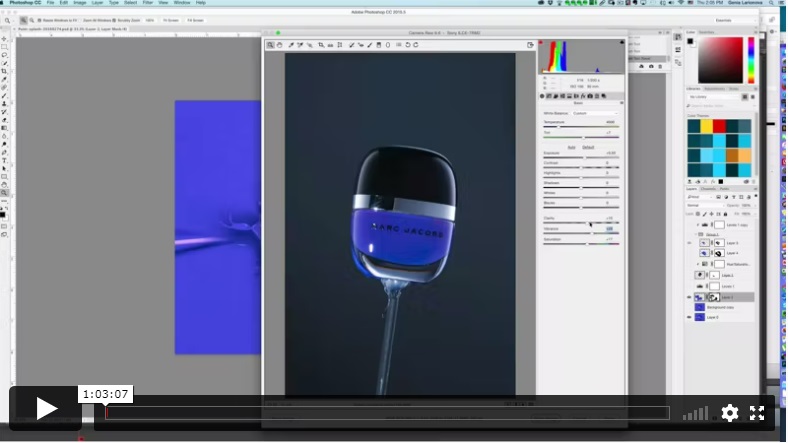
Genia opens a bottle image and uses Camera Raw to adjust the contents color to match the splash. She demonstrates how surface blur will soften the image and create a more even color, using a mask to incorporate the changes. Next, she turns her attention to the lettering and cap and makes some color adjustments, before cutting out the bottle with Pen tool. Genia shows how to transform the bottle and position it on the splash image, adding and transforming other splash Images.
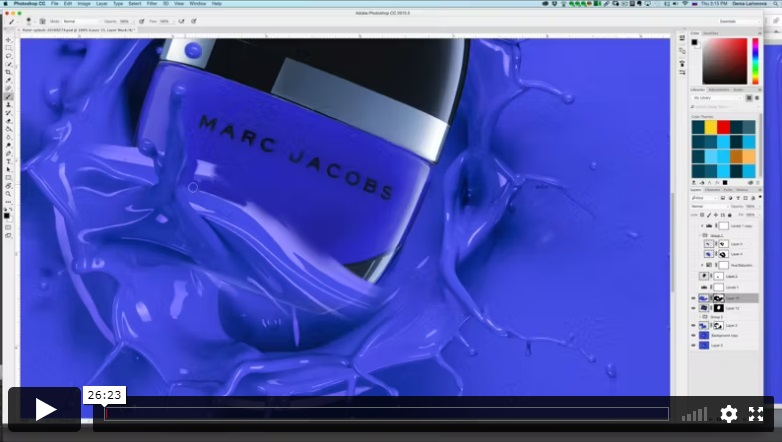
In this lesson, Genia shows how to use adjustments to match the splashes with the bottle and adjusts the color of bottle before blending the splash edge to bottle body using the Mixer Brush.
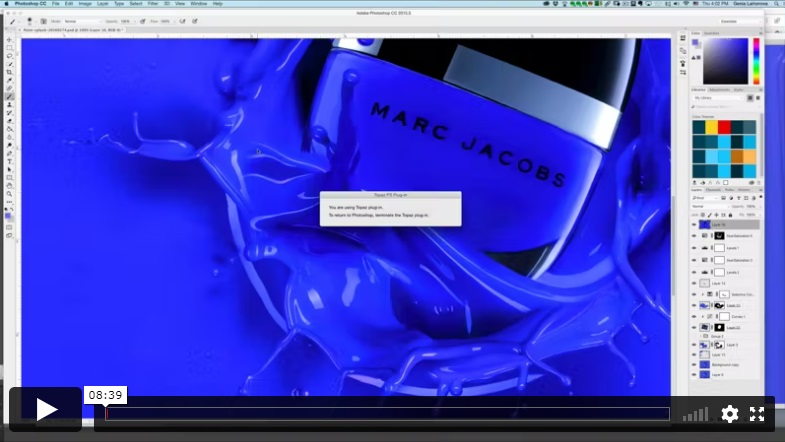
In the final lesson for the nail polish image, Genia shows how to remove a purple cast from the splash and makes some final tweaks before using the Topaz Denoise plug-in to finish the image.
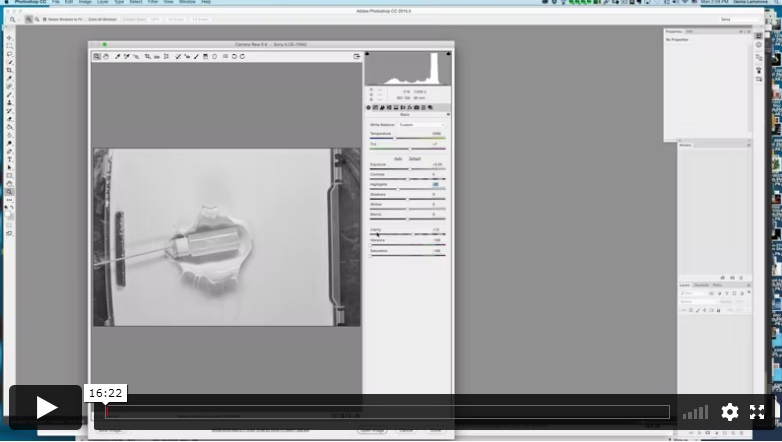
Genia starts this lesson by making a series of adjustments to the white jar, then cuts it out from its background using the Pen tool so she can blend it with a splash image.
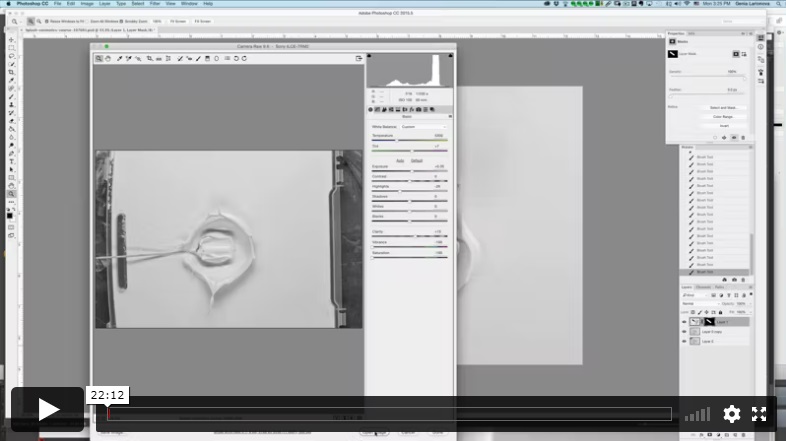
Genia demonstrates how to blend several splashes together with the white jar for a convincing result.
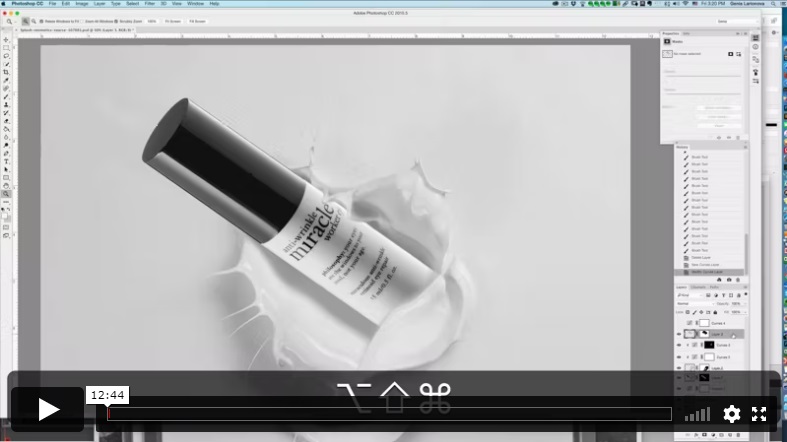
In this final lesson with the white jar, Genia performs some final cleanup and tweaks and adds a brighter vignette with a brush.
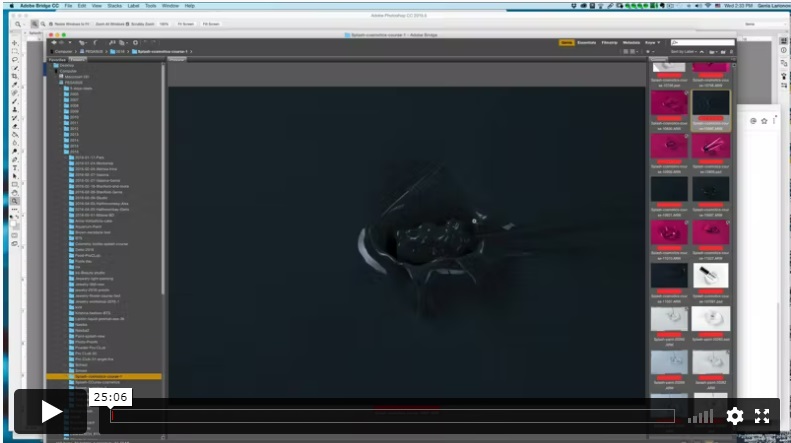
In the final portion of the post-production, Genia turns her attention to the pink tube image, showing how the color was achieved in Camera Raw when changing from gray to the pink hue compatible with the product color. She uses a number of techniques to clean up and adjust the subject and then adds another splash selection, blending it seamlessly using masks. She combines the tube image with the splash composite.
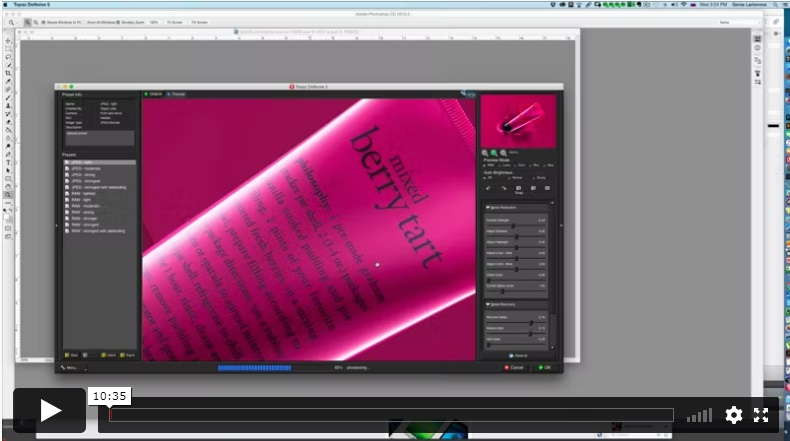
Genia finalizes the pink tube image by making adjustments to colors, cleaning up various edges, and then making the final crop before applying a Topaz Denoise adjustment.
INCLUDES
Shooting & Post-Production
⭐⭐⭐ PROFESSIONAL SERIES
Advertising Cosmetic Splash Photography
Best for long-term access, more DIY approach
Lifetime access
Weekly Q&A
24/7 Email Support
VIP Membership
Best for ongoing learning
Unlimited access to all courses
Priority support
Gear used in the shooting for this course
Mirrorless or DSLR camera, 50-150mm les (macro is good, but not necessary)
Strobe lighting (1/2000 or shorter flash duration) – Speedlites, PCB Einstein, Pro Foto, Broncolor or other strobe lighting with short flash duration
At least 10×10 feet studio space
2x Strpboxes, 2 diffusers 1-2 honeycomb grids
FAQ
Is there a way to ask an instructor a question/to show work and get a feedback?
Yes, you can ask an instructor, as well as get a feedback on your work. We have a support forum for this course where you can ask questions, get answers, and feedback from your instructor.
How do I access the course materials?
You will have 24/7 access to course videos, forums, and reviews on the Photigy.com website. It is optimized for mobile as well, and we stream from the worldwide cloud to ensure a worry-free learning experience.
How long will I have access to this course?
You’ll have lifelong access to the course. There is no limitation on this.
How I can ask questions of the instructor?
All course students have access to a private forum dedicated to support. This is the place where Photigy instructors answer students’ questions, and students can share their own experiences and solutions.
Photigy School Of Photography 2020
Photos you'll learn to make
Meet your instructor

Most frequent questions and answers
Is there a way to ask an instructor a question/to show work and get a feedback?
How do I access the course materials?
You will have 24/7 access to course videos, forums, and reviews on the Photigy.com website. It is optimized for mobile as well, and we stream from the worldwide cloud to ensure a worry-free learning experience.
How long will I have access to this course?
You’ll have lifelong access to the course. There is no limitation on this.
How I can ask questions of the instructor?
All course students have access to a private forum dedicated to support. This is the place where Photigy instructors answer students’ questions, and students can share their own experiences and solutions.