Photigy Course
The Diamond Drop Course
Professional, step-by-step online course — watch every lesson at your own pace, forever.
$125one-time · lifetime access
Professional, step-by-step online course — watch every lesson at your own pace, forever.
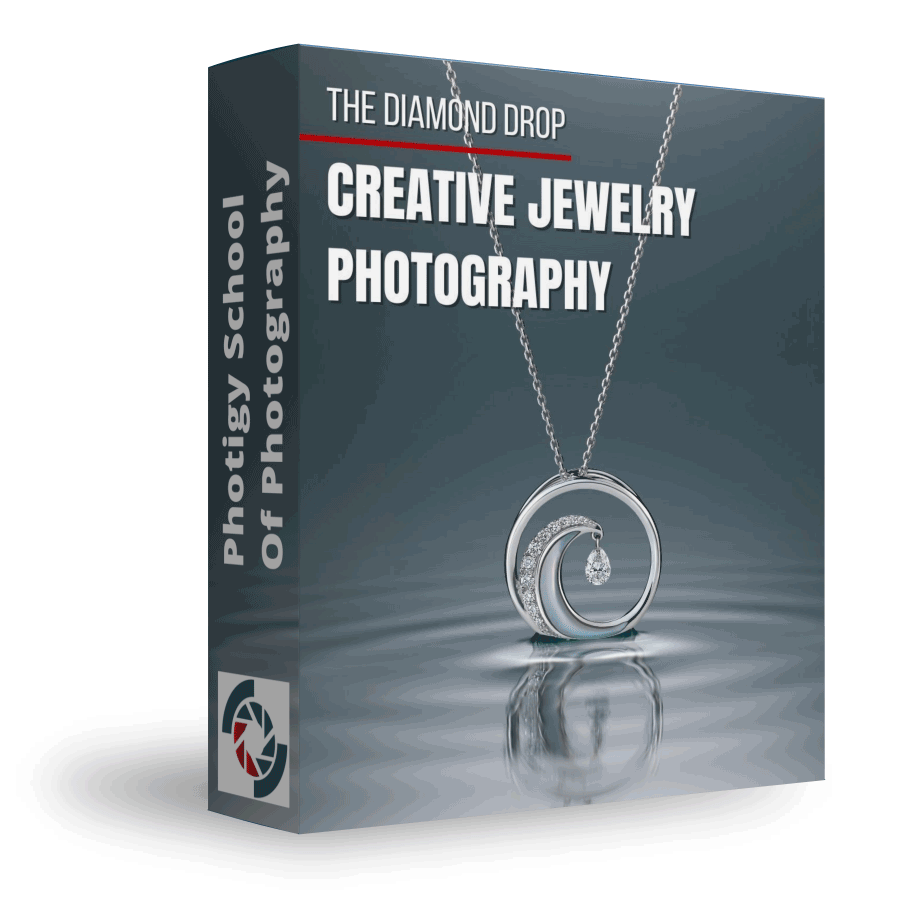
CREATIVE JEWERLY PHOTOGRAPHY -
THE DIAMOND DROP
ONLINE COURSE
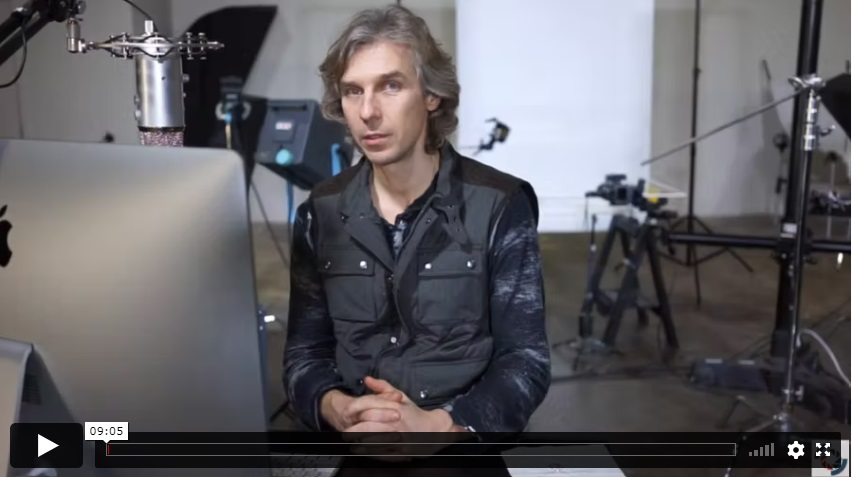
This training video is an advanced to Pro-level workshop that takes you through the shooting of a Na Hoku Wave pendant and chain. In the video you will see how to take a subject from a rough concept through the entire shoot and all the way to post-production of the final image.
Alex Koloskov will take you step-by-step through the set-up and shoot and provide you with everything you need to create a professional creative product shot that you will be proud to display in your portfolio.
In the second part, Alex is joined by professional retoucher Genia Larionova, who will show you techniques that will improve your image by making it the best that it can be in Adobe Photoshop.
This course is for you if...
You have struggled with shooting jewelry
You need help with developing creative concepts for your product photography
Your jewelry images lack the perfection required to attract new clients
Imagine you could...
Create a cool wavelet table that could be used for a variety of compelling product images
Master jewelry photography by expanding your lighting knowledge
Learn to apply consistent retouching techniques that would elevate the quality of your final
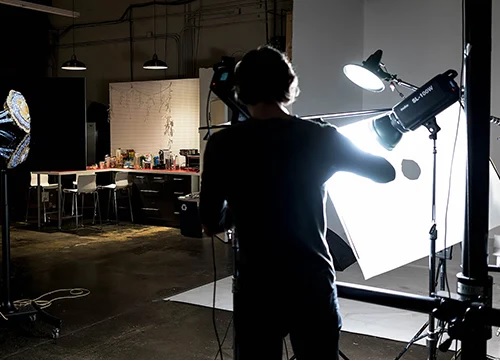
IN-STUDIO SHOOTING
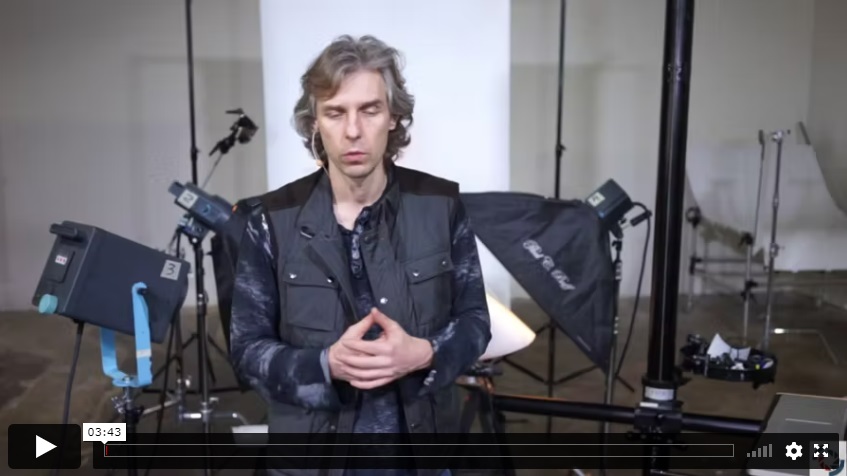
Alex begins by presenting the idea behind the course: how to work with an intermediate level client who only has a rough concept in mind of the final image and the process you go through to take such a concept all the way to a finished final image.
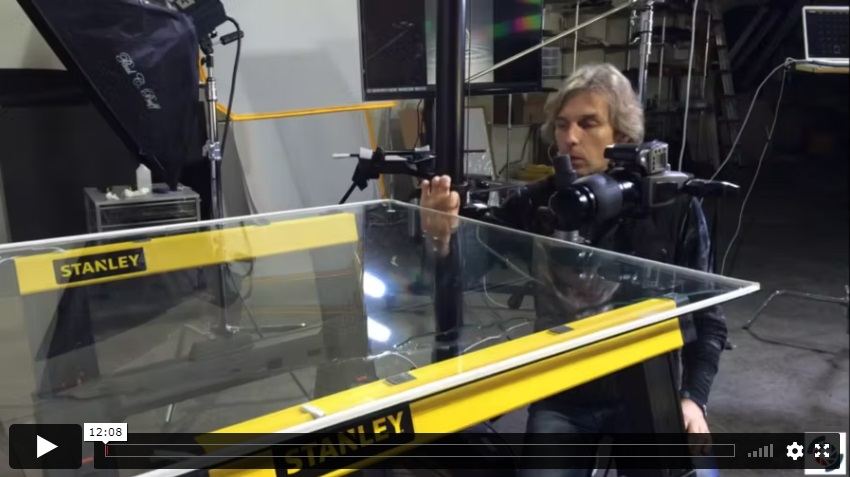
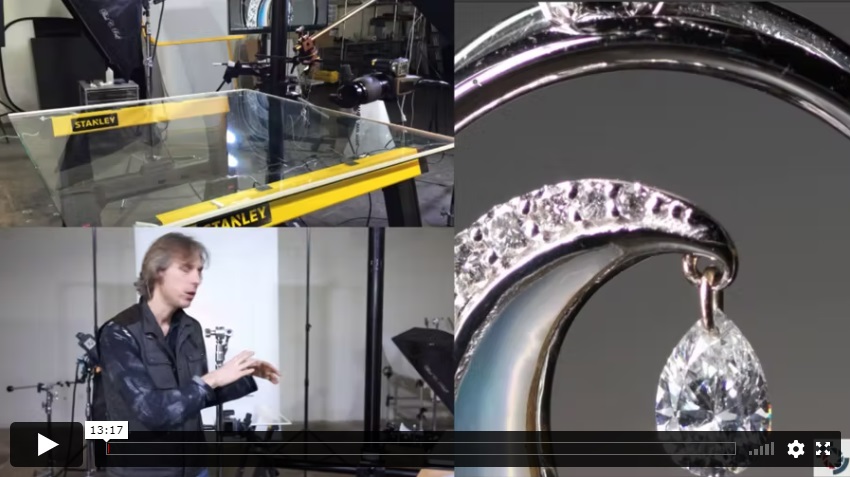
In this lesson, Alex looks at the background setup for this shot and describes how the glass wavelet table was built. He also demonstrates how the light behind the seamless background affects the shot.
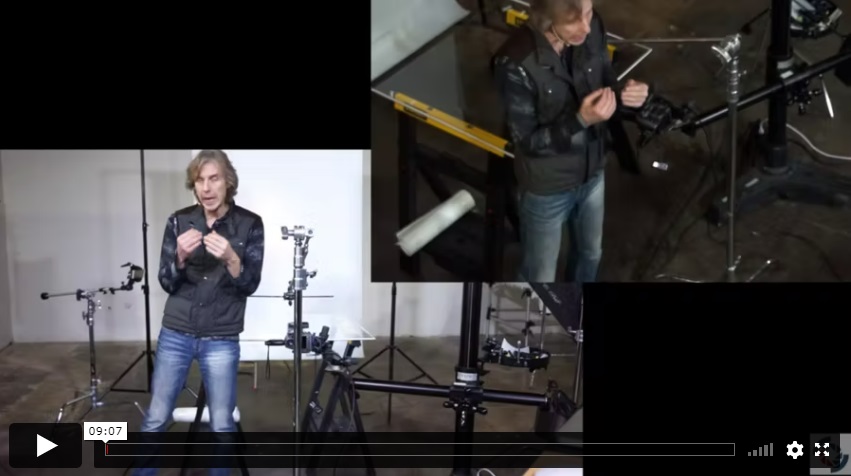
Alex demonstrates how to position the subject in front of the camera. Suspending the necklace is correctly is important and Alex discusses the difficulties you have to be aware of when shooting small jewelry items, including camera, lighting, and modifier positioning.
This lesson begins with Alex setting up the focus and analyzing the type of subject he is shooting. Since this necklace is a glossy subject composed of metal and gemstones, Alex demonstrates the proper use diffusers to help bring out the different surfaces properly.
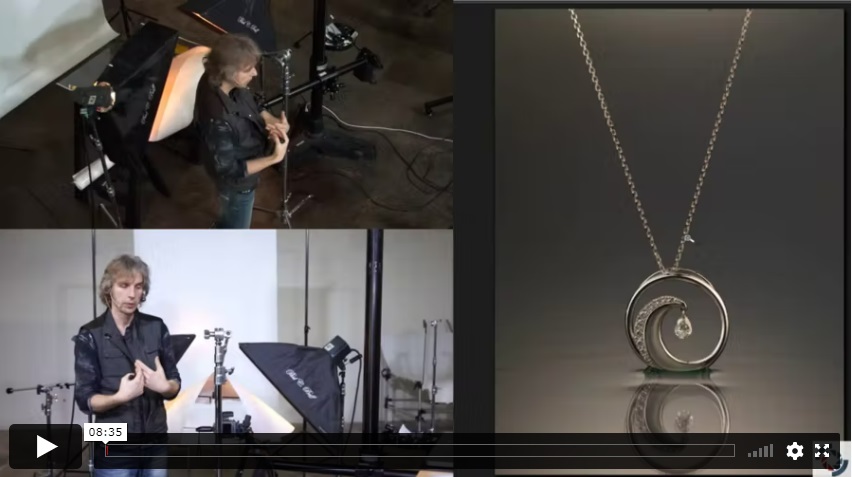
In this lesson, Alex demonstrates how to use contrast lighting to bring out the shadows and highlights to ensure the metal surfaces appear appropriately glossy. He also shows how to eliminate the reflections of unwanted objects in the subject.
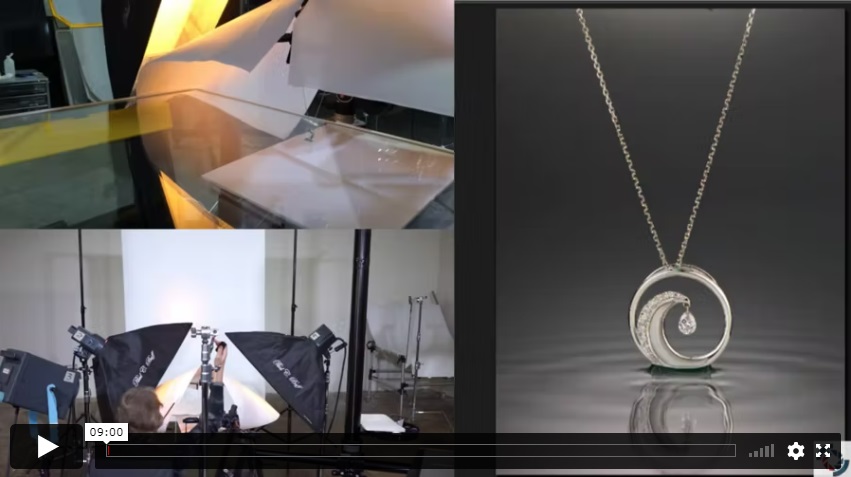
In this lesson, Alex tackles how to generate movement in the shot. He demonstrates different ways to create the ripple effect in the water using the wavelet table and shows how to capture the ripples in camera.
In this wrap-up of the shooting lessons, Alex summarizes the approach to shooting the Na Hoku Wave necklace and pendant and discusses the importance of including such creative product images in your portfolio.
POST- PRODUCTION
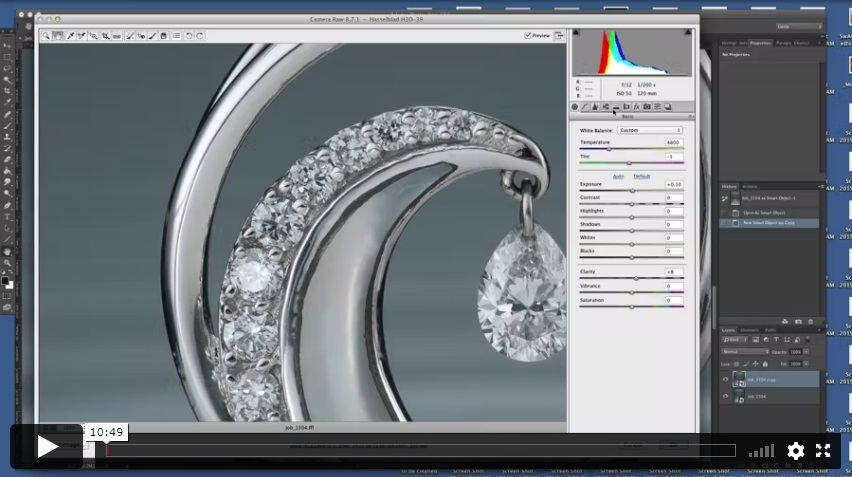
In this first post-production lesson, Genia begins by evaluating the raw image to be retouched. She demonstrates how to use Adobe Camera Raw to perform the initial post-processing, opens the result as a Smart Object in Adobe Photoshop. From there, Genia shows you her process for cleaning up some of the necklace.
Genia demonstrates how to adjust the colors of the pearl inlay of the necklace and reduce some of the noise in the image as well.
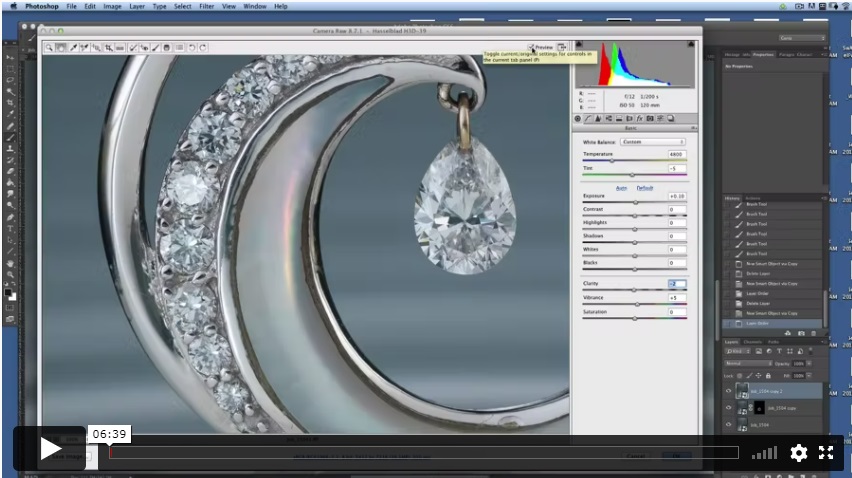
In this post-production lesson, Genia focuses on cleaning up the metal portions of the necklace, while ensuring she retains the proper reflections and gradients that define the polished metal’s characteristics.
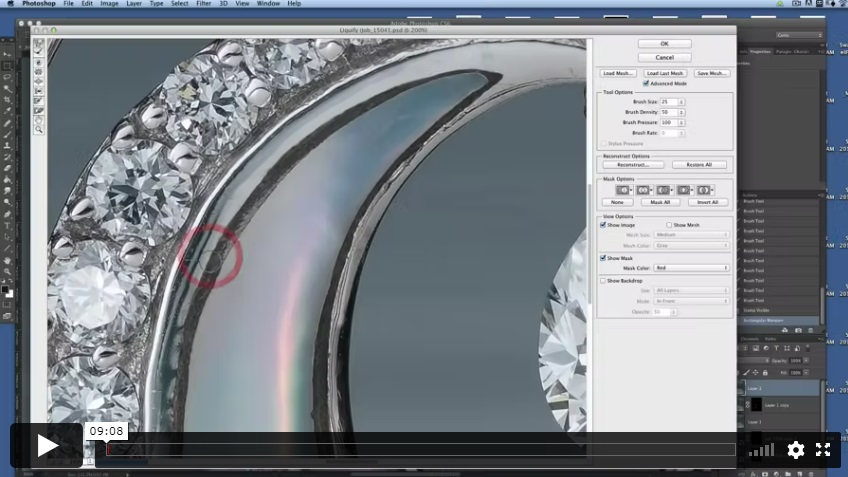
Genia moves on to working with the Liquify tool to make the lines straighter and cleaner looking. Using a systematic approach with this tool, she is able to improve the subject’s overall appearance.
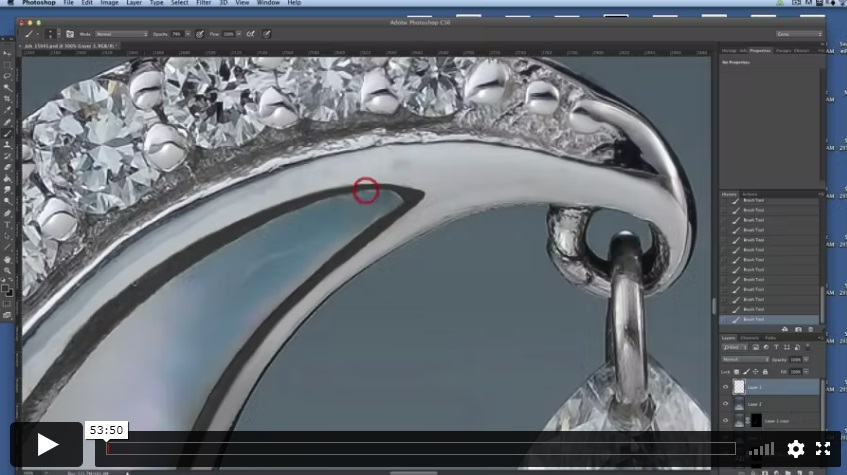
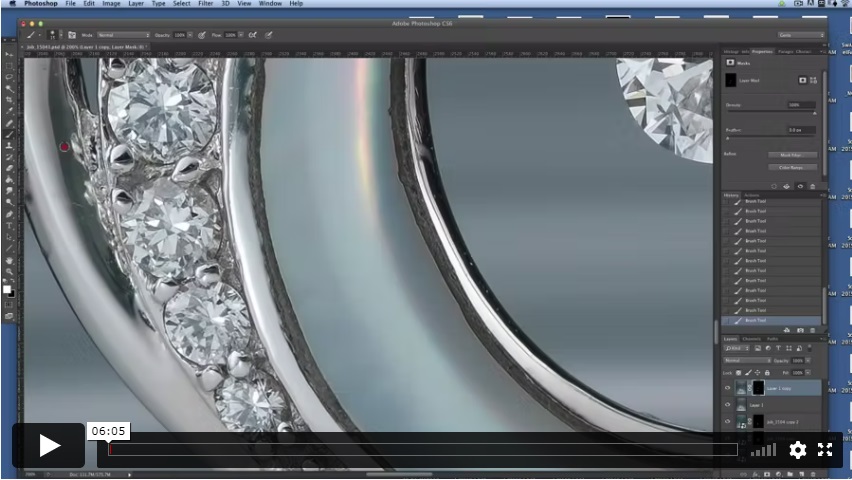
In the second part of this post-production lesson, Genia focuses on the main body of the pendant. She demonstrates in detail how to clean up all of the metal areas and get everything looking balanced and straight.
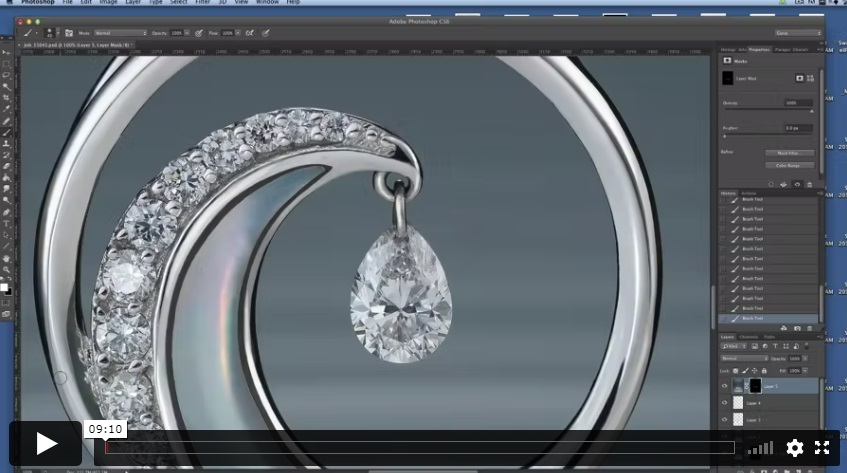
Genia shows how to add to and enhance the white highlights to make the pendant really pop. These enhancements make the metal look much shinier and give the overall image a better glow without hurting the texture and surface appearance. She also shows how to clean up dirt using blurring.
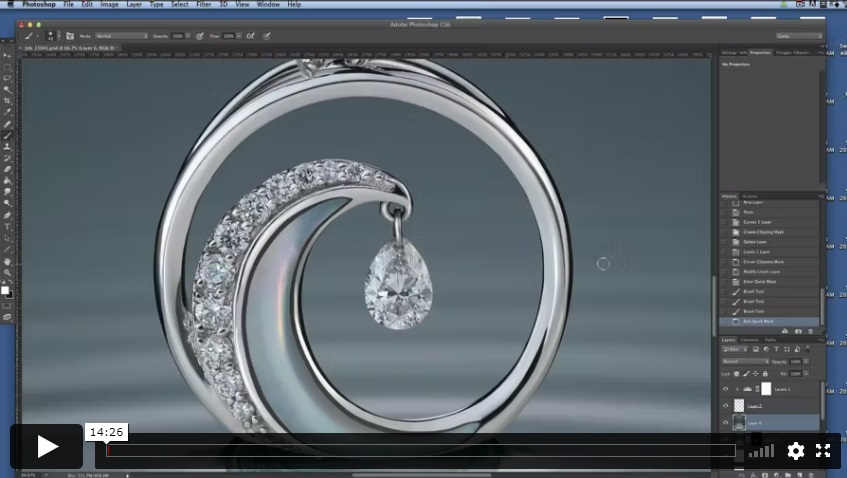
Through the use of various techniques, Genia shows how to make the diamonds pop, including fixing the white and black areas to provide better definition and contrast.
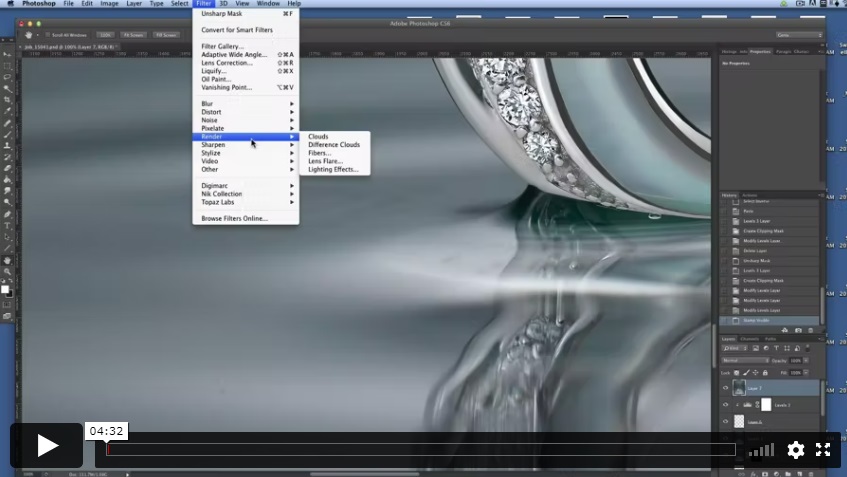
In this lesson, Genia turns her attention to the water element and shows how to clean up its surface using blurring techniques to eliminate unwanted sensor particles, distracting lines, and other things that may prove to be distracting to the image.
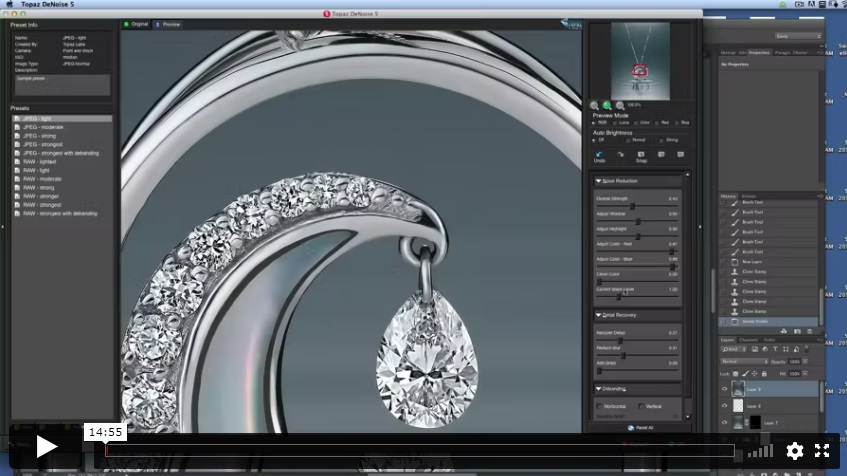
In the final post-production lesson, Genia demonstrates multiple techniques to make the image really look its best, including n oise reduction to make the metal look smoother and more polished.
⭐⭐⭐ ADVANCED SERIES
Creative Jewelry Photography course, “The Diamond Drop”
Best for long-term access, more DIY approach
Lifetime access
Weekly Q&A
24/7 Email Support
VIP Membership
Best for ongoing learning
Unlimited access to all courses
Priority support
One-time purchase
per month, Annual Plan
Photigy School Of Photography 2020
Own this course for $125, or unlock it plus every Photigy course and workshop with a VIP membership.
Try the course. If it is not helping you make better images, email us within 30 days for a full refund.