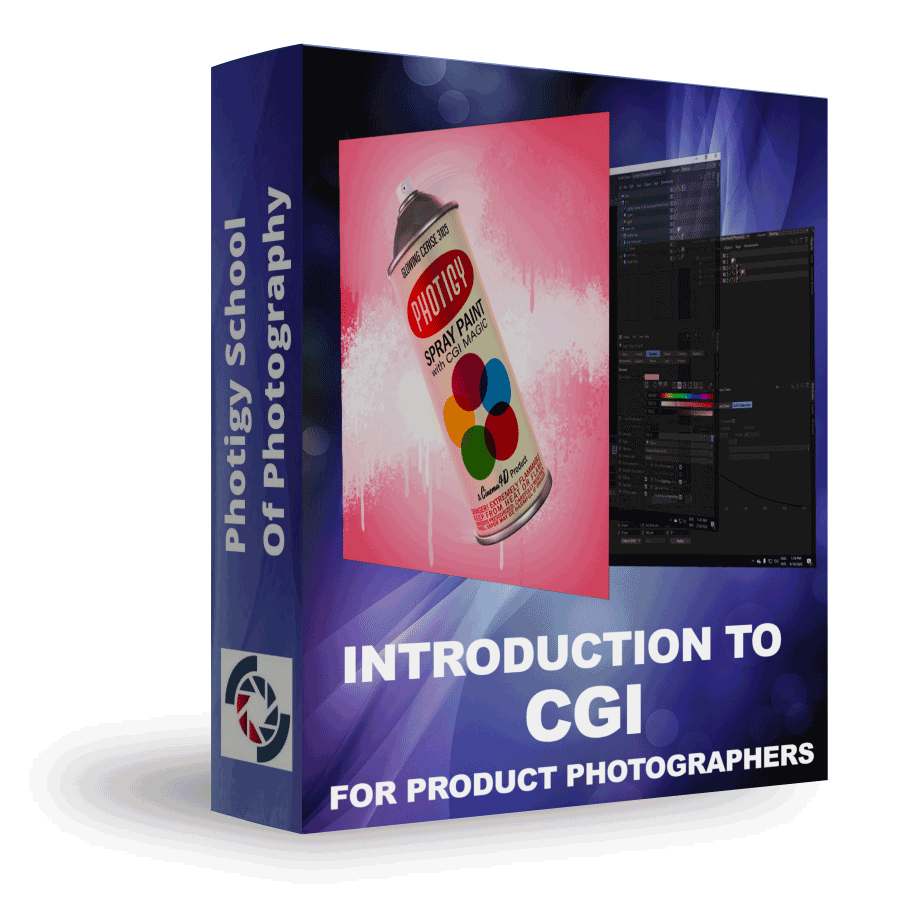
Introduction to CGI for Product Photographers
Expand your image creation abilities and take the first step toward mastering the necessary skills to create stunning and realistic computer-generated product images.
INTRODUCTION TO CGI FOR PRODUCT PHOTOGRAPHERS
ONLINE COURSE
About this course
Expand your image creation abilities and take the first step toward mastering the necessary skills to create stunning and realistic computer-generated product images.
Working with CGI can be overwhelming. Janine Pauke streamlines the process, guiding you through complex topics such as modeling, texturing, and lighting with ease using one of the most approachable 3D programs on the market—Cinema 4D.
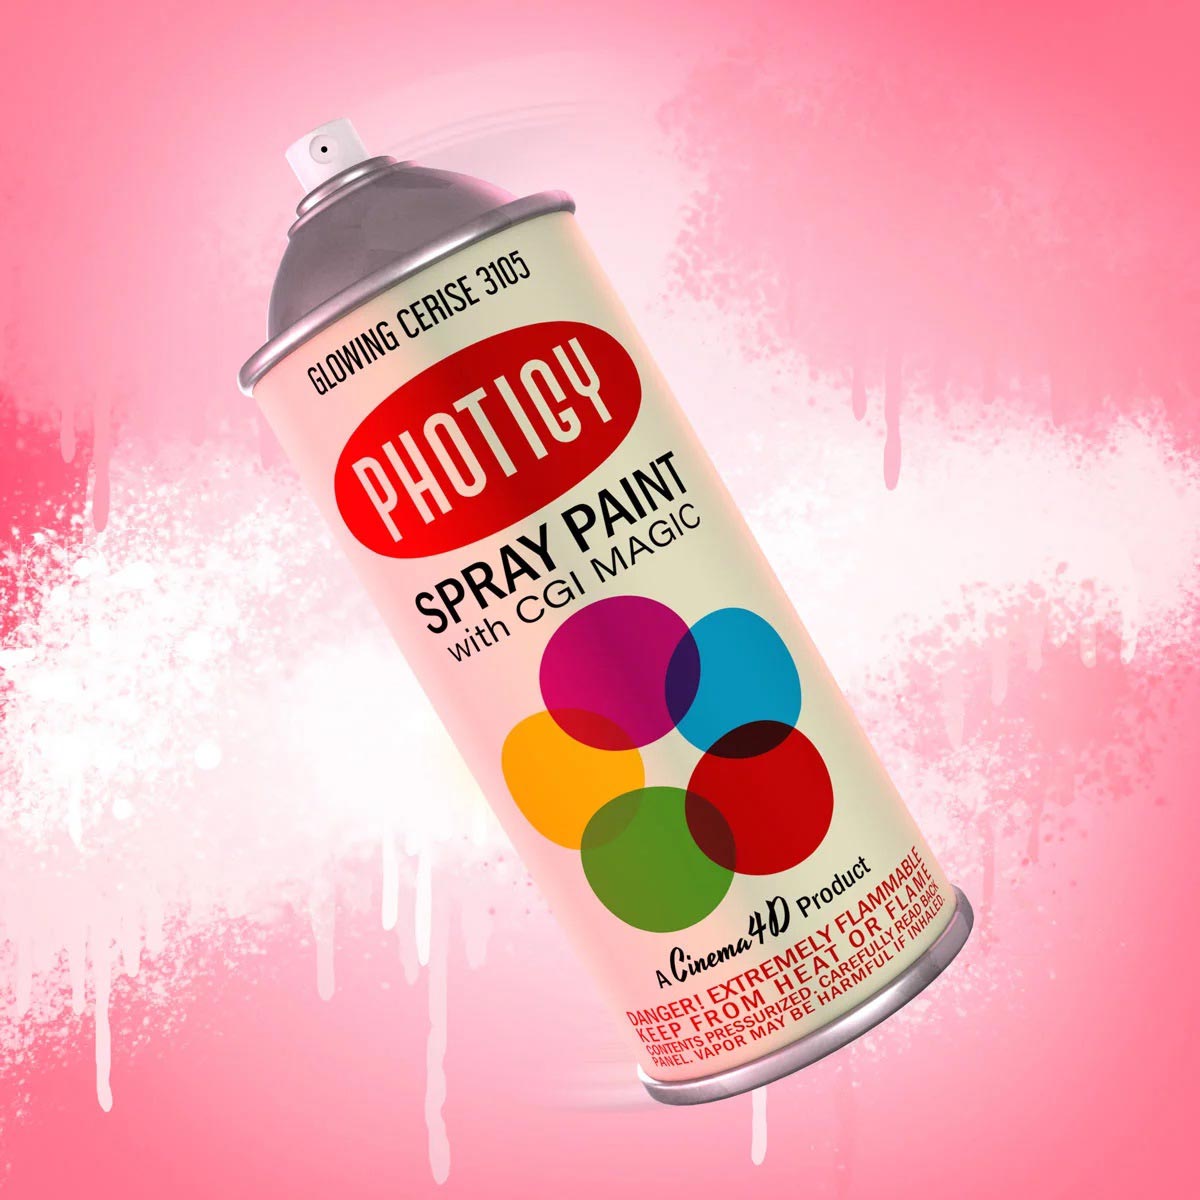
In this introductory course, you will perform every step in the 3D workflow needed to create the final “spray can” product image. Plus, you will gain valuable insights along the way as Janine shares her tips and tricks to make the process as efficient as possible.
Don’t have a license for C4D? No problem! WIth Maxon’s 14-day free trial, you can jump right in and work through all of the lesson in the course.
And as a bonus, Janine demonstrates the powerful Subdivision Surface Modeling method for creating complicated, smooth shapes quickly and easily.
AFTER THE PROGRAM YOU CAN MAKE PHOTOS LIKE THESE
Sample photos from the program’s video lessons that you will learn.
Course Curriculum
Course includes over 3 hours of instruction in 27 video lessons
Part 1: Introduction
Welcome
In this video, Janine Pauke introduces herself and the course.
C4D License & System Requirements
Learn about C4D licenses, including the free 14-day trial and the recommended system requirements for your computer to be able to run C4D.
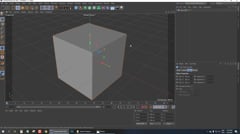
Navigation
In this lesson, Janine helps get you familiar with the C4D interface and how to manipulate the 3D workspaces.
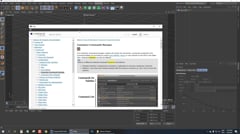
Move, Scale, & Rotate
In this lesson, you’ll see how easy it is to manipulate 3D objects.
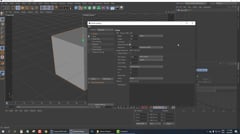
More Buttons
Janine walks you through the rest of the most commonly used buttons in the interface, from the rendering buttons to the geometry creation buttons.
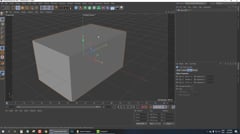
Rest of the Interface
Part 2: Modelling
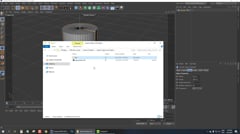
Modelling 1
In this lesson, Janine starts to model the spray can using basic primitives.
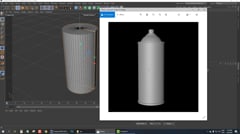
Modelling 2
Learn to use a modeling helper image to facilitate creating 3D models that follow the required geometry of the subject.
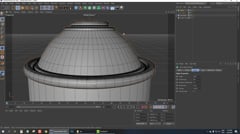
Modelling 3
In this lesson, you learn how to use the Spline tool to create the outline of a shape and revolve that edge about an axis to create a 3D shape. You will use it to create the top section of the spray can.
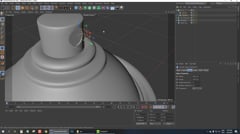
Modelling 4
To wrap up the modeling section, Janine demonstrates how to complete the spray can by creating the nozzle using Boolean intersections of two primitives.
Part 3: Basic Materials
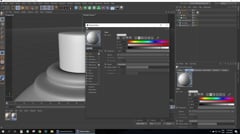
Basic Materials 1
In this lesson, Janine shows you how to add basic materials to your 3D geometry.
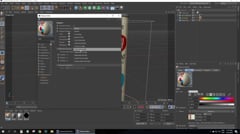
Basic Materials 2
Janine demonstrates how to apply textures to your model and how to manipulate those textures to achieve the look you want.
Part 4: Basic Lighting
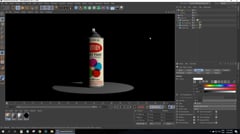
Basic Lighting 1
In this lesson, you will learn how to add cameras to your scene and how to add and set up the first light for rendering.
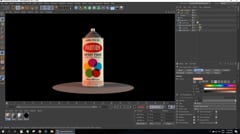
Basic Lighting 2
Janine shows you how to add two more lights to create the typical 3-point lighting setup most photographers are familiar with and how to adjust various parameters of each light to achieve the desired lighting effect.
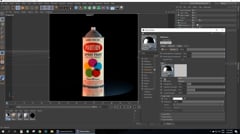
Basic Lighting 3
In Part 3, you will learn how to add a floor reflection commonly used in product photography to help “ground” the subject and how to adjust the reflected fall-off.
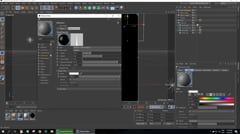
Basic Lighting 4
Concluding this section, you will learn how to adjust the rim lights and tweak material settings to get started with highlight reflections.
Part 5: Realism
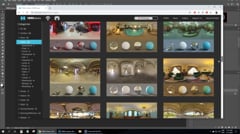
Realism 1
In this lesson, you will learn how to use High Dynamic Range Images (HDRIs) to provide realistic reflections and get introduced to C4D’s Node Material presets. In this case, adding a metal material preset to the spray can top and bottom that will accurately reflect the HDRI.
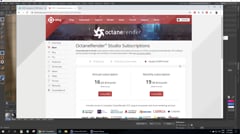
Realism 2
Add another material preset for the plastic nozzle. Janine demonstrates how to use C4D’s interactive rendering capability and discusses the pros and cons of different render engines, sharing why Octane is her favorite external renderer.
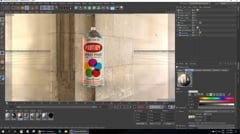
Realism 3
In this lesson, Janine shows you ways to adjust the properties of the HDRI and how to add a 2D background image that will serve as the backdrop of the final render.
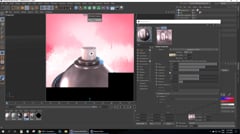
Realism 4
Wrapping up the Realism lessons, Janine starts by testing out further tweaks to the HDRI before making additional adjustments to the metal material preset and final color and positioning adjustments for the lights.
Part 6: Final Output
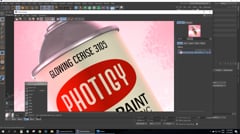
Final Output 1
In this lesson, Janine explains the various parameters you can adjust in the Render Settings.
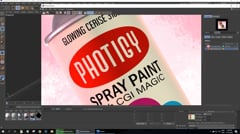
Final Output 2
Janine makes some adjustments to the spline used to create the spray can top before demonstrating how to introduce ambient occlusion into the final render for added realism. She also explains how to easily export a layered PSD version of the final render that includes an automatically generated alpha channel for use as a layer mask in Photoshop.
Part 7: Post- Editing
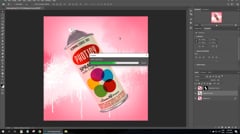
Post-Editing
In this lesson, you will learn how to bring your layered output render into Photoshop to perform final post-production tweaks leveraging the automatically generated alpha channel.
Part 8: Supplemental Lessons
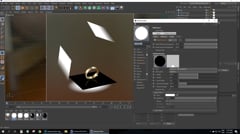
Gradient 1
In this lesson, Janine demonstrates how to create more sophisticated gradient reflections in C4D for glossy objects like rings.
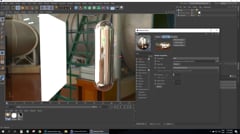
Gradient 2
Janine shows you how to replicate a diffused light source with a gradient in the same way that you can create one in the studio with a strip light and a diffuser. In C4D, she begins the process by creating a plane with emittance properties to illuminate a simple 3D object. She shows you how to add an HDRI to mimic subtle background reflections that might occur in a real-world studio environment.
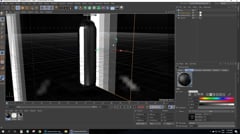
Gradient 3
Janine finishes setting up the emitting plane by creating the desired gradient on the plane’s surface using an alpha channel in its material properties.
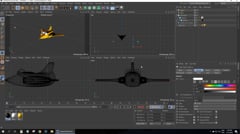
Bonus
In this entertaining bonus lesson, Janine shows you how to use the powerful Subdivision Surface Modeling method to create complicated, smooth shapes quickly and easily and then demonstrates how to set up a simple animation in C4D.
Who will benefit the most from this course?
Photographers seeking to expand their skills into the realm of CGI
Hobbyists and artists interested in learning the fundamentals of 3D modeling and rendering
Highlights
Learn your way around one of the most easy-to-understand professional 3D applications, Cinema 4D!
Learn how to create realistic product renders from scratch by following easy step-by-step instructions. Plus, get plenty of tips and insights along the way that will help get you modeling and rendering your own unique products.
Learn how to replicate common environmental and gradient-style lighting used in studio product photography.
Quick and easy-to-follow lessons. We know that you don’t have lots of time to spend, so we keep it brief!
Ask questions on our online forum and get answers from our professional instructors.
Lifetime access to the course materials.
TYPE
Online Video Course
⭐⭐⭐ SIGNATURE SERIES
Individual course purchase v.s VIP Membership:
Ome-time payment
Best for long-term access, more DIY approach
Lifetime access
Weekly Q&A
24/7 Email Support
VIP Membership
Best for ongoing learning
Unlimited access to all courses
Priority support
Meet your Instructor
Instructor at Photigy
Janine Pauke
Janine Pauke is a CGI artist and product photographer based in Best, Netherlands. She has more than 25 years of experience, having worked for an impressive range of companies, including Maxon and visual effects house The Moving Picture Company, before starting her own boutique studio Liandi , where she specializes in high-end images and product animations. Brands she has worked on include Rémy Martin, Heineken, Ballantine’s, Macallan, Fosters, Marlboro and Walls.
Get to know Janine by reading our fascinating two-part interview with her.
FAQ
What are the software and hardware requirements for this course?
The course uses the 3D application Cinema 4D (C4D). Maxon offers a free 14-day trial for the software, so you do not need to purchase a license to C4D to take this course.
Most any reasonably equipped Mac or Windows computer should work fine. See the Maxon website for details.
How do I access the course materials?
You will have 24/7 access to course videos, forums, and reviews on the Photigy.com website. It is optimized for mobile as well, and we stream from the worldwide cloud to ensure a worry-free learning experience.
How long will I have access to this course?
You’ll have lifelong access to the course. There is no limitation on this.
How I can ask questions of the instructor?
All course students have access to a private forum dedicated to support. This is the place where Photigy instructors answer students’ questions, and students can share their own experiences and solutions.
Can I take this course if I don't know anything about CGI or photography?
Yes! Although photographers with experience shooting product in the studio will appreciate the parallels Janine draws between the two environments, the course is designed to take you step-by-step through each lesson. From learning to navigate the C4D interface to modeling the project spray can, adding textures and materials, setting up lighting, and creating your final render, you’ll be amazed at how quickly you’ll get up and running thanks to Janine’s clear and concise teaching style.
REVIEWS
See what other people have to say about their learning experience.
Photigy School Of Photography 2020
Photos You’ll Learn to Make
Who Teaches This Course

Instructor at Photigy
Janine Pauke
Janine Pauke is a CGI artist and product photographer based in Best, Netherlands. She has more than 25 years of experience, having worked for an impressive range of companies, including Maxon and visual effects house The Moving Picture Company, before starting her own boutique studio Liandi, where she specializes in high-end images and product animations. Brands she has worked on include Rémy Martin, Heineken, Ballantine’s, Macallan, Fosters, Marlboro and Walls.
Get to know Janine by reading our fascinating two-part interview with her.
Get This Course
Introduction to CGI for Product Photographers
One-time payment · lifetime access
- Every lesson in this course
- Watch on any device, forever
- Instructor feedback in the member forum
VIP Membership
This course + every other Photigy course
- All cgi / 3d and every other course
- 184+ Pro Club workshops
- Weekly live Q&A and photo reviews