Photigy Course
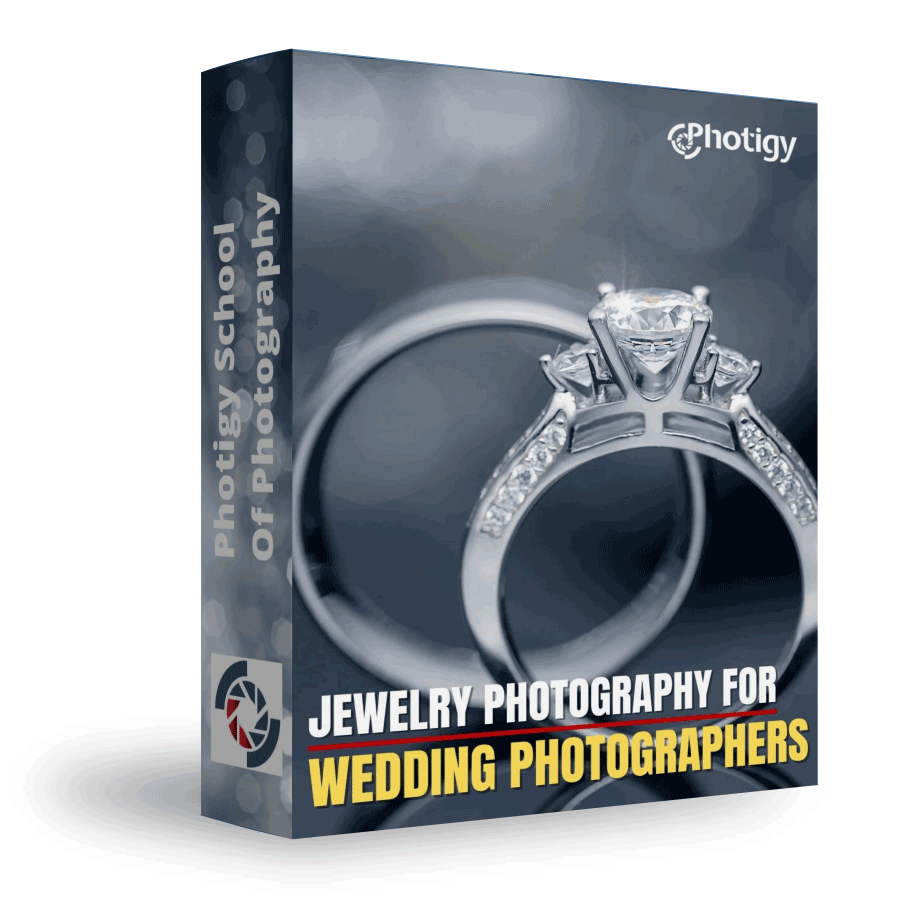
Jewelry for Wedding Photographers
Professional, step-by-step online course — watch every lesson at your own pace, forever.
$145one-time · lifetime access
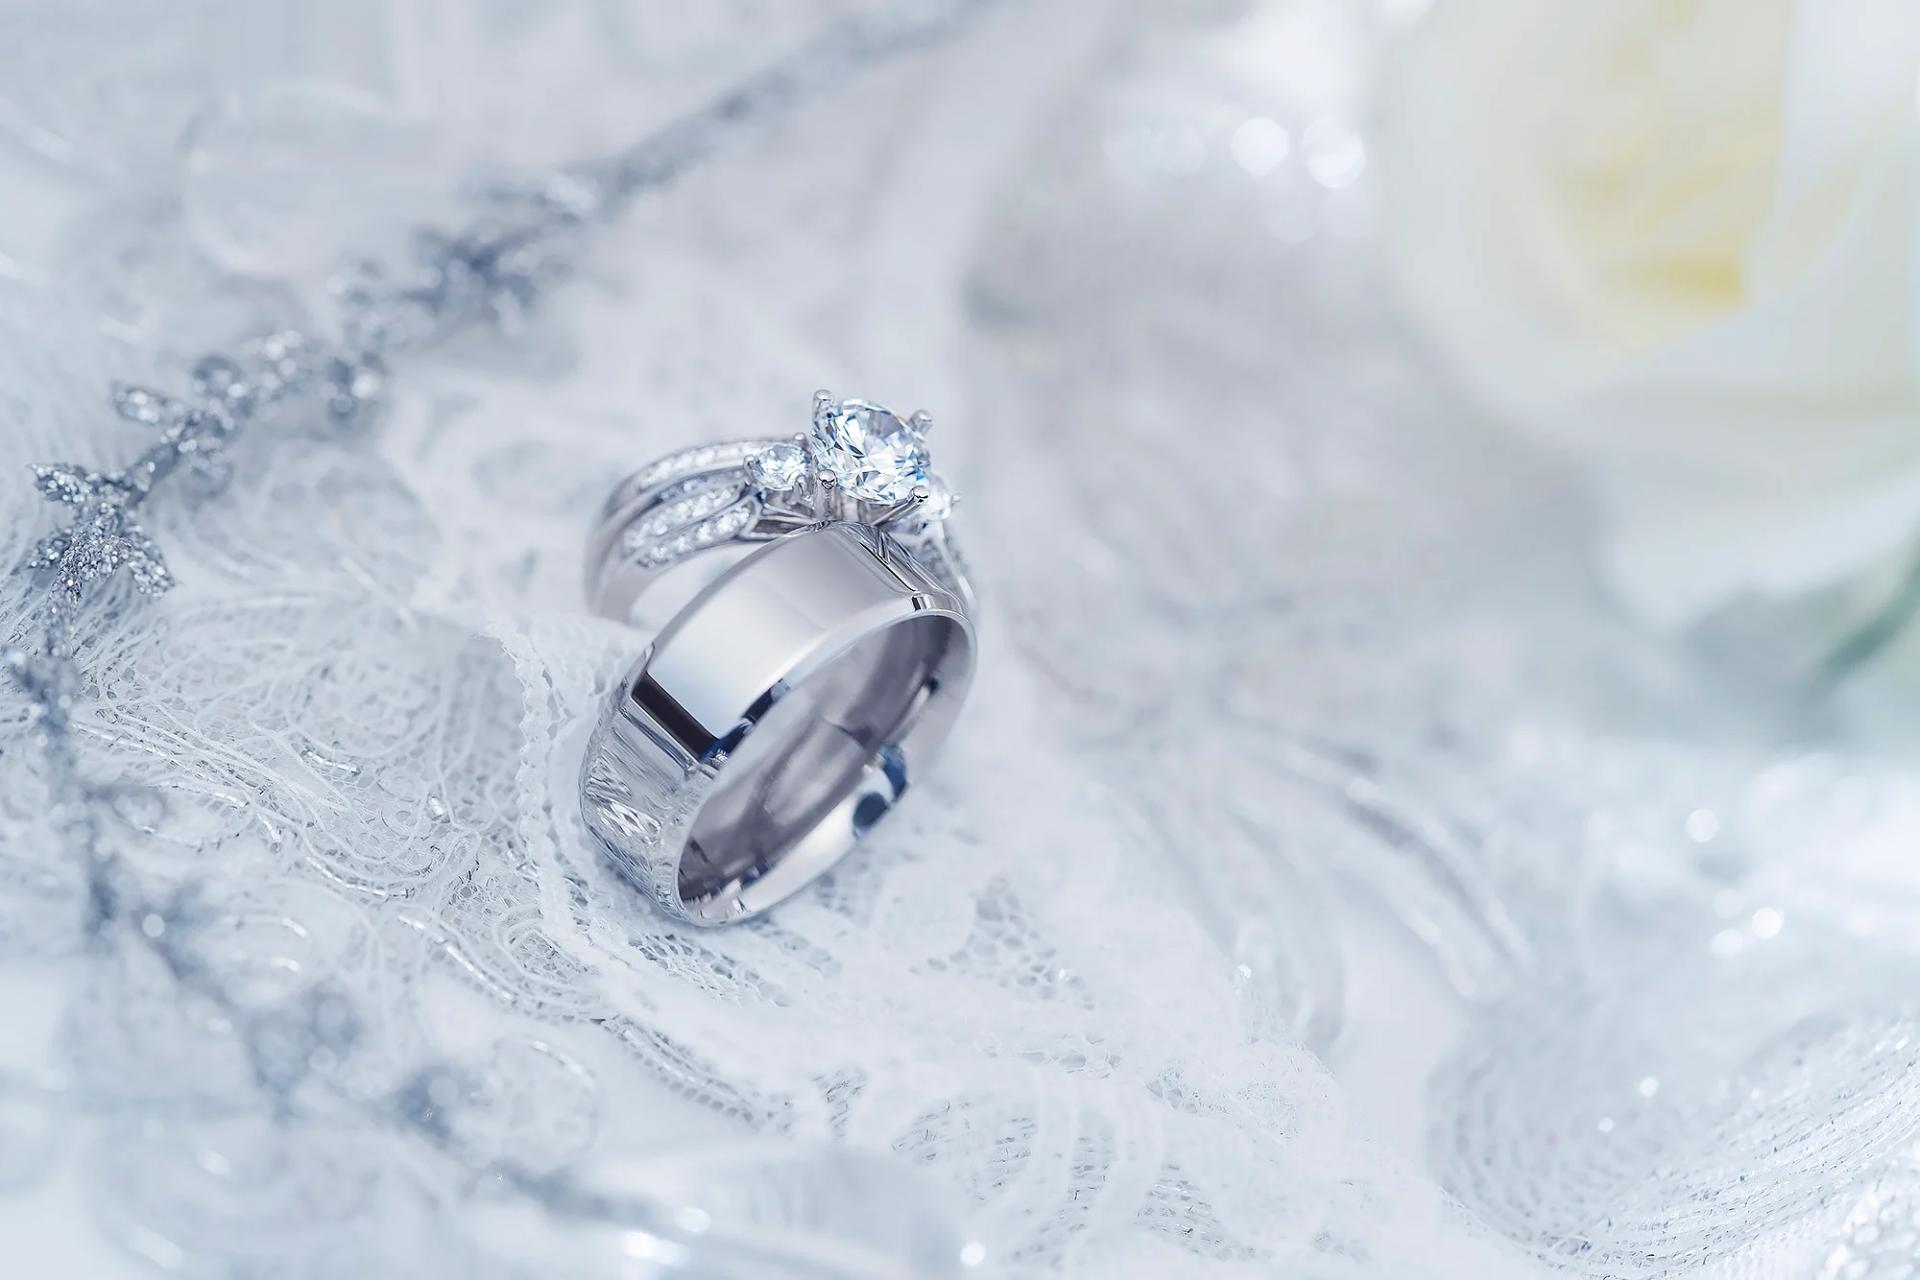
Professional, step-by-step online course — watch every lesson at your own pace, forever.
ONLINE COURSE
You will learn how to take studio quality photographs of wedding jewelry using only your camera and a speedlite (on-camera flash). Find out how to get professional shots with no tripod and no studio lighting. You won’t even need Photoshop – we’ll show you how to take pictures that look great even without any post-production!
Highlights
Learn to take great shots regardless of the lighting conditions – indoors, outdoors, without any lighting at all, you can make it work.
Ask questions on our online forum and get answers from our professional instructors.
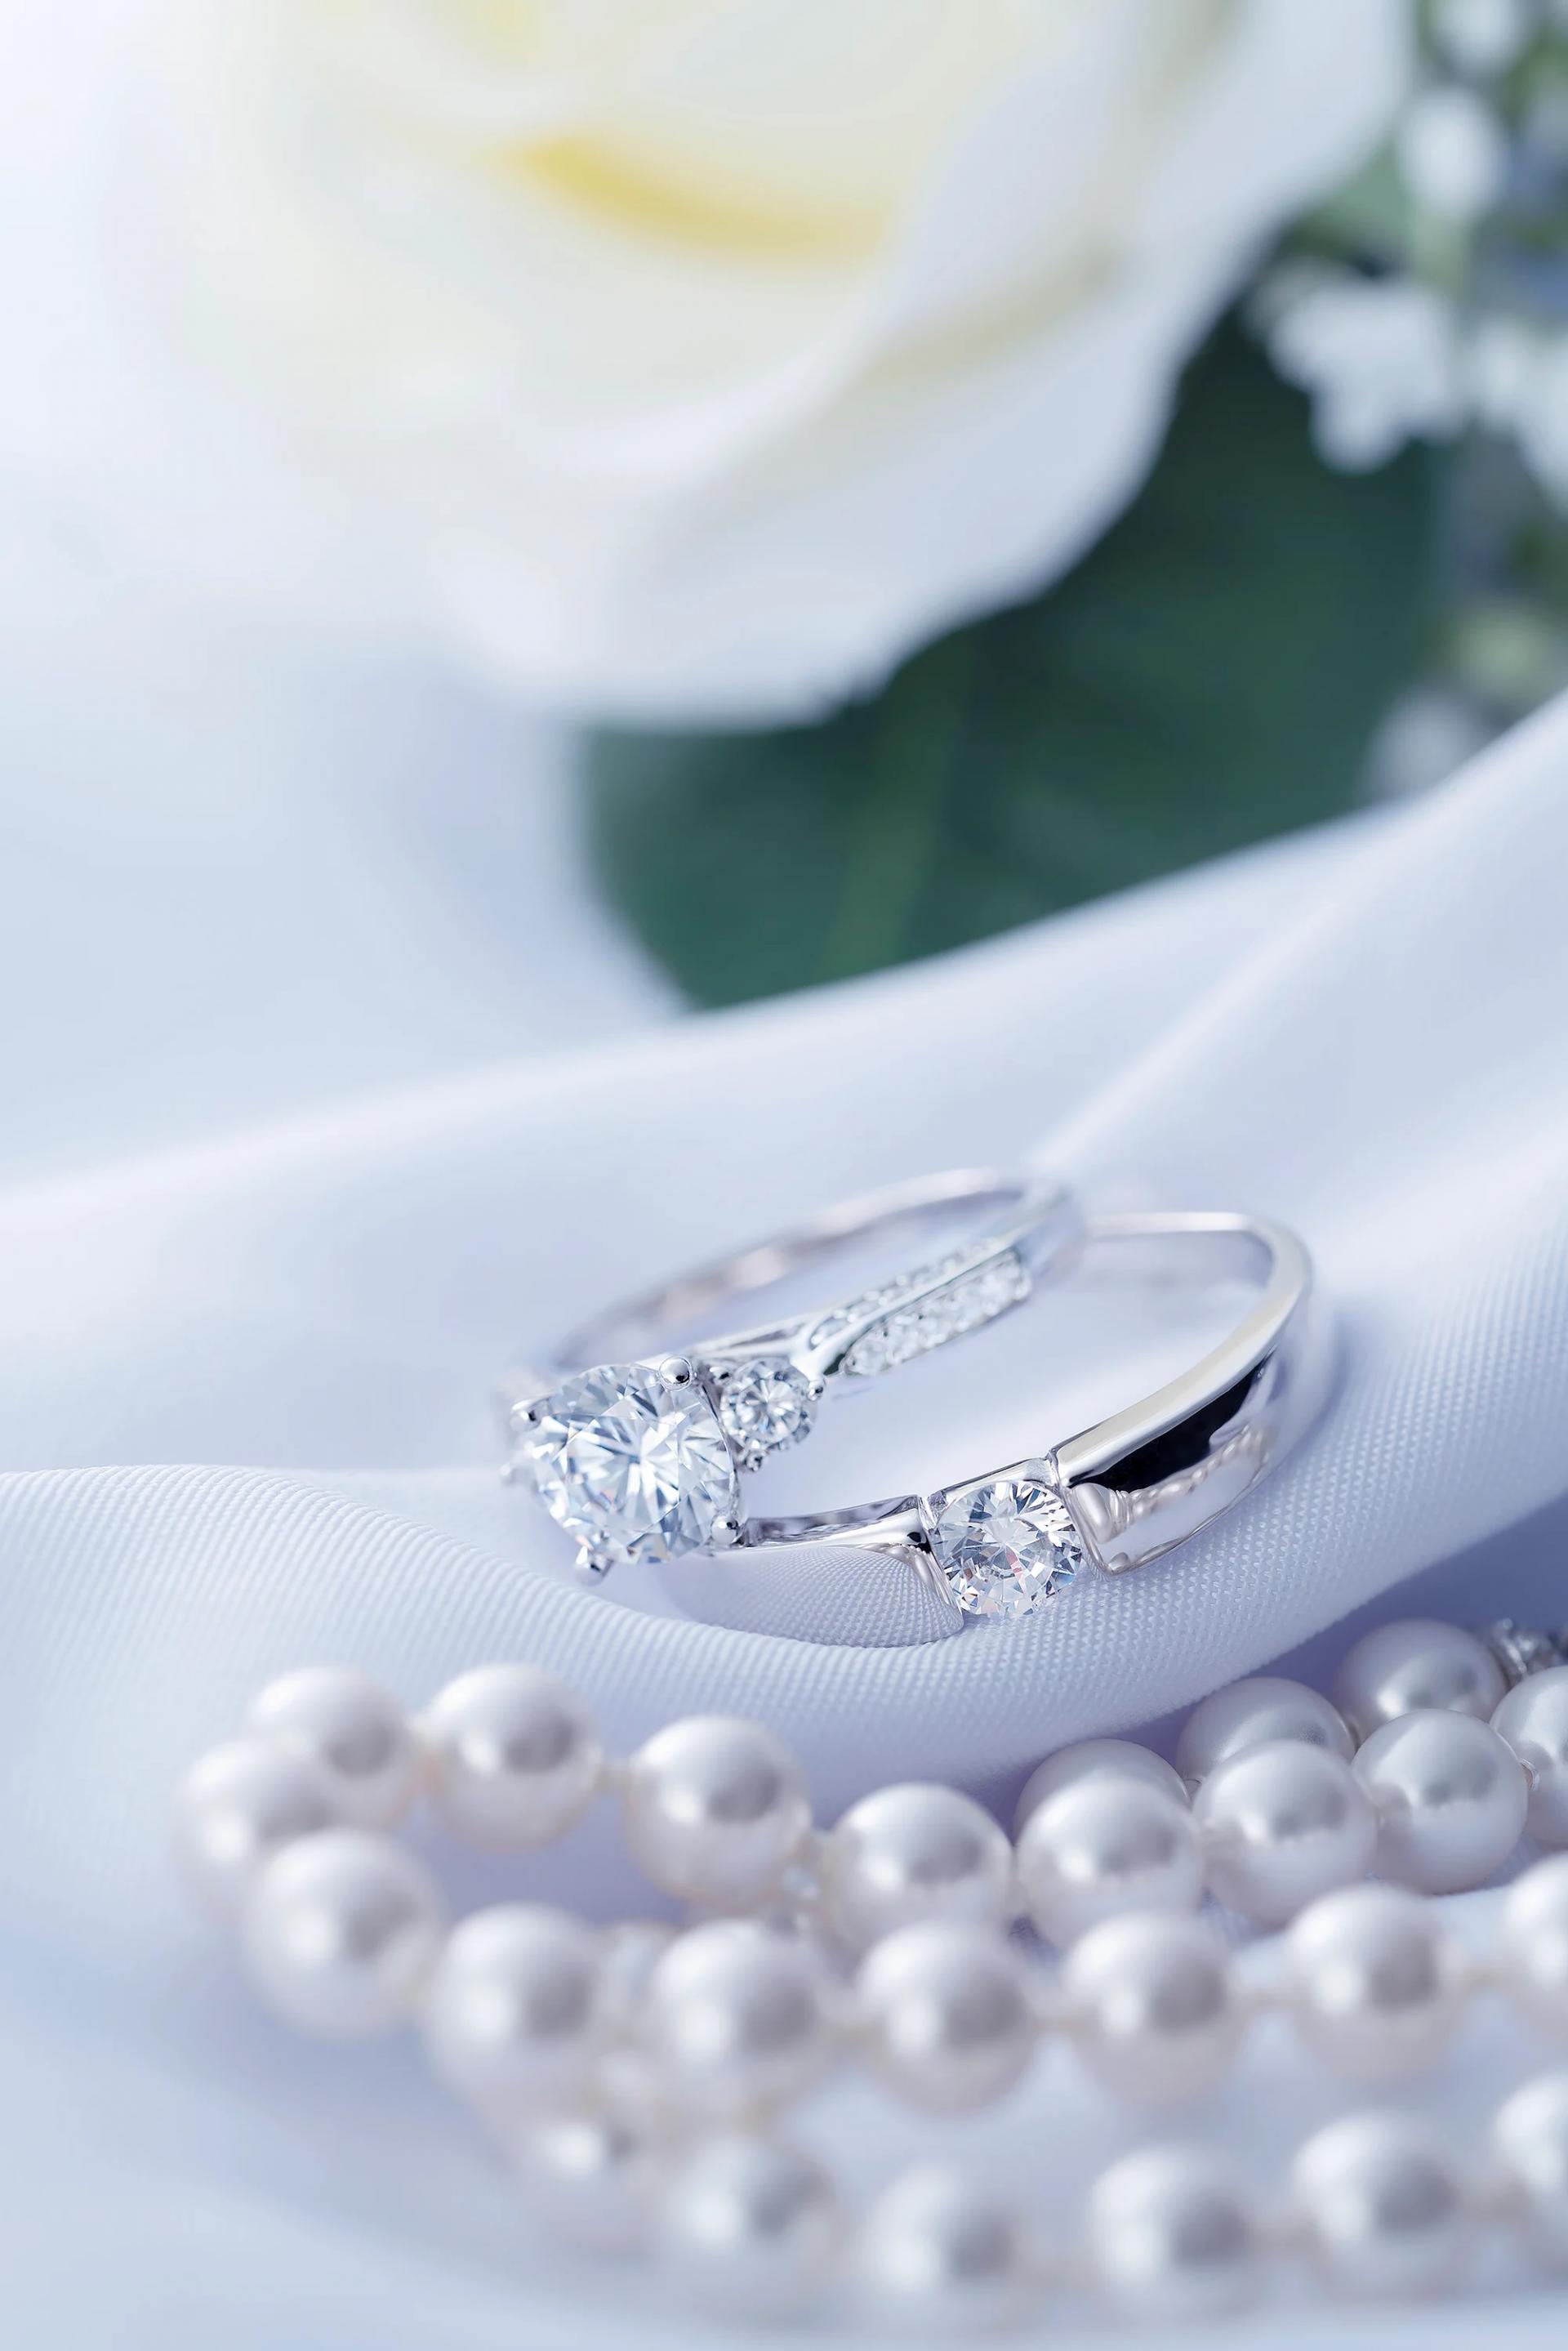
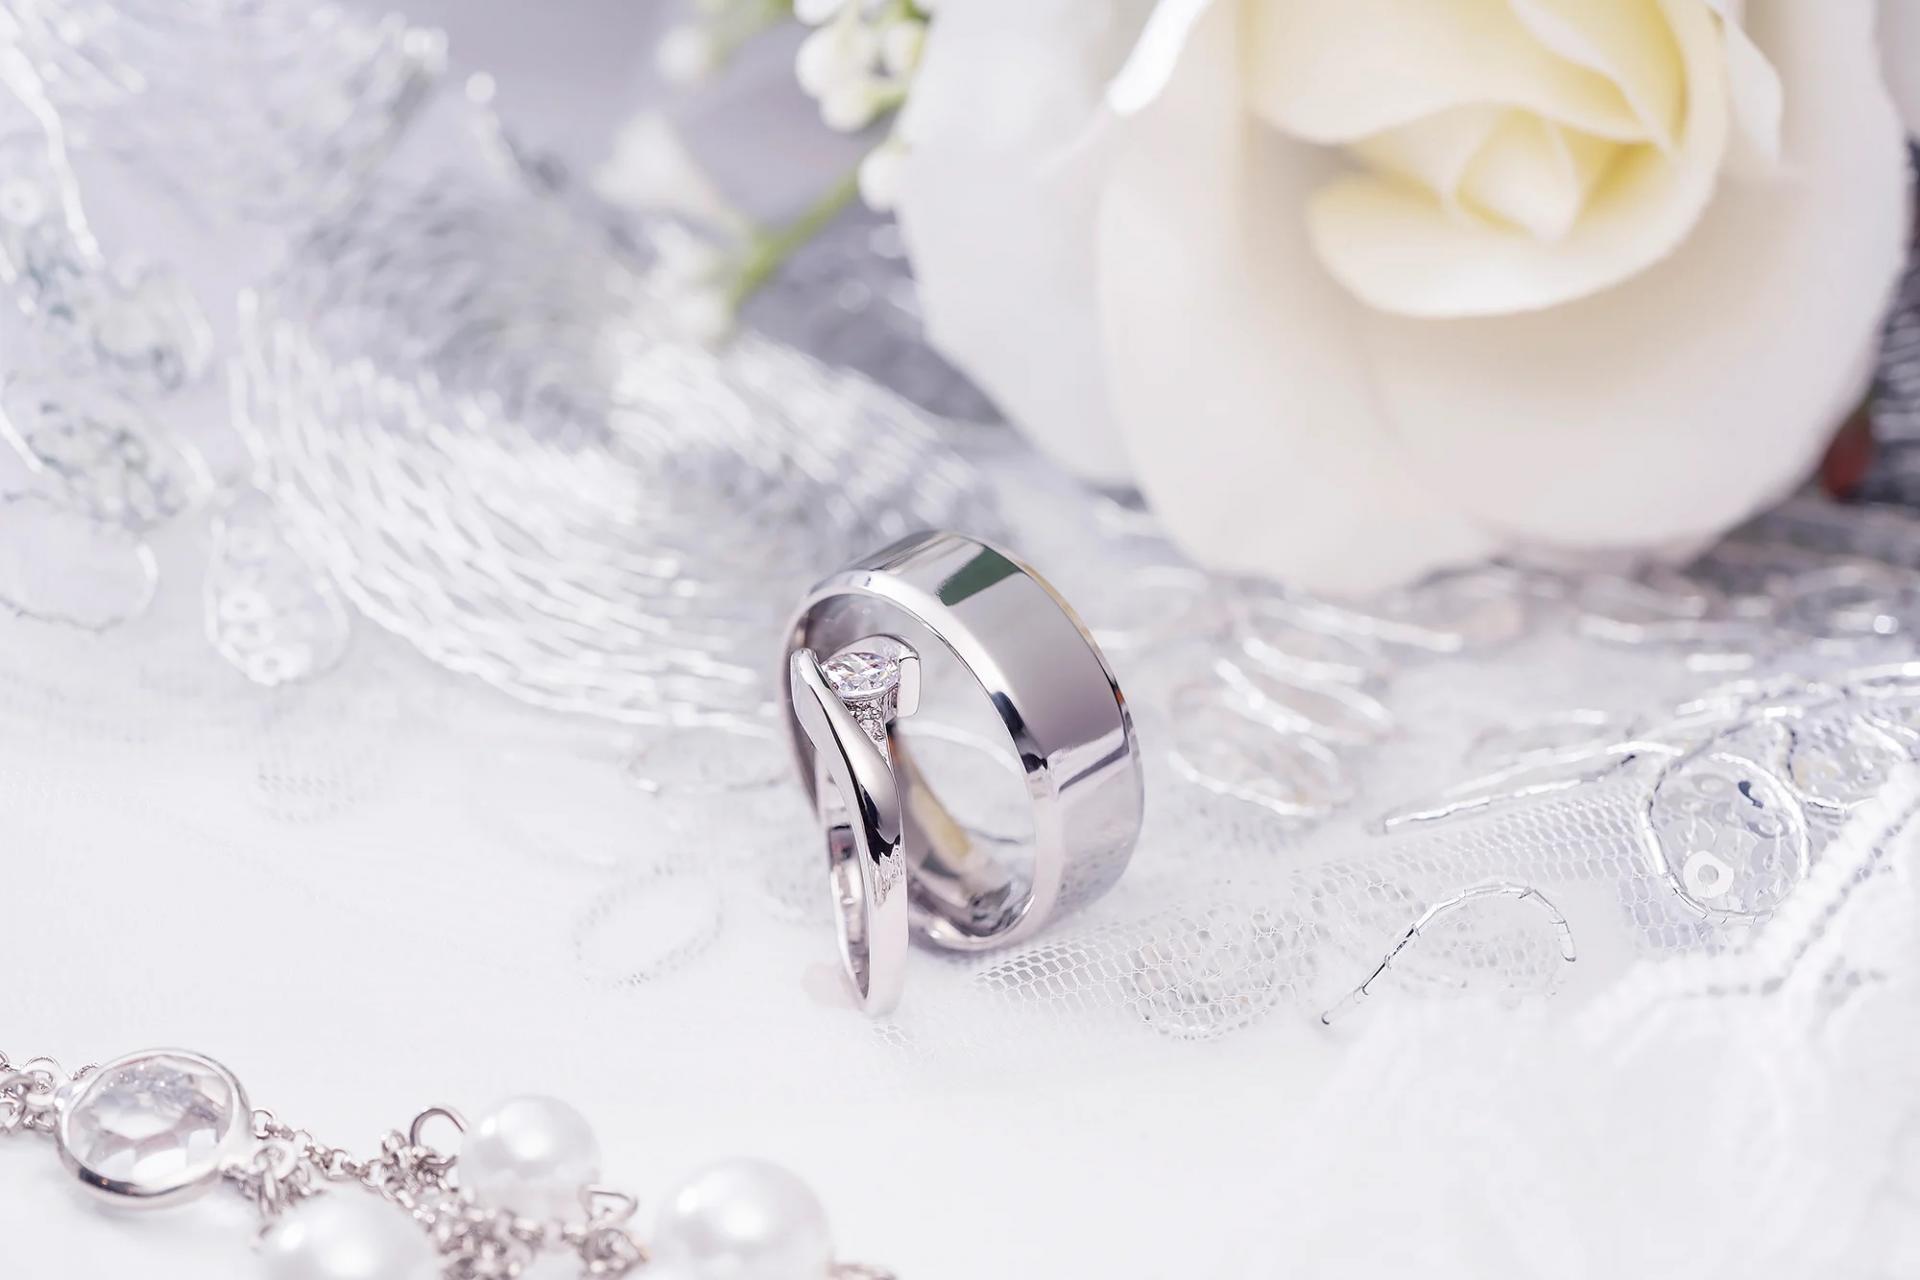
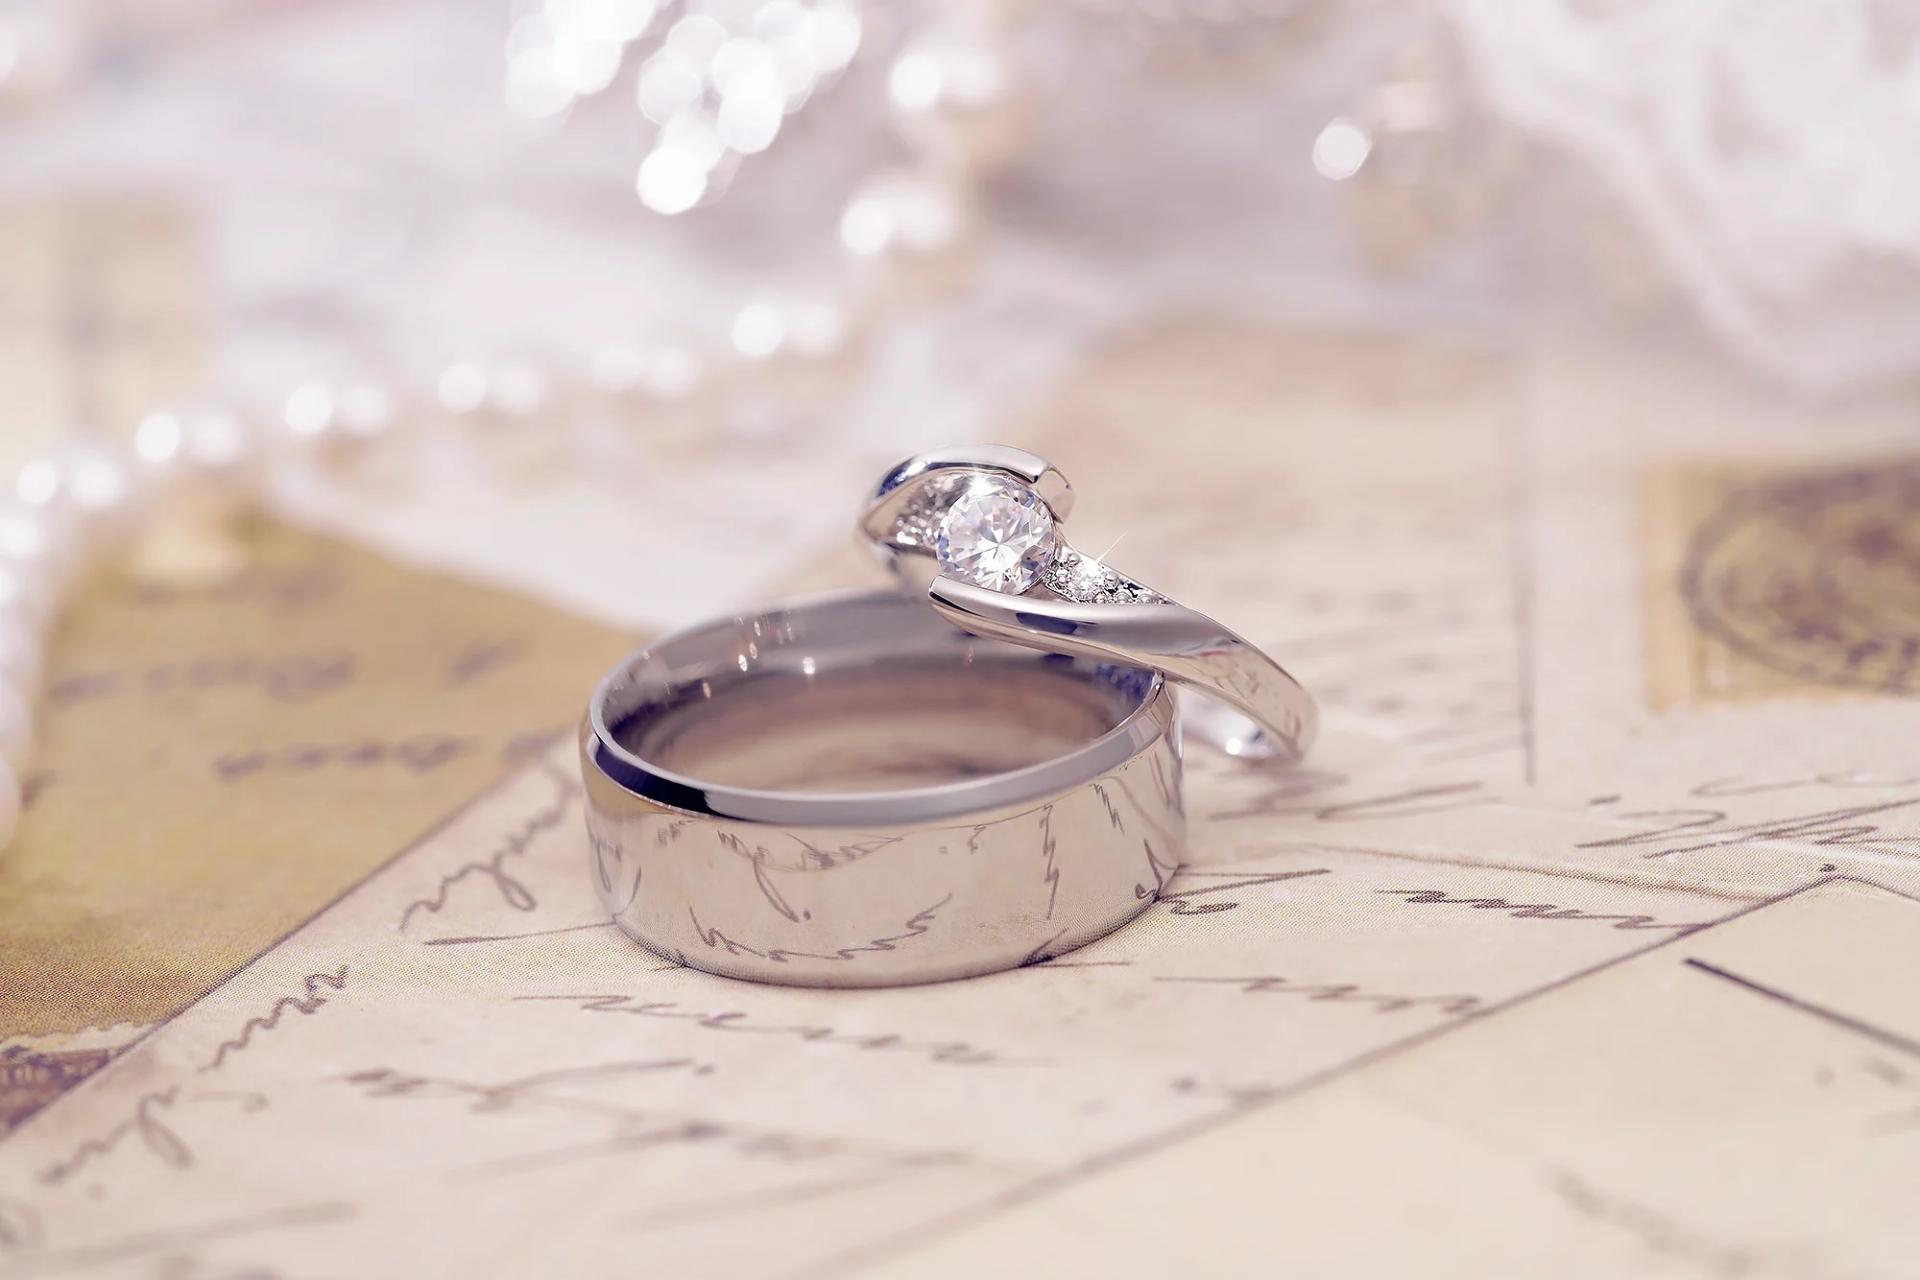
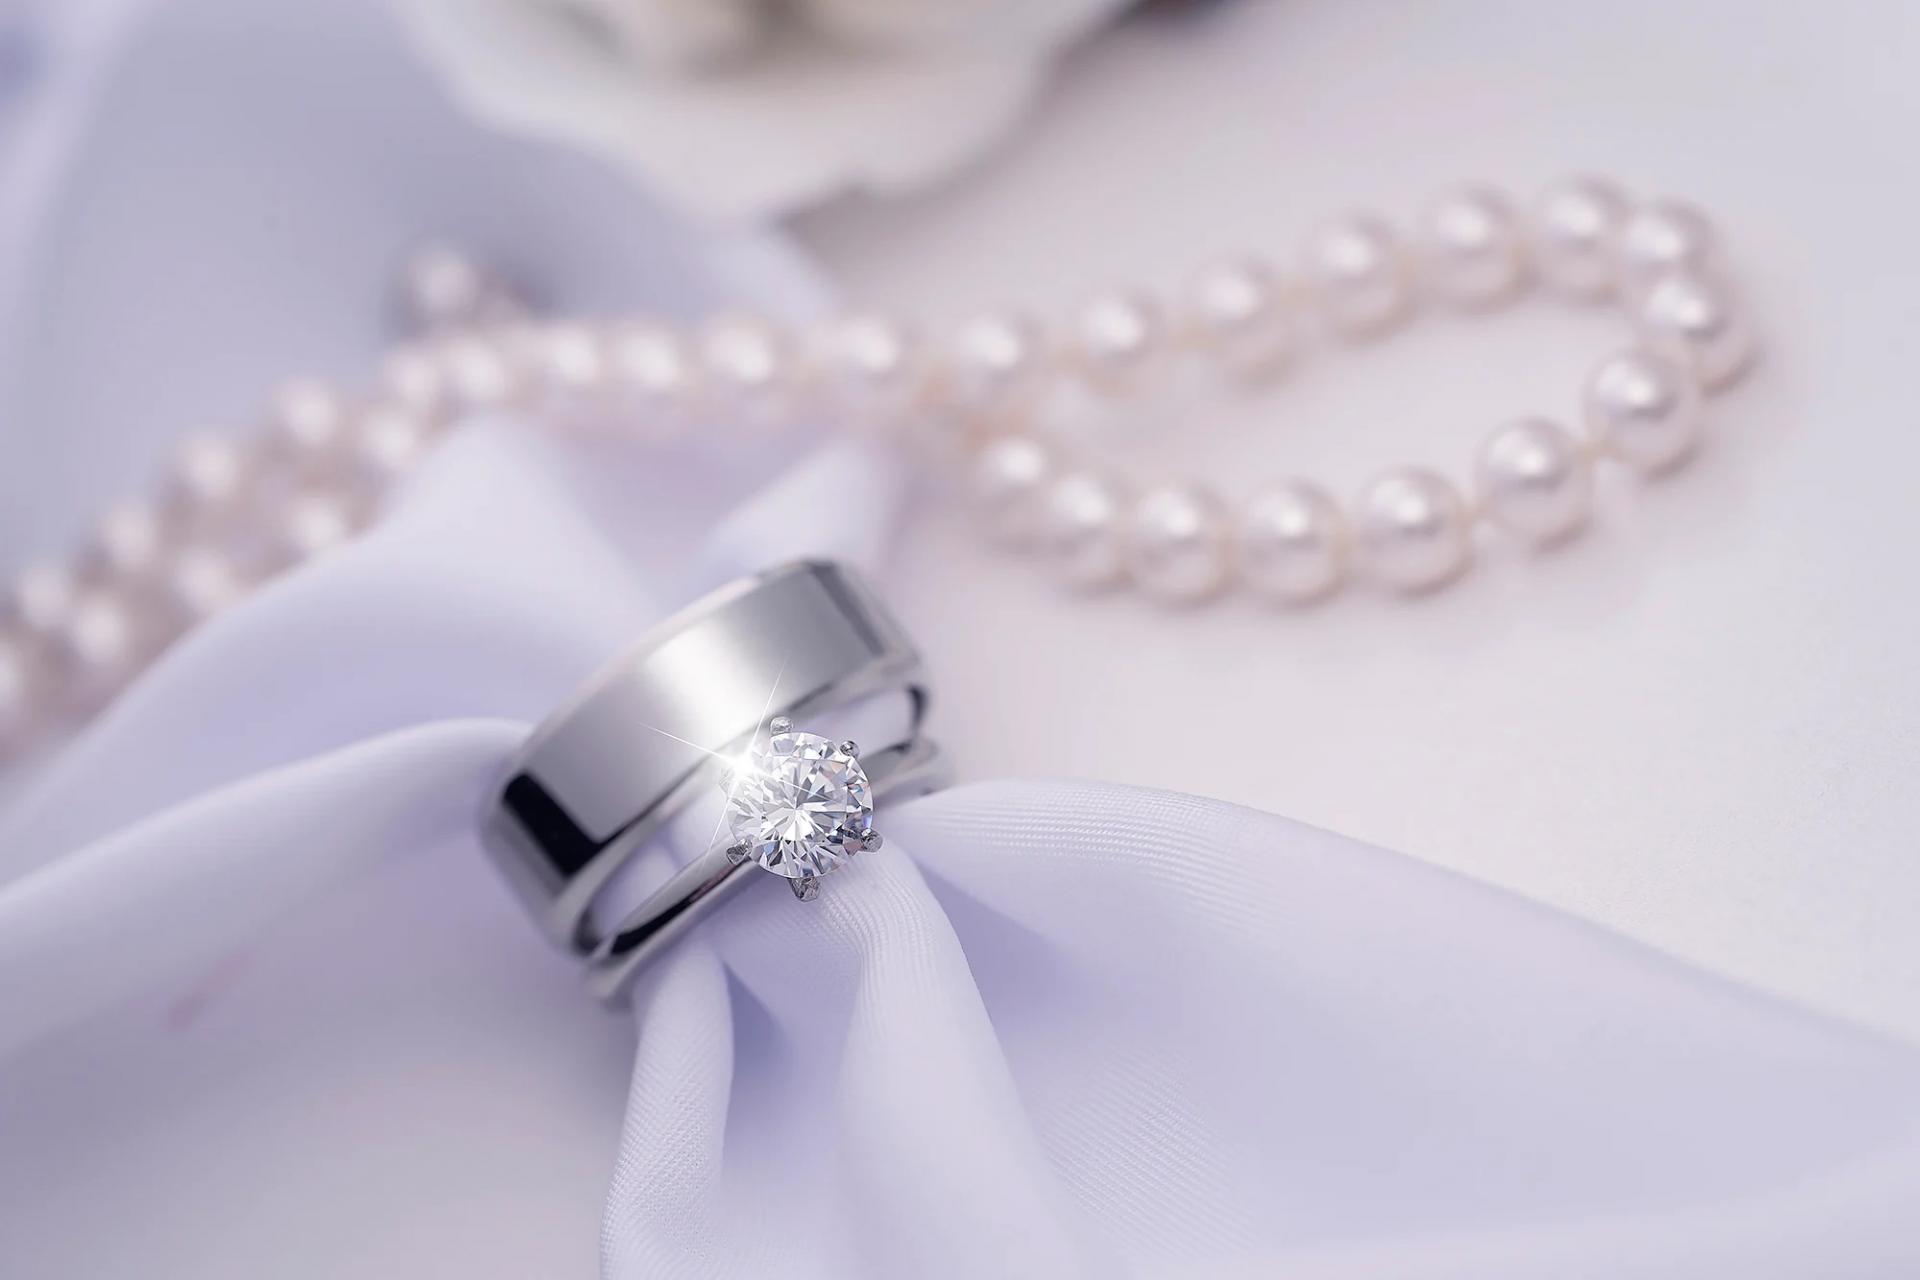
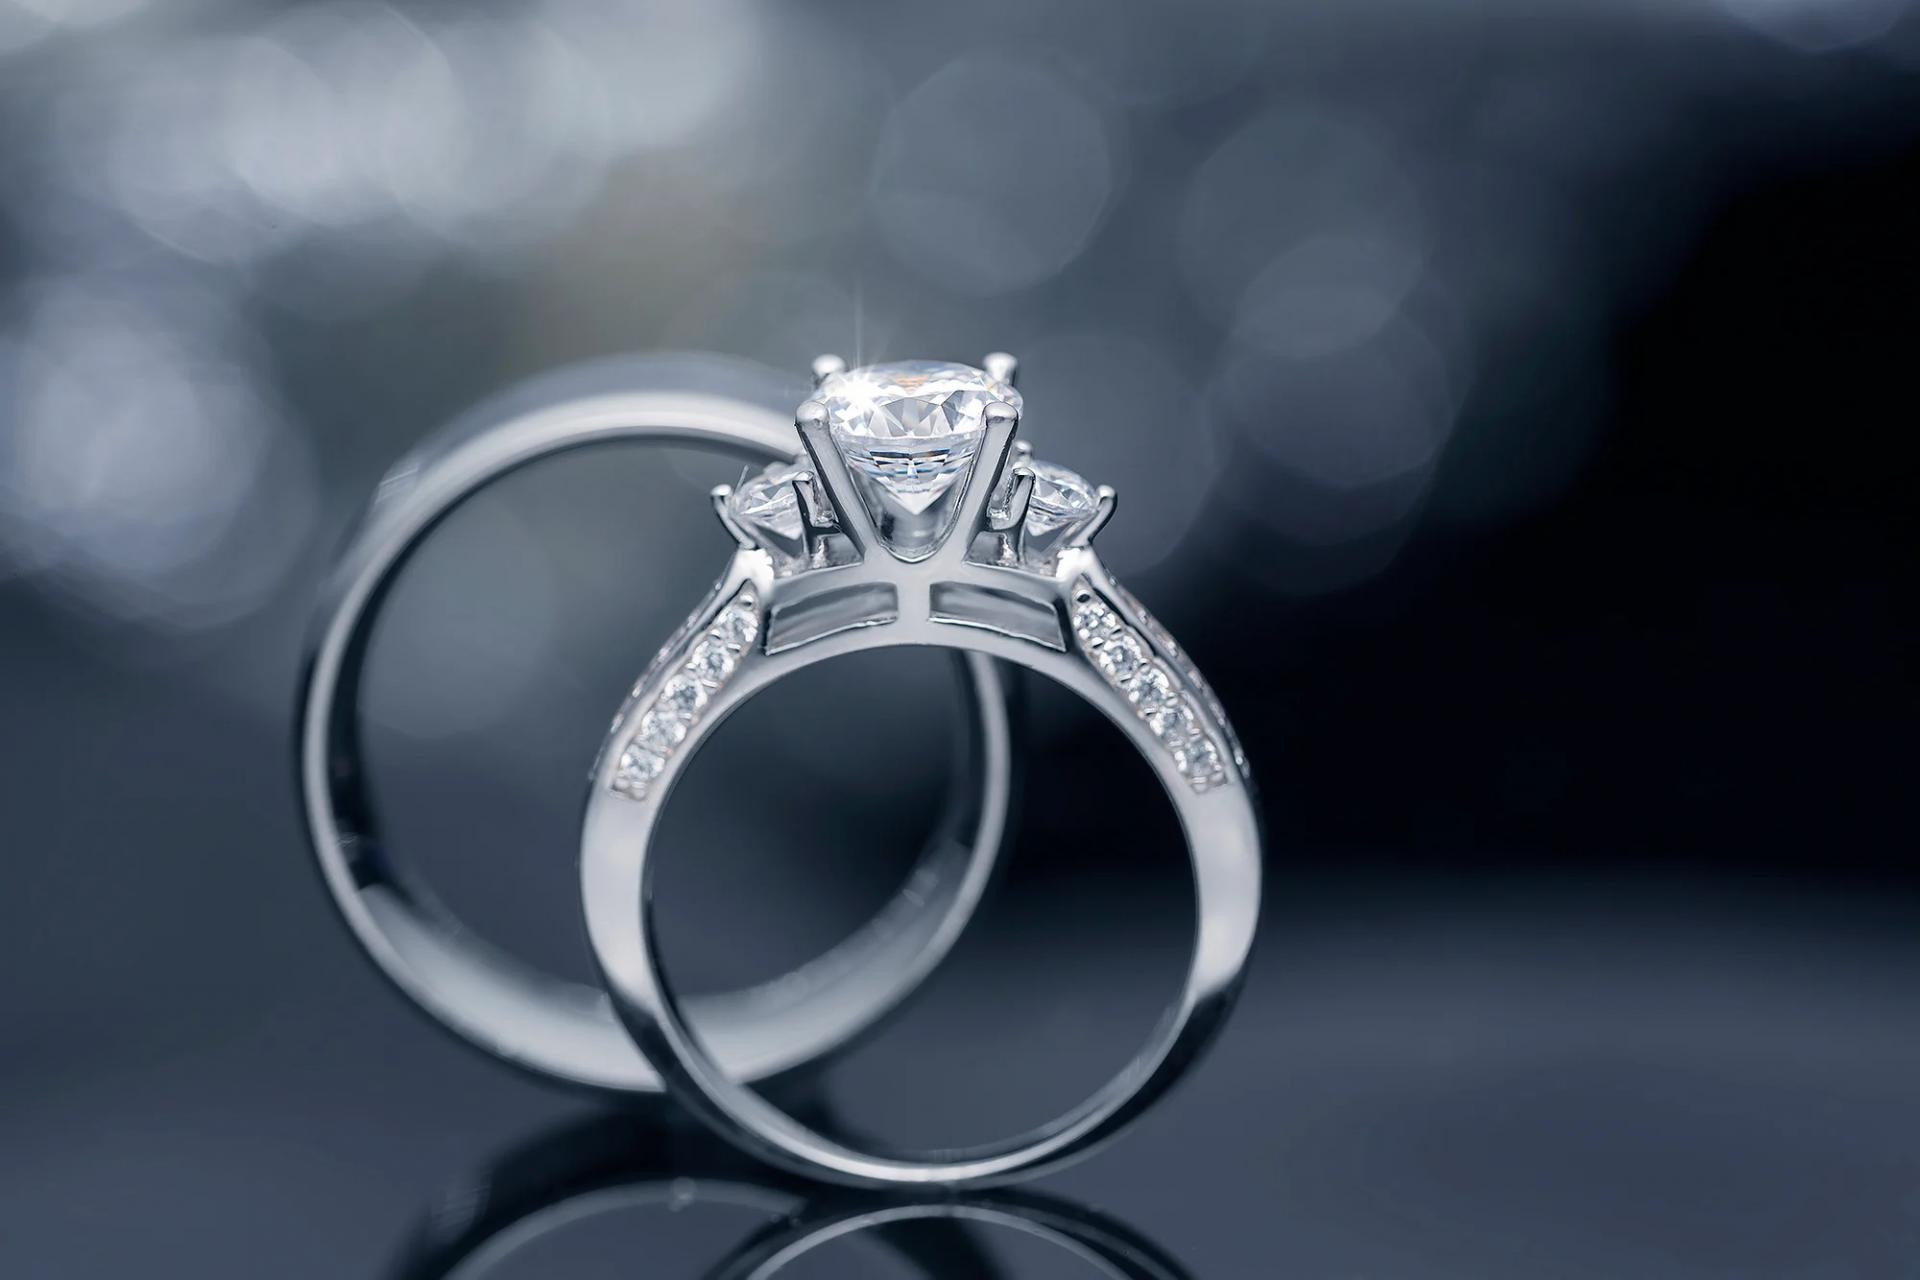
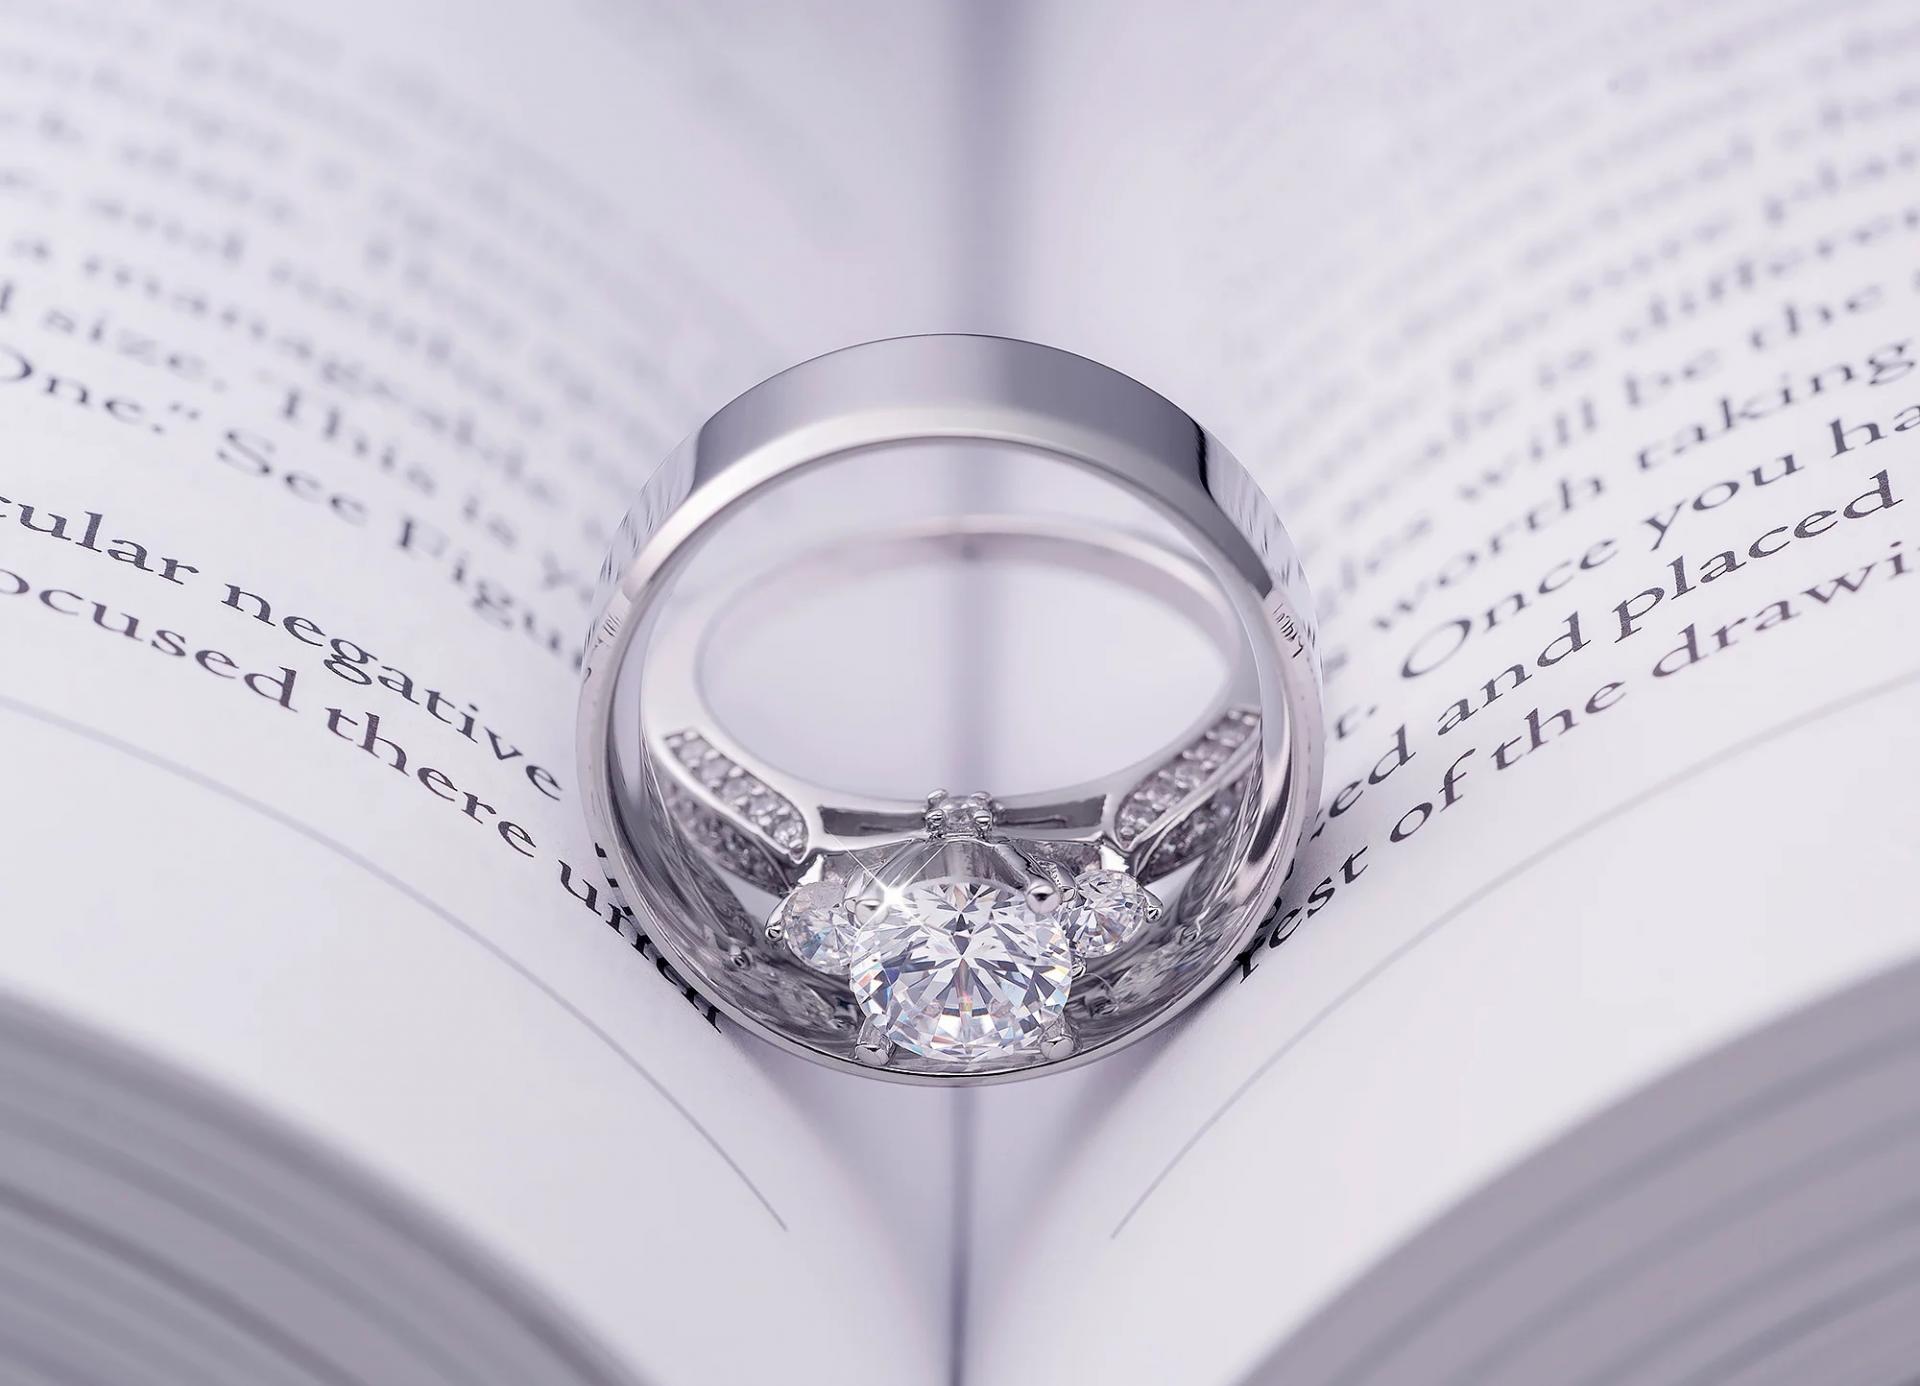
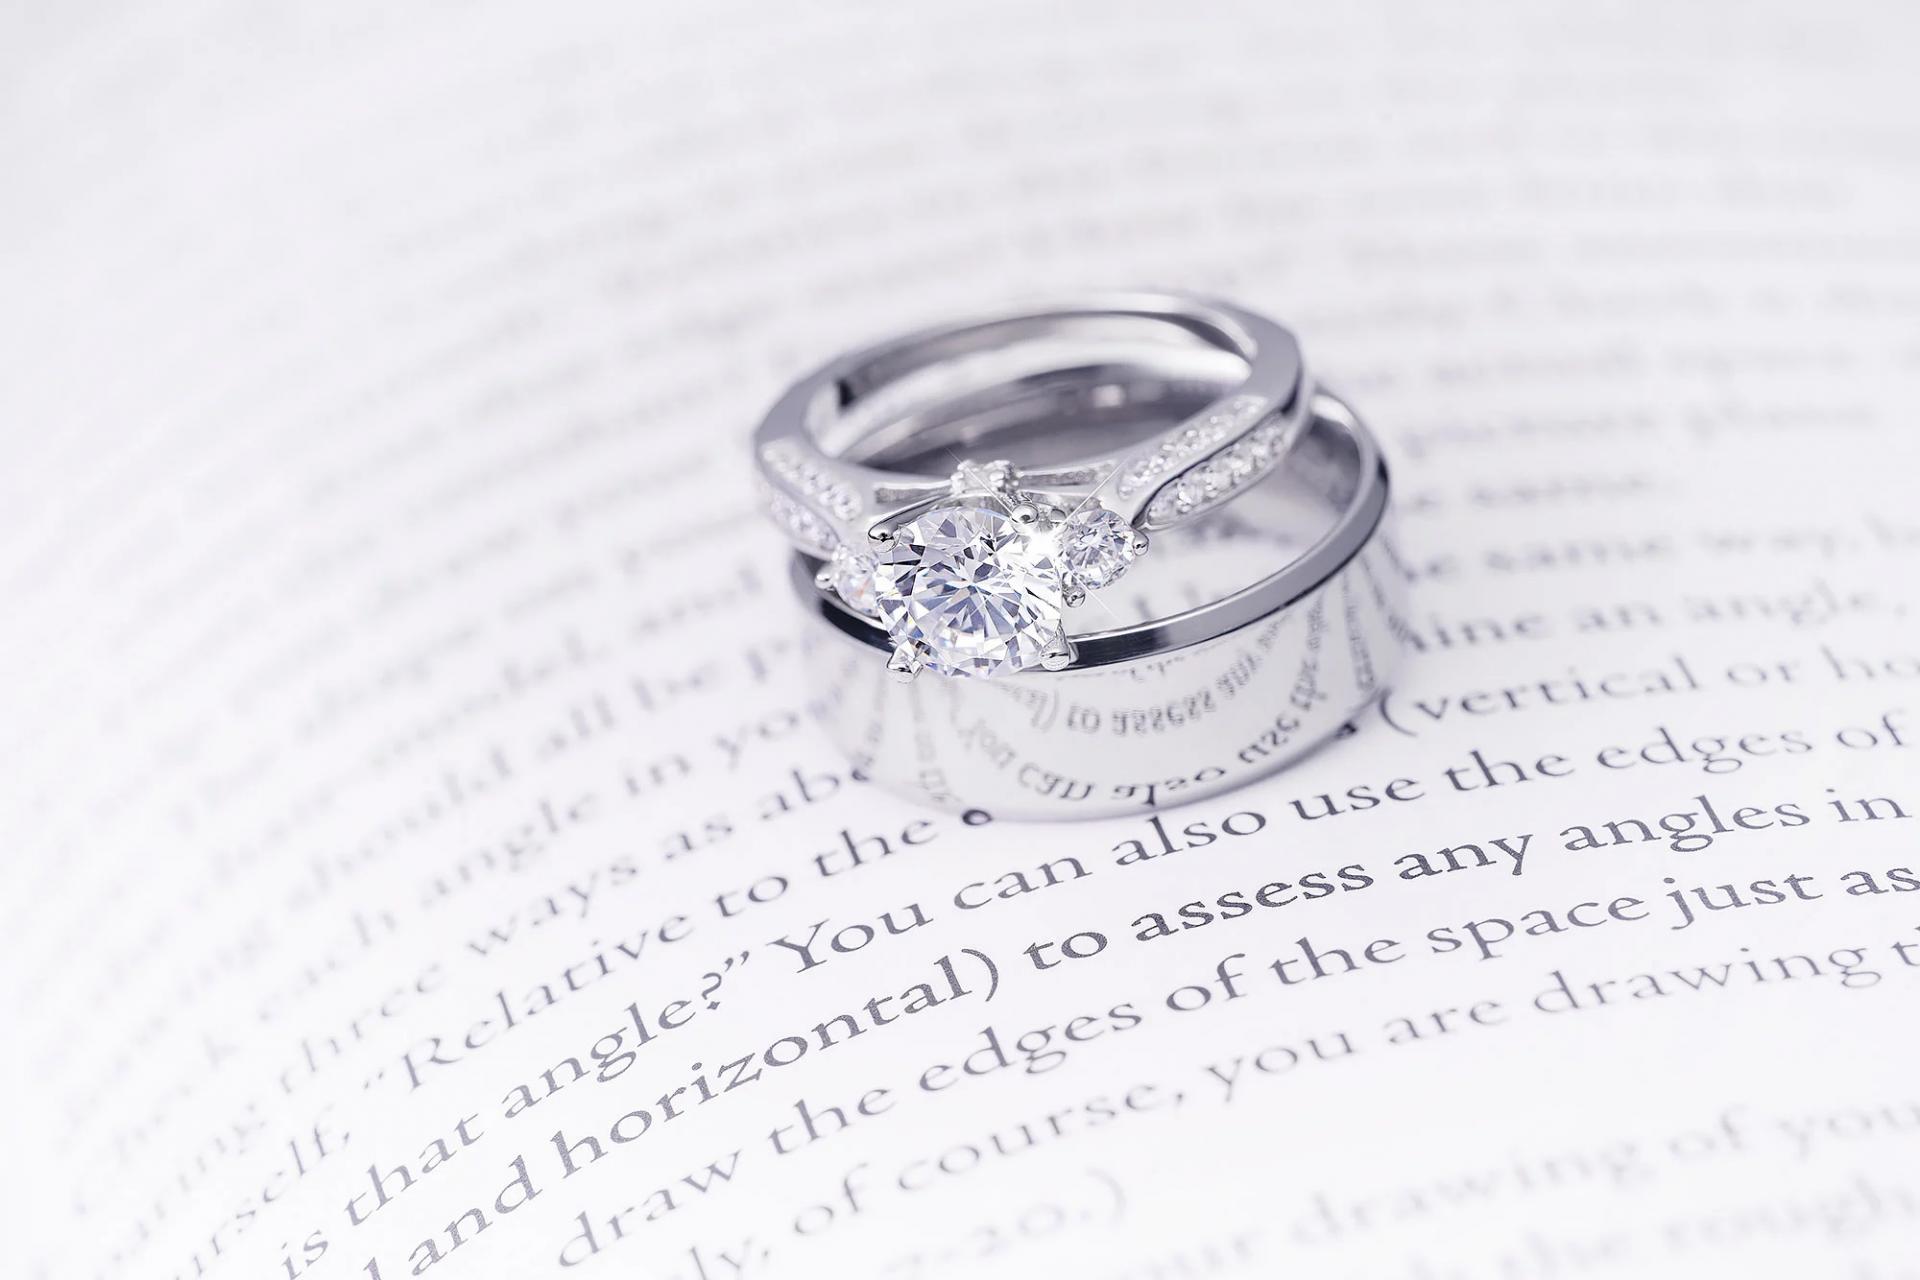
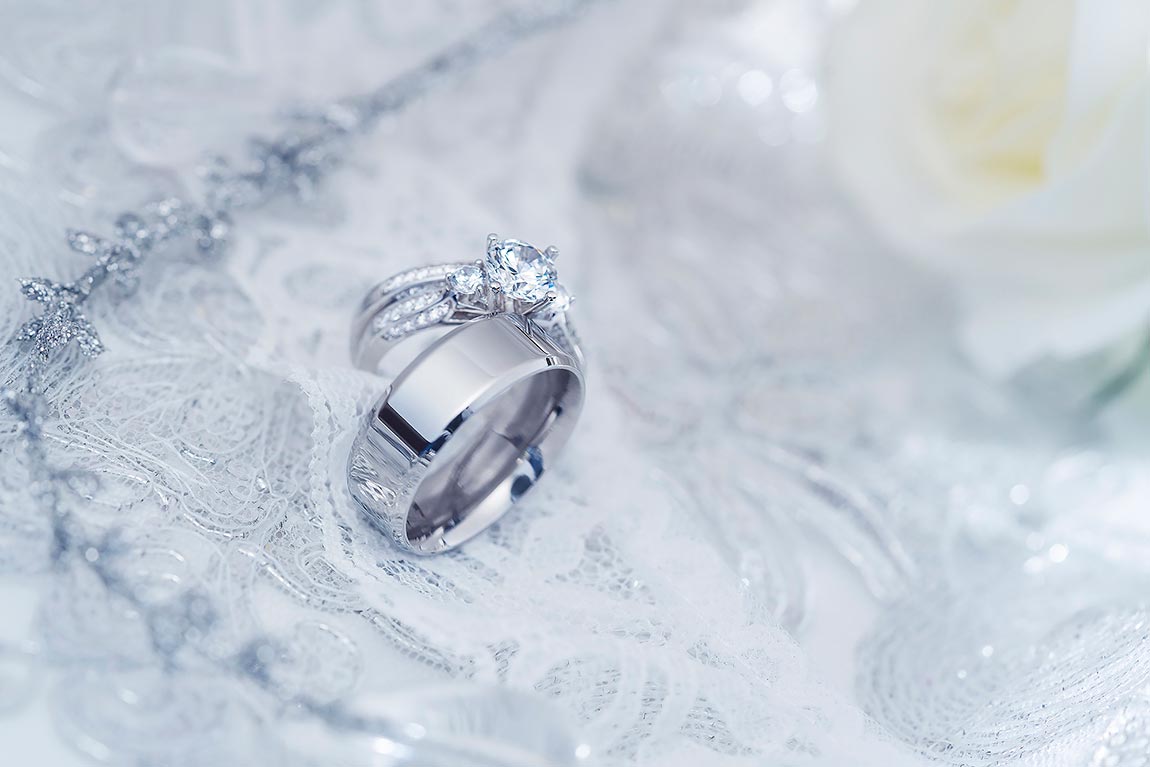
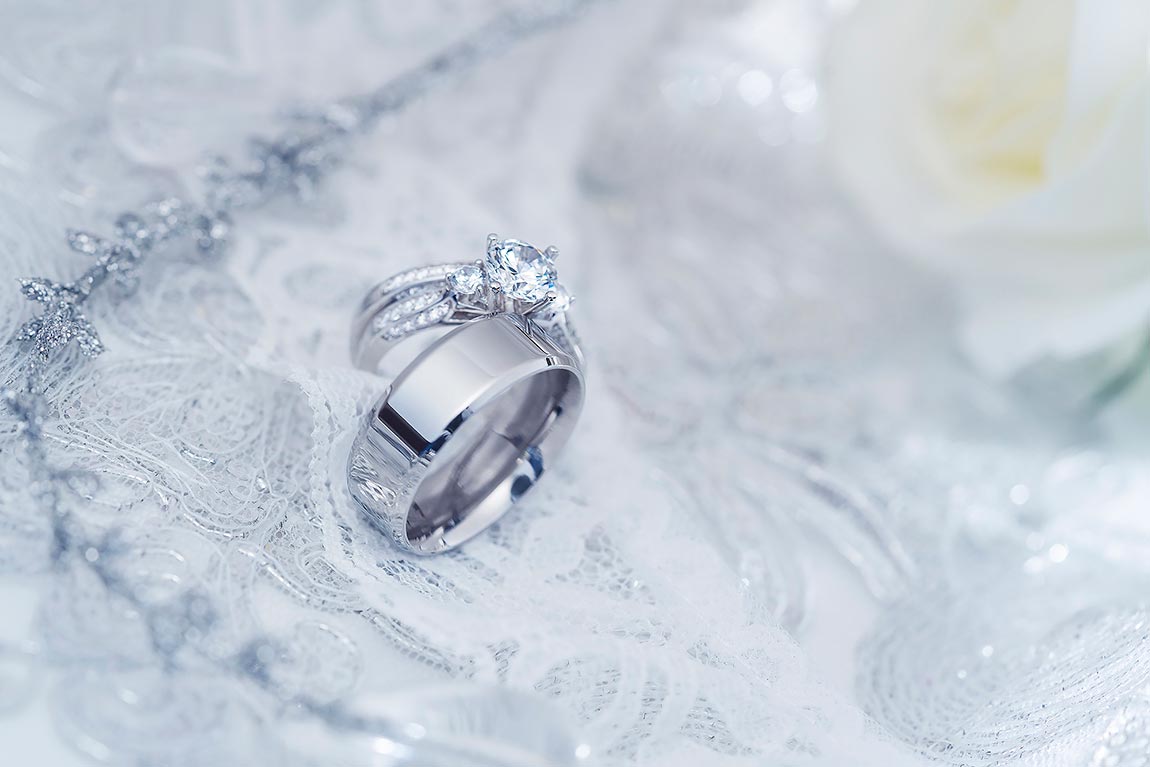
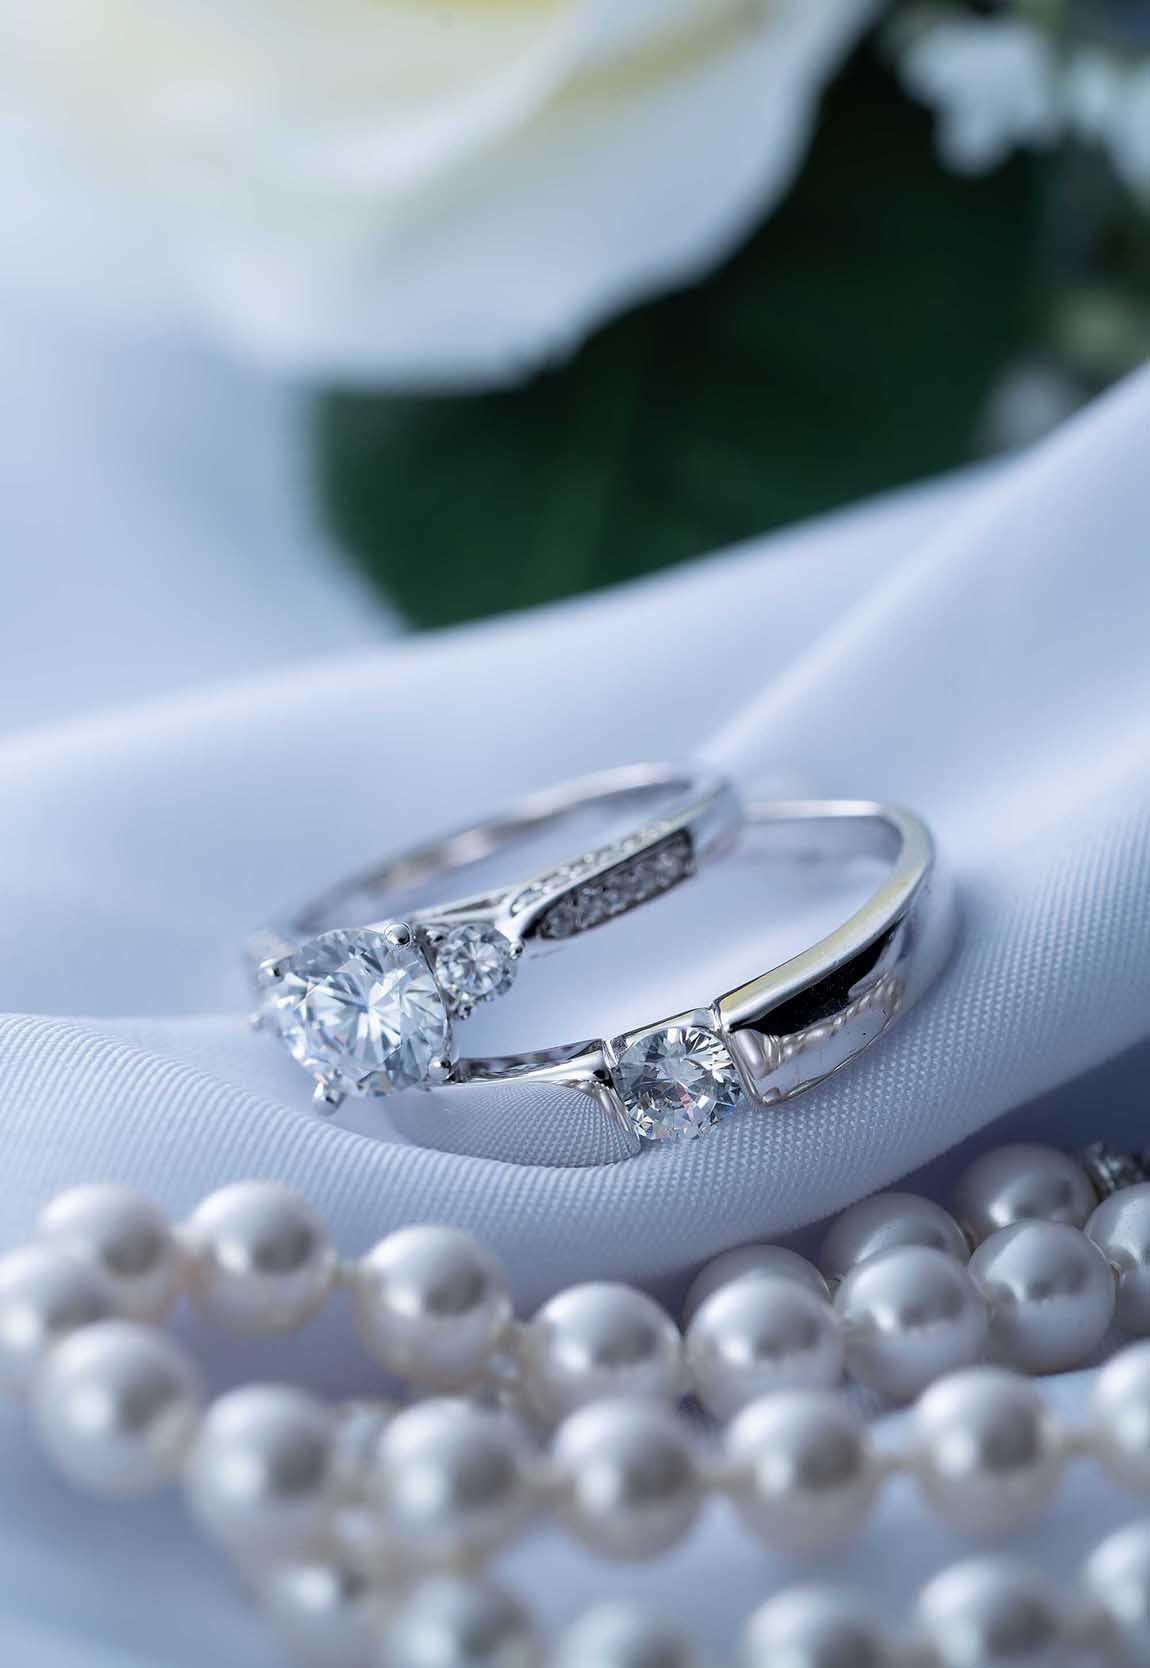
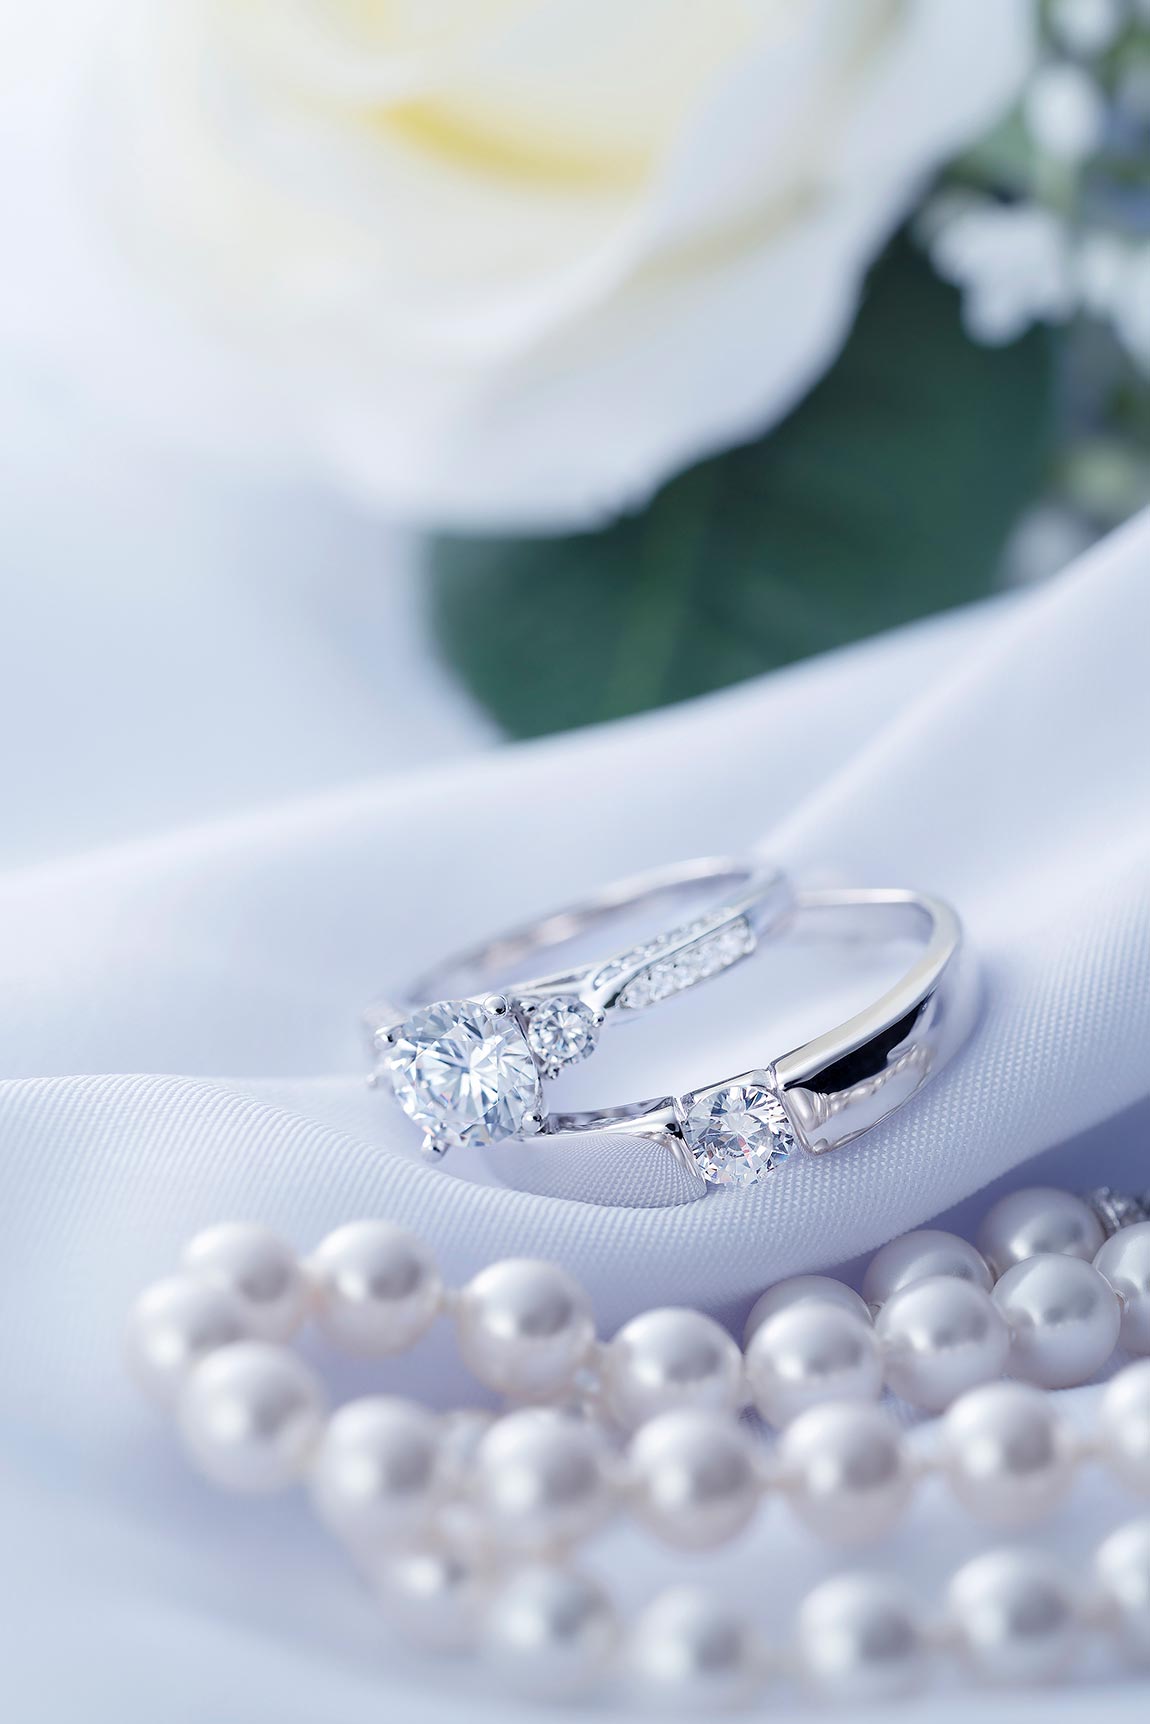
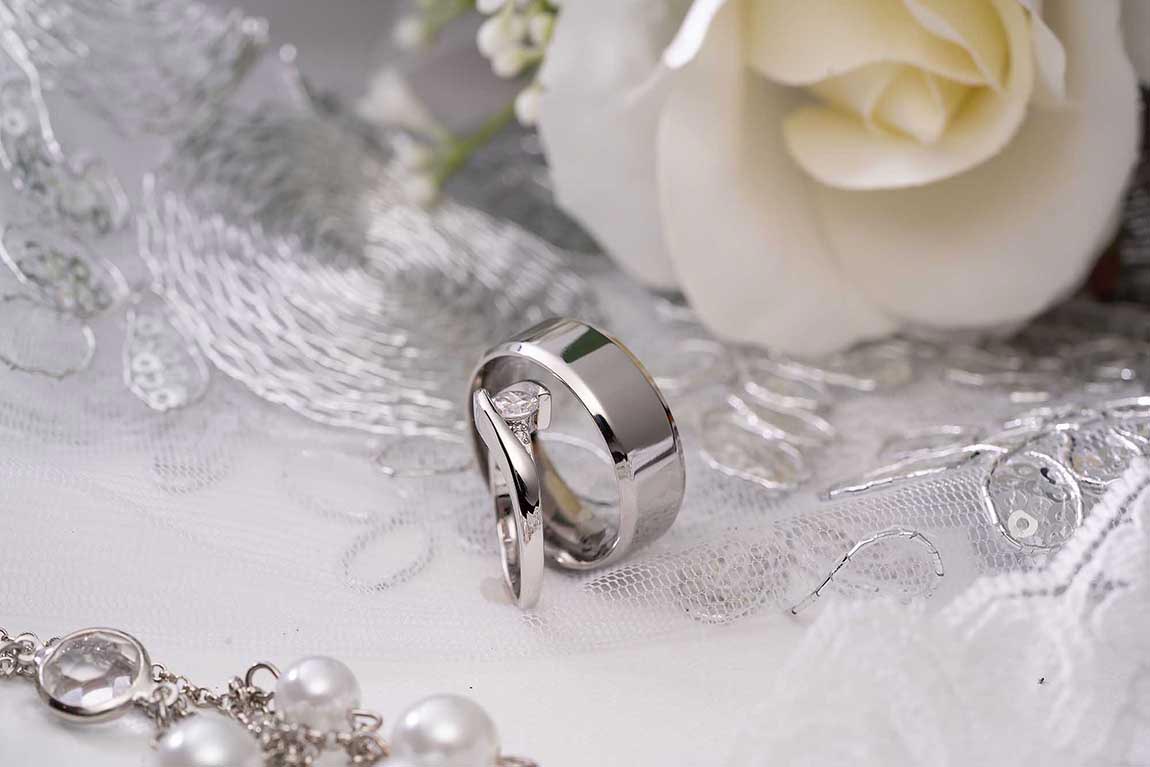
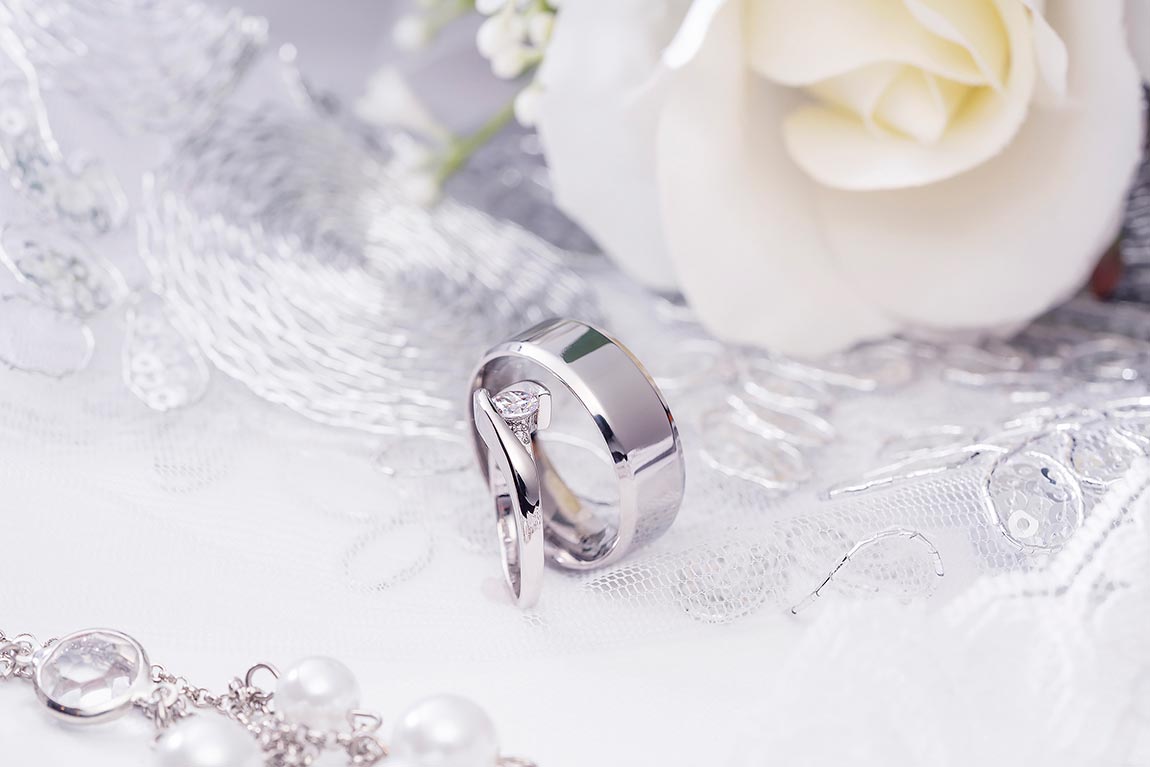
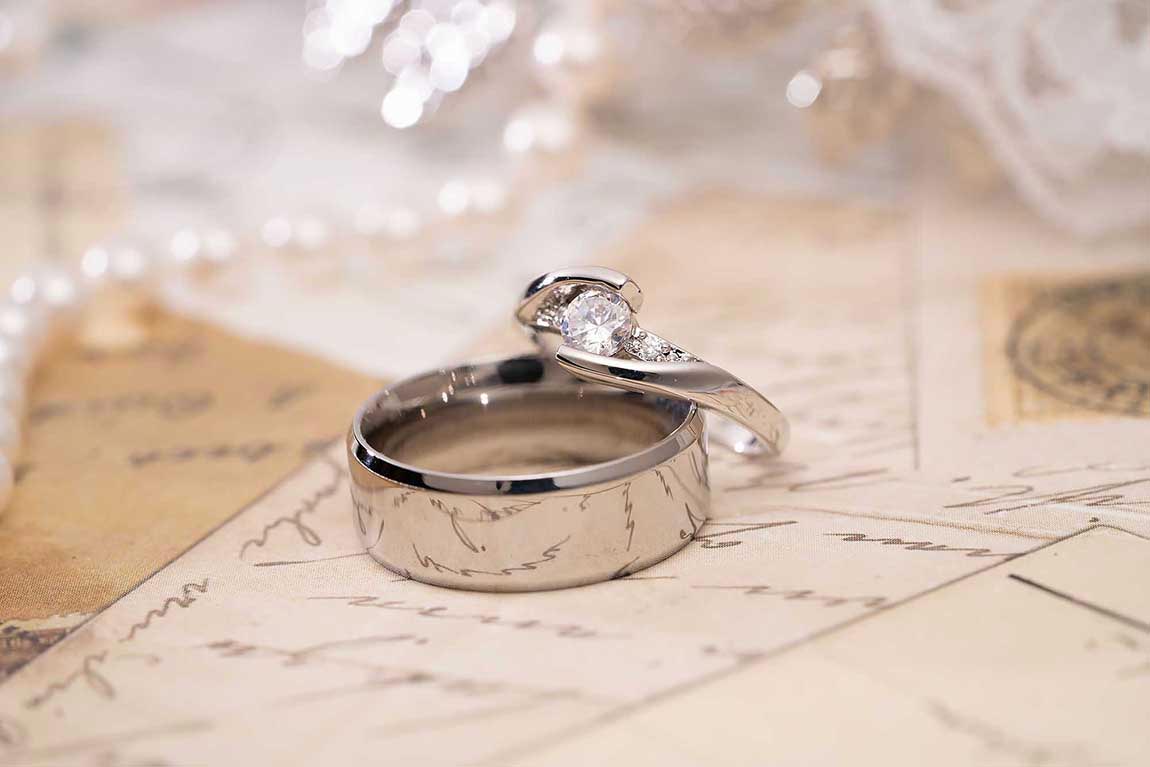
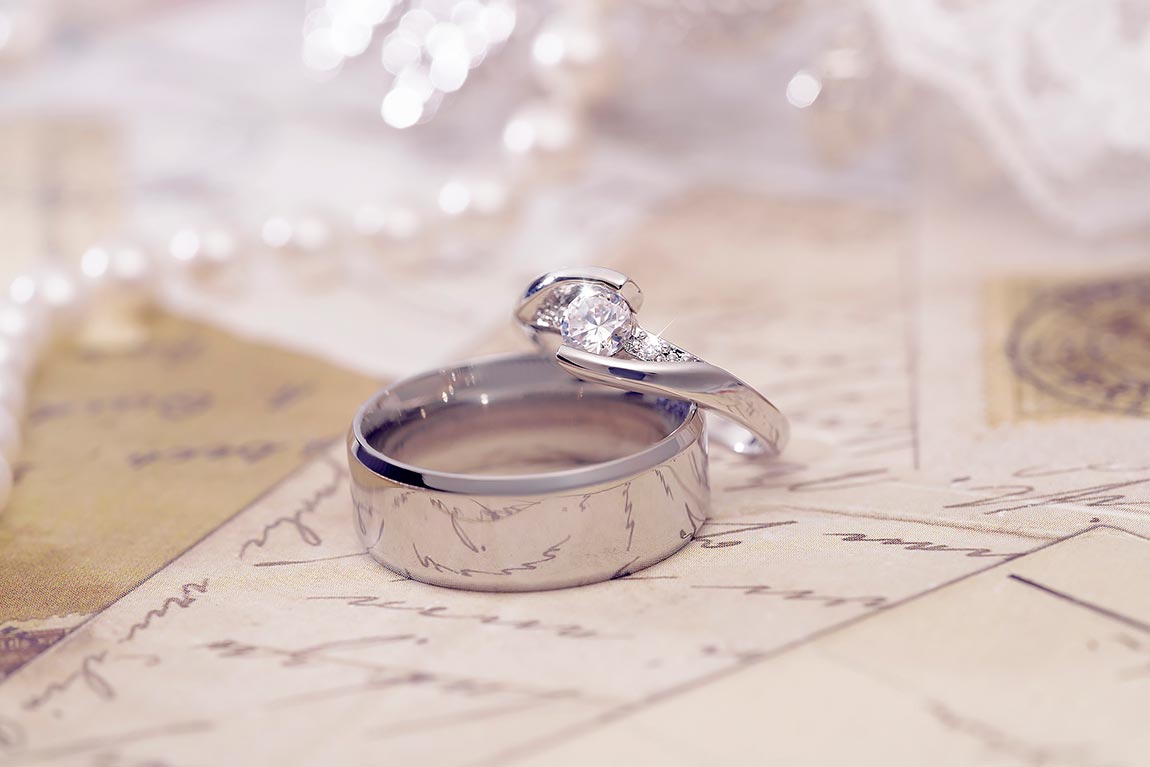
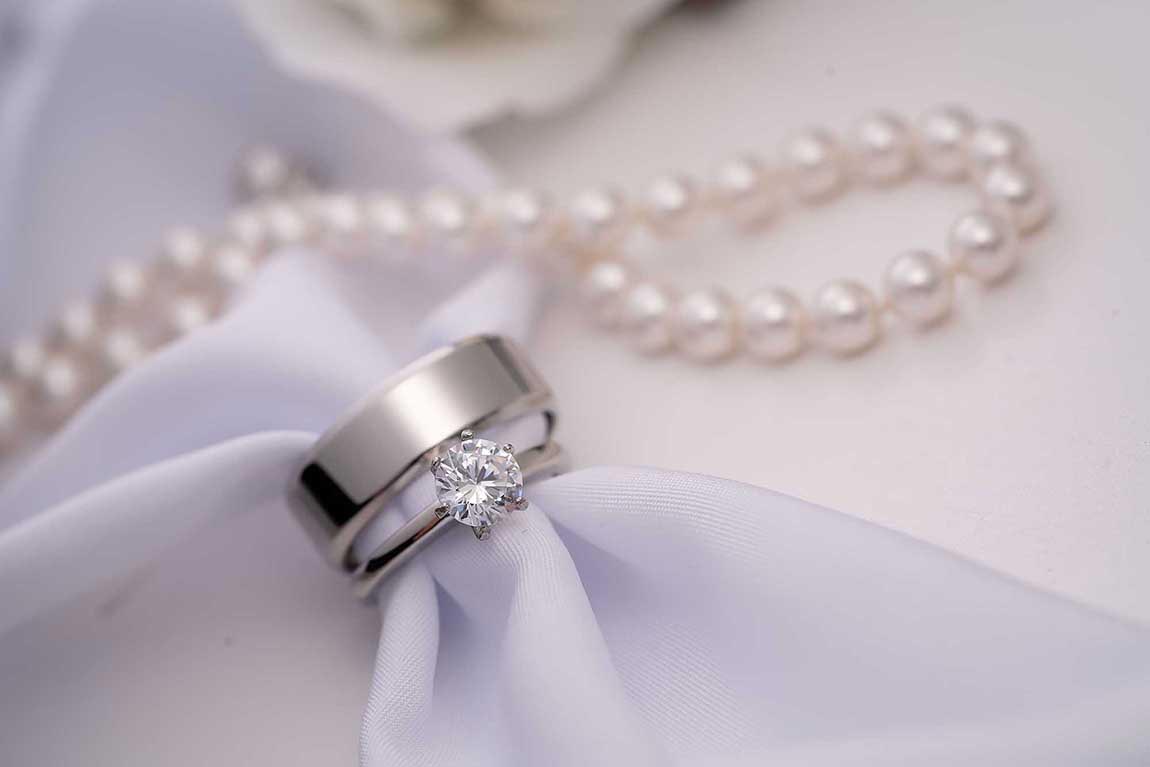
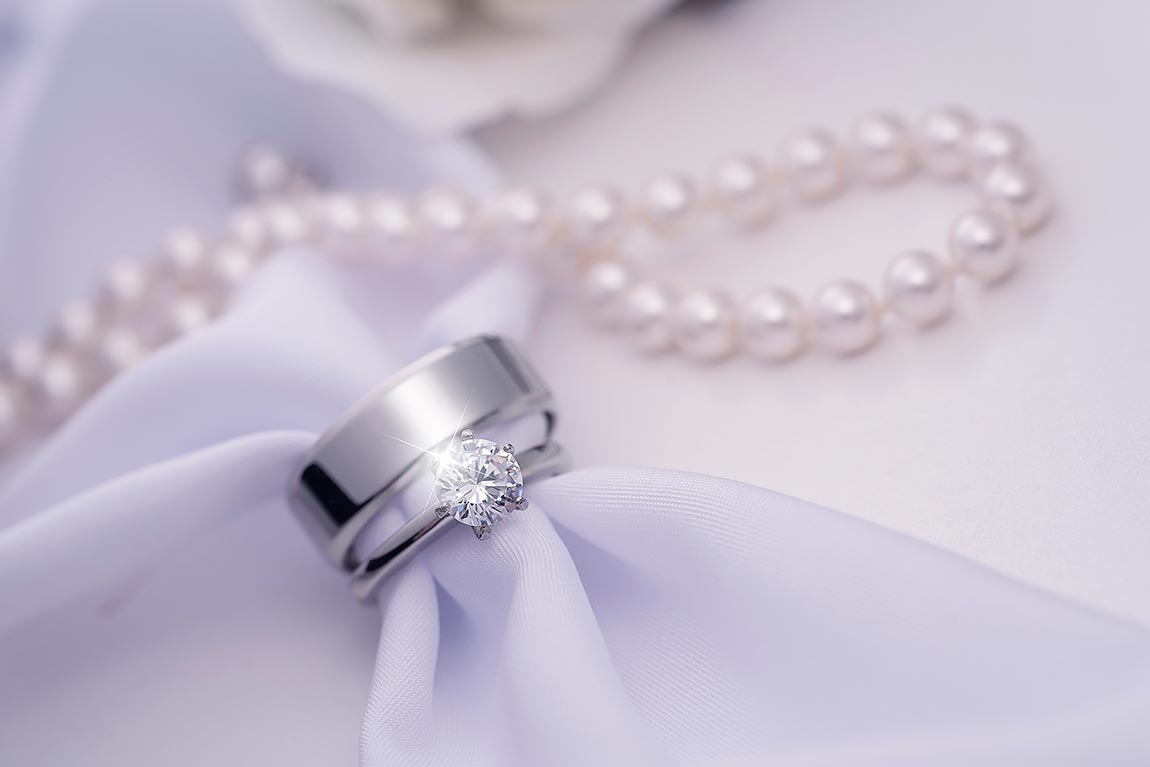
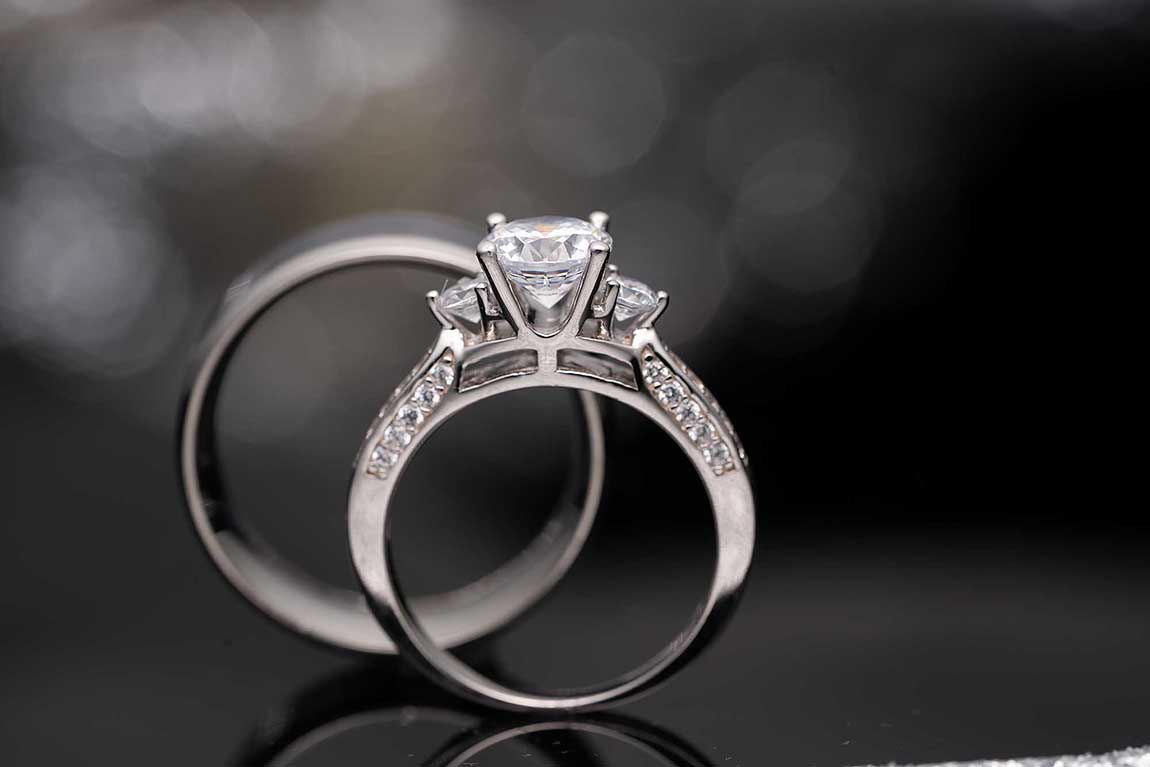
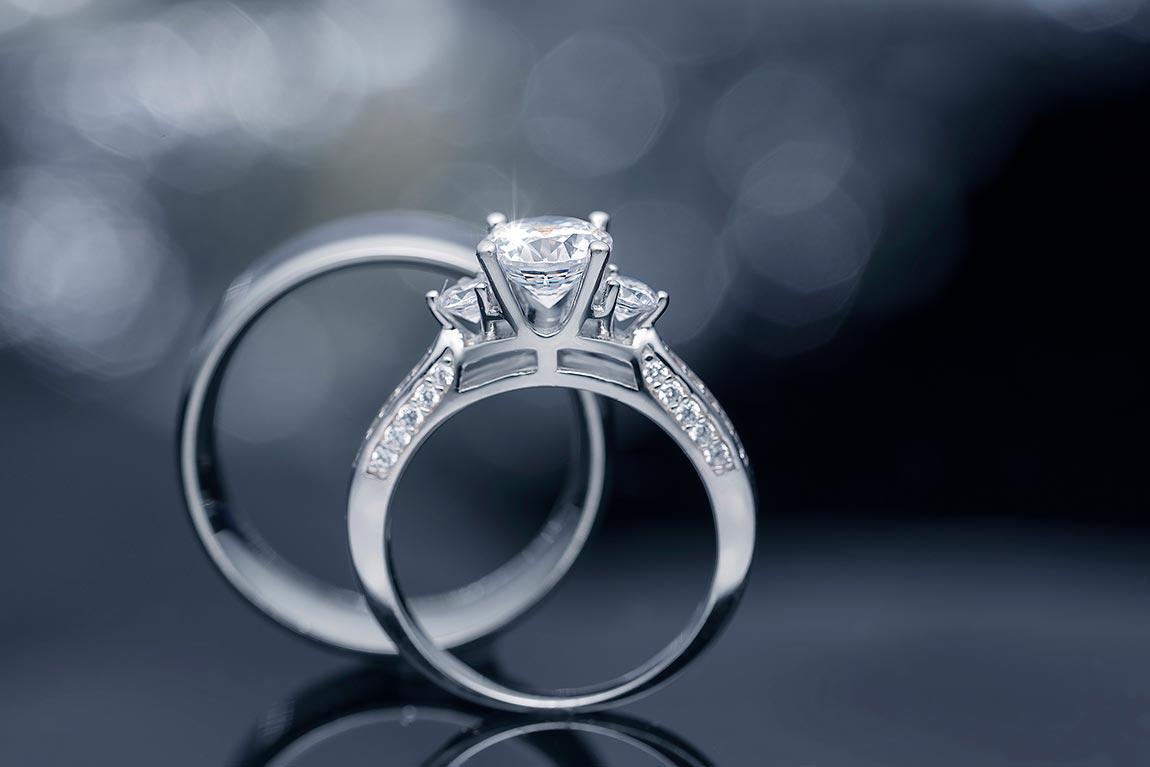
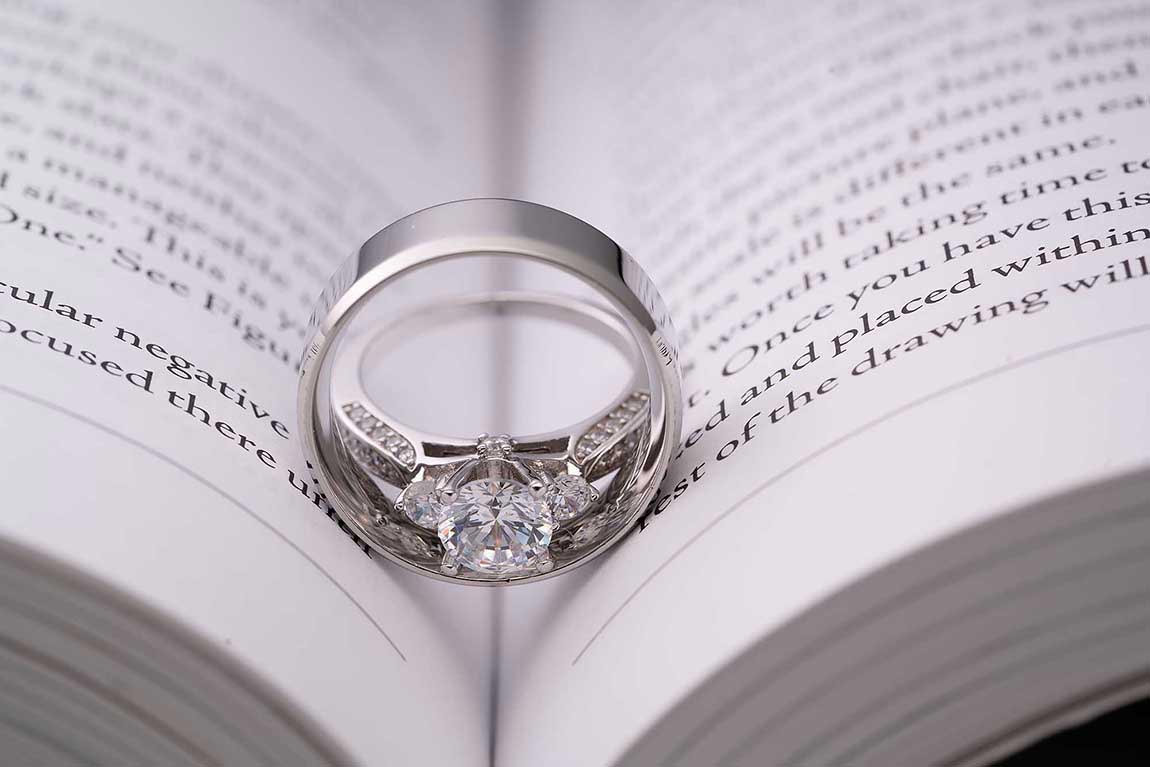
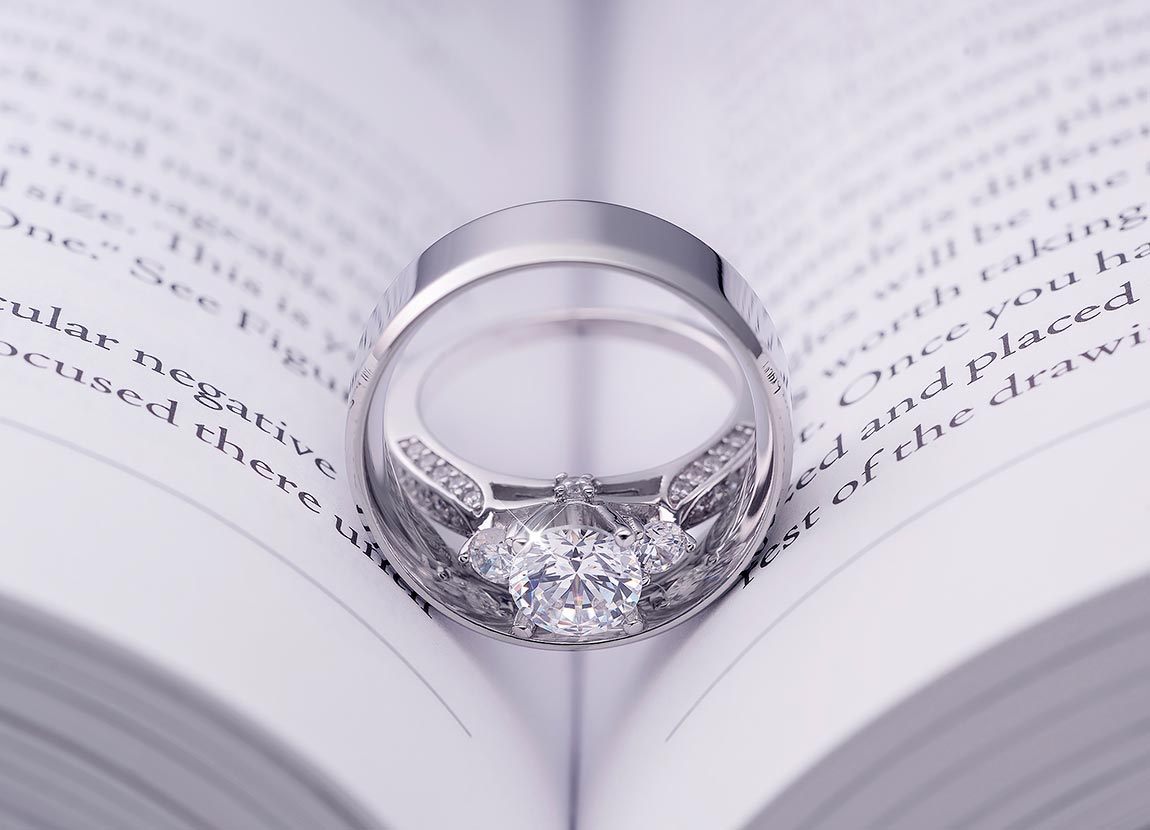
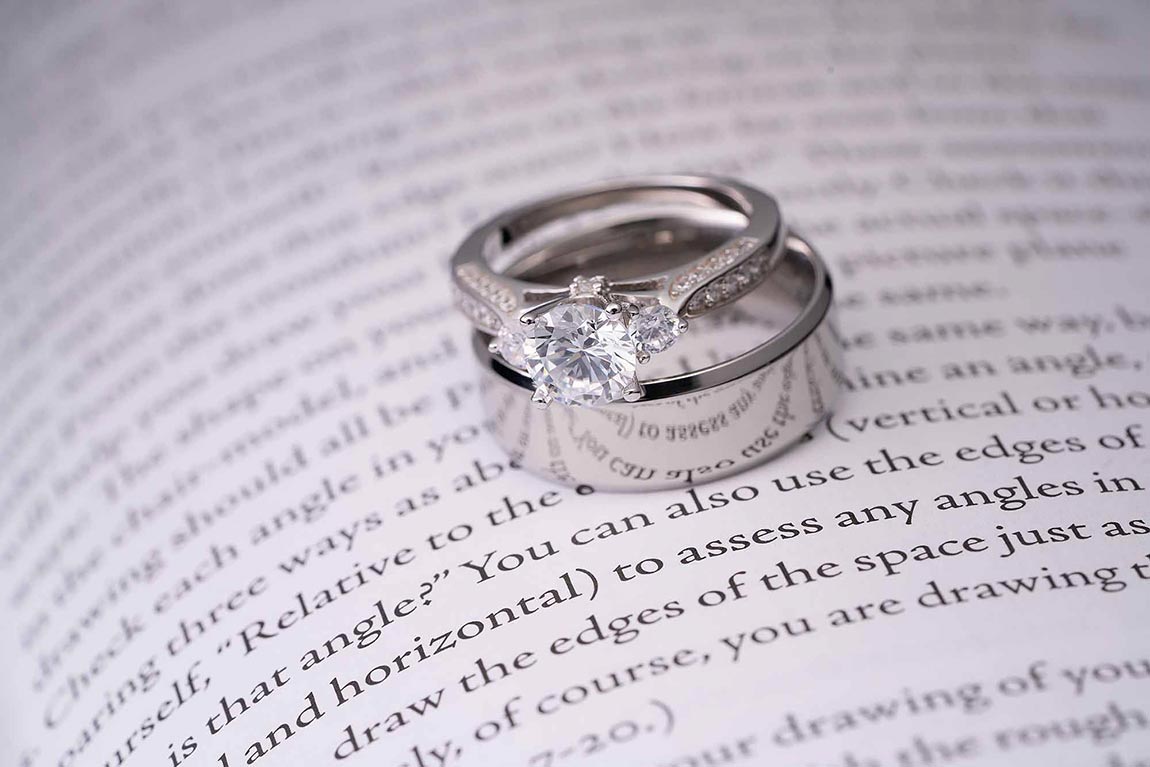
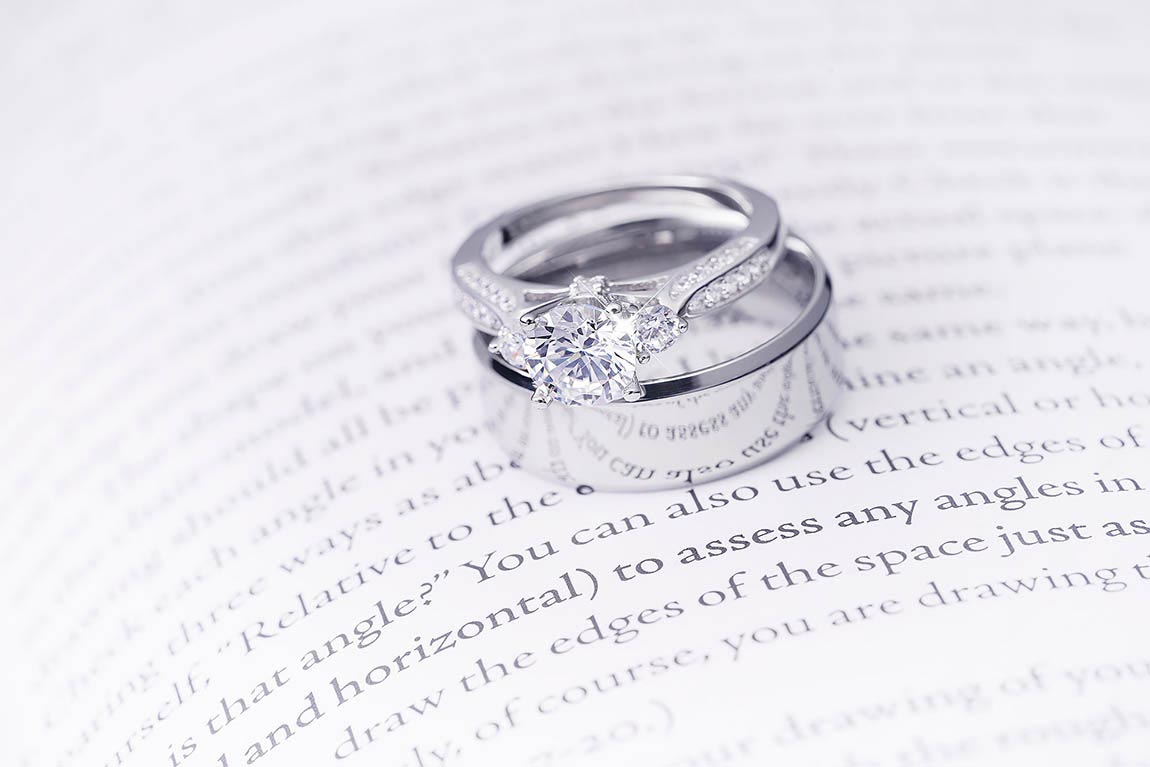
Sample photos from the program’s video lessons that you will learn.
Wedding photographers who are looking to improve the quality of their wedding jewelry detailed shots.
Craft makers who sell jewelry online (Etsy, eBay) who are looking to improve the quality of the images in their online stores.
Hobbyists and photography beginners who would like to learn jewelry photography without spending lots of money on studio lighting.
Course Curriculum
Part 1: Introduction and Gear for the Course
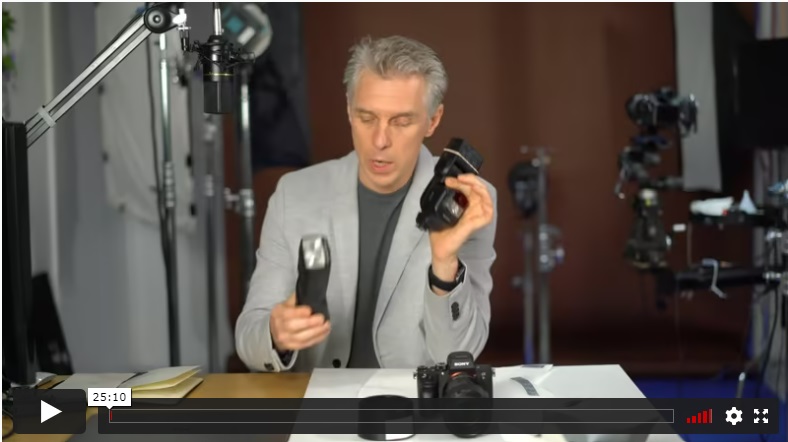
In this introductory lesson, Alex describes the gear you’ll need for the course. You will learn to how to shoot close-ups without expensive macro lenses, how an inexpensive TTL speedlight can help nail your shots, and even how to make a low-cost DIY diffusion sheet and DIY reflector for attachment to the speedlight.
Part 2: Lighting Theory
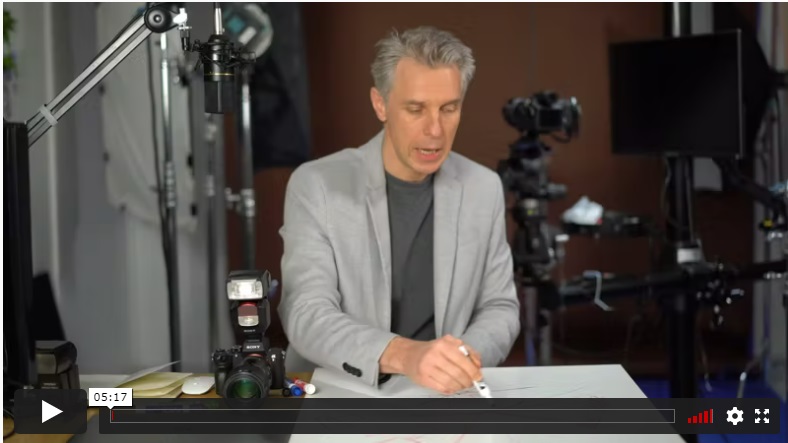
In this lesson, Alex presents what you need to know about lighting theory
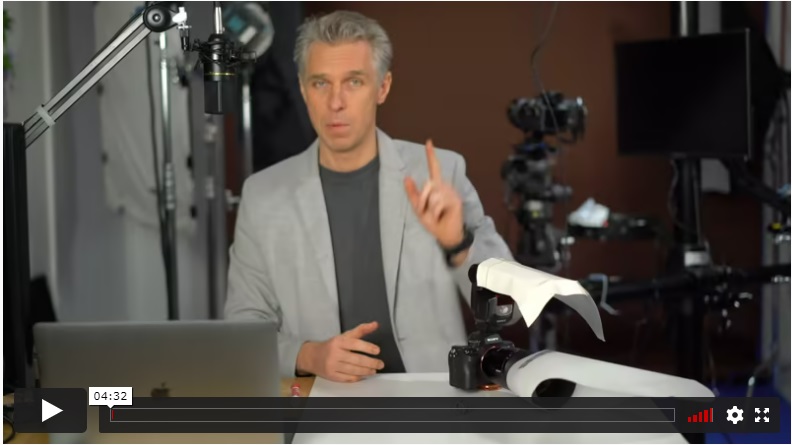
Alex dives in and provides a hands-on shooting emonstration of two rings.
Part 3: Shooting on Location, Day 1
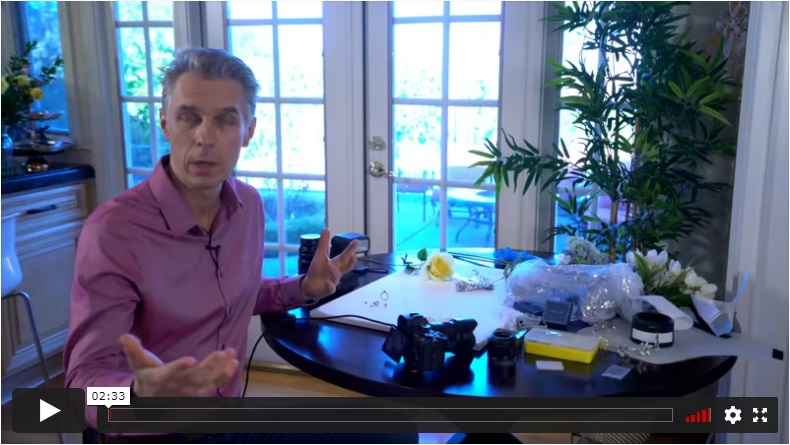
Alex demonstrates in a real-time his suggestions for working with mixed lighting.
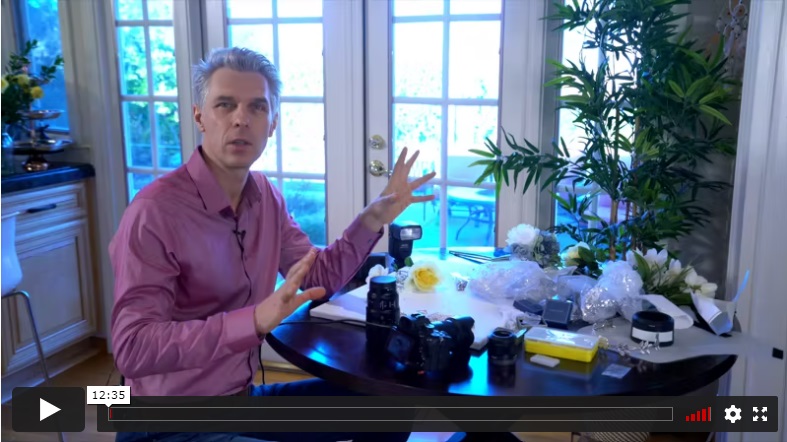
In this lesson, Alex starts by discussing a few accessories you might use when shooting. He then demonstrates why two speedlights are better than just one and shows how to make use of a speedlight's Through-the-Lens (TTL) mode. He wraps up by presenting the benefits of a true macro lens and covers additional camera settings.
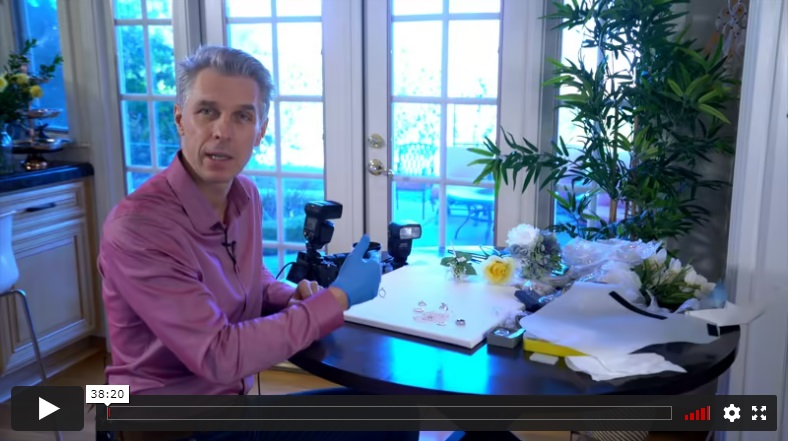
Alex kicks off this lesson by demonstrating ways not to shoot jewelry before showing how he uses the DIYdiffuser and reflector to achieve the desired lighting. He explains how to create gradients and the importance of the inverse square law. Next, using a man's ring, Alex demonstrated how the position of the rings affects the final image.
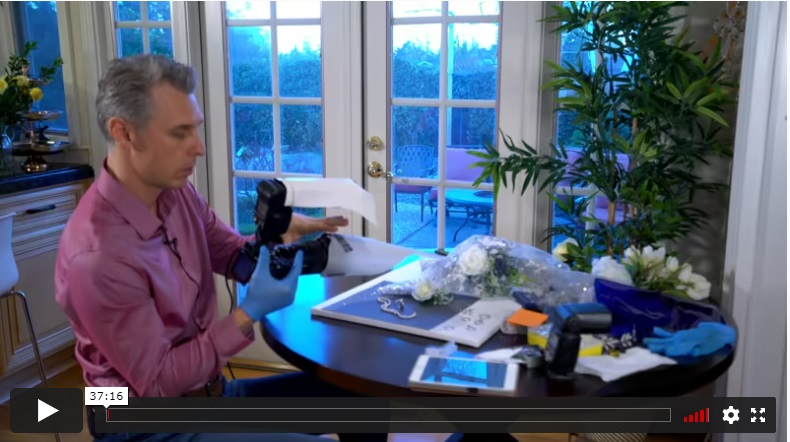
Alex discusses the need for a variety of props to get interesting shots. He then walks through setting up and styling a group to achieve an attractive result. He demonstrates how the camera settings as well as the position of the camera, diffusion, and light all affect the final image.
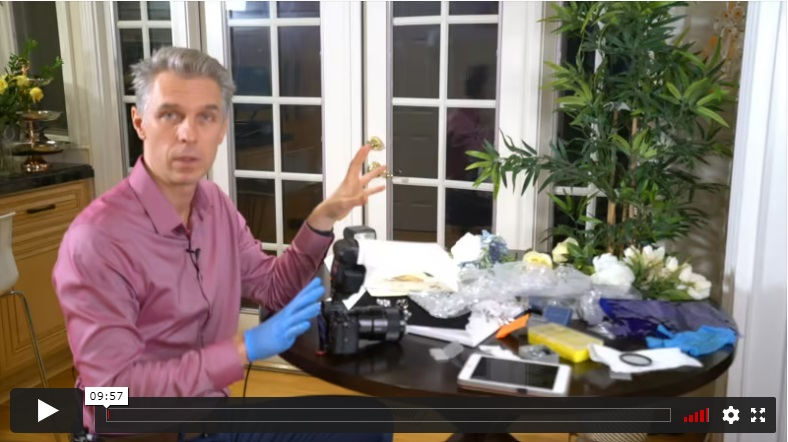
Alex works with a new composition using the previous lighting setup, this time exploring the effects of a starburst filter.
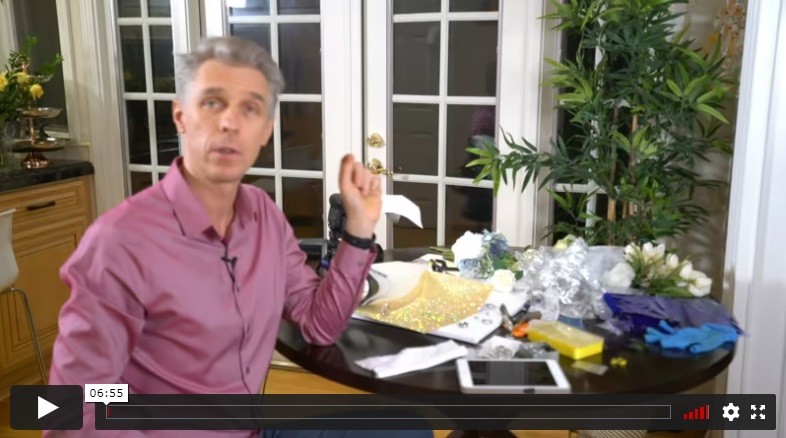
Alex demonstrates more propping and styling with a sparkle background and shows you how to bring out the bokeh effect with a second light.
Part 4: In-Studio Shooting, Day 2
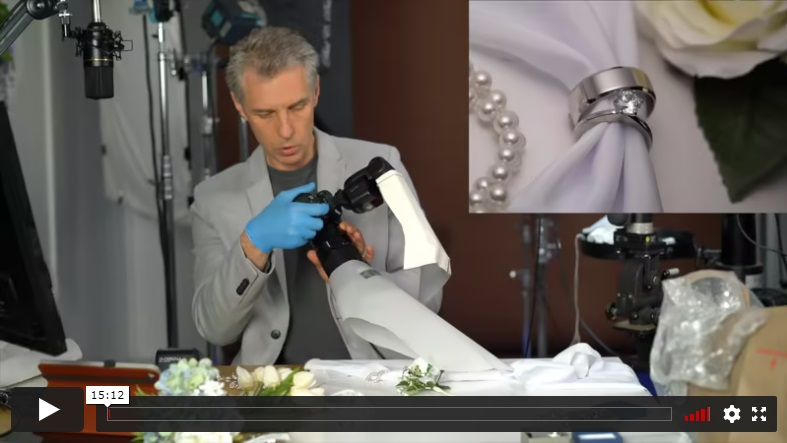
Alex shows the need and advantage of giving forethrought to your styling and compositions, shooting with one nd then two speedlights, comparing the resulting images.
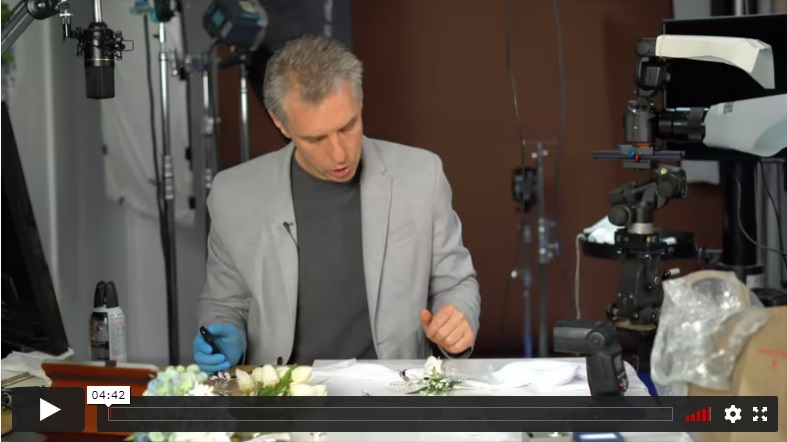
Alex provides a real-time demonstration of how to work with a pearl, fabric, and gemstone composition using speedlights.
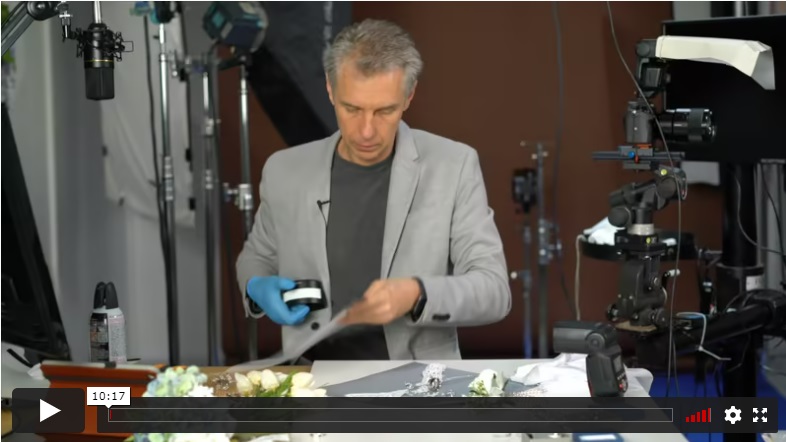
Alex explores top down compositions and adds a new DIY cone, shooting with a single light.
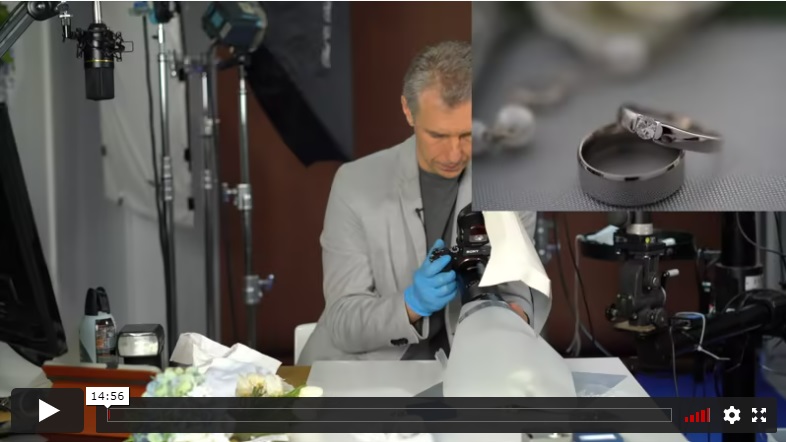
In this lesson, Alex explores issues created by ring position, lens reflection, background reflection and the addition of another light. He also contrasts shooting in manual mode vs. AV mode with exposure compensations.
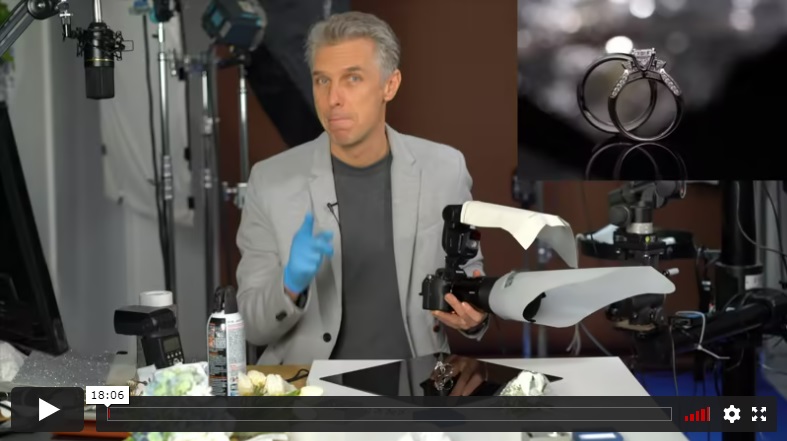
Alex shoots rings on glossy black plexiglass and shows how various positions of background and foreground reflections affect the image. He demonstrates one and two-light results, agin comapring manual and AV shooting modes.
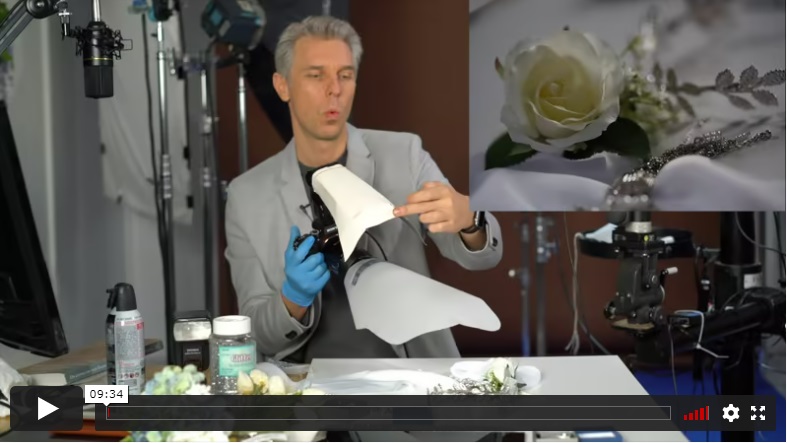
Alex explores shooting rings set in an open book and tries one or two light setups. He also tries shooting rings on their side on the page. He explains how the techniques shown will work on far more than just jewelry with certain limitations.
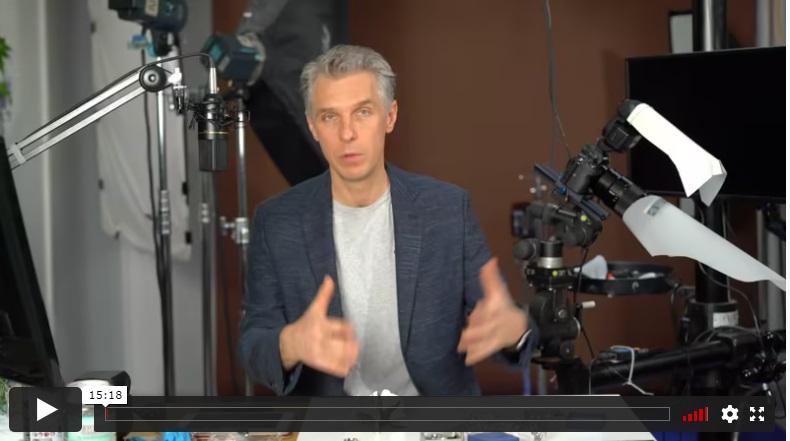
In concluding the shooting lessons, Alex re-evaluates the way the DIY diffuser and DIY reflector interact to create the lighting and discusses how understanding the laws of reflection will assist in getting the desired images quickly. He reviews the importance of composition and the benefits of using a second light source and stresses the importance of personal creativity in photography.
Part 5: Post-Production
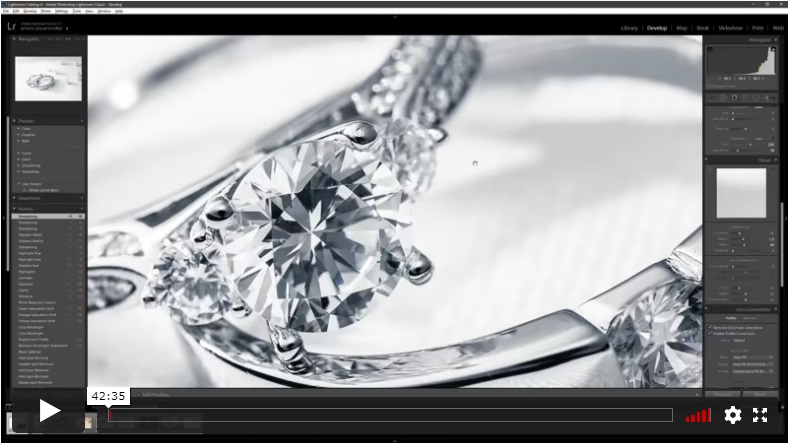
In the first post-production lesson, professional retoucher Artem Pissarevskiy shows how to use only Lightroom to create a finished image with his post-production techniques. Artem goes through each step in detail as he wprks on seven different images.
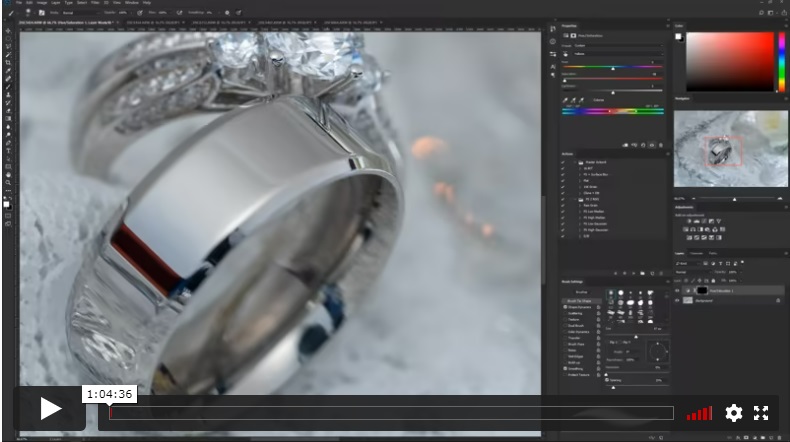
In this bonus lesson, Artem performs an in-depth retouch of the five separate images in Photoshops, demonstrating how to achieve professional quality images.
Before-After Post-Production
Left – SOOC (straight out of the camera),
Right– after Adobe Photoshop
SOOC - BEFORE
AFTER
Meet your Instructors
Founder of Photigy
Alex Koloskov
Alex is one of the worlds best commercial advertising photographers, co-founder, and teacher at Photigy.com
Instructor at Photigy
Artem Pissarevskiy
Artem is a 23 years old retoucher from Finland, he’s been working in the post-production field for about 4 years.
⭐⭐⭐ PROFESSIONAL SERIES
Best for long-term access, more DIY approach
Lifetime access
Weekly Q&A
24/7 Email Support
VIP Membership
Best for ongoing learning
Unlimited access to all courses
Priority support

Any DSLR or mirrorless camera with a hot shoe mount for a speedlite will work. You can use any macro lens for your camera, and a camera-compatible speedlite (starting from $60) will work.There is a lesson about gear needed included in this course.
You will have 24/7 access to course videos, forums, and reviews on the Photigy.com website. It is optimized for mobile as well, and we stream from the worldwide cloud to ensure a worry-free learning experience.
You’ll have lifelong access to the course. There is no limitation on this.
All course students have access to a private forum dedicated to support. This is the place where Photigy instructors answer students’ questions, and students can share their own experiences and solutions.
Yes, Alex Koloskov uses simple explanations that are easy to understand. However, you will need to know your camera and the basics of shooting with it: things like “how to set the aperture in aperture priority mode”, setting the ISO, and switching from manual to auto focus on your camera.
Photigy School Of Photography 2020
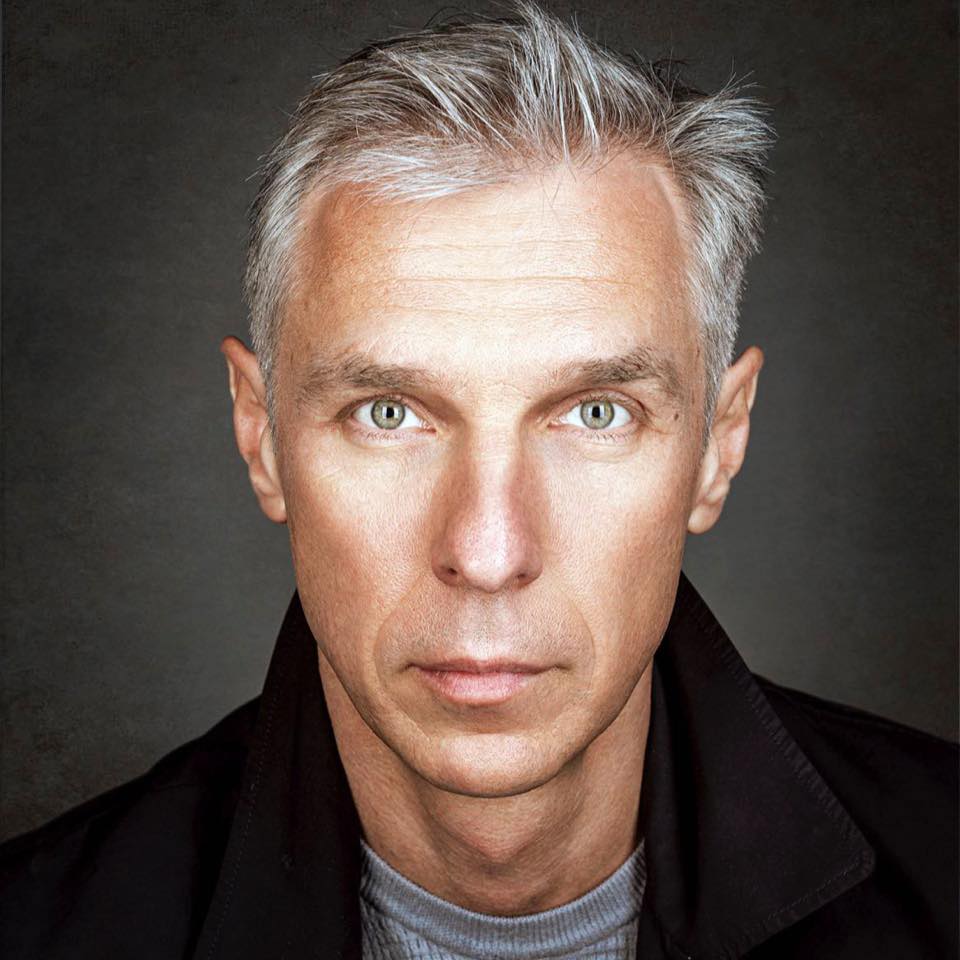
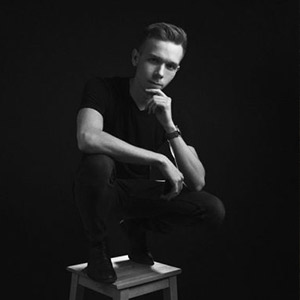
Founder of Photigy
Alex Koloskov
Alex is one of the worlds best commercial advertising photographers, co-founder, and teacher at Photigy.com
Instructor at Photigy
Artem Pissarevskiy
Artem is a 23 years old retoucher from Finland, he’s been working in the post-production field for about 4 years.
Own this course for $145, or unlock it plus every Photigy course and workshop with a VIP membership.
Try the course. If it is not helping you make better images, email us within 30 days for a full refund.