ONLINE COURSE
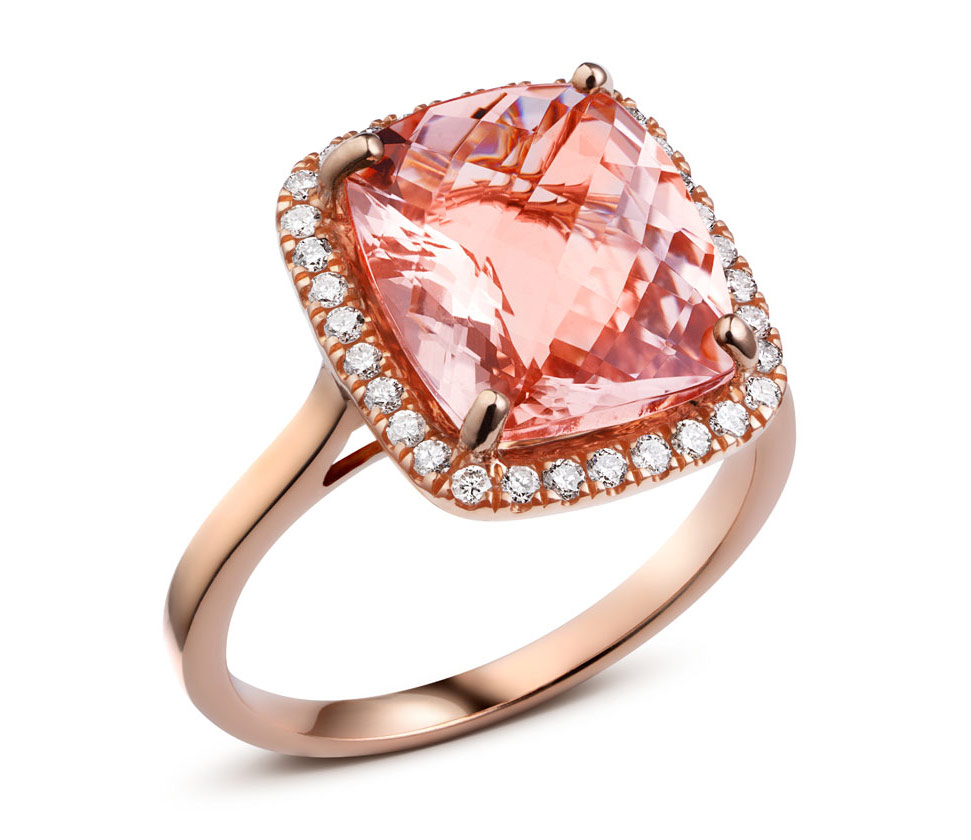
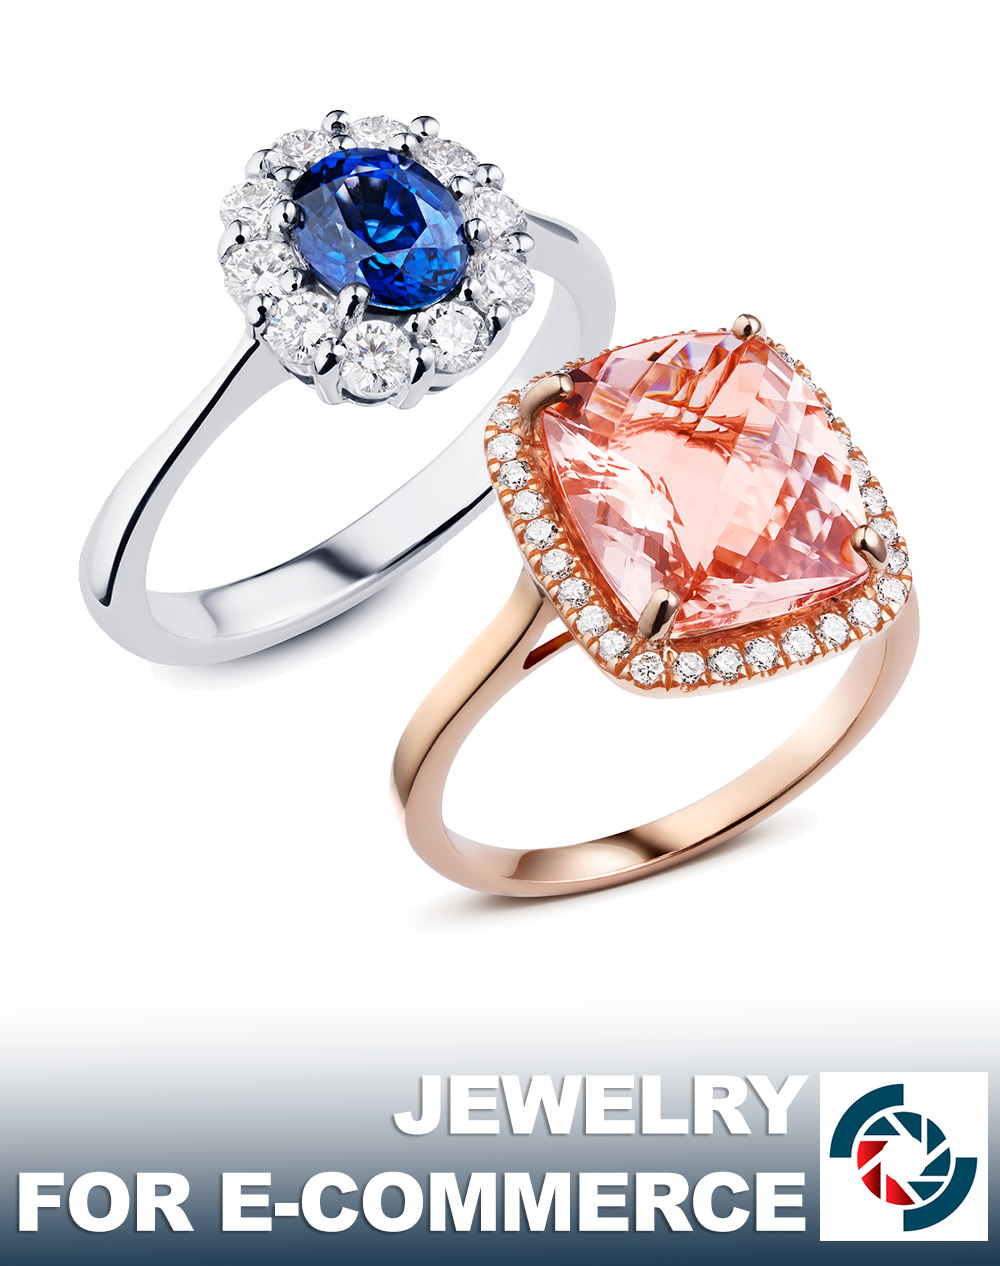
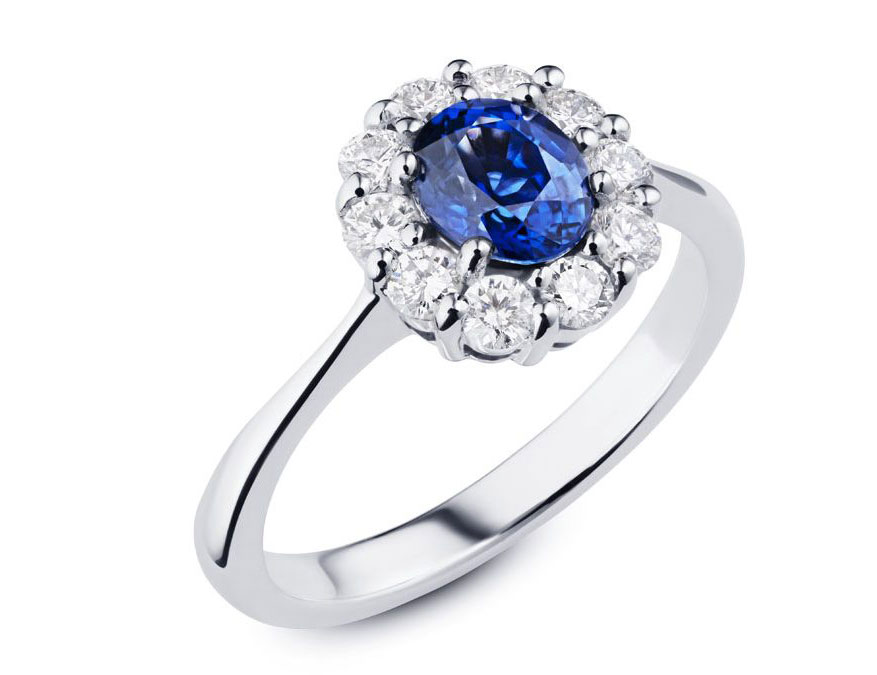
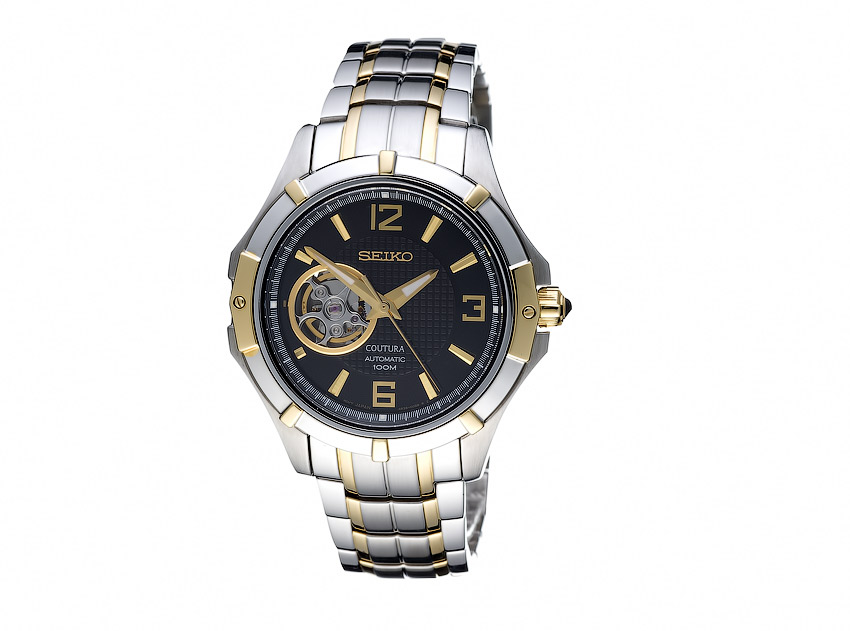
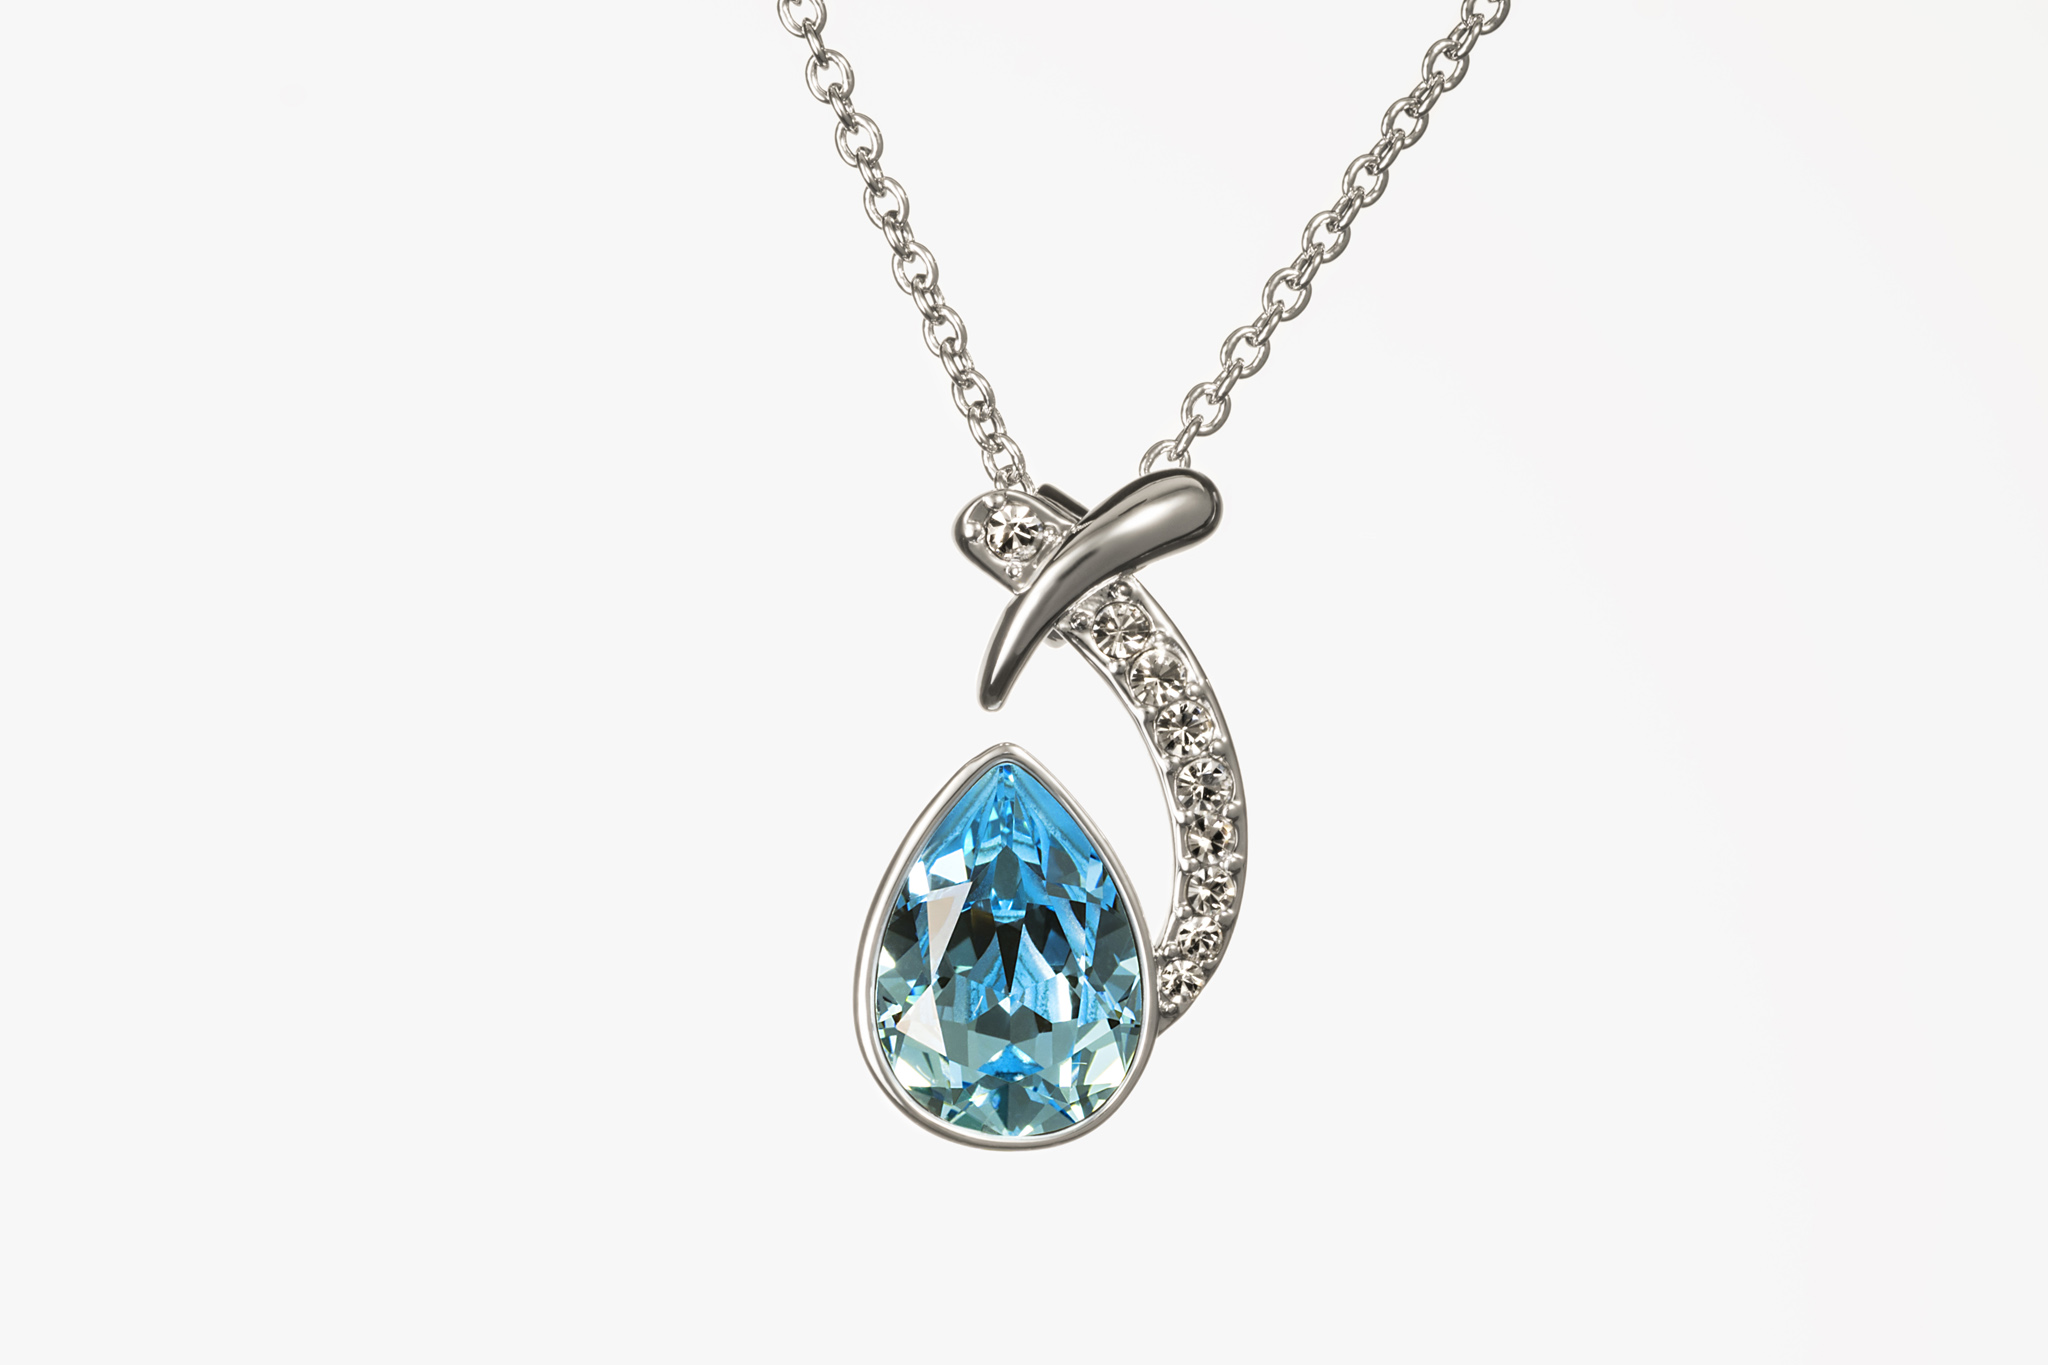
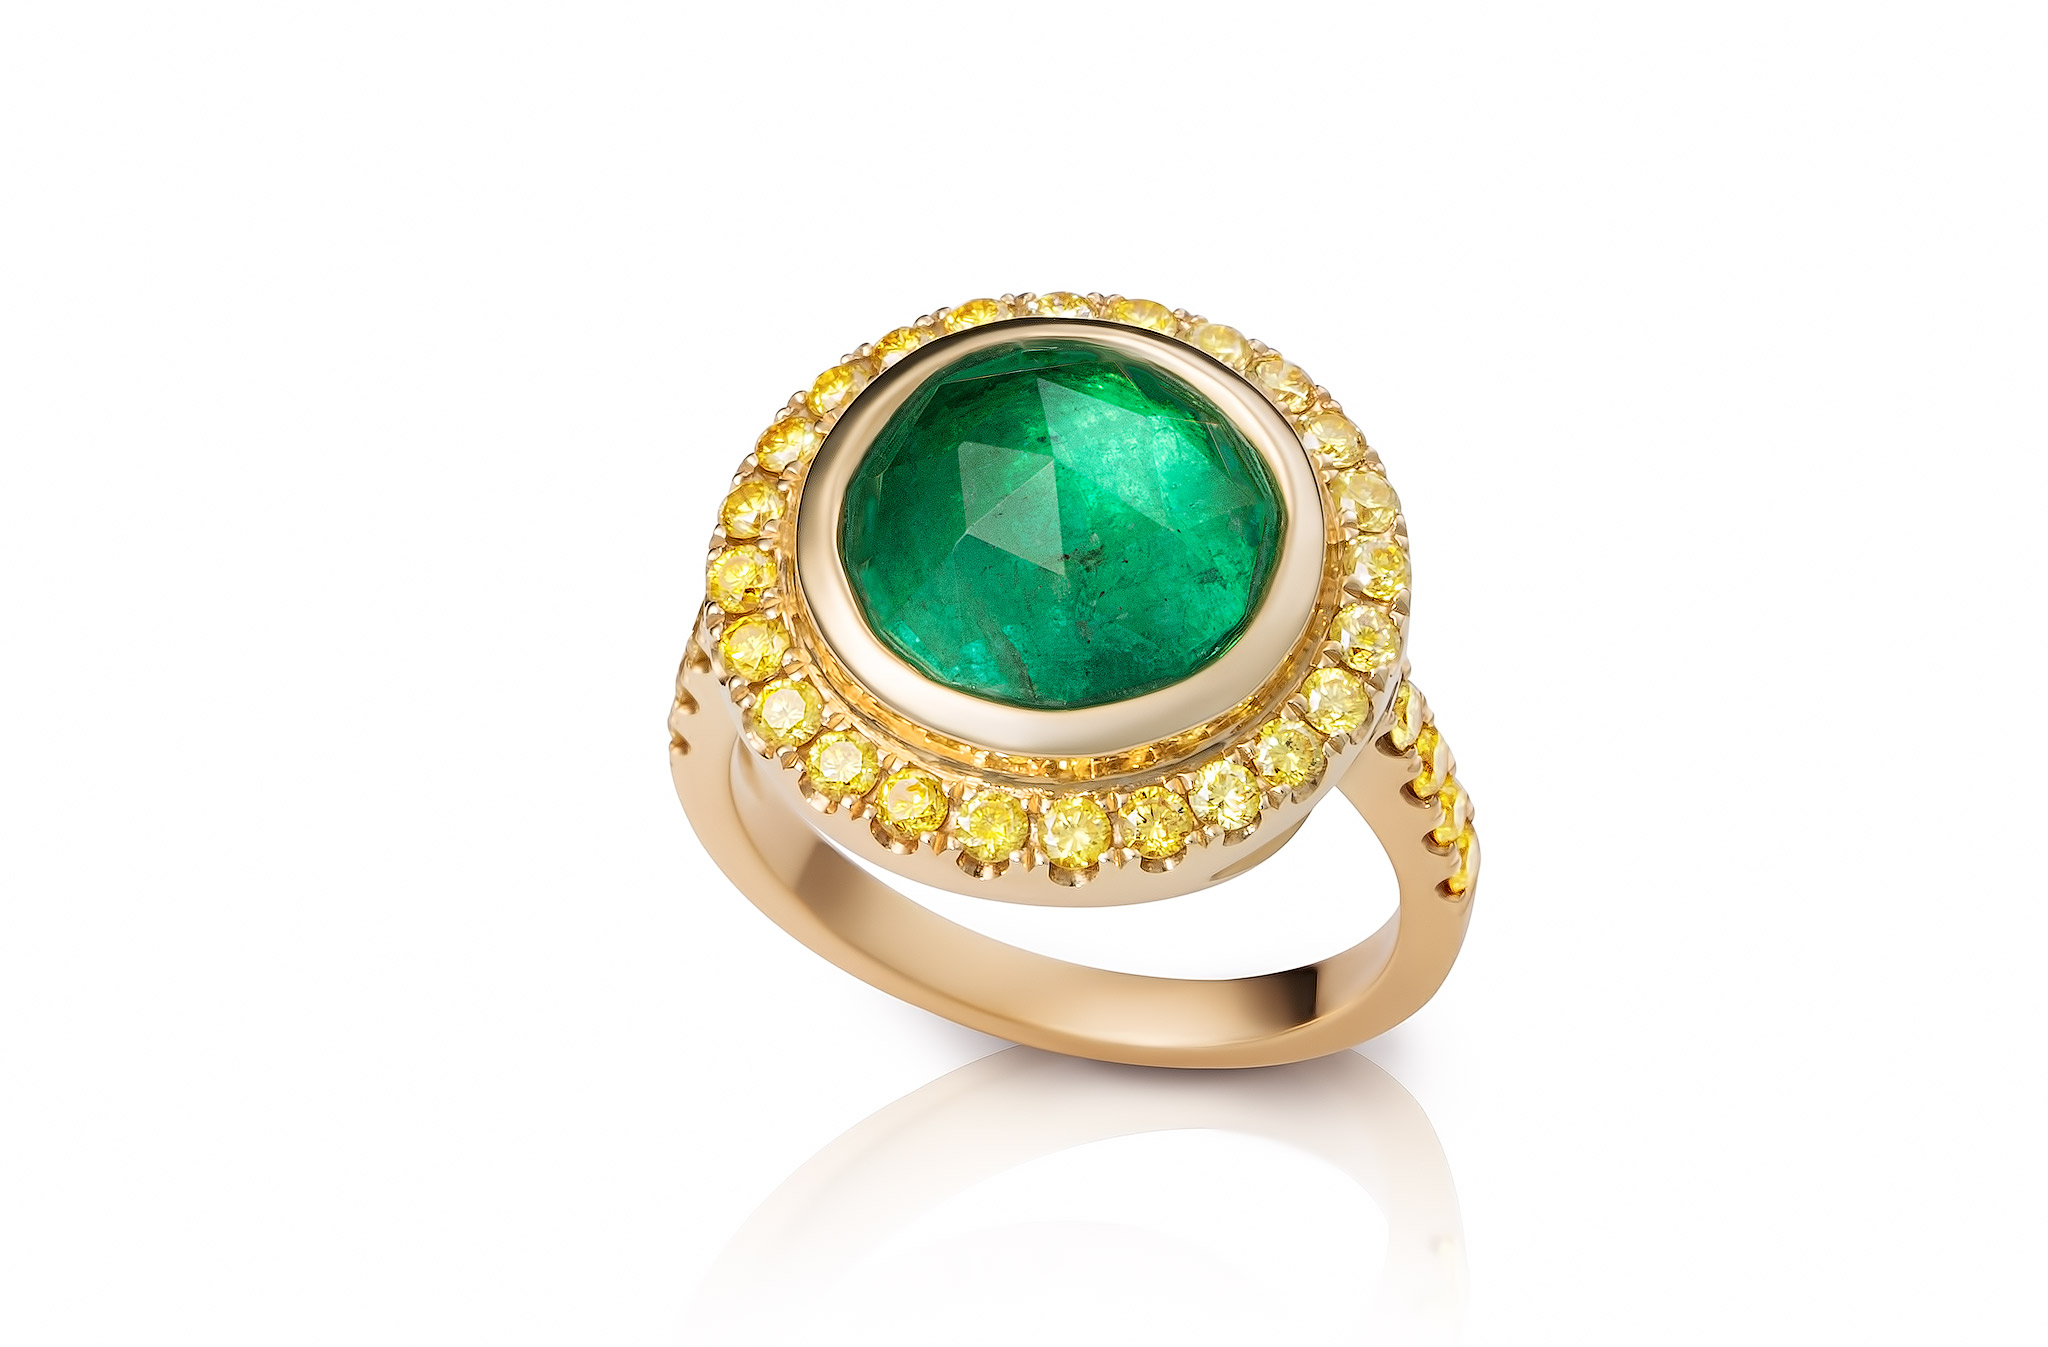
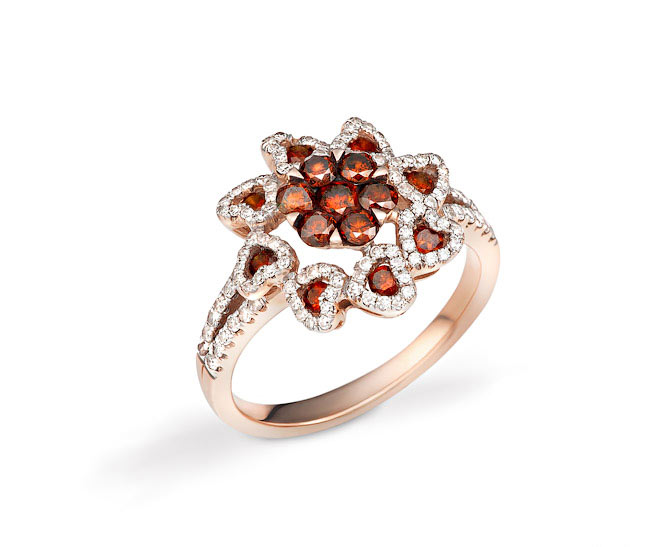
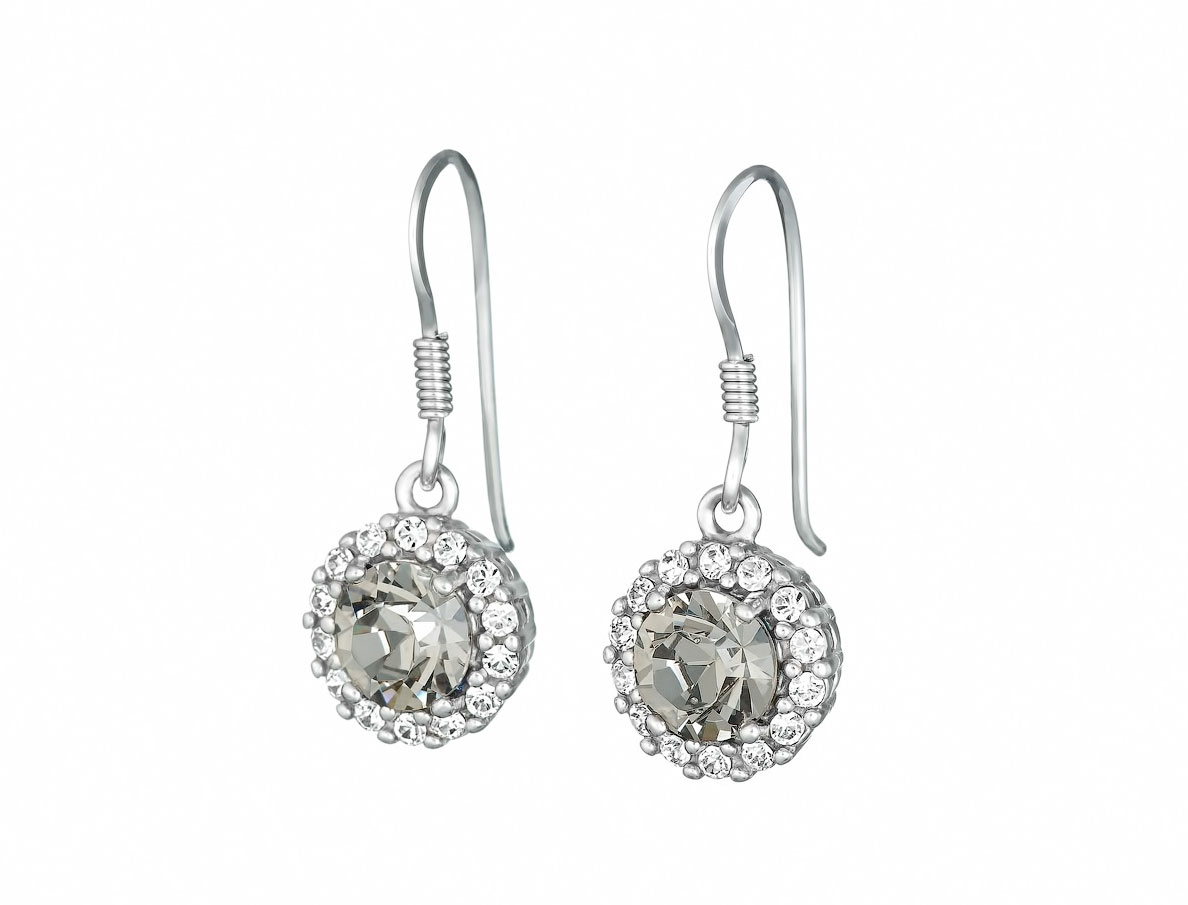
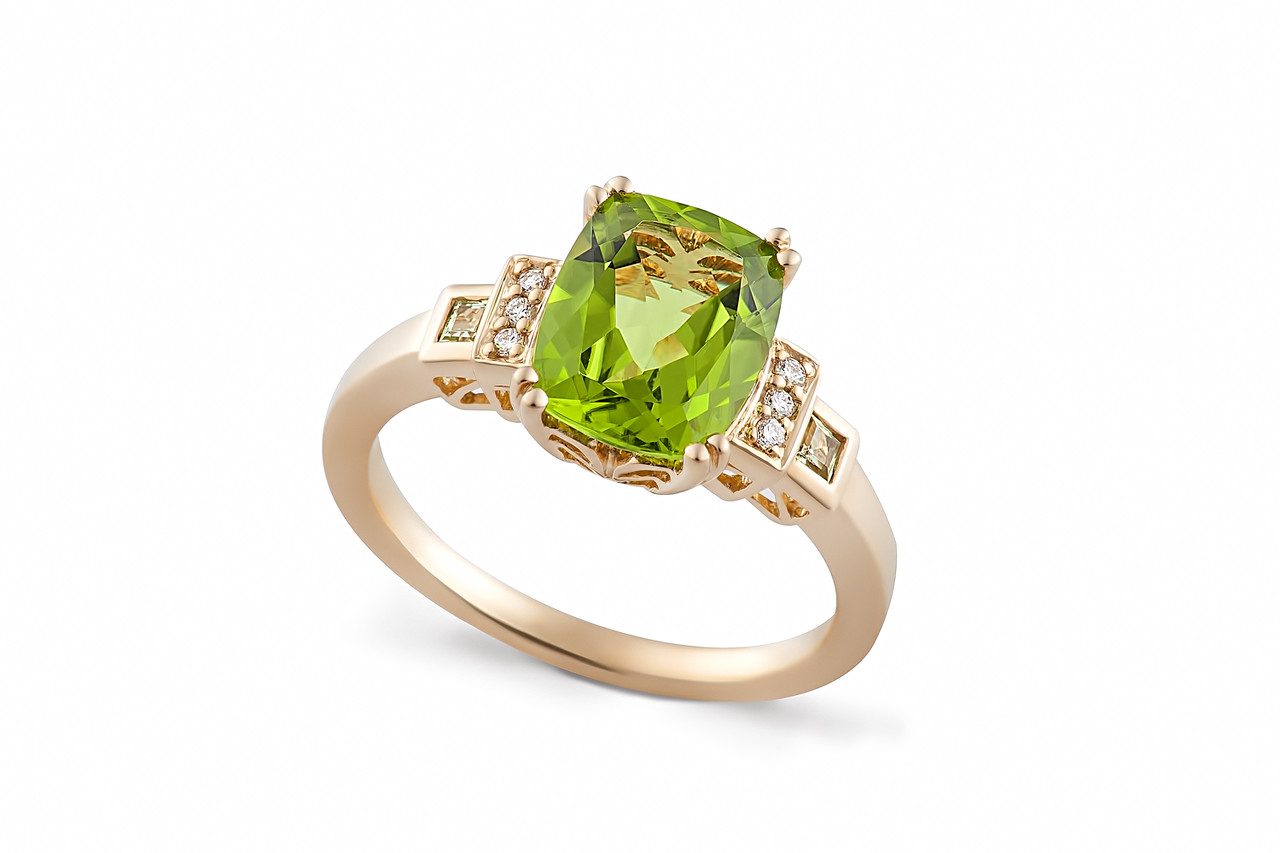
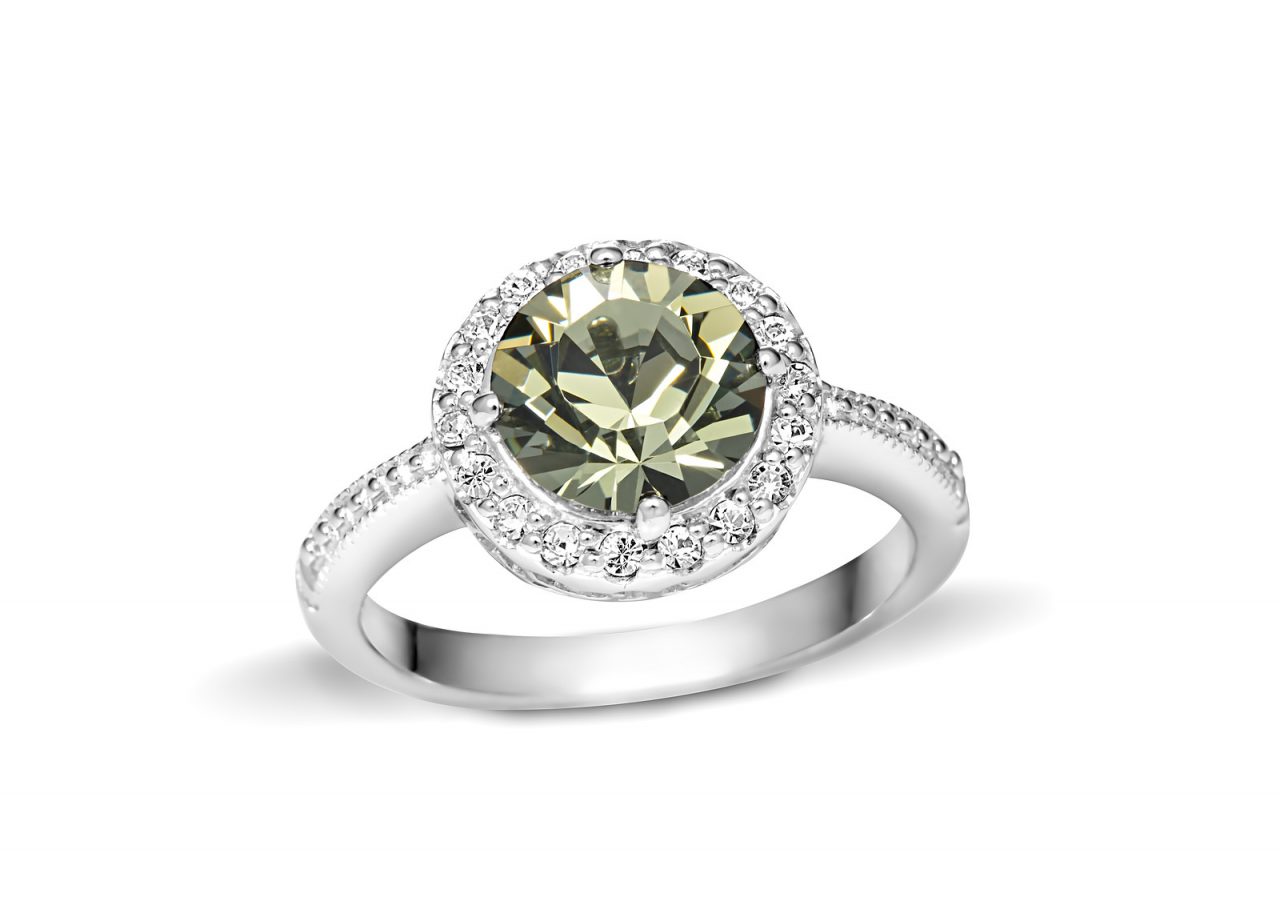
AFTER THE PROGRAM YOU CAN MAKE PHOTOS LIKE THESE
Sample photos from the program’s video lessons that you will learn.
About this course
Make e-commerce jewelry shoots an efficient and profitable part of your product photography business.
If you are just starting out and don’t have much equipment, don’t worry because you will also learn how to build your own light modifiers quickly and easily, for very little money.
The course provides post-production walk-throughs by two different instructors. Plus, because clients sometimes just need good-enough quality with quick turnaround times, the instructors demonstrate two distinct approaches: one longer, in-depth retouch and one shorter, “quick-and-dirty” retouch of the same ring.
Who will benefit the most from this course?
Photographers seeking to learn how to shoot jewelry on pure white backgrounds for paying clients.
Craftmakers who create their own jewelry and need high quality images for their online stores (Etsy, eBay).
Hobbyists and photography beginners who would like to learn jewelry photography without spending lots of money on studio lighting.
Course includes over 5.5 hours of instruction in 14 video lessons
Part 1: Gear for Jewelry Photography
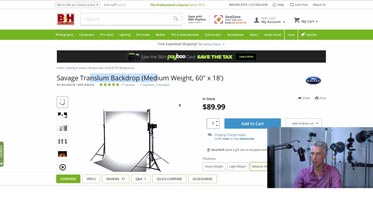
In this video, you will learn all about the gear you will need to photograph jewelry close-up, including:
Camera and Lenses for close-up jewelry photography
Options on lighting systems for video production
Selecting and using the right light modifiers, from diffusers to cones, plus how to create them yourself if you have a limited budget
Strobes versus continuous lights: advantages and disadvantages of each
Fresnel lens versus reflector with honeycomb grids
C-stands and other grip equipment
Part 2: Shooting, Practical Lesson
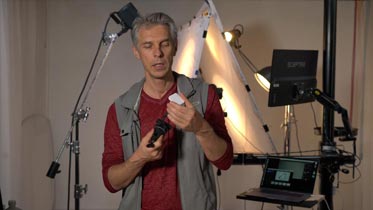
The course kicks off with an actual case study posed by a student commissioned to photograph a piece of jewelry for a client. Alex works within the constraints of the job to help the student get a brief, but all-encompassing overview of the necessary techniques to capture the image, from the positioning of the lights and subject to automating the focus-stacking process in Photoshop.
Learn how to photograph a ring with just two diffusers while taking control of the reflections that define the shape and polished surface of the ring’s band. In this video, you will also learn a simple process for determining the optimal placement of your strobes to create the best highlights.
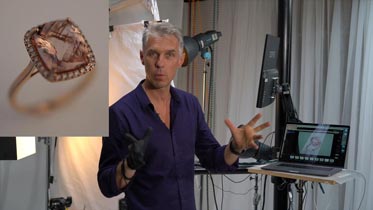
With a few minor adjustments to the lighting setup, see how to ensure all of the gemstones are well-lit, using the basic setup from the previous lesson.
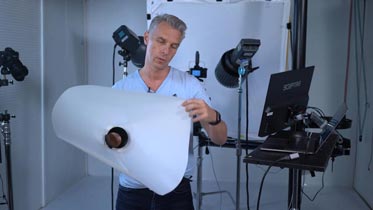
In this lesson, learn how to create a simple DIY shooting cone that attaches perfectly to your camera lens.
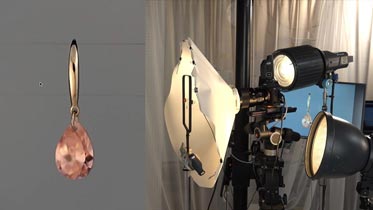
Shooting suspended earrings requires a different set up. In this lesson, you will learn how to create this easy to adjust setup that is great for high-volume jobs.
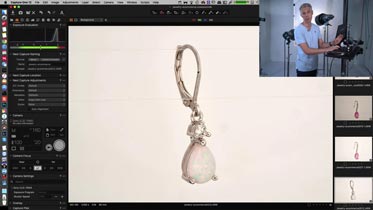
The work with earrings continues in this lesson, demonstrating the practicality of the setup, even when the jewelry items have a combination of gemstones.
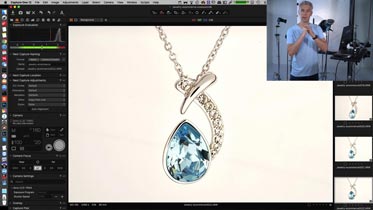
In this lesson, the basic earring setup is adapted to use with a suspended necklace.
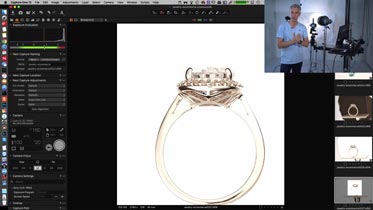
A completely different approach is needed to shoot a ring from the front. This lesson demonstrates a simple, high volume approach to capture this tricky image.
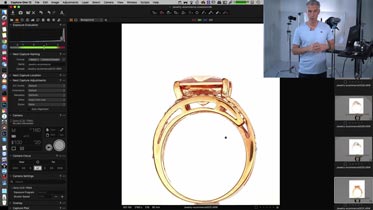
The shooting lessons conclude with a wrap-up demonstrating the utility of the setup created in the previous segment.
Part 3: Post-Production
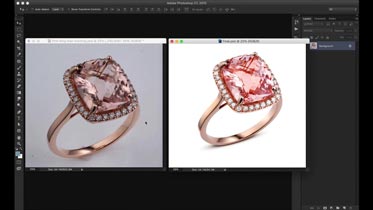
Retouching instructor Ilya Plotnikov demonstrates a straight forward post-production workflow any photographer can follow to create the final image of the pink ring, from surface cleanup to color correction.
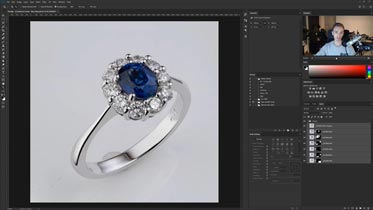
In-Depth Retouch
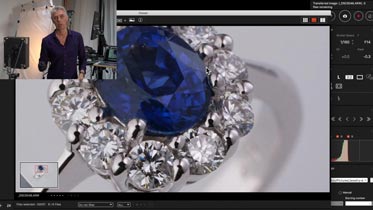
In this lesson, Retouching instructor Artem Pissarevskiy walks you through an in-depth retouch of the blue gemstone ring, covering the steps and techniques you need to know to create a flawless, commercial quality final image.
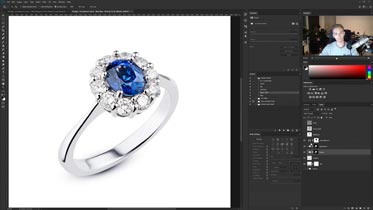
When speed and efficiency matter, you need to know how to apply the right techniques to get the best results possible. In this final post-production lesson, Artem shows what is possible to achieve with the same ring, but in just 15 minutes. The workflow obviously needs to be different, so Artem teaches you how to get maximum results in the minimum time, a crucial skill for high-volume e-commerce work. One of the rings took five times longer to retouch, but which one?
Bonus
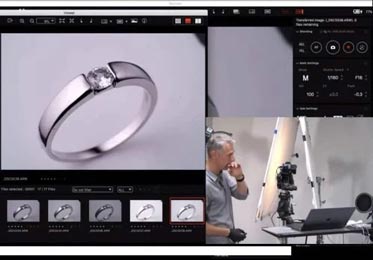
The recorded webinar where instructor Alex Koloskov explains what gear (cameras, lenses, lighting and light modifiers) are suitable for jewelry photography and demonstrates how to use this gear to create beautiful, focus-stacked images of jewelry on a white background. Includes the full live Q&A!
Highlights
Learn to take great shots even on a tight budget. You will learn how to create your own DIY light modifiers and get gorgeous results.
Two professional retouchers demonstrate their personal workflows for commercial-quality results. As a bonus, they also teach you how to obtain the best result possible when your client’s budget and turnaround time demand economy and speed.
Quick and easy-to-follow lessons. We know that you don’t have lots of time to spend, so we keep it brief!
Ask questions on our online forum and get answers from our professional instructors.
Lifetime access to the course materials.
After course completion, you’ll have an option to submit your homework to be reviewed by the instructor – professional feedback is key to successful learning!
TYPE
Online Video Course
⭐⭐⭐ SIGNATURE SERIES
Jewelry Photography For
E-Commerce

Best for long-term access, more DIY approach
Lifetime access
Weekly Q&A
24/7 Email Support
VIP Membership
Best for ongoing learning
Unlimited access to all courses
Priority support
Meet your Instructors
Founder of Photigy
Alex Koloskov
Alex is one of the worlds best commercial advertising photographers, co-founder, and teacher at Photigy.com
Retoucher at Photigy
Artem Pissarevskiy
Artem is a 23 years old retoucher from Finland, he’s been working in the post-production field for about 4 years.
FAQ
What camera, lens, and lighting do I need for this course?
Any DSLR or mirrorless camera will work. You can use any macro lens for your camera or even a standard lens in conjunction with extension tubes if you are on a budget and don’t have a macro lens. Although you can use constant lights, we recommend using strobes if possible, or speedlites at minimum to obtain the clearest, sharpest images for focus stacking the final result.
There is a lesson included that covers all of the gear needed for this course.
How do I access the course materials?
You will have 24/7 access to course videos, forums, and reviews on the Photigy.com website. It is optimized for mobile as well, and we stream from the worldwide cloud to ensure a worry-free learning experience.
How long will I have access to this course?
You’ll have lifelong access to the course. There is no limitation on this.
How I can ask questions of the instructor?
All course students have access to a private forum dedicated to support. This is the place where Photigy instructors answer students’ questions, and students can share their own experiences and solutions.
How well do I need to know photography? Will this course work for an amateur or a beginner in jewelry photography?
Yes, Alex Koloskov uses simple explanations that are easy to understand. However, you will need to know your camera and the basics of shooting with it: e.g. setting the ISO, aperture and shutter speed of your camera manually.
REVIEWS
See what other people have to say about their learning experience.
Photigy School Of Photography 2020
Photos you'll learn to make
Meet your instructor
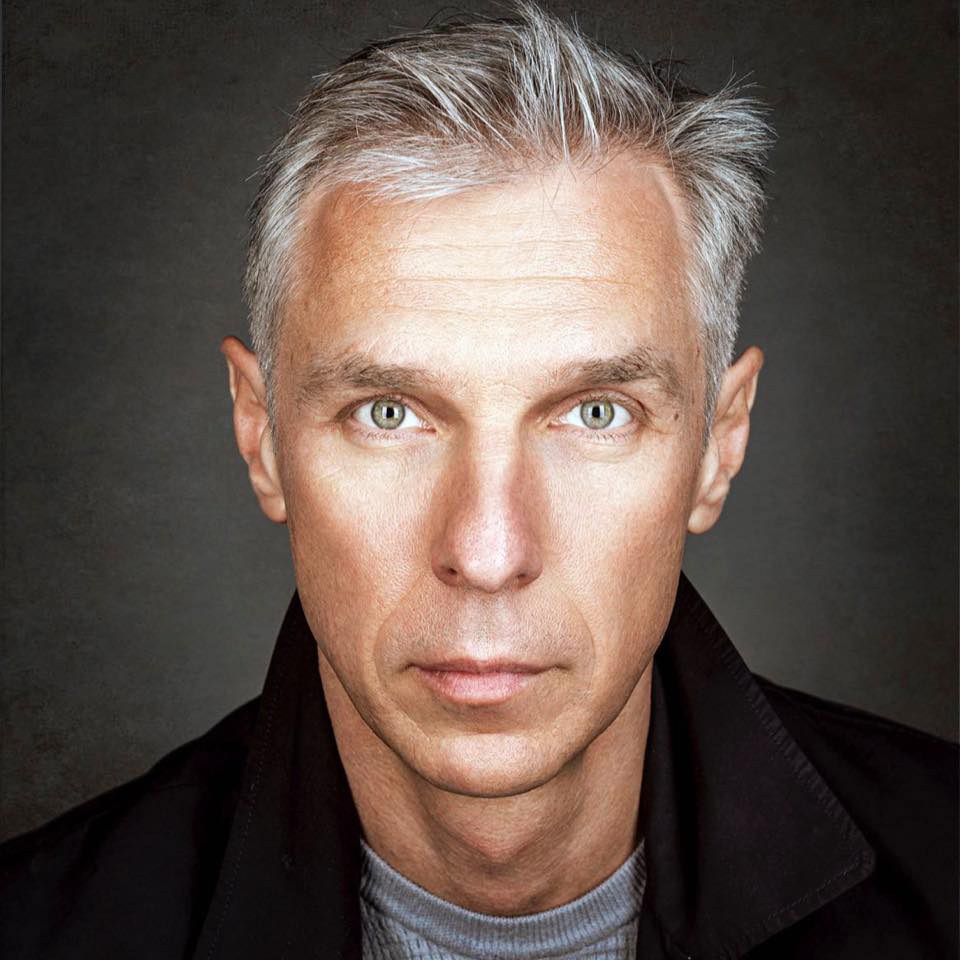
Founder of Photigy
Alex Koloskov
Alex is one of the worlds best commercial advertising photographers, co-founder, and teacher at Photigy.com
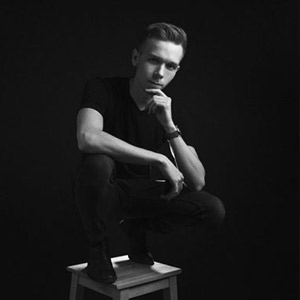
Retoucher at Photigy
Artem Pissarevskiy
Artem is a 23 years old retoucher from Finland, he’s been working in the post-production field for about 4 years.