Photigy Course
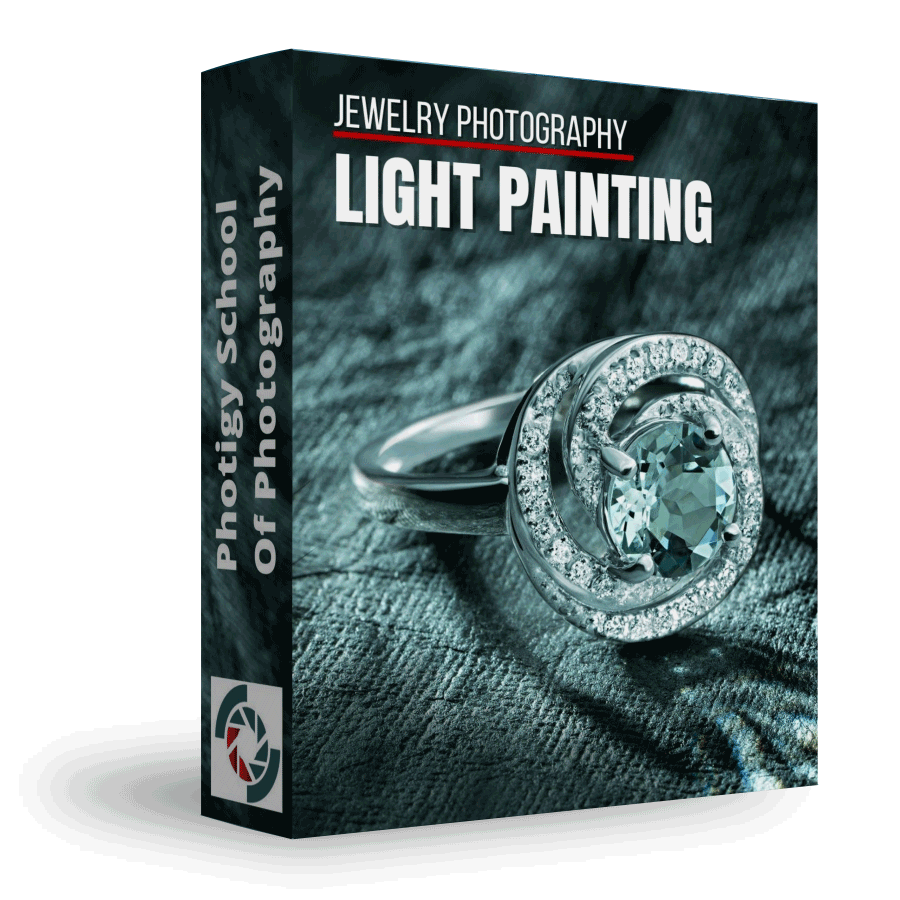
Light Painting for Jewelry Photographers
Professional, step-by-step online course — watch every lesson at your own pace, forever.
$145one-time · lifetime access
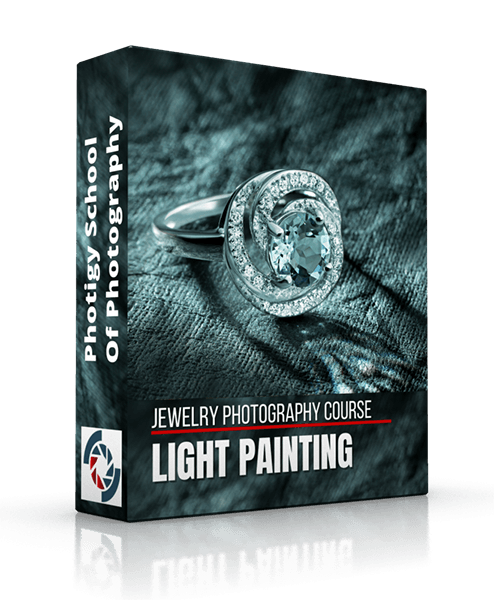
Professional, step-by-step online course — watch every lesson at your own pace, forever.
ONLINE COURSE
This course is for jewelry photographers, and it is about light painting technique that you can use in your jewelry photography work.
After taking this course photographer will know how to create stunning artistic jewelry images with a single light.
Unlike with most jewelry and product photography, there are no light modifiers that will be needed: we did not use softboxes, diffusers or reflectors for this course. Only a camera with a macro lens, LED light and a few other DIY things were used to create the images for this course.
Low-Cost Lighting Setup: Setup: No special lighting gear is required, you can do light painting with any flashlight or LED fixture (more about this during the course gear lesson)
Low-Cost Lighting Setup:
Setup: No special lighting gear is required, you can do light painting with any flashlight or LED fixture (more about this during the course gear lesson)
Unique Look For Gemstones: With a special technique shown in this jewelry photography course photographer will be able to create a very detailed image of large gemstones, with a unique look of internal and external facets, and create the best look for a jewelry piece.
Unique Look For Gemstones:
With a special technique shown in this jewelry photography course photographer will be able to create a very detailed image of large gemstones, with a unique look of internal and external facets, and create the best look for a jewelry piece.
Easy Background Color Switching: Ability to switch between white/black and any other background without changing the composition or re-mounting the jewelry piece.
Easy Background Color Switching:
Ability to switch between white/black and any other background without changing the composition or re-mounting the jewelry piece.
Creative Look For True Artistic Jewelry Work: With light painting, a photographer is not limited by the shape/size of light modifiers which allows creating a true artistic photos for the most beautiful jewelry pieces.
With light painting, a photographer is not limited by the shape/size of light modifiers which allows creating a true artistic photos for the most beautiful jewelry pieces.
Since Focus Stacking is not possible, the photographer is limited by the maximum DOF (depth of field) of the lens. Therefore, a good macro lens is more preferable. More about this on the course’s gear lesson.
Light Painting won’t work for a catalog-style image, where repeatable results (same look) is required.
This course is for you, if you are:
Beginner in jewelry photography or a hobbyist looking for an easy way to start taking images of jewelry, watches and small crafts without spending money on studio equipment.
Experienced product/jewelry photographer who are looking for ways to add new, more creative techniques to make their pictures of jewelry standout and will attract more customers and make photography their business more competitive in the market place.
Jewelry maker that want to create artistic images of their own products, without hiring a professional photographer and those who want to learn specifics of creating a variety of different image styles for your commercial clients.
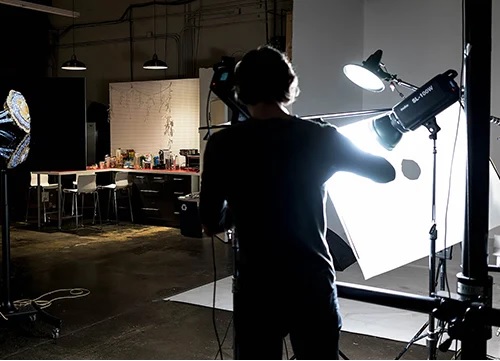
Gear requirements:
Mirrorless or DSLR camera, 50-150mm lens (macro lens is necessary for subjects smaller than 6-10 inches)
LED flashlight or LED lighting fixture that can be used hand-held.
Camera Tripod (heavier is better)
Remote camera shutter release or tethered connection to a computer running a tethered shooting software
Adobe Photoshop (CS6 or latest cloud editions)
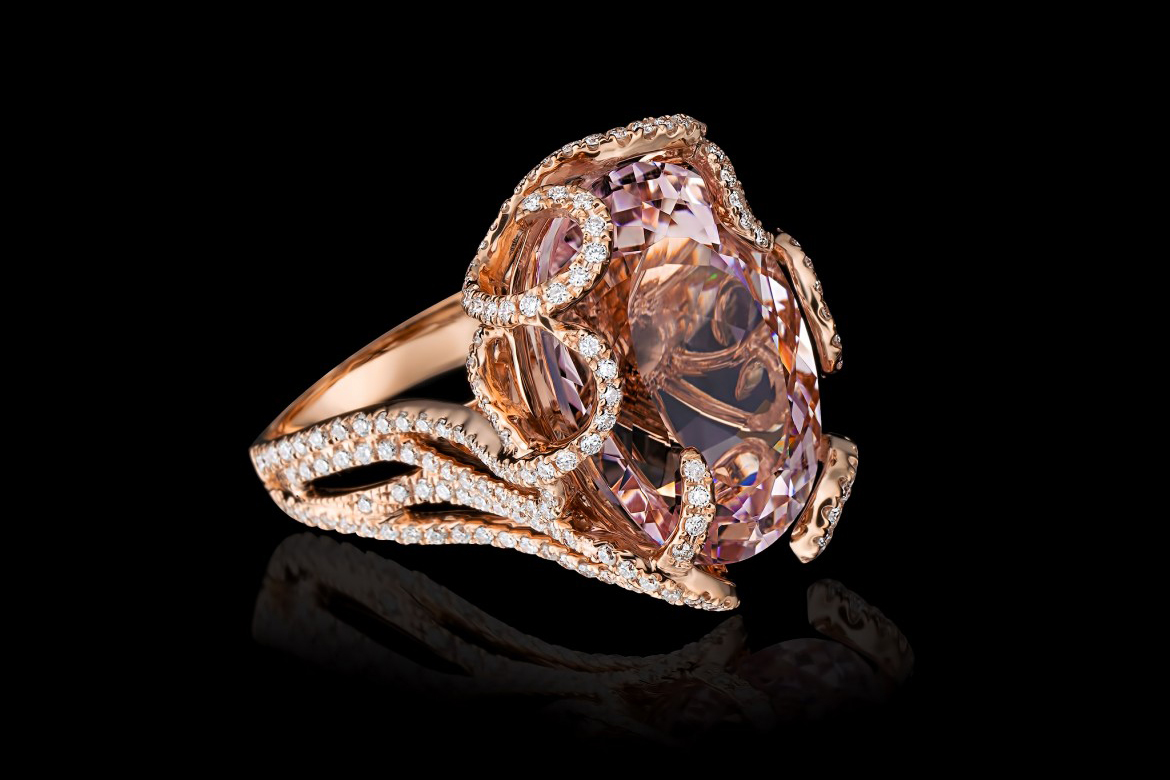
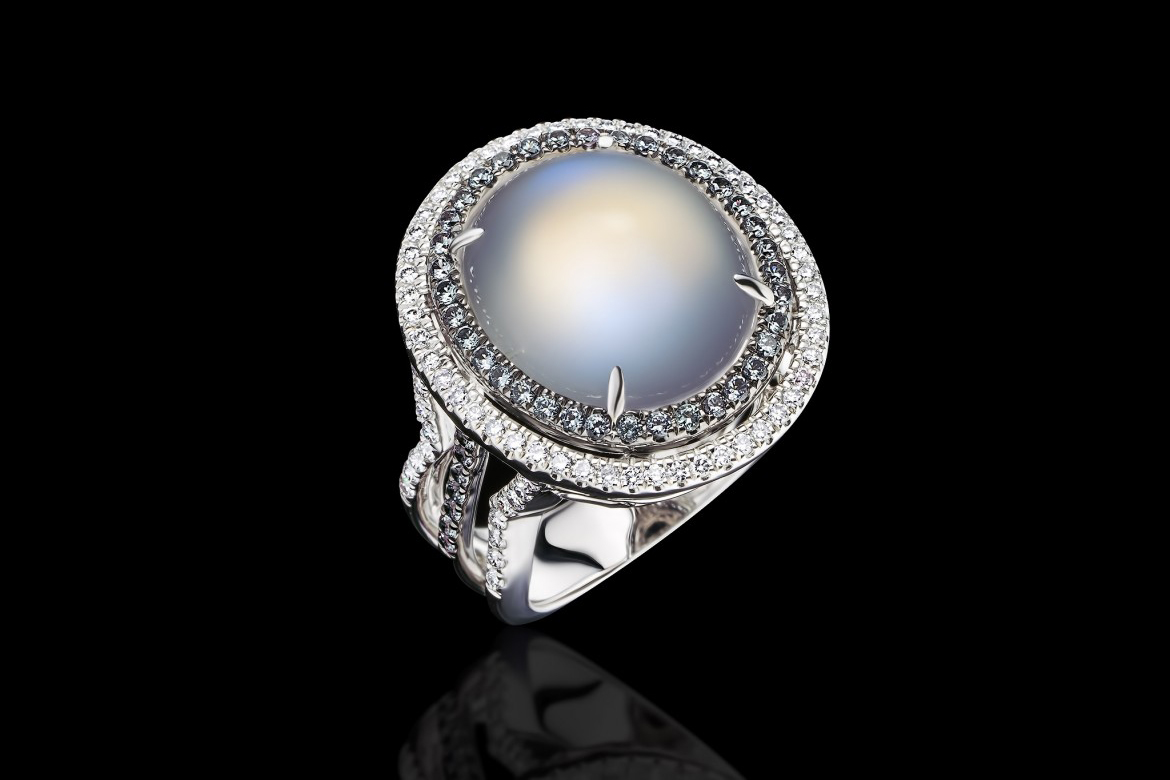
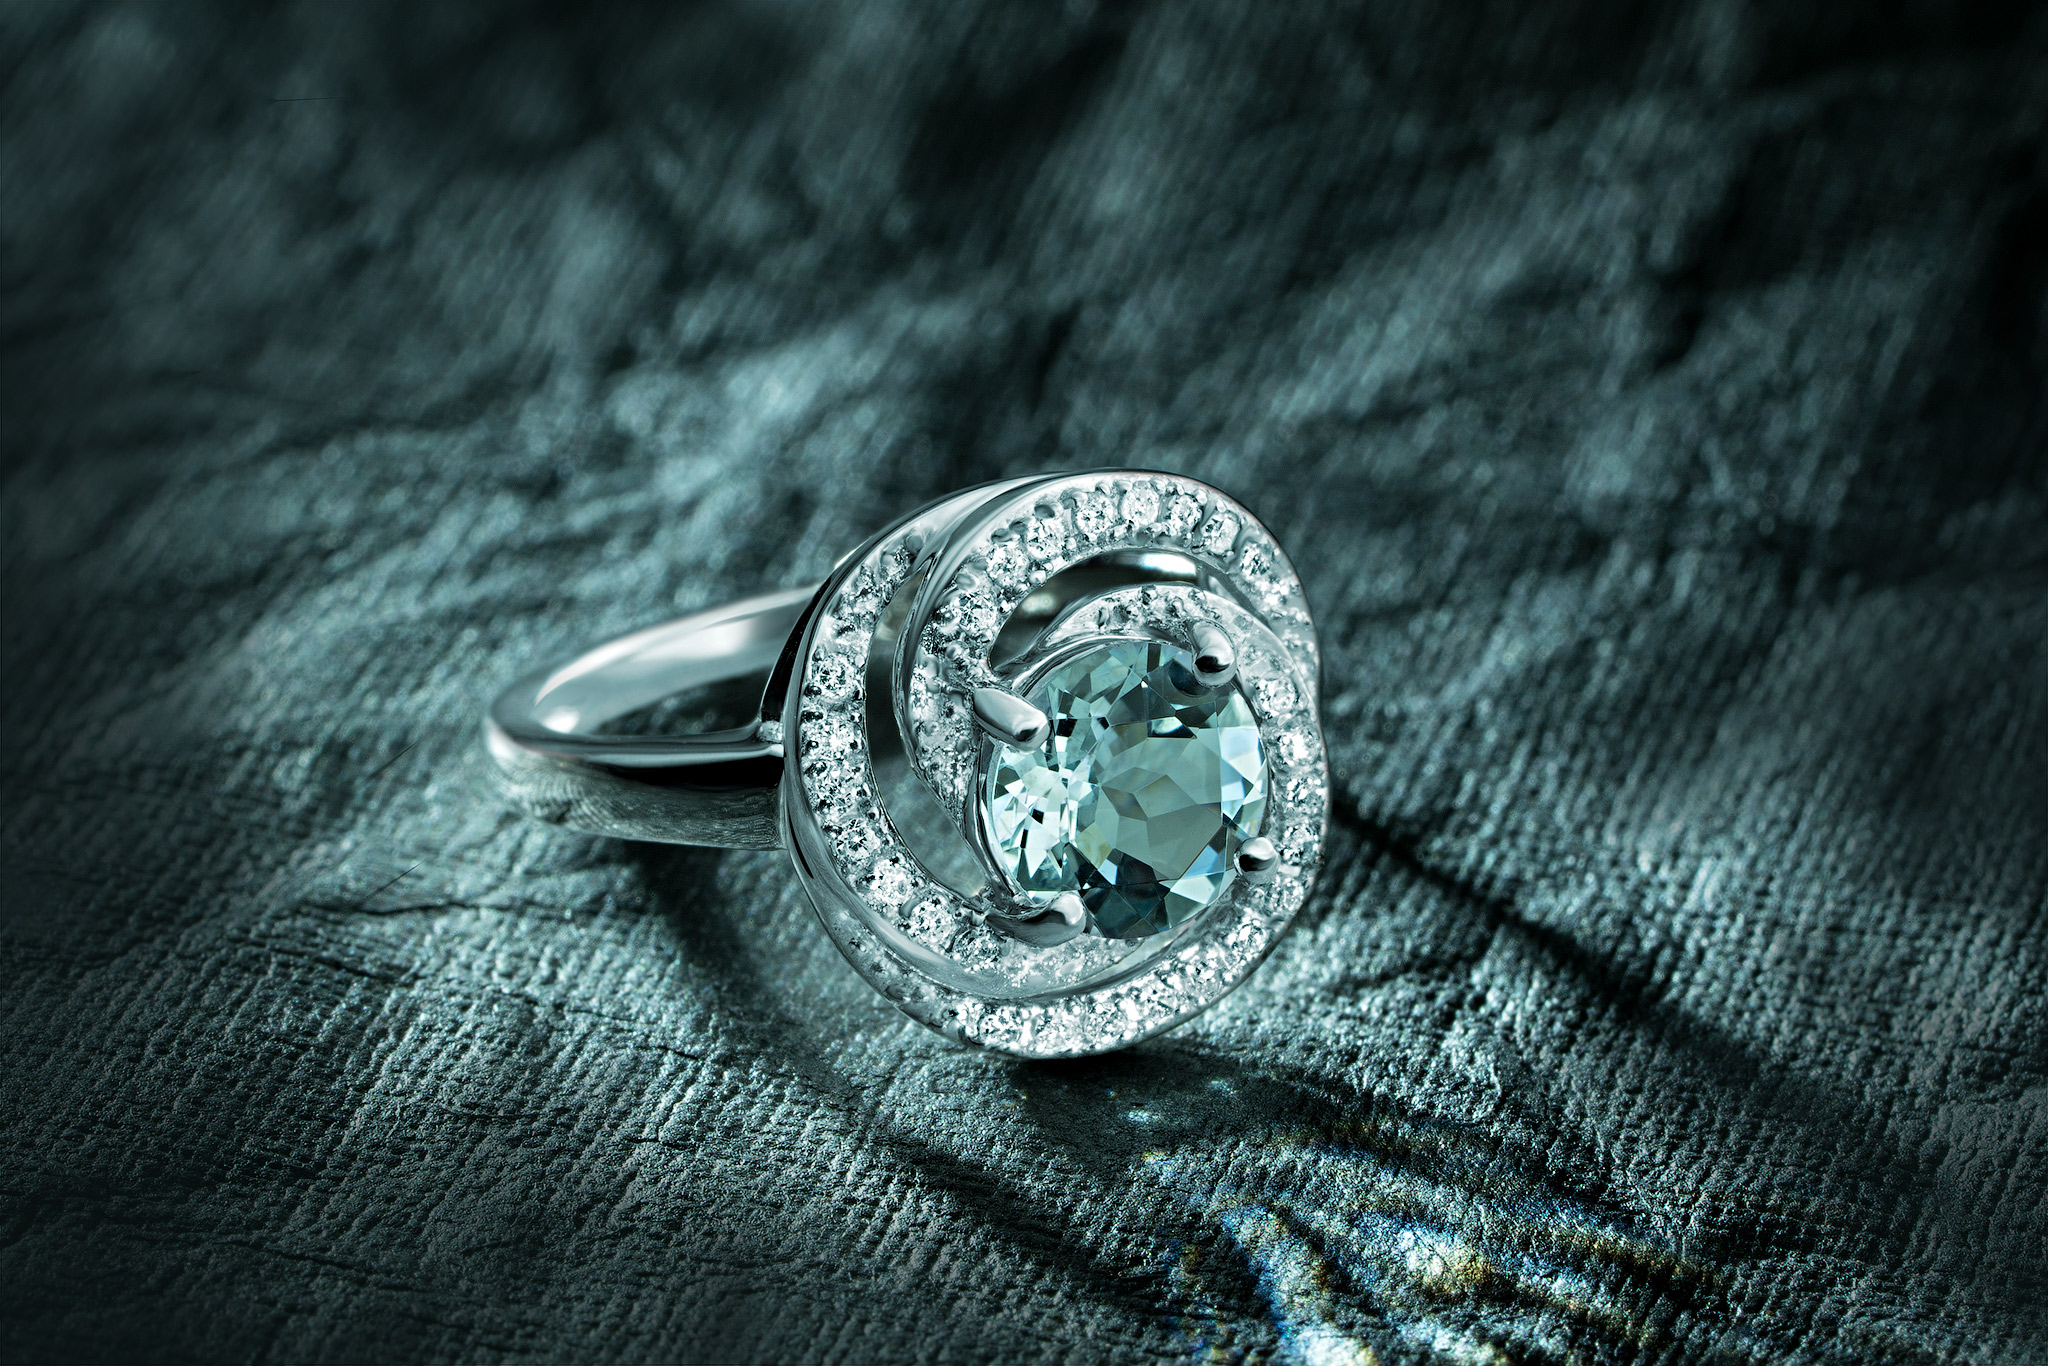
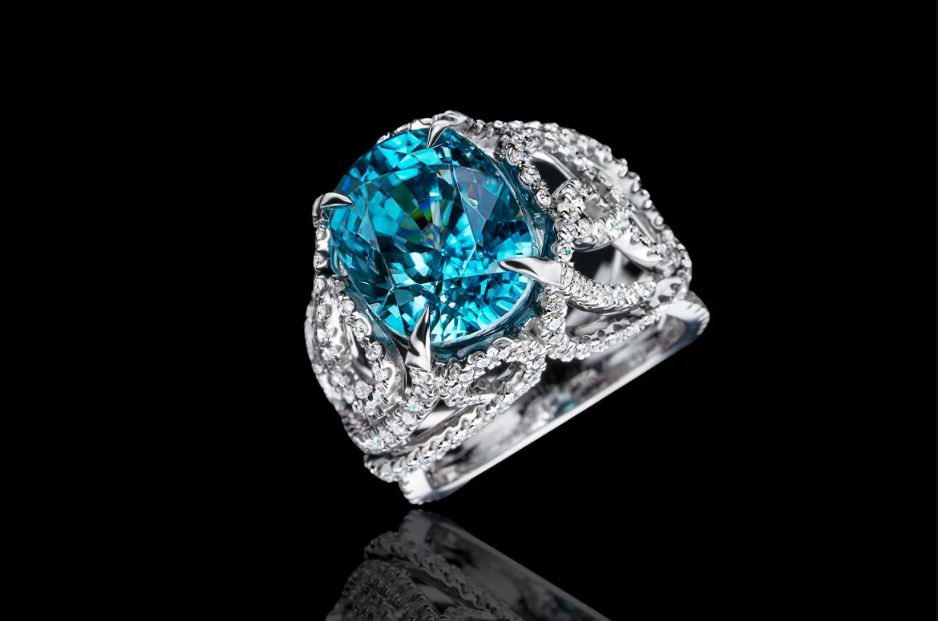
Sample photos from the program’s video lessons that you will learn
Course Curriculum
Course includes 6+hours | 3 modules | 22 video lessons.
THEORY & GEAR
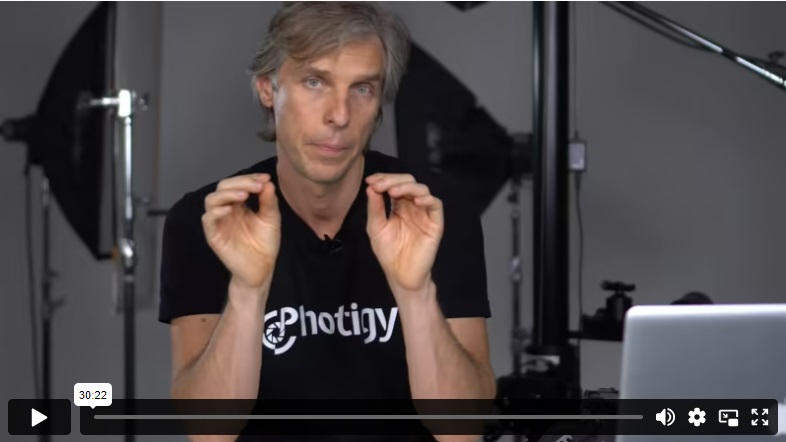
In this introduction, Alex explains the basics of the course and walks you through the minimal gear needed.
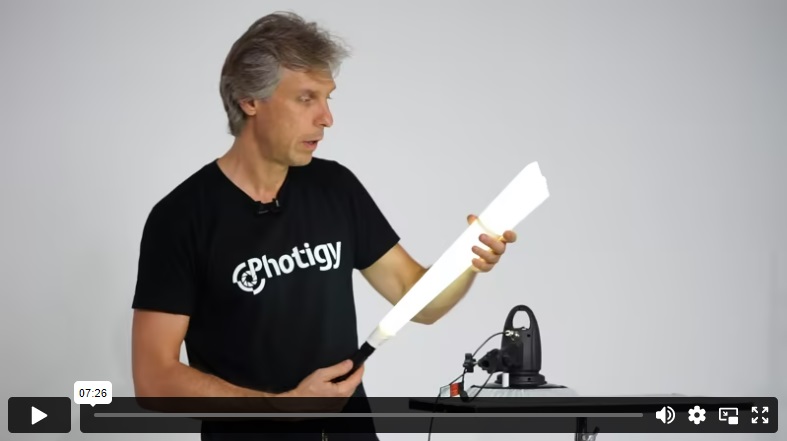
Alex explains the theory behind using a single continuous light source to paint with light.
SHOOTING
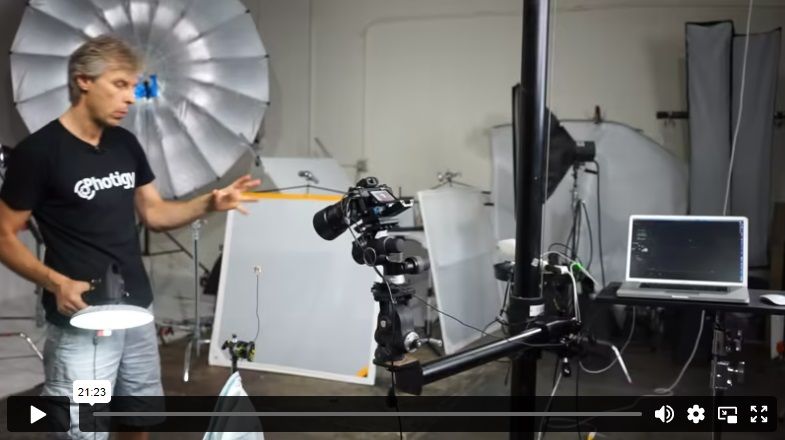
In this first practical lesson, Alex discusses the necessary camera settings for light-painted images and demonstrates his technique for photographing
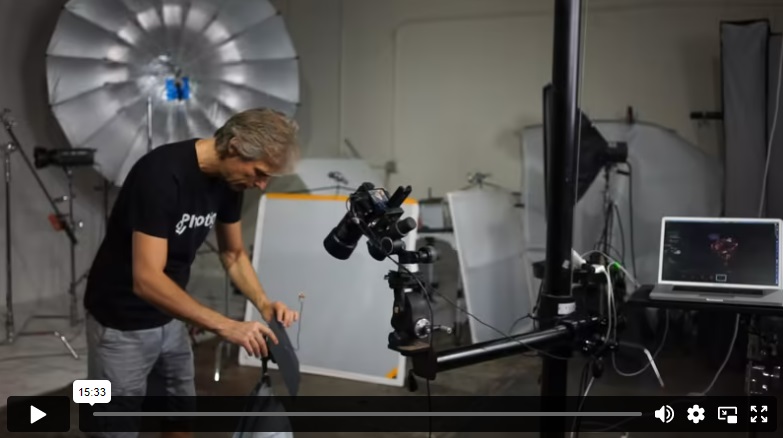
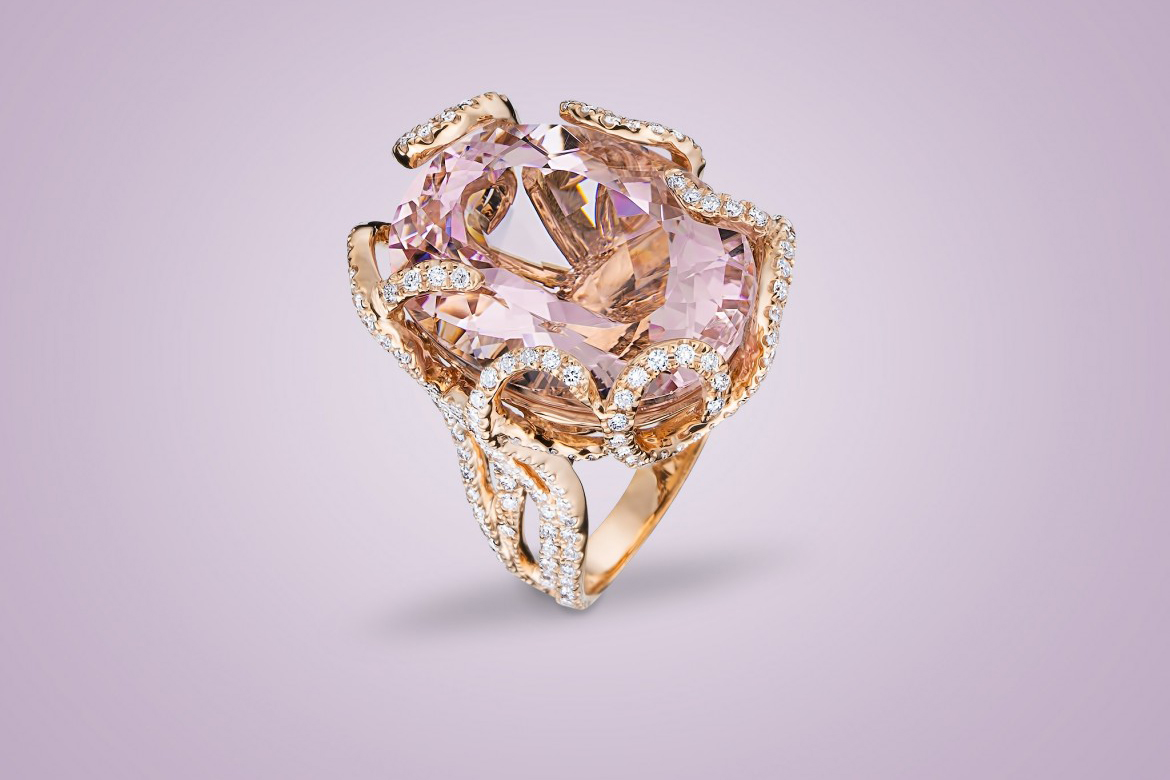
In the second part of this practical lesson, Alex continues with shooting the gold ring with pink gemstones
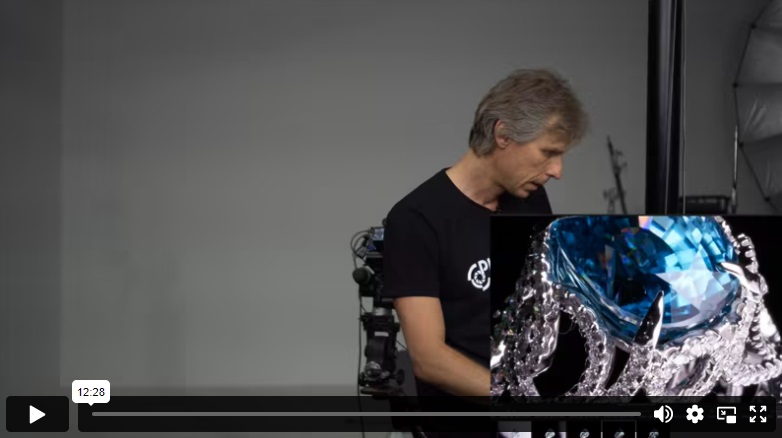
In the second practical lesson, Alex demonstrates the light painting technique using a silver ring with a large blue gemstone, where getting the highlights just right can be a little tricky.
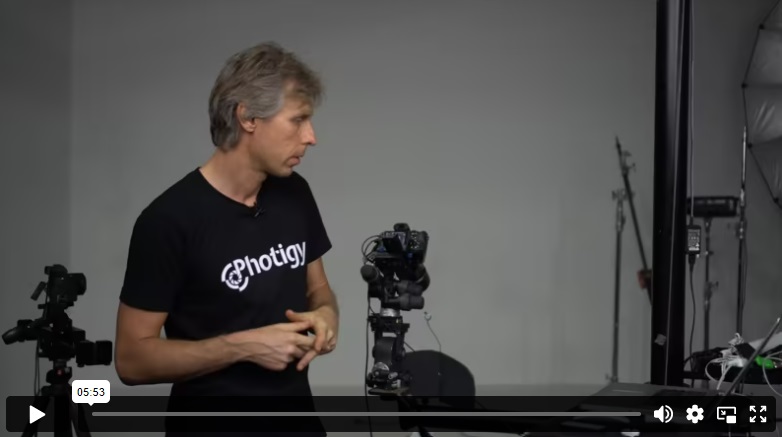
In the second part of this lesson, Alex continues working with the silver ring with a large blue gemstone
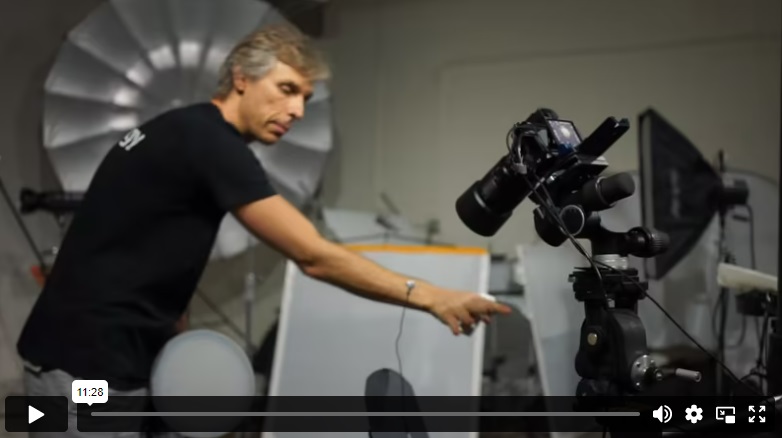
In the third practical lesson, Alex demonstrates the light painting technique using a moonstone ring with a smooth half-spherical, non-faceted gemstone. The challenge with this ring is in being able to keep the dazzling colors of the moonstone.
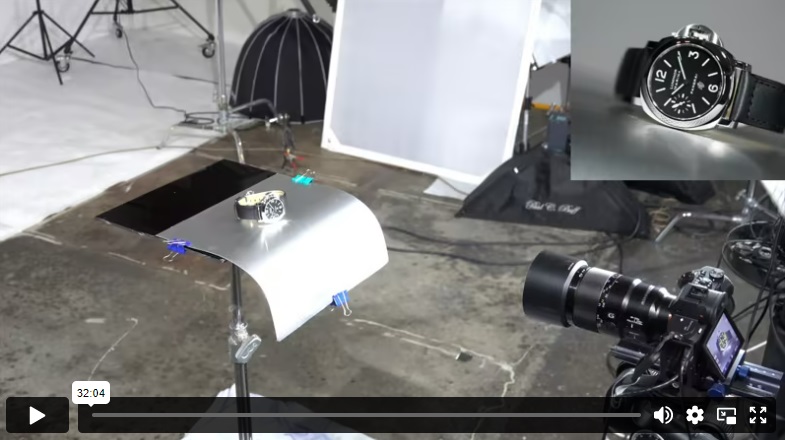
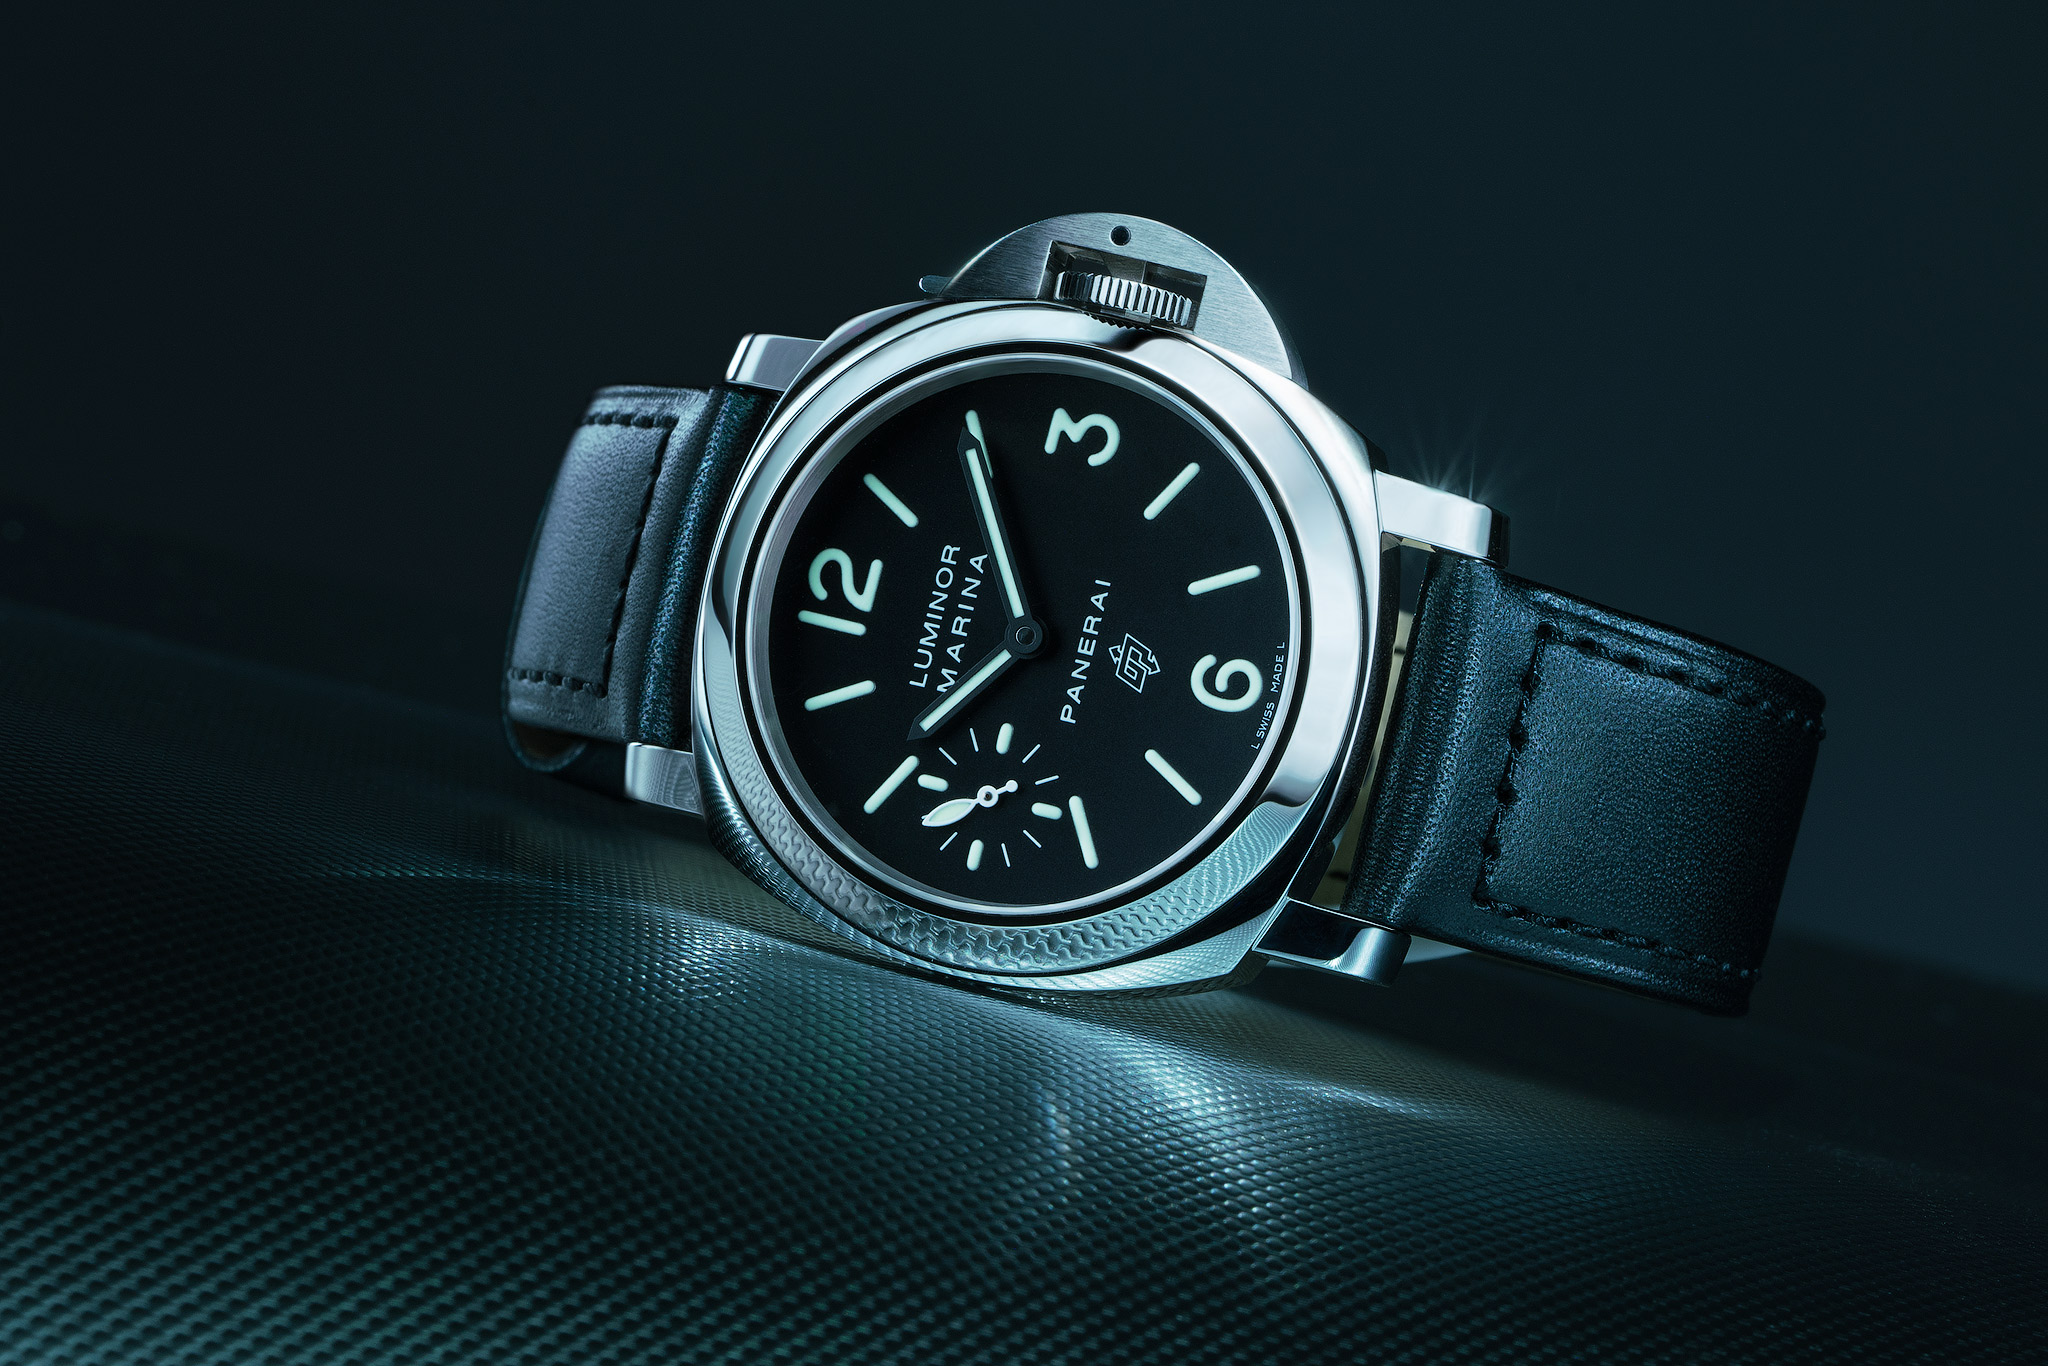
In the final practical lesson, Alex uses the light painting technique to shoot a watch.
Alex shares some final thoughts about the technique, some of the challenges you may encounter, and best practices for addressing them.
POST-PRODUCTION
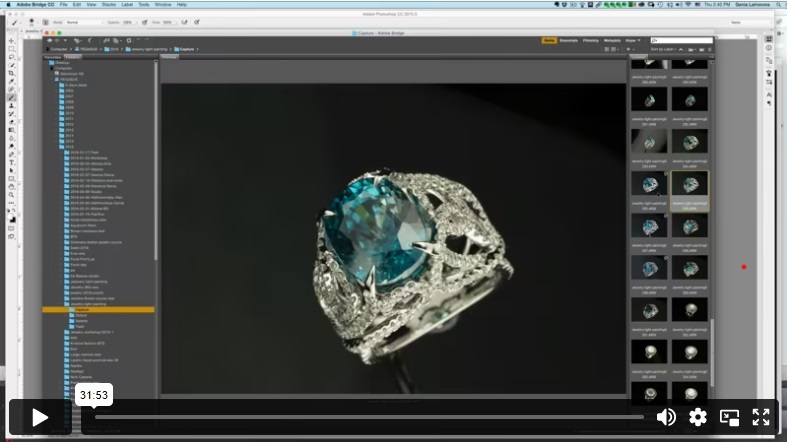
Retoucher Genia begins post production of the blue gemstone ring by demonstrating how to set a baseline Raw file conversion that can be applied to the other exposures of the ring to ensure consistency when compositing them together. Then she continues the retouch by combining the necessary exposures and cleaning up the ring.
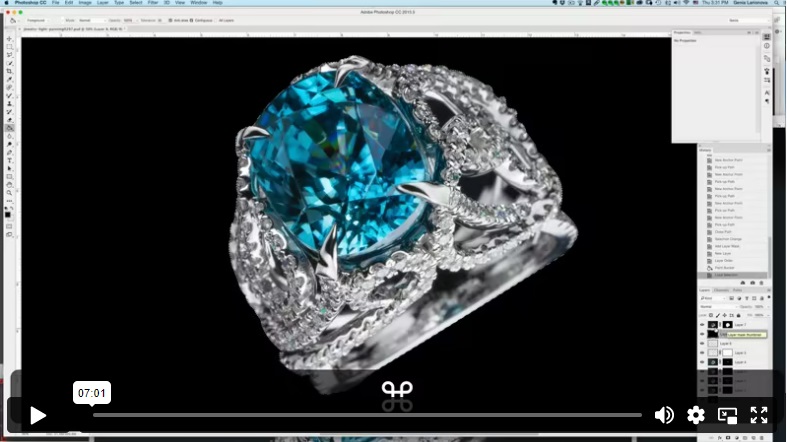
Retoucher Genia continues the retouch for the blue ring.
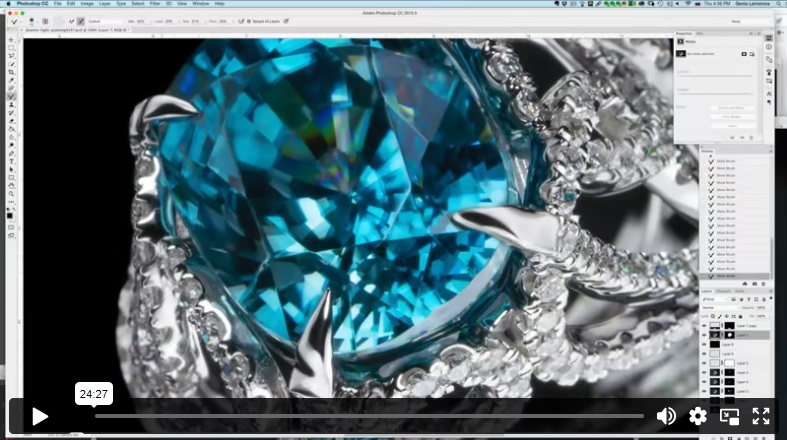
Retoucher Genia completes the retouch of the blue ring and creates the final image.
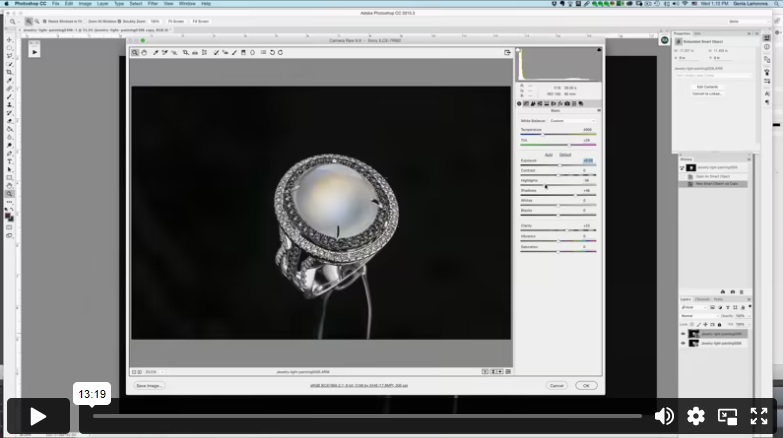
Retoucher Genia demonstrates the post-production process for the moonstone ring. Color correction, polishing glossy metal as well as basics of Raw file conversion and processing are covered in this lesson.
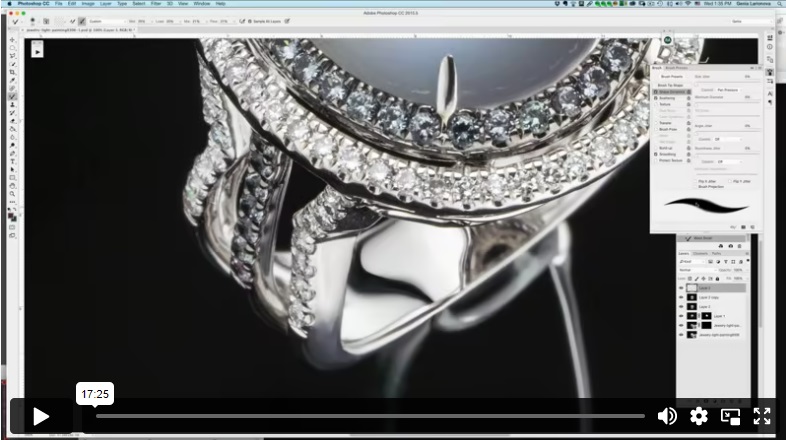
Retoucher Genia continues the post-production process for the moonstone ring.
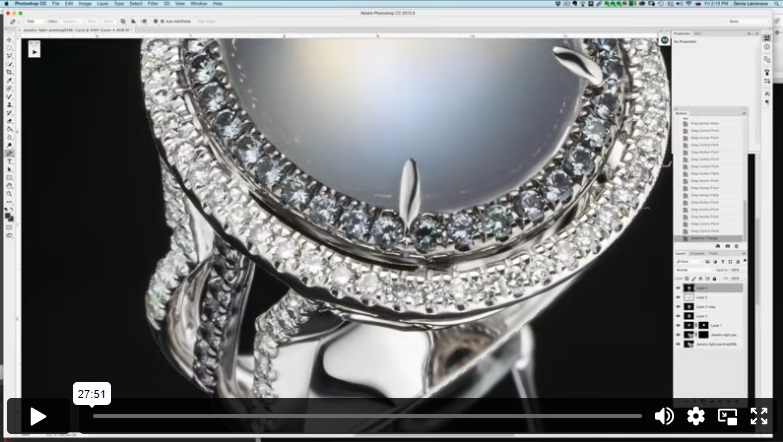
Retoucher Genia completes the post-production process for the moonstone ring.
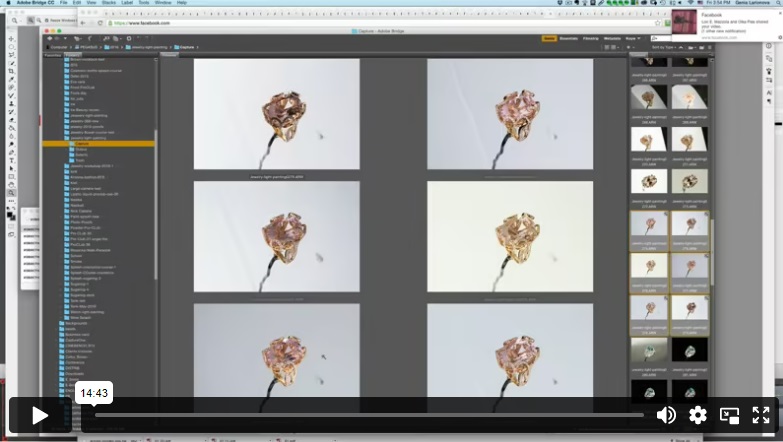
Retoucher Genia demonstrates the post-production process for the pink and gold ring. This time, she uses exposures taken using a white background.
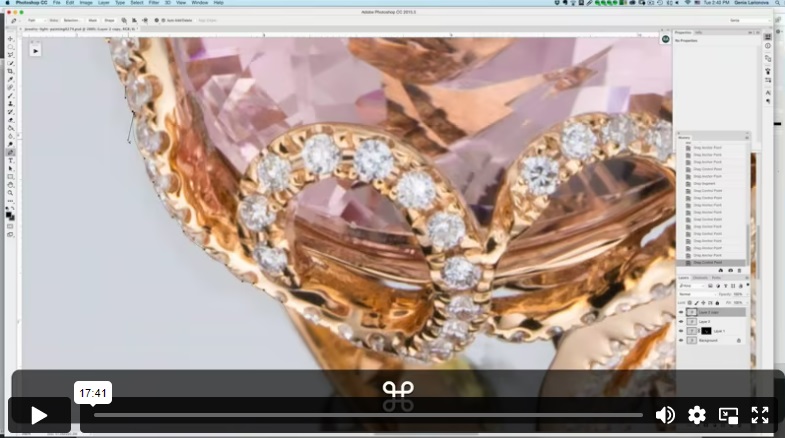
Retoucher Genia continues the post-production process for the pink and gold ring.
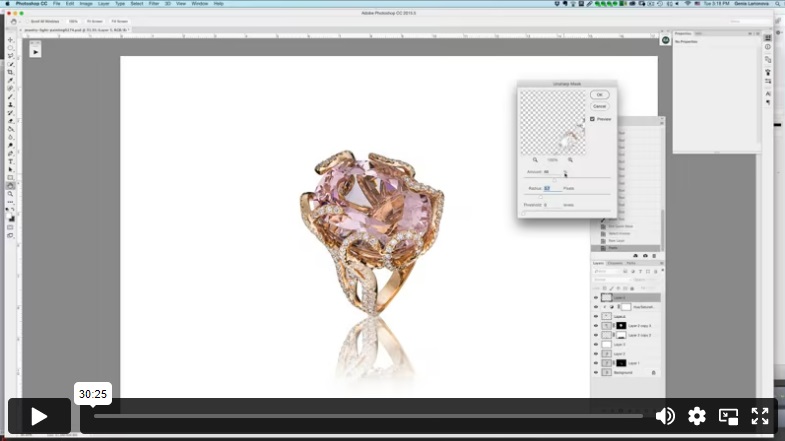
Pink Ring, Part 3
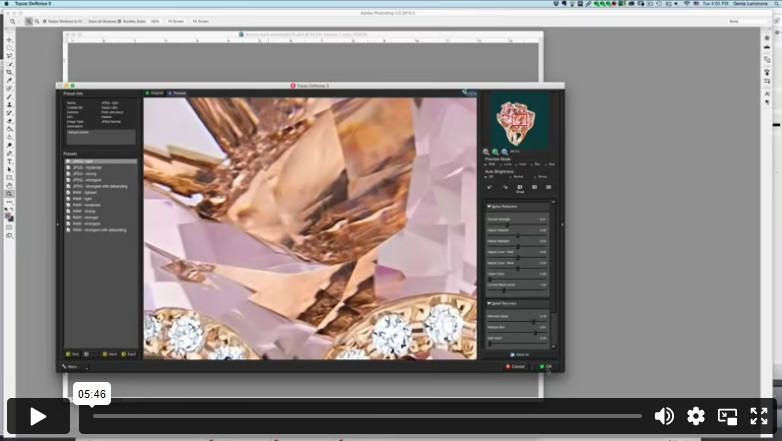
Retoucher Genia completes the post production process for the pink and gold ring.
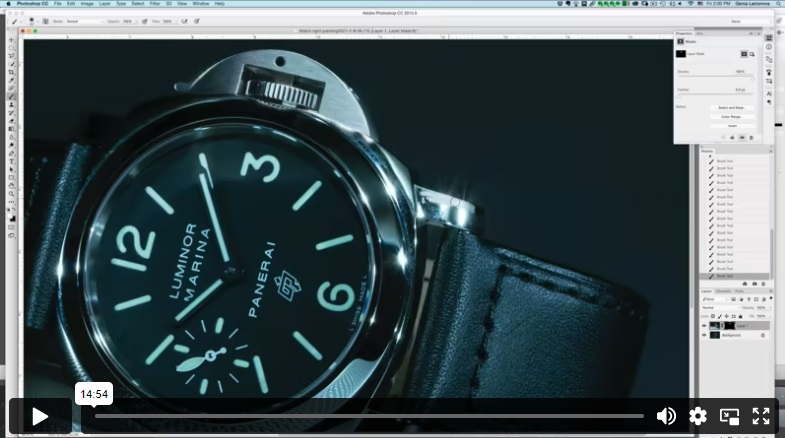
Retoucher Genia demonstrates the post-production process for the watch, taking care to blend the shadow and highlight exposures to retain the watch’s shape and character.
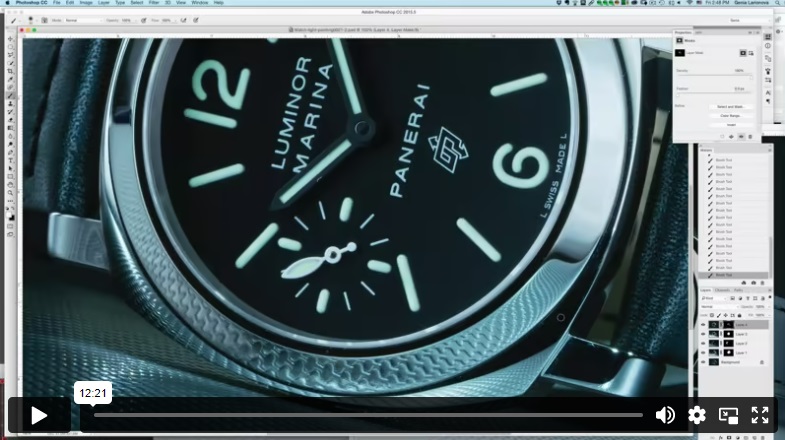
Retoucher Genia continues the post-production process for the watch.
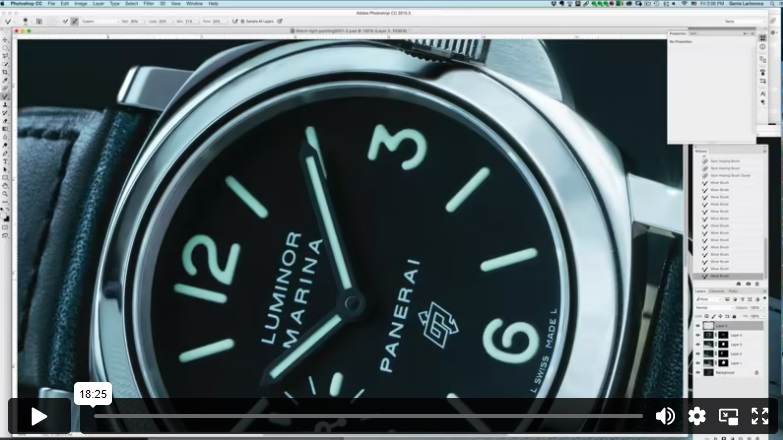
Retoucher Genia completes the post production process for the watch.
⭐⭐⭐ PROFESSIONAL SERIES
Best for long-term access, more DIY approach
Lifetime access
Weekly Q&A
24/7 Email Support
VIP Membership
Best for ongoing learning
Unlimited access to all courses
Priority support
Yes, you can ask an instructor, as well as get a feedback on your work. We have a support forum for this course where you can ask questions, get answers, and feedback from your instructor.
There is a lesson about gear needed included into this course.
Any camera with a macro lens attached will work. Modern digital cameras are capable of capturing a great photos that will work for online or print placements.
You'll need a few pieces of white diffused materials such as tracing paper or Savage translum plastic
Macro Lens, and any flashlight with 200 or more lumens.
Photigy School Of Photography 2020
Most frequent questions and answers
Is there a way to ask an instructor a question/to show work and get a feedback?
There is a lesson about gear needed included into this course.
What camera, lens and lighting do I need to have in order to use this course and make similar photos?
Any camera with a macro lens attached will work. Modern digital cameras are capable of capturing a great photos that will work for online or print placements.
You'll need a few pieces of white diffused materials such as tracing paper or Savage translum plastic
Macro Lens, and any flashlight with 200 or more lumens.
Own this course for $145, or unlock it plus every Photigy course and workshop with a VIP membership.
Try the course. If it is not helping you make better images, email us within 30 days for a full refund.