Luxury Jewelry Photography — Retouching (Part 2)
In this workshop-based course you will learn: How to retouch luxury jewelry using Adobe Photoshop and various plugins because of the specifics of jewelry photography (extreme macro
LUXURY JEWERLY PHOTOGRAPHY - RETOUCHING
ONLINE COURSE
About the Course
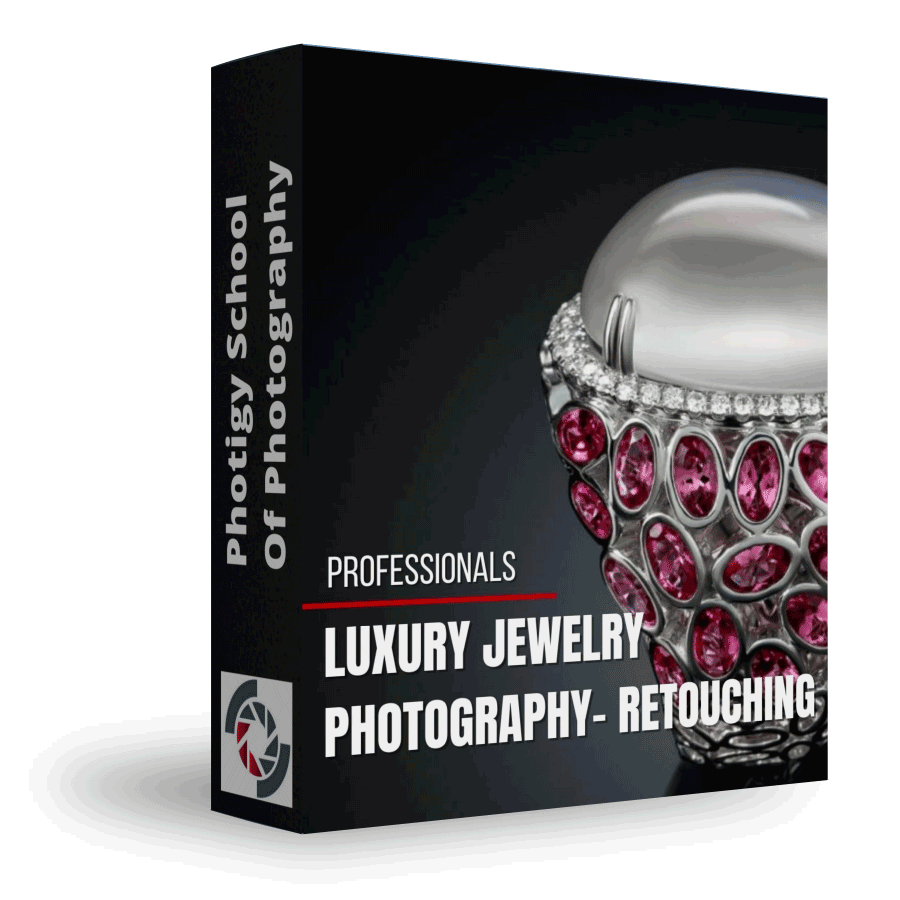
In this workshop-based course you will learn: How to retouch luxury jewelry using Adobe Photoshop and various plugins because of the specifics of jewelry photography (extreme macro). Retouching is an essential part of the process and our expert will teach you secrets of post-production of jewelry.
This course is for you if...
You lack experience with the intricacies of jewelry retouching
You don’t have the budget to hire a retoucher and are willing to improve your own retouching skills
You were disappointed with your straight-out-of-camera results and thought your jewelry photos were not professional enough to add to your portfolio
Imagine you could...
Add stunning, commercial-quality jewelry photos to your portfolio.
Expand your product photography business to include jewelry.
Learn the techniques the pros use to take your jewelry photos from good to gorgeous.
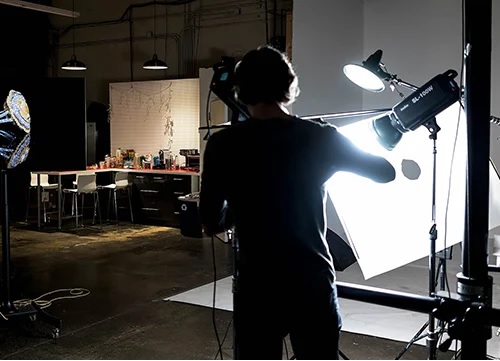
Course Curriculum
Course inlcudes 25 video lessons
Purple Ring
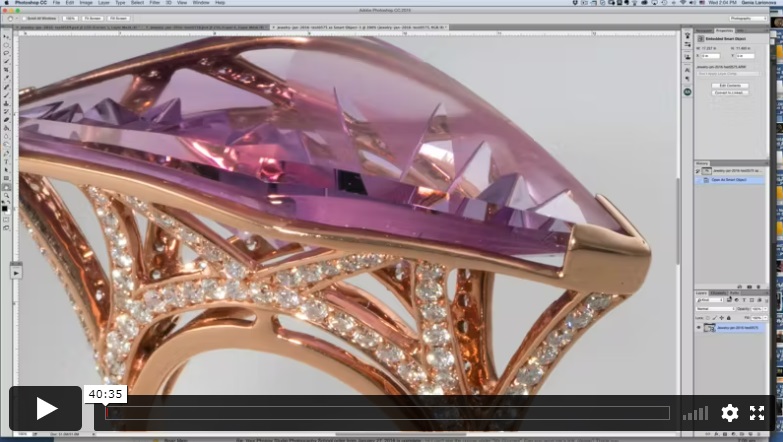
Part 1
In this multi-part lesson, Genia illustrates her techniques in Photoshop to clean, add shadows and highlights, paint in needed details and other effects to achieve a finished image.
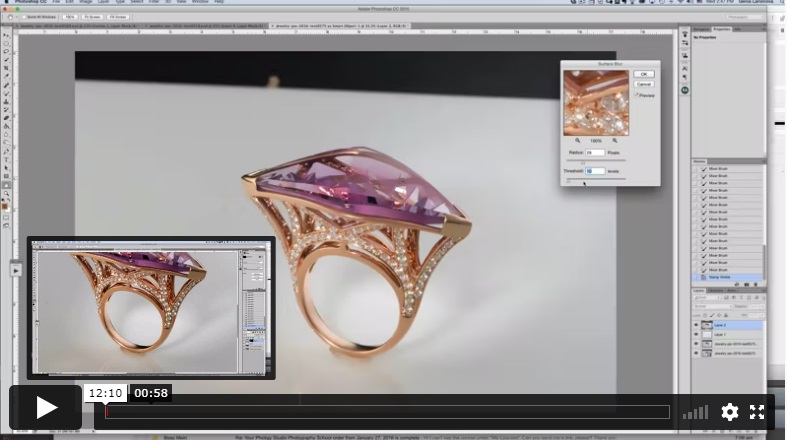
Part 2
Genia uses Photoshop to clean the ring and address some highlights and shadows.
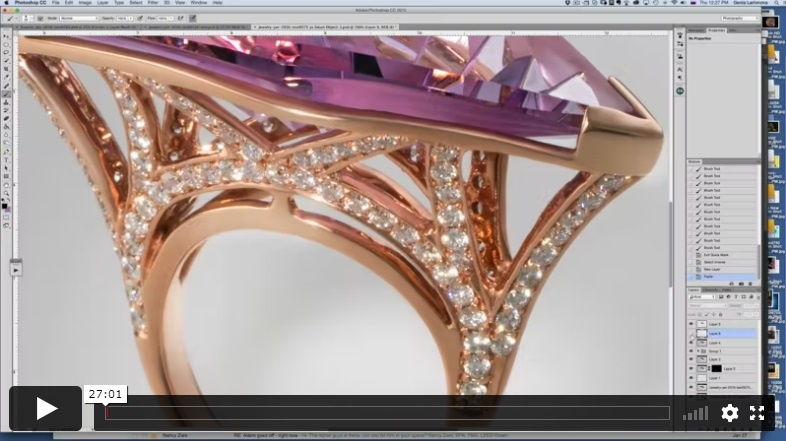
Part 3
Genia shows how to select diamonds with Quick Mask to sharpen and brighten them with adjustments. She shows how to extract the ring and place it on a white background.
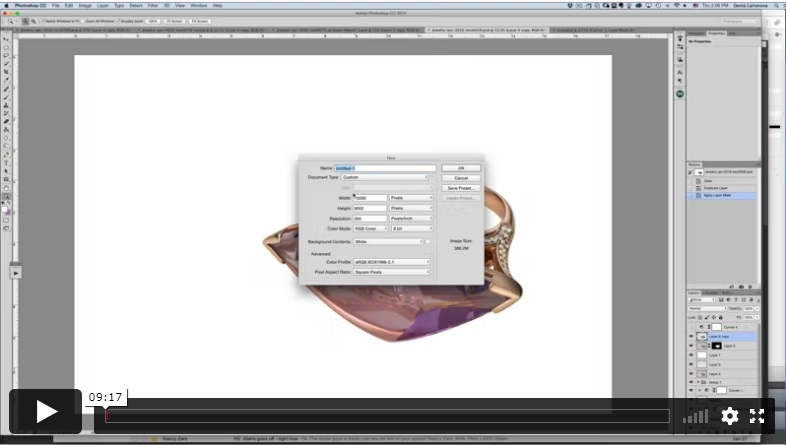
Part 4
In this lesson, Genia combines three rings by using various compositing techniques to achieve an aesthetic final composition.
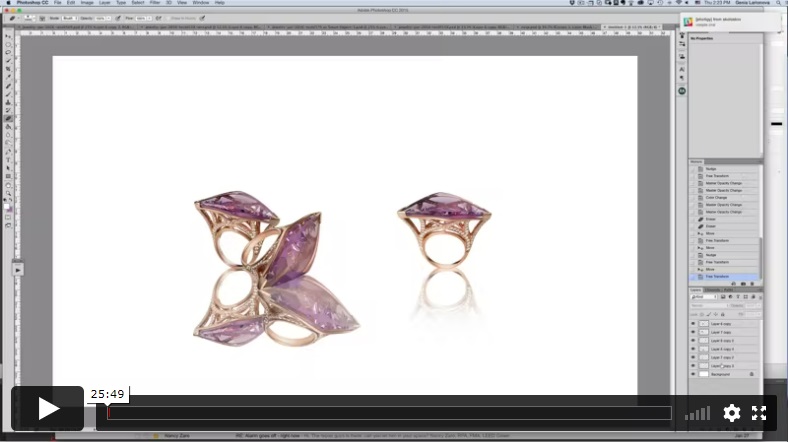
Part 5
Genia creates reflections and adjusts them to be realistic. She adds a background as well as various visual effects to create eye appeal in the final image.
Green Ring
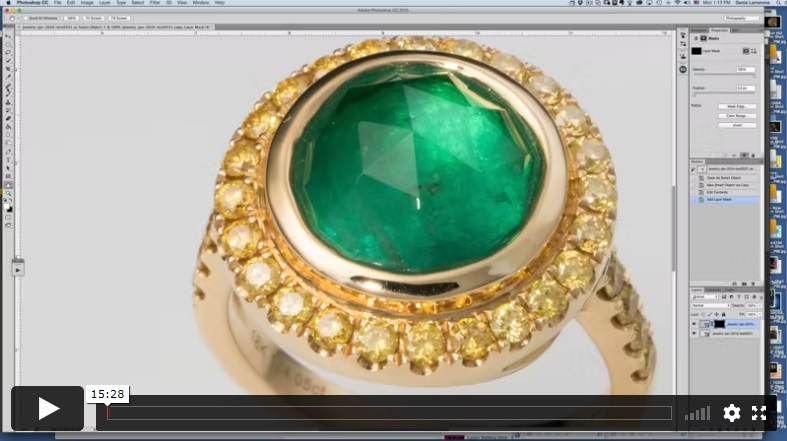
In this multi-part lesson, Genia starts out in Camera Raw to get the most out of the image, then creates a Smart Object to preserve her ability to make changes. She then uses brush work to remove unwanted reflections from the diamonds. Genia returns to Camera Raw to achieve the desired effects on the dark side stones and then adds the result to the image with proper color adjustment.
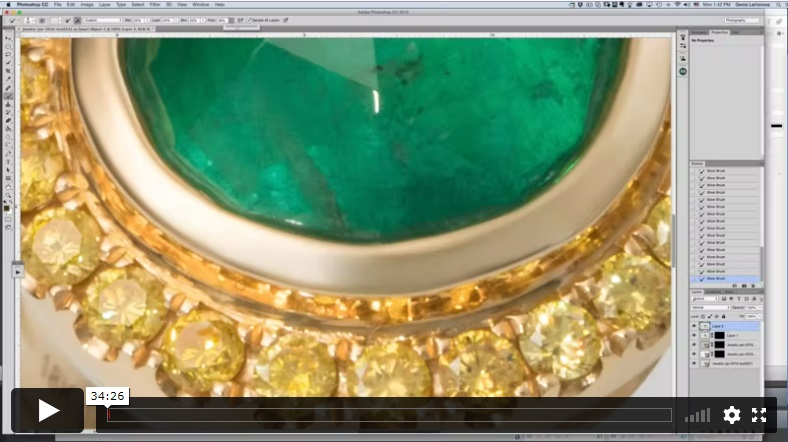
After combining the adjustment layers, Genia begins cleaning the stone and the metal.
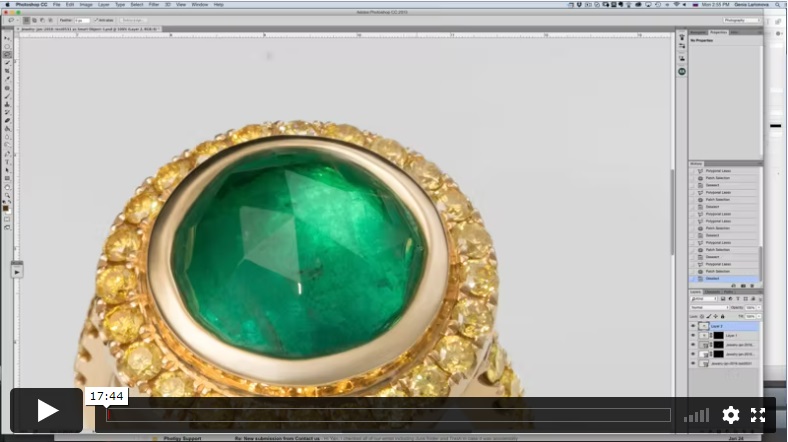
Genia next cleans and addresses other issues with the stone. Stones are then quick-masked and sharpened to the desired level.
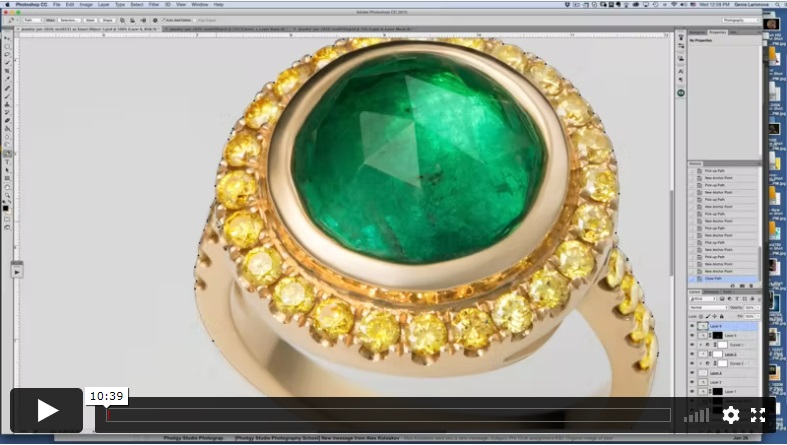
Genia cuts out the ring and places in on a white background.
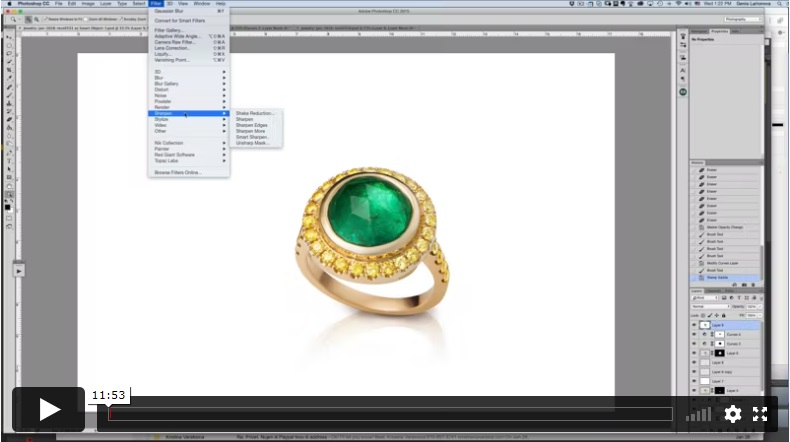
Genia creates reflections and shadows and sharpens the image. She concludes by using a plug-in to apply the finishing touches.
White Pearl Ring
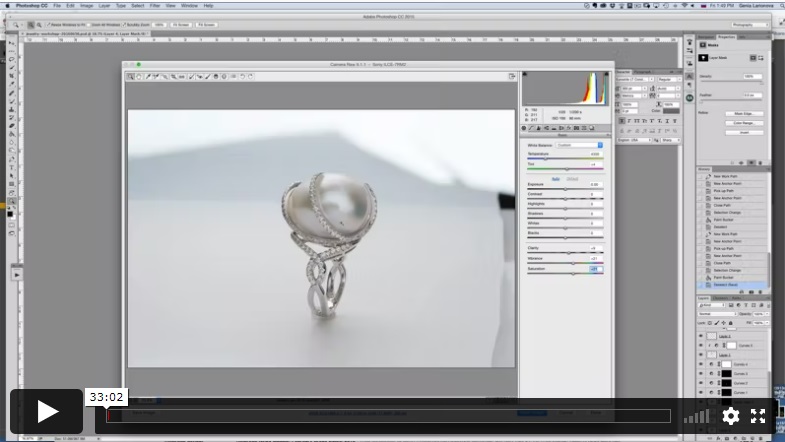
In this lesson, Genia demonstrates how to clean the pearl and the metal for the ring.
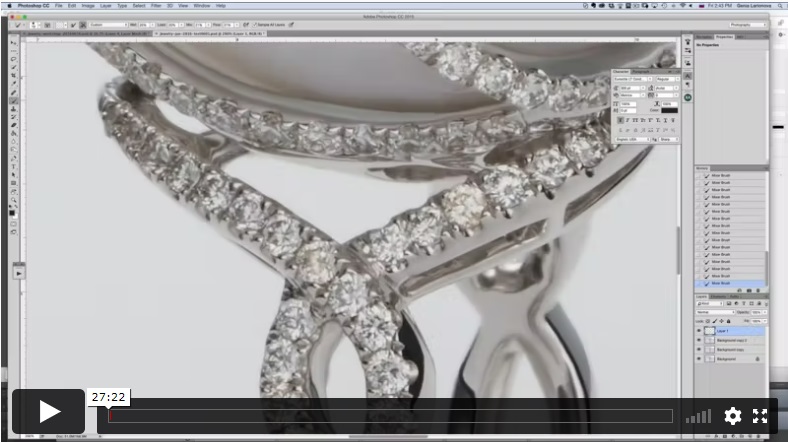
Genia refines the metal highlights and reflections for the pearl ring. She employs some Liquify to improve the shapes.
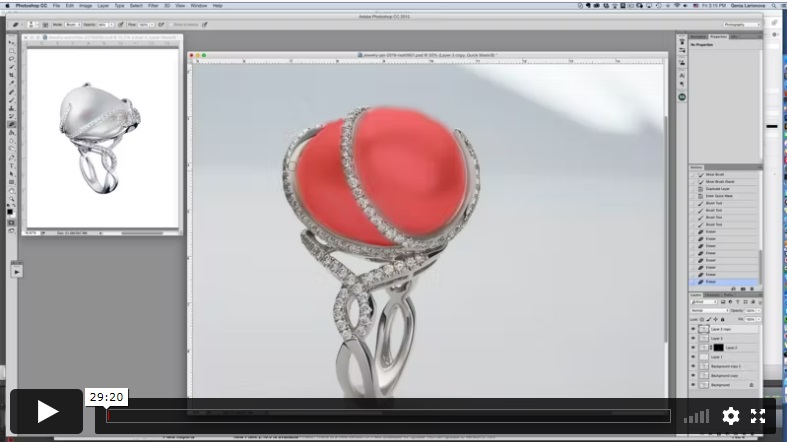
Genia opens another finished pearl ring image and creates balanced colors using a Quick Mask selection with various adjustments to prepare for a multi-ring composite image. She extracts the ring and places it on a white background.
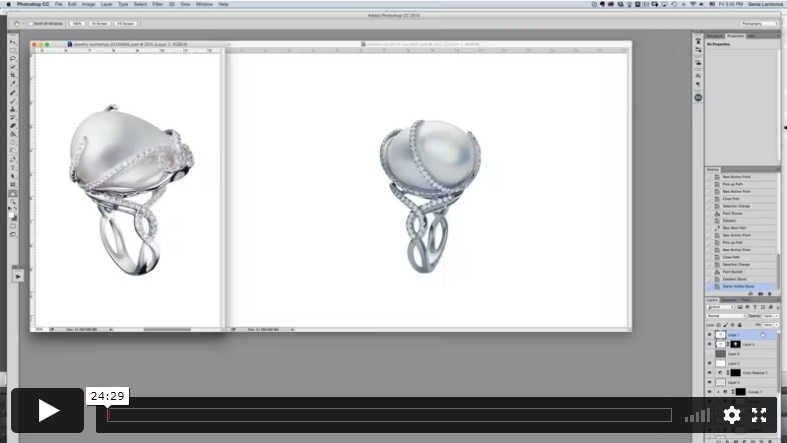
Genia further adjusts the pearl, diamonds and metal colors to balance the colors with the second ring image. She enhances the highlights and shadows using Curves adjustments.
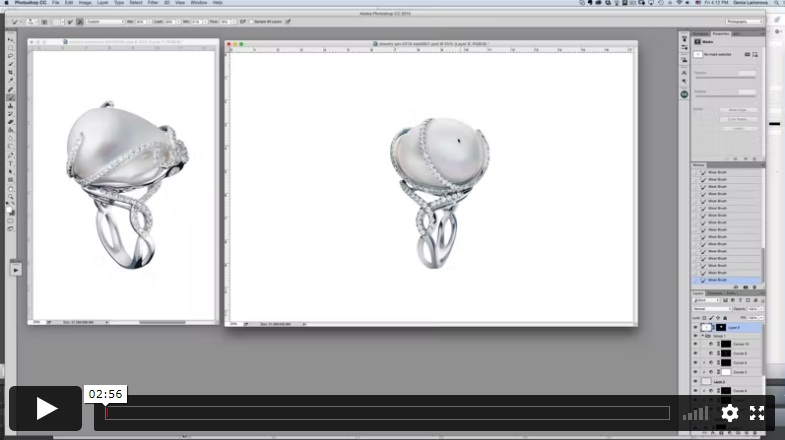
Genia uses the Mixer Brush in Photoshop to further smooth the pearl surface and match it with the other image.
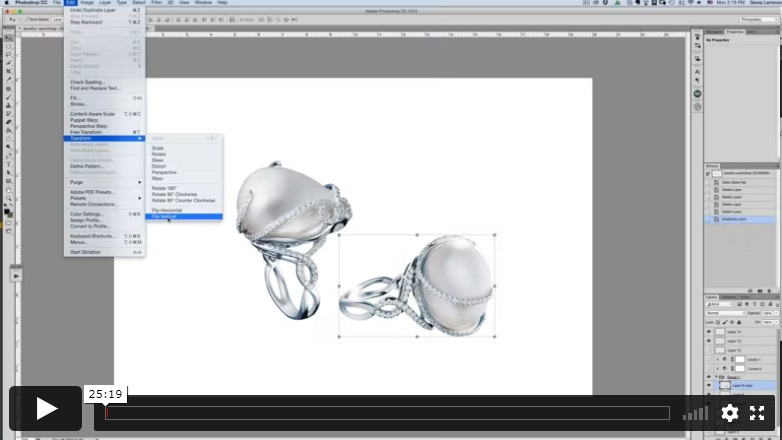
Final
In this lesson, Genia combines two separate views of the pearl ring by compositing them together and then adding a background and sparkles to complete the image.
Earrings
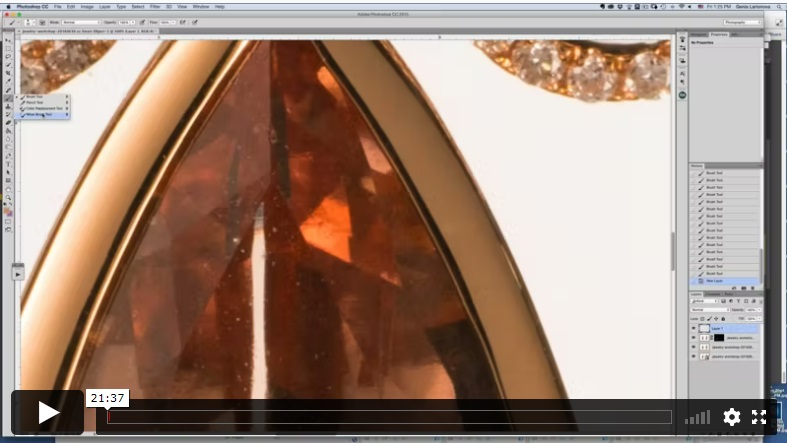
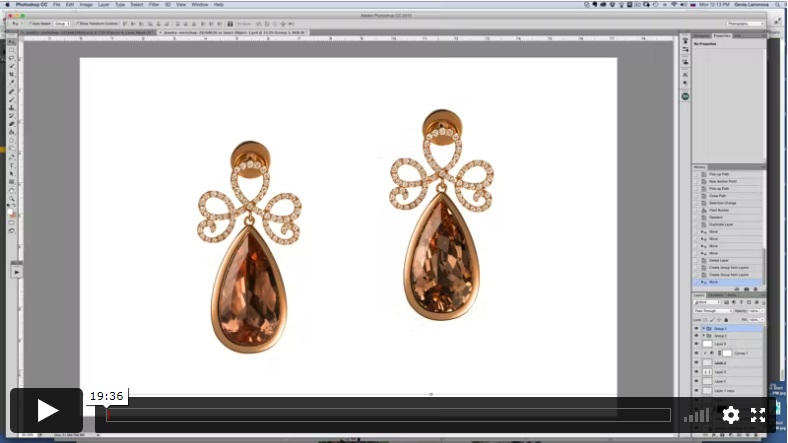
In this multi-part lesson, Genia combines the best parts of shots with both black and white background images. By using compositing to obtain the most desirable qualities of each, she creates a final finished image that brings out the full beauty of the earrings. She starts with metal cleaning and completes the task by repairing shadow and highlight defects with brush work.
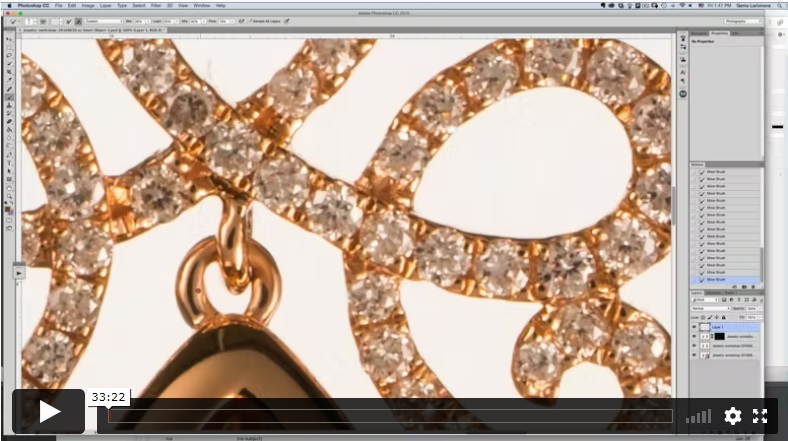
Genia cleans and adjusts the shadows and highlights on the top portion of the earrings. She fixes the dark diamonds using cloning and addresses diamond brightness, contrast and sharpness using Quick Mask selections with various adjustments.
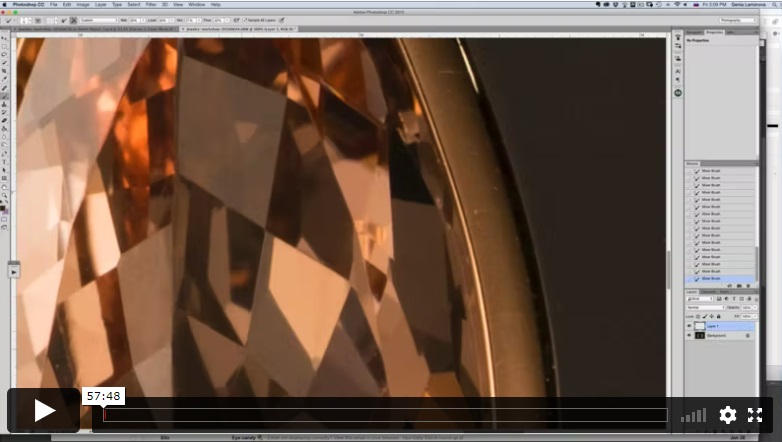
Genia cleans and corrects defects on black background stones using various brush work. Stone is cut out with pen tool and placed on white background image earring. On white background image pen tool is used to cut out best drop and best diamond top. Diamond top is repositioned on the keeper for better aesthetics. Finally she assembles the various parts to complete the finished earrings.
Bracelet
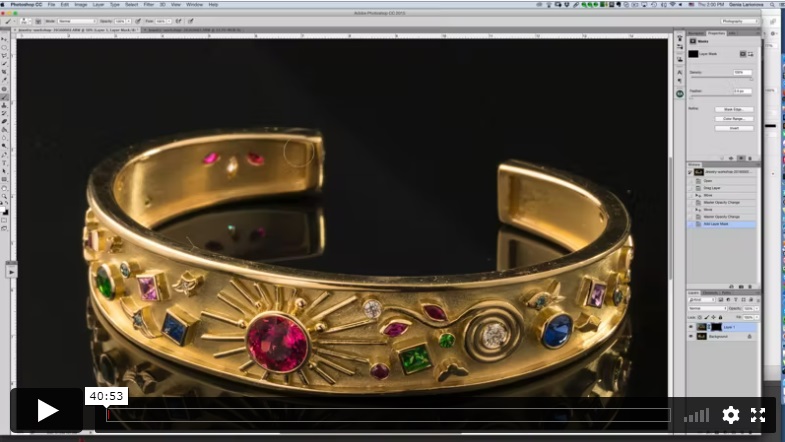
In this multi-part lesson, Genia composites two bracelet shot together to add lighted areas not possible with one image. She then cleans the metal with brush work and makes Quick Mask selections of the stones to adjust sharpness and brightness.
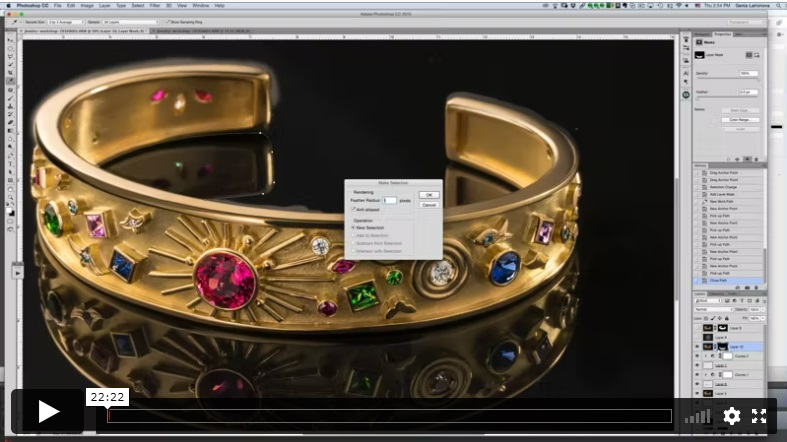
In Part 2 of this lesson, Genia uses the Pen tool to extract the bracelet and place it on a background. She finishes by adding shadow and highlight adjustments using Curves adjustment and a brush and some final sharpening.
Black Pearl
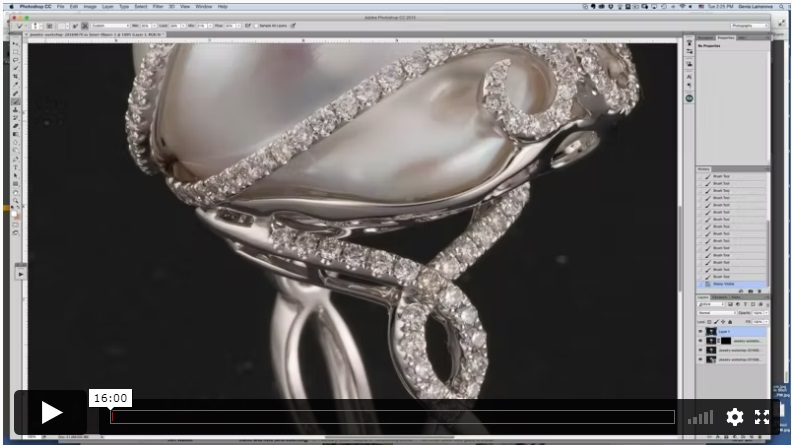
Genia processes the pearl ring with a black background. She uses a Photoshop plug-in to address a pearl defect, then cleans the metal and fixes shadow and highlight defects using brush work. Finally, Genia uses a brush technique to further smooth the pearl.
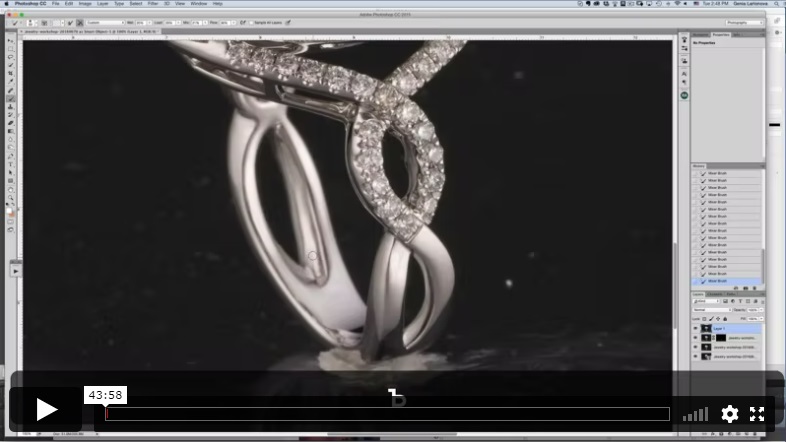
In Part 2 of this lesson, Genia cleans and touches up metal with brush work and performs color corrections on the metal. She then proceeds to retouch the diamonds and pearl and uses Curves to adjust the highlights and shadows of the ring.
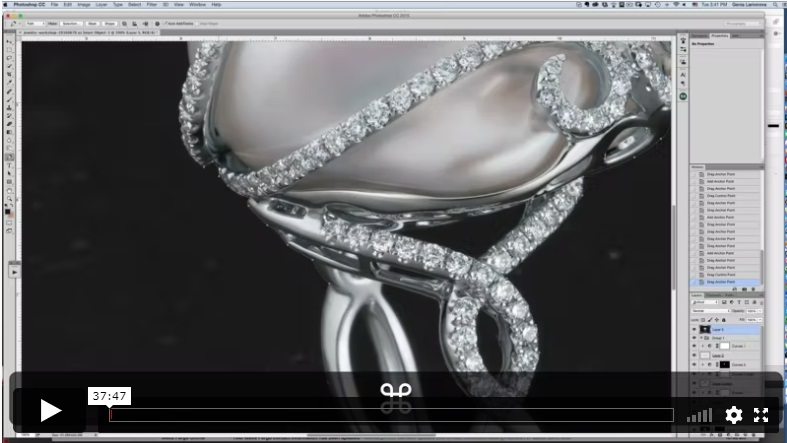
To complete the pearl ring retouch, Genia uses the Pen tool to cut out the ring and creates a gradient background. She creates a reflection and adds a shadow. She concludes by doing a final adjustment for highlights and shadows and uses a plug-in to remove noise.
IMAGES YOU'LL BE ABLE TO MAKE YOURSELF
Alex will teach you how to take images like this in this course
Before-After Post-Production
Left – SOOC (straight out of the camera), Right– after Adobe Photoshop
SOOC - BEFORE
AFTER
TYPE
Post-Production lessons
⭐⭐⭐ PROFESSIONAL SERIES
Luxury Jewelry Photography - Retouching
Individual course purchase v.s VIP Membership:
Best for long-term access, more DIY approach
Lifetime access
Weekly Q&A
24/7 Email Support
VIP Membership
Best for ongoing learning
Unlimited access to all courses
Priority support
ABOUT THE COURSE’S
Instructors
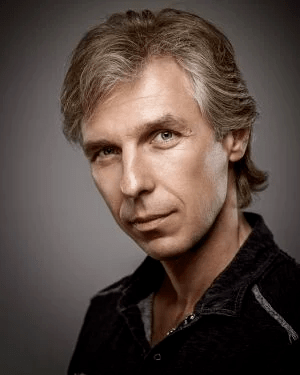
Alex Koloskov
Is “one of the most recognized product photographers in the world˝ and the founder of the Photigy school of photography.
He is also the man behind Photigy’s most popular courses and tireless idea generator.
Portfolio: www.koloskov.com
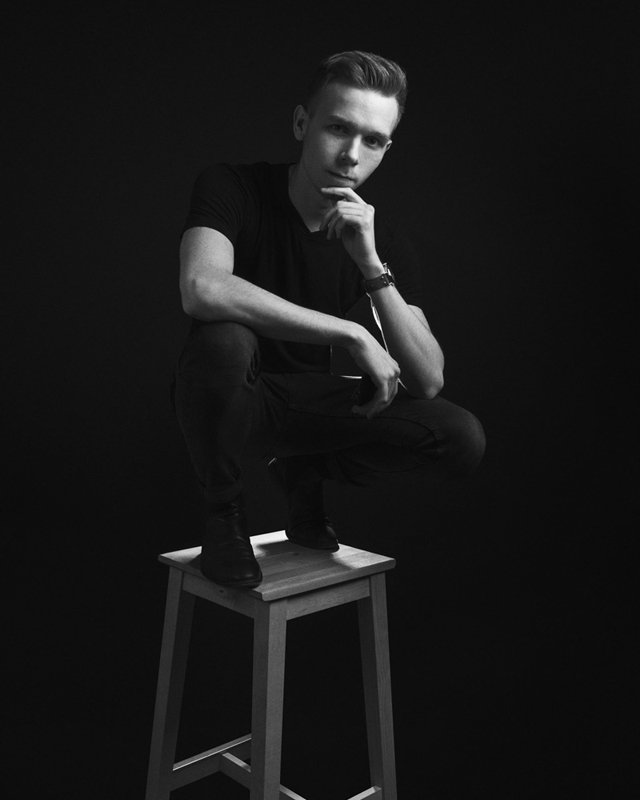
Artem Pissarevskiy
Artem is a professional retoucher from Finland. He’s been working in the post-production field for about four years.
He sees himself of a more technically skilled retoucher than an artist, specializing mostly in product and creative retouching and he enjoys problem-solving as it is a huge part of the post-production process.
Photigy School Of Photography 2020
Photos You’ll Learn to Make
Get This Course
Luxury Jewelry Photography — Retouching (Part 2)
One-time payment · lifetime access
- Every lesson in this course
- Watch on any device, forever
- Instructor feedback in the member forum
VIP Membership
This course + every other Photigy course
- All jewelry photography and every other course
- 184+ Pro Club workshops
- Weekly live Q&A and photo reviews