Photigy Course
Mastering Product Retouching Course, pt2, Main page
Professional, step-by-step online course — watch every lesson at your own pace, forever.
$145one-time · lifetime access
Professional, step-by-step online course — watch every lesson at your own pace, forever.
COURSE FROM ARTEM PISSAREVSKIY
Mastering Product Retouching- Intermediate
So you have a handle on the basics of product retouching like setting up your workspace, adjusting camera raw files and bringing them into Photoshop, doing essential cleanup and maybe some light dodging and burning. Then you’re ready to deepen your skill set by learning the topics covered in Part 2 of our Mastering Product Retouching series.
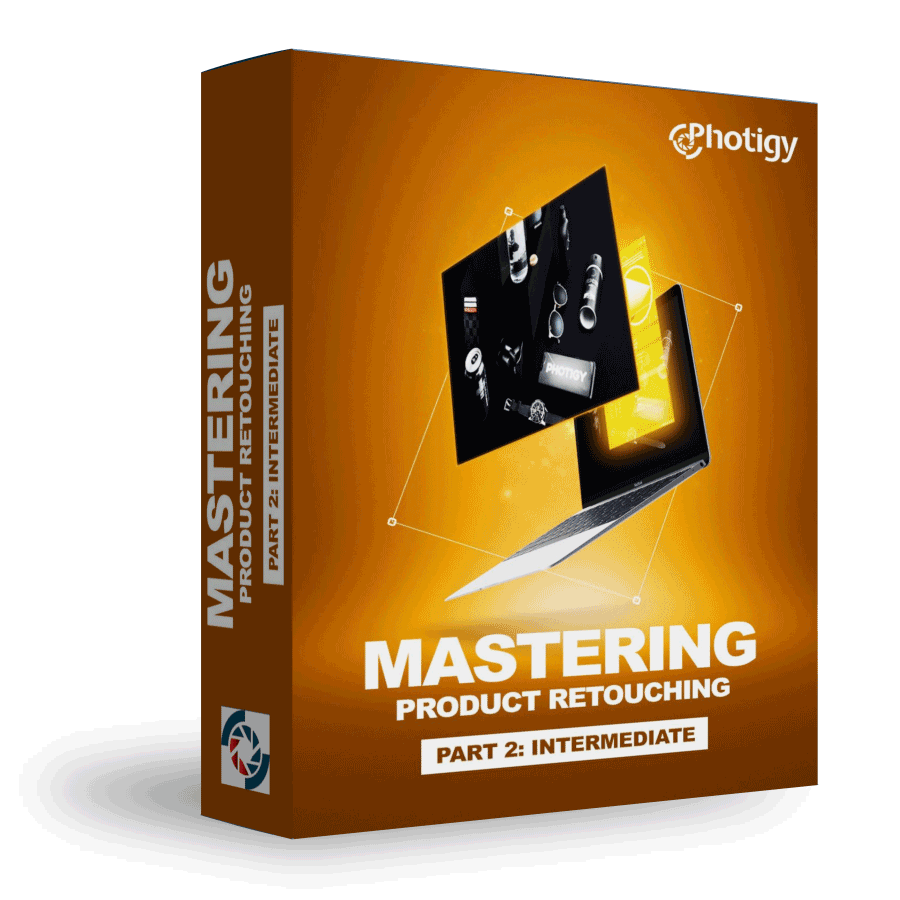
In Part 2 of this special series, professional retoucher Artem Pissarevskiy focuses on the next level of product retouching, from exposure blending and making complex selections to smart object manipulation and grain matching.
Take your retouching skills to the next level.
Join Artem Pissarevskiy as he teaches you:
– How to blend exposures
– The ins and outs of Blending modes
– Intermediate cloning techniques
– Tricks & tips for dust removal
– how to work with the Mixer Brush
– The essentials of micro Dodging & Burning
– How to make complex selections using a combination of tools
– The essentials of color correction
– Smart object manipulation
– How to use Liquify, Warping, and Puppet Warp to reshape elements in your image
– How to make nuanced adjustments to your image using a Black and White adjustment layer
– The pros and cons of three different sharpening methods
– How to create realistic grain to match your image
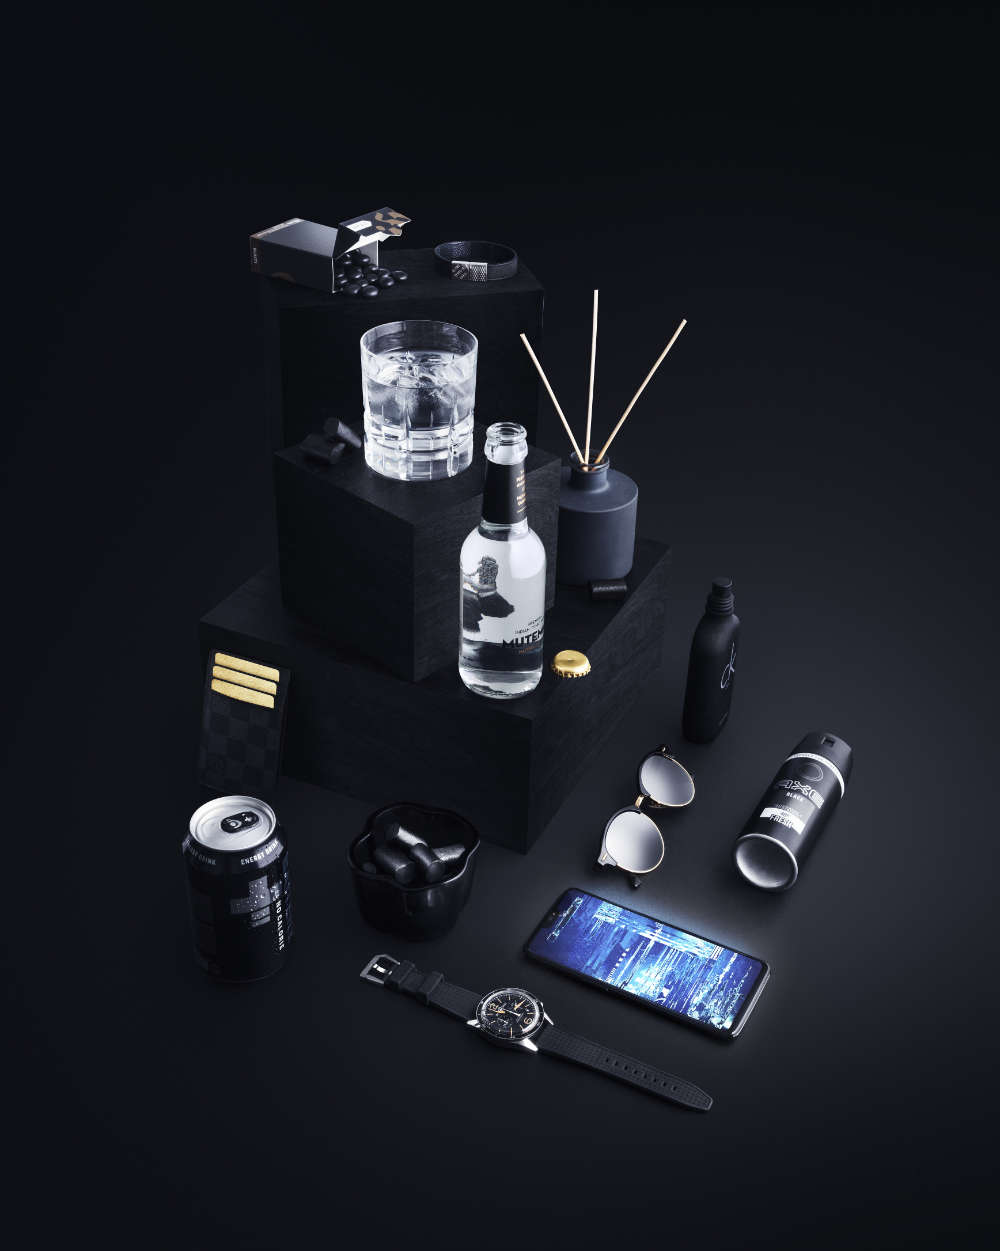
And as a bonus, you also receive an in-depth start-to-finish, step-by-step retouch of a second image so you can follow along as Artem puts all of the fundamental techniques into practice!
Course Highlights
Expand your retouching skills beyond the basic techniques to achieve professional-quality results.
Ask questions on our online forum and get answers from our professional instructors.
Who will benefit the most from this course?
Photographers seeking to learn the fundamentals of professional-quality product retouching for their own images.
Individuals interested in honing their retouching skills through methodical, guided instruction that lays the foundation for more advanced topics and techniques.
Anyone with an understanding of retouching fundamentals.
MASTERING PRODUCT RETOUCHING - PART 2
COURSE CURRICULUM
Course includes more than 3 hours of instruction in 15 video lessons
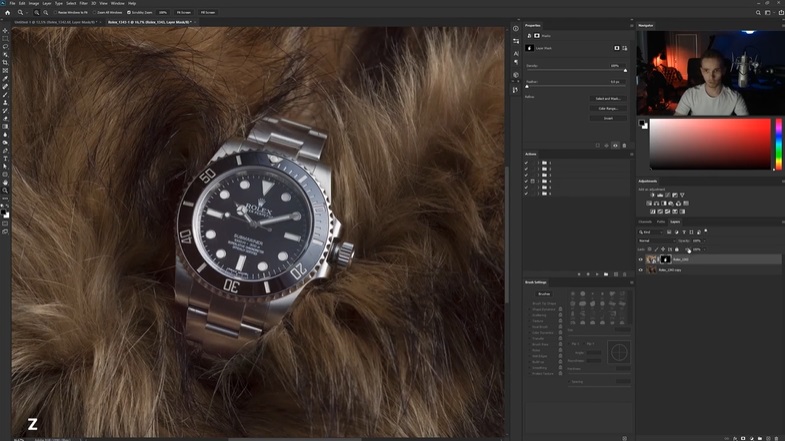
In the first lesson, we are going to take a look at how to use multiple images and raw conversions to achieve desired exposure and lighting and make sure that we get the best starting point for our retouching process.
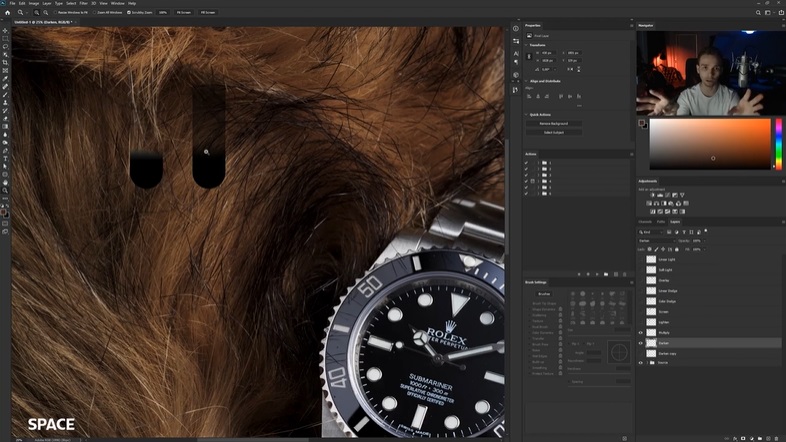
In this lesson, we go through the different blending mode options on how, when and why use them.
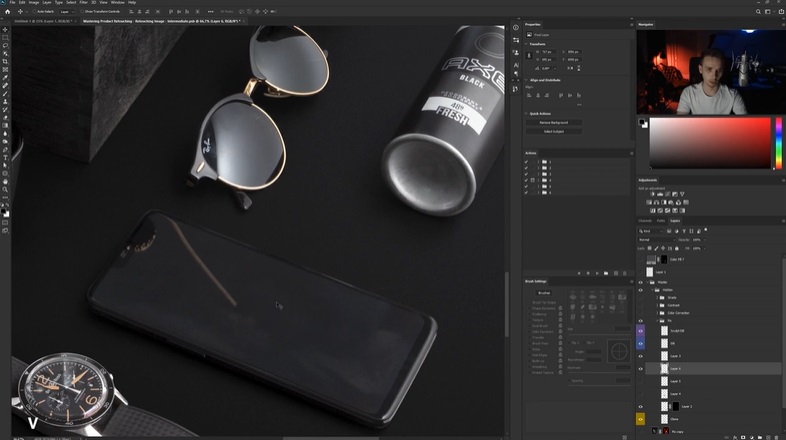
In this lesson, we revisit the Clone Stamp tool from the first part, but examine it from a different point of view and explore some additional features of the tool.
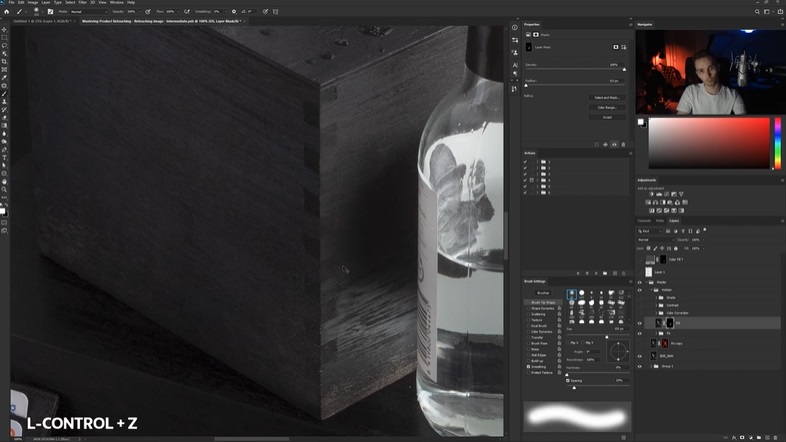
In this lesson, we take a look at a powerful and quick way of removing large amounts of dust particles and at the same time compare the pros and cons of this specific technique.
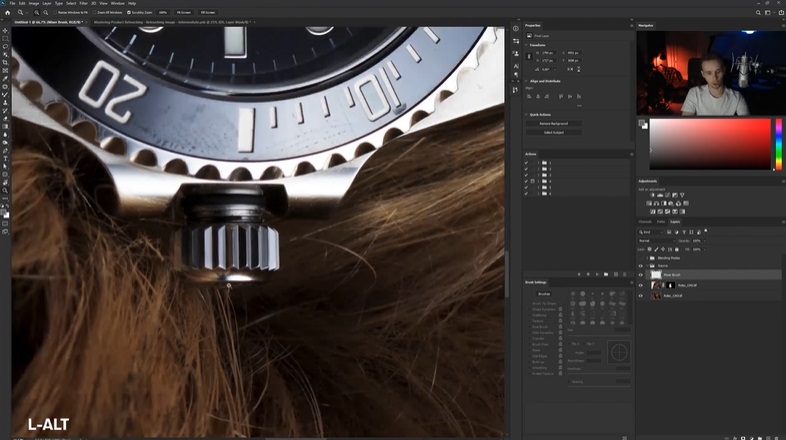
In this lesson, we demonstrate how to set up the Mixer Brush tool and use it to smooth out surfaces which are not well-suited for other methods such as cloning or healing.
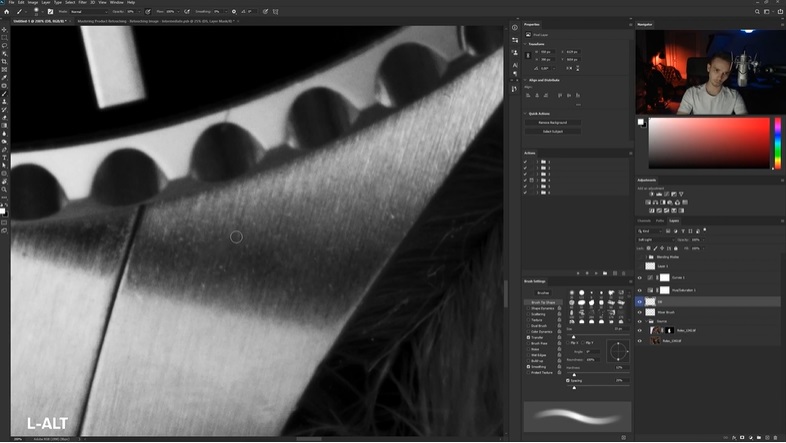
In this lesson, we once again revisit another technique from the Beginner course and continue to push the boundaries to see what this technique is able to do in other instances.
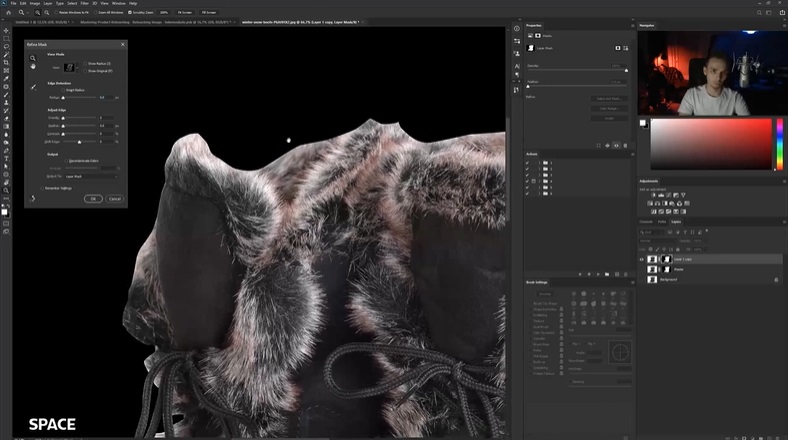
In this lesson, we show you how you can combine different selection and masking methods to achieve a flawless selection result that cannot be done with just one tool.
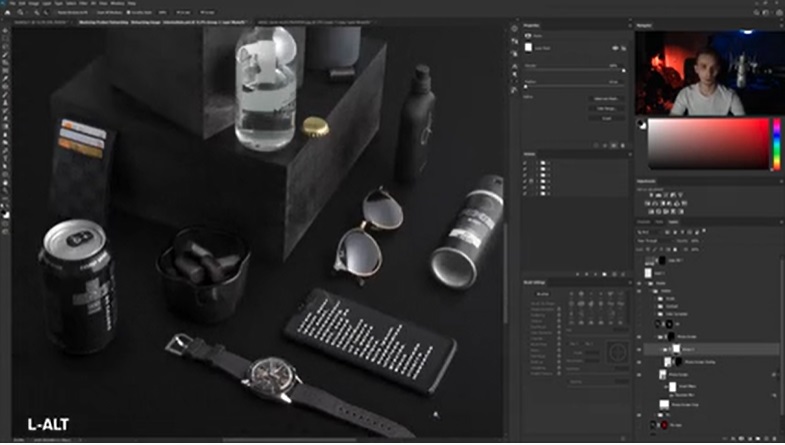
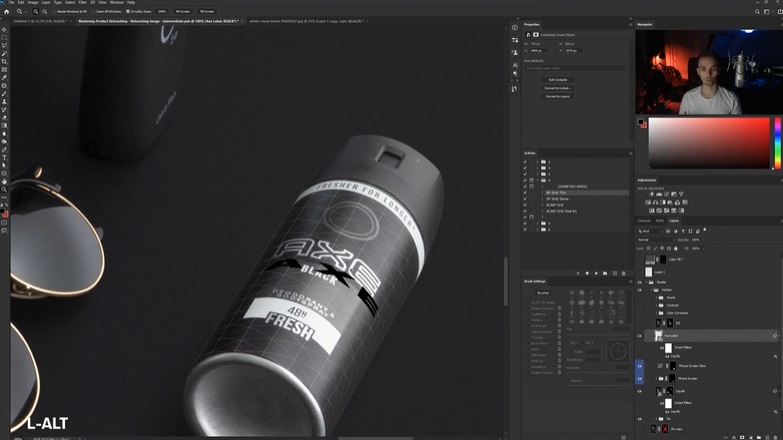
In this lesson, we go through an important technique that uses smart objects that can be updated later to replace real life elements such as bottle labels and phone screens while maintaining texture and reflections.
In this lesson, we demonstrate how to use the Liquify tool to fix organic flaws in the image.
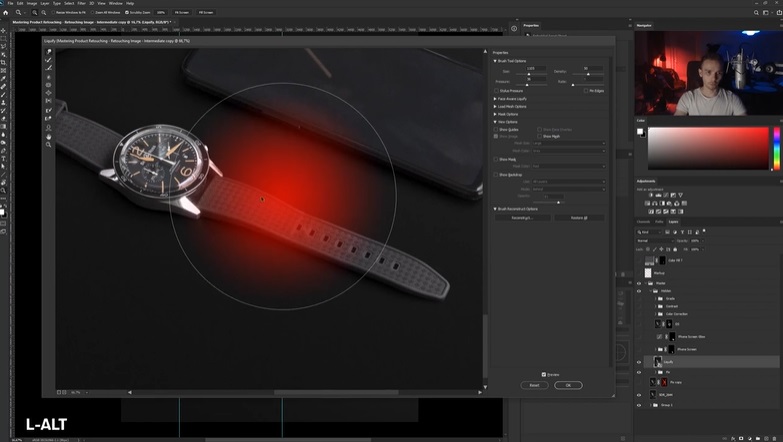
Continuing on the theme of transforming, in this lesson, we show the capabilities of the Warp transform modifier and how to use it to your advantage.
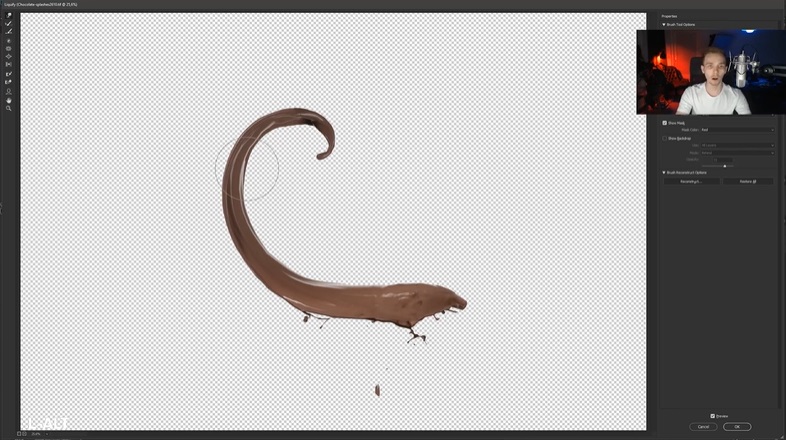
To round up our transformation trilogy, we go through the Puppet Warp modifier to demonstrate how to use it in more organic transforming scenarios.
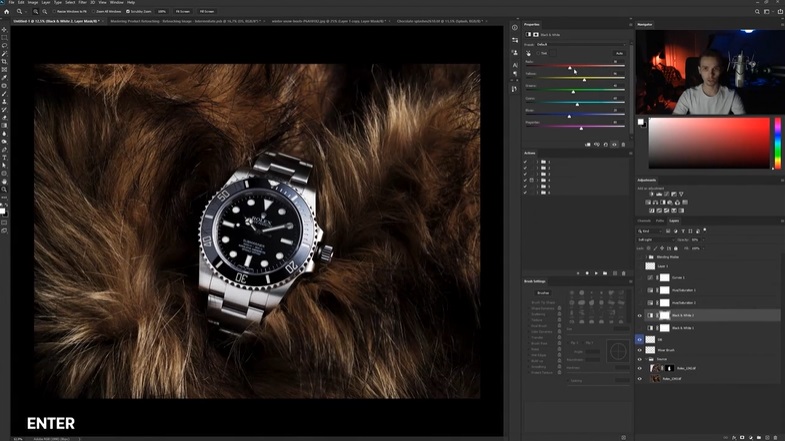
In this brief lesson, we take a look at some interesting ways you can use a Black and White adjustment layer for more than simply turning an image black and white.
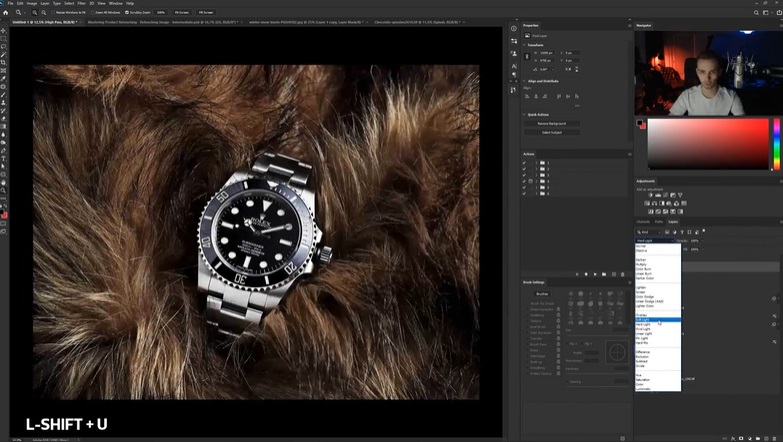
In this lesson, we go through three most commonly used sharpening methods and compare them to each other to find out the major differences and their pros and cons.
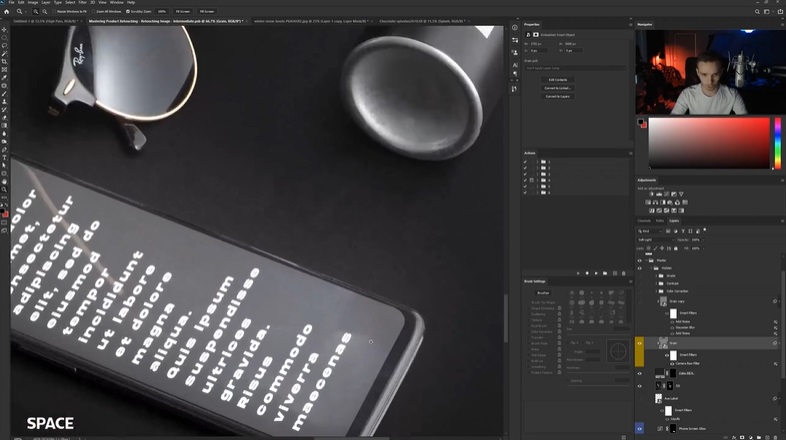
In this last lesson, we learn how to create a photo-realistic film grain from scratch, and how to modify it and match it to an existing grain in the image.
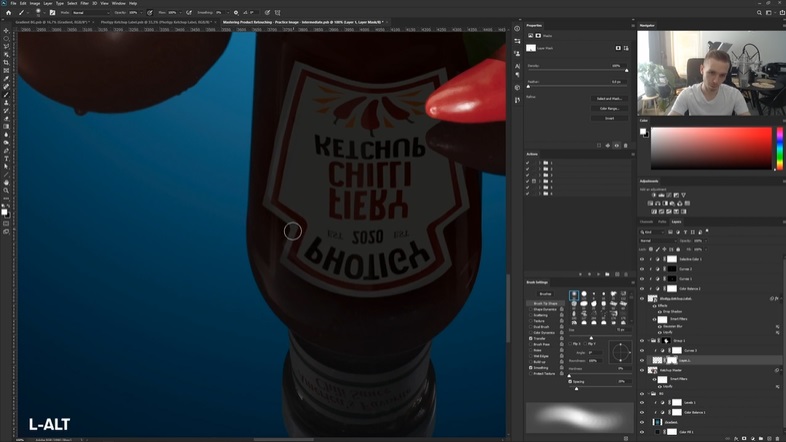
In this special bonus lesson, we demonstrate the application of many of the techniques presented in the course to create a final high quality image.
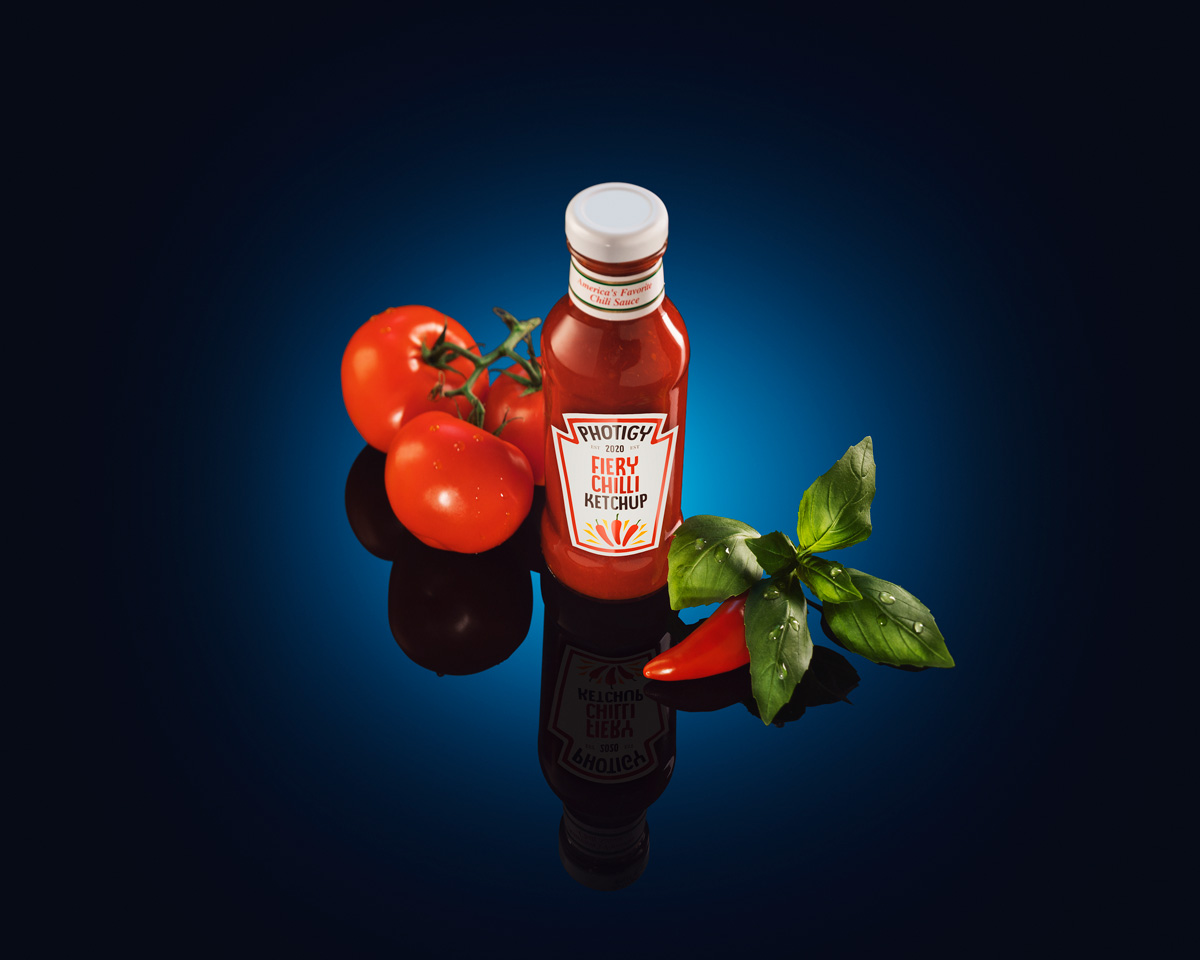
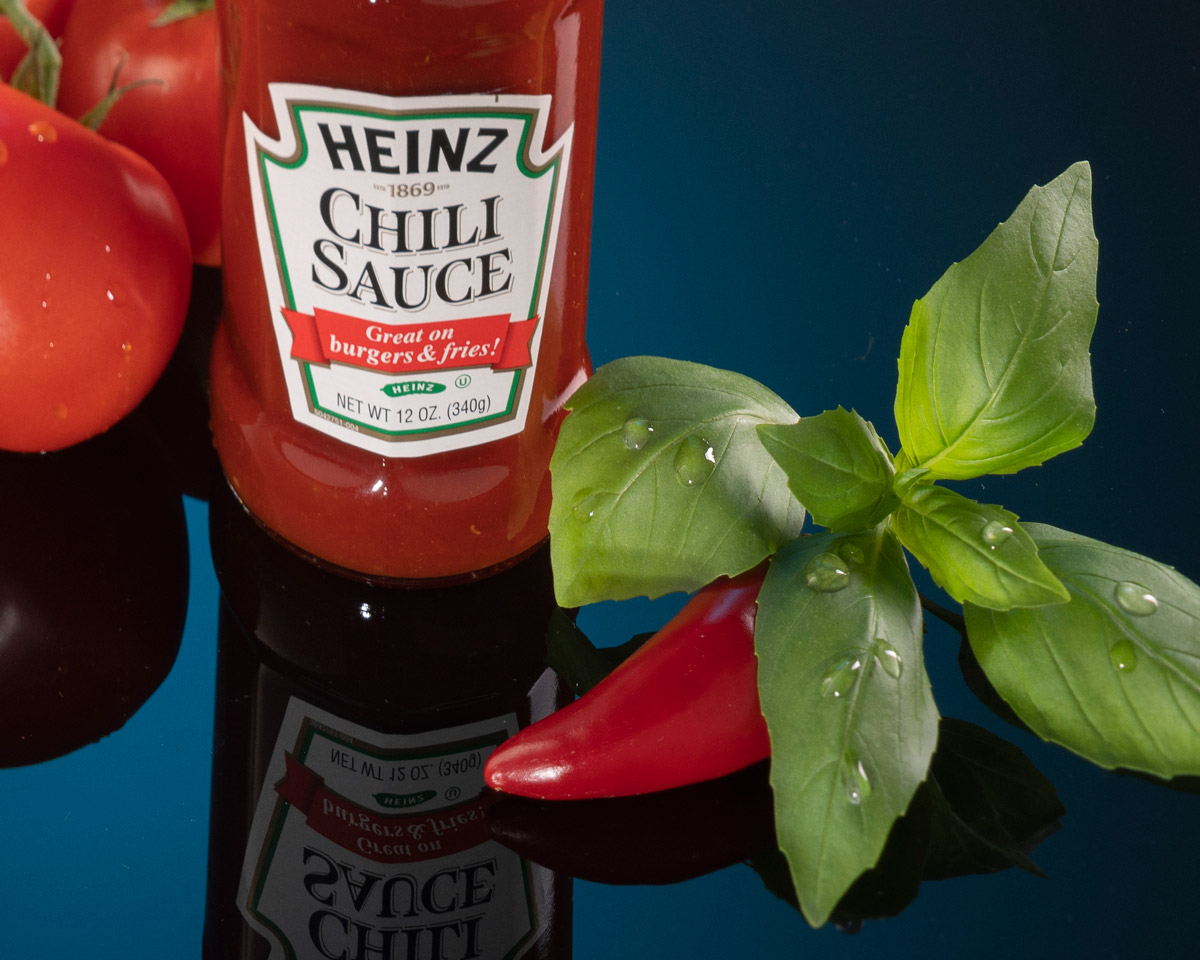
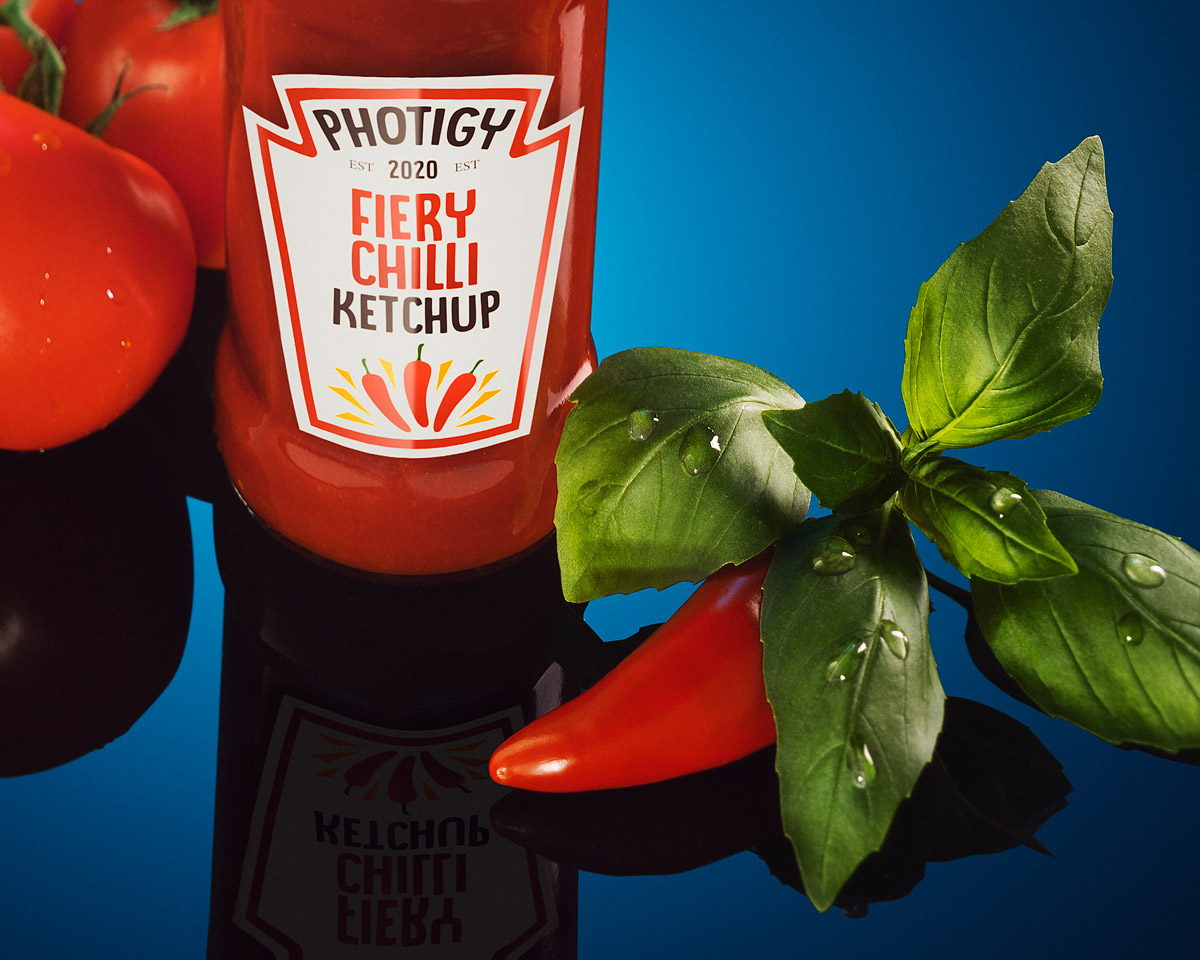
Before-After Post-Production
Left – SOOC (straight out of the camera), Right– after Adobe Photoshop
SOOC - BEFORE
AFTER
ABOUT THE COURSE’S
Artem is a professional retoucher from Finland. He’s been working in the post-production field for about four years.
He sees himself of a more technically skilled retoucher than an artist, specializing mostly in product and creative retouching and he enjoys problem-solving as it is a huge part of the post-production process.
⭐⭐⭐ SIGNATURE SERIES
Best for long-term access, more DIY approach
Lifetime access
Weekly Q&A
24/7 Email Support
VIP Membership
Best for ongoing learning
Unlimited access to all courses
Priority support
Frequently asked question
Here are a few answers to our most common questions
You will need a computer capable of running at least a relatively recent version of Adobe Photoshop and Lightroom, with sufficient memory and storage to accommodate working on and saving up to multi-gigabyte files.
Although you can work your way through the entire course without a graphics tablet by using a multi-button mouse, it is highly recommended if you plan to retouch a lot of images to invest in a decent graphics tablet as they make the entire process more accurate and efficient.
You will have an ulimited 24/7 access to course videos, forums, and reviews on the Photigy.com website. It is optimized for mobile as well, and we stream from the worldwide cloud to ensure a worry-free learning experience.
You’ll have lifelong access to the course. There is no limitation on this.
All course students have access to a private forum dedicated to support. This is the place where Photigy instructors answer students’ questions, and students can share their own experiences and solutions.
No! This Beginner course will take you step-by-step through the entire process of retouching using a non-destructive workflow for top-quality results and it will lay the necessary foundation to master more advanced topics and techniques.
Photigy School Of Photography 2020
Own this course for $145, or unlock it plus every Photigy course and workshop with a VIP membership.
Try the course. If it is not helping you make better images, email us within 30 days for a full refund.