ONLINE COURSE
About the Course
Liquid In Motion: Zero-Gravity Fluids Course For Professional Photographers
Liquids in motion: bring the beauty of no-gravity fluids into a commercial product photography.
If you ever tried to shoot splashes and other high-speed liquids (like we did on this course), you know how powerful liquid and splash photography is when used in advertising and commercial photography.
However, working with splashes requires special lighting and extra protection of the studio environment and gear, and not always possible for beginner and emerging product photographer.
In this course, you will learn how to shoot amazing zero-gravity fluids with a very basic photography gear:
Use your regular studio strobes or speedlites
Any camera equipped with 50-150mm lens (macro is not necessary)
DIY or a very non-expensive water tanks
Take this course and become one of the first photographers who will use this technique to create stunning photos for art and commercial projects.
This course is for you if...
You have never attempted aqueous photography and don't know where to start.
You thought you needed expensive high-speed equipment to capture quality aqueous effects.
You thought combining aqueous effects with products was only for top-level advertising photographers.
Imagine you could...
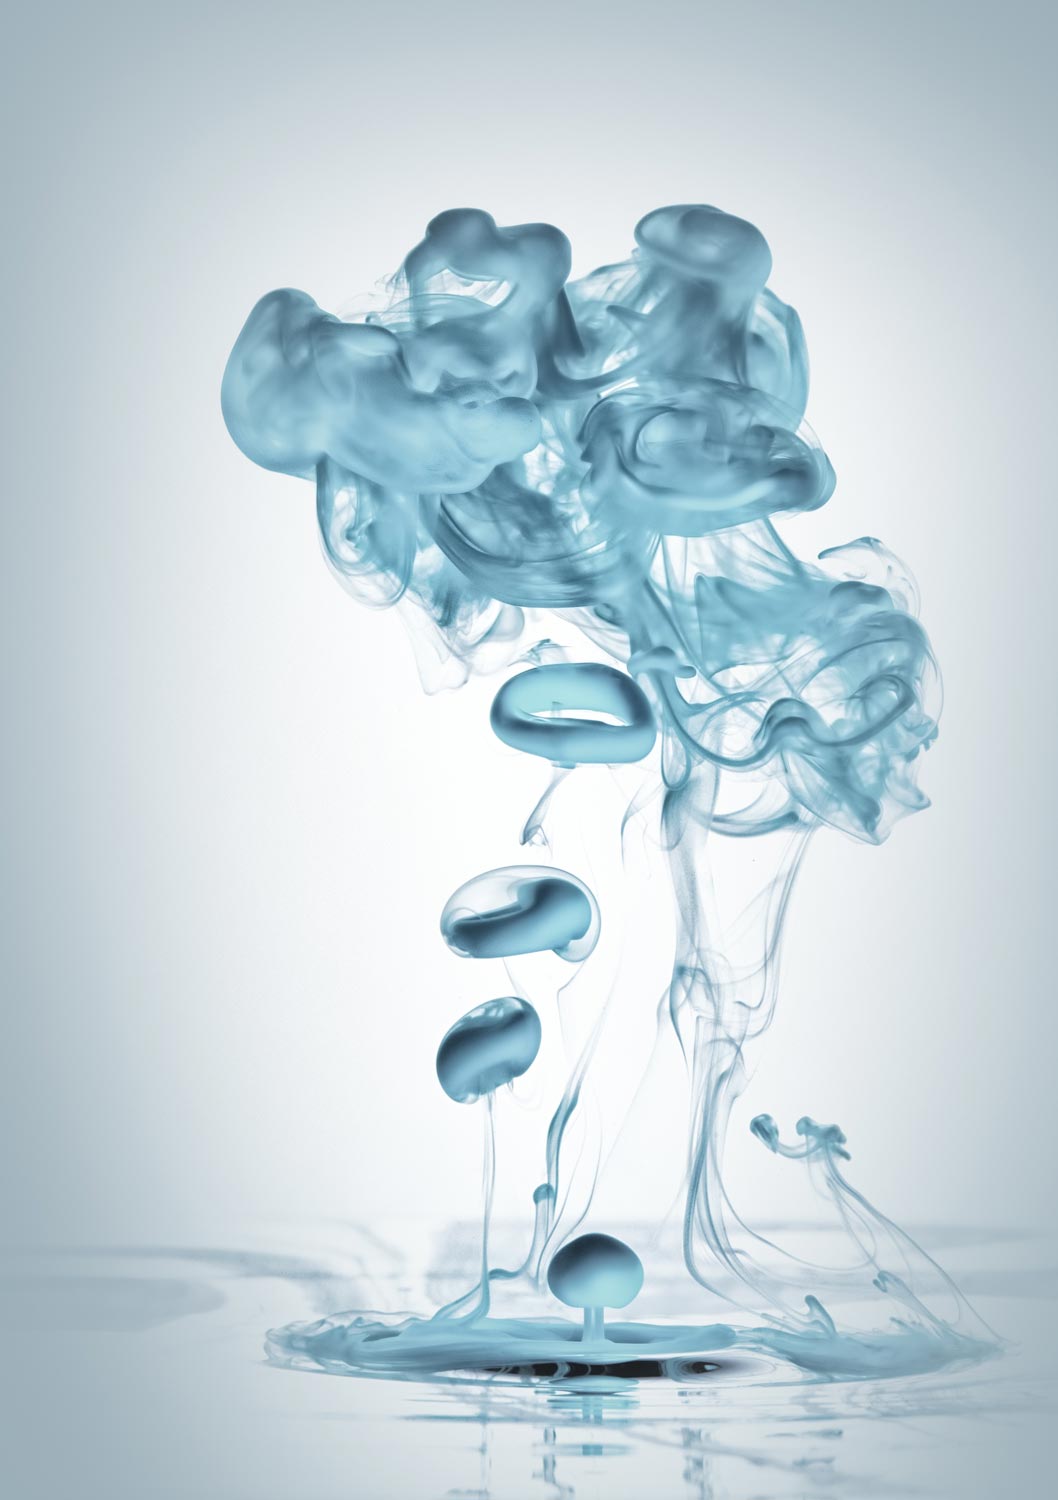
Freeze crystal-clear aqueous effects with ease.
Shape liquid aqueous effects and blend them to get just the right composition.
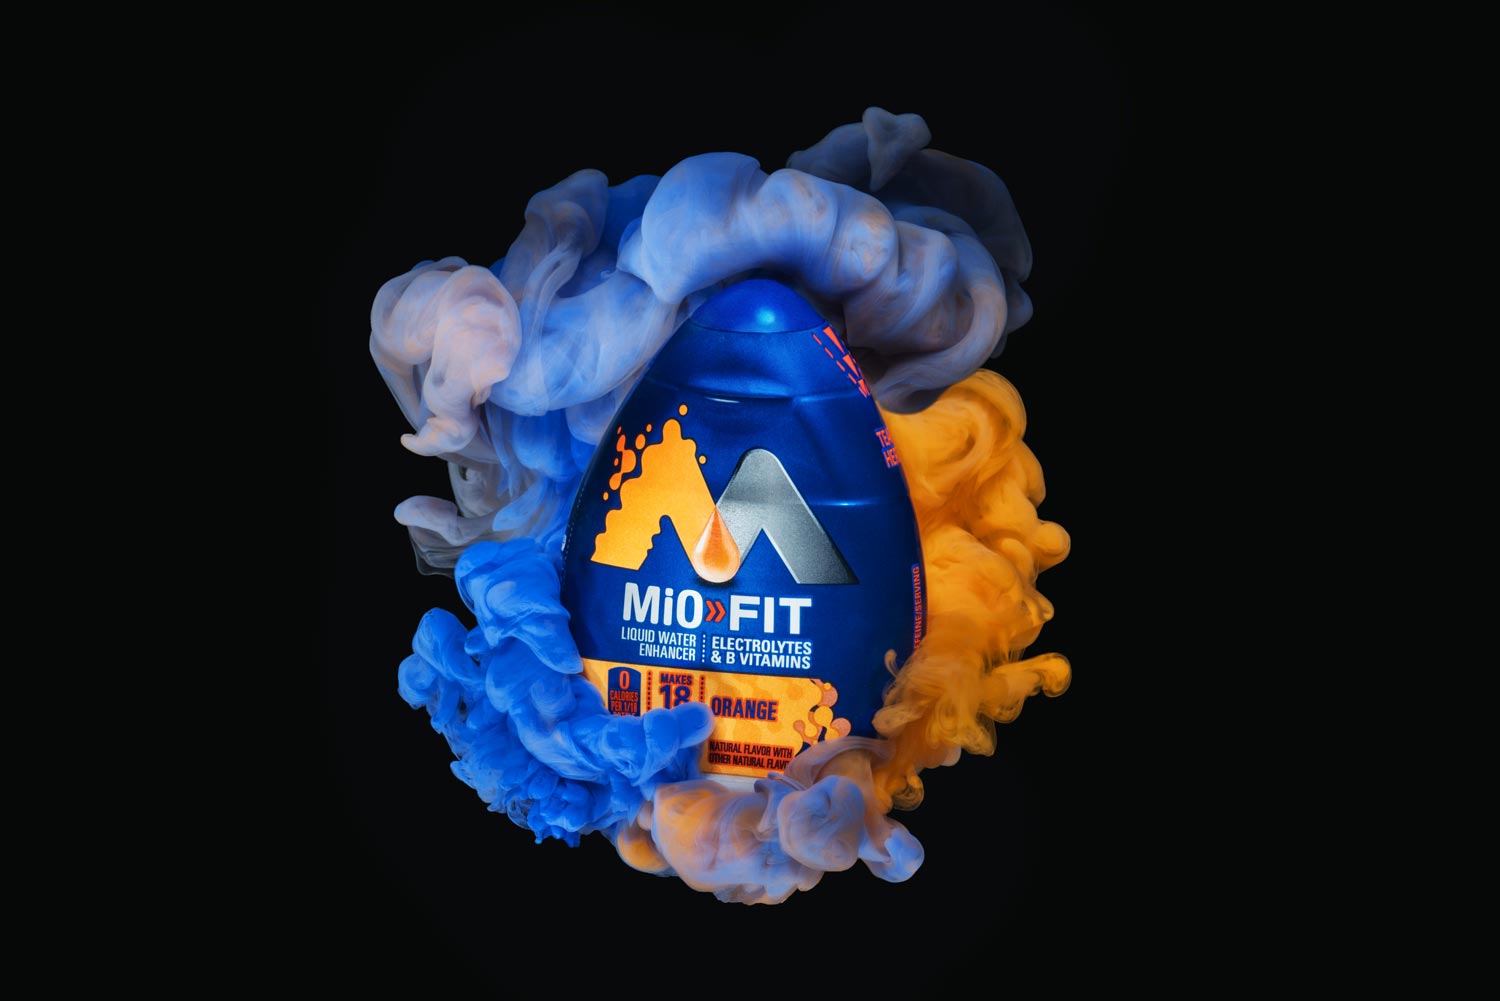
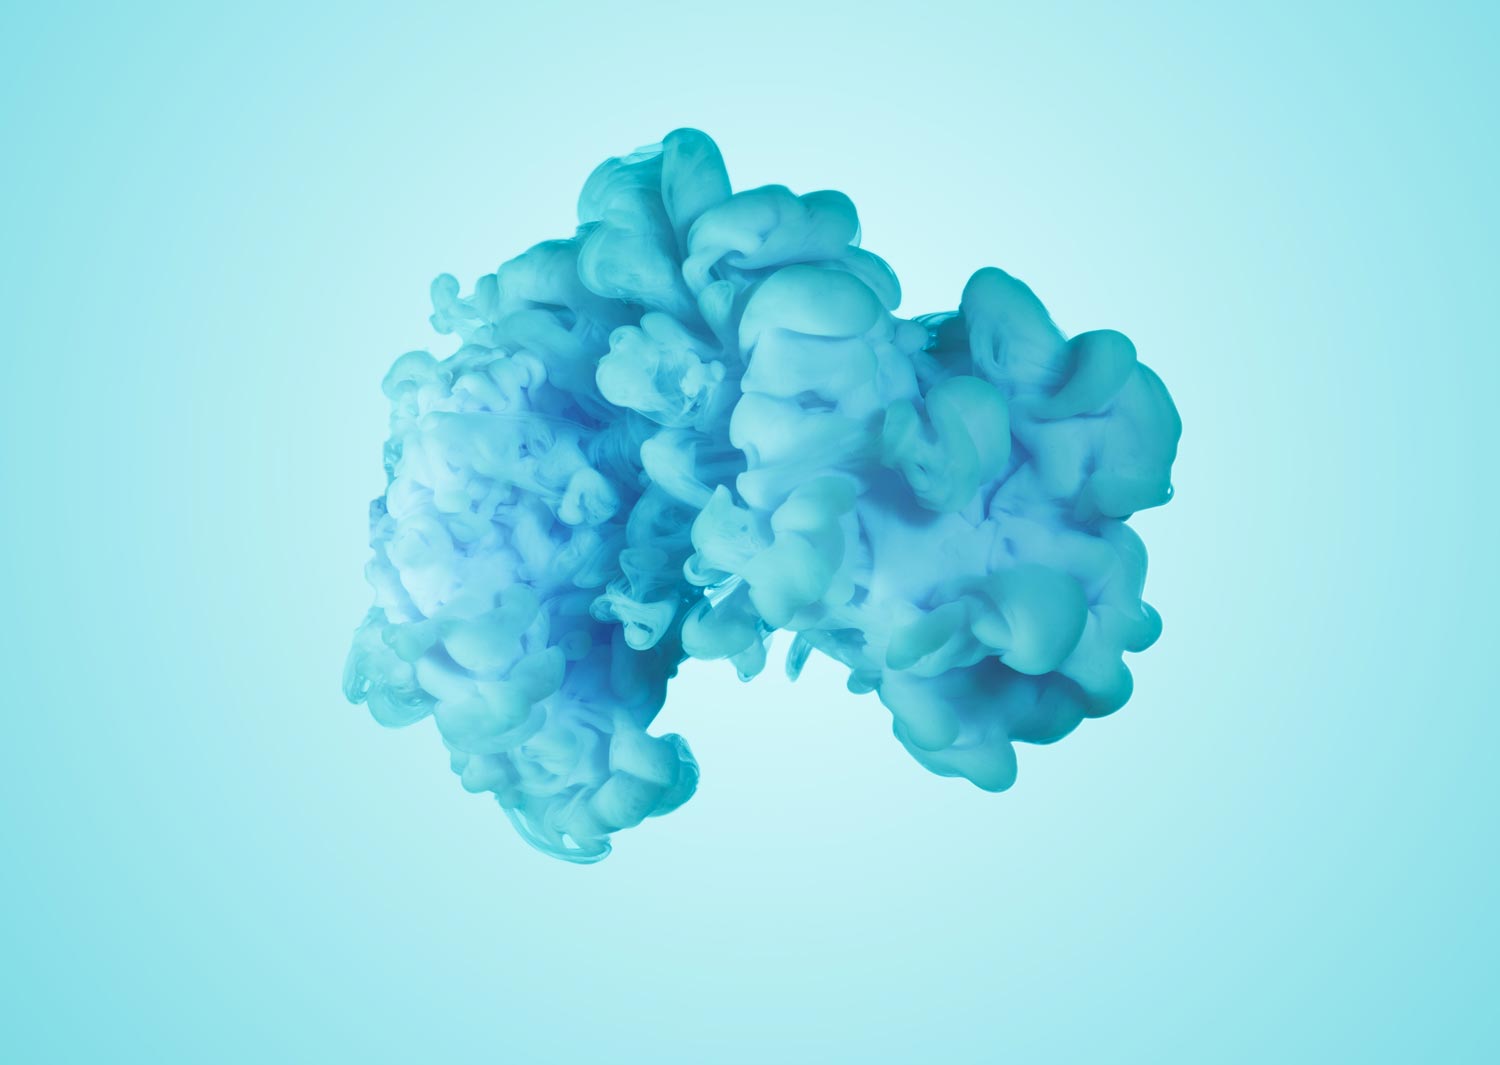
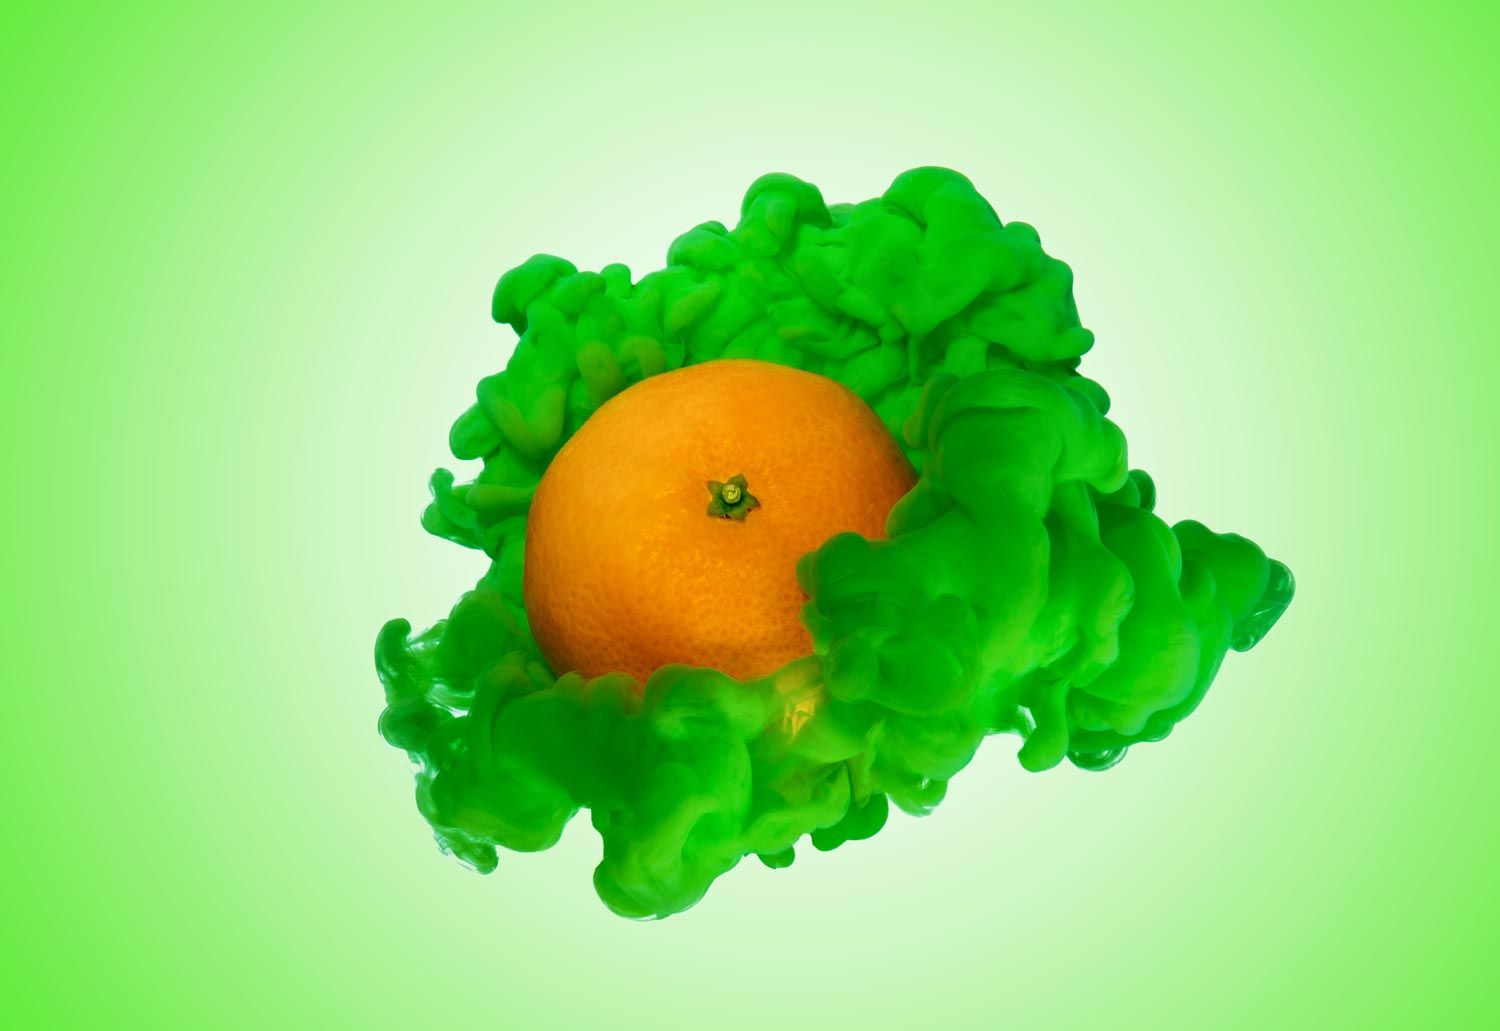
Create amazing advertising-quality images featuring your clients' products dynamically wrapped in colorful, billowy aqueous effects.
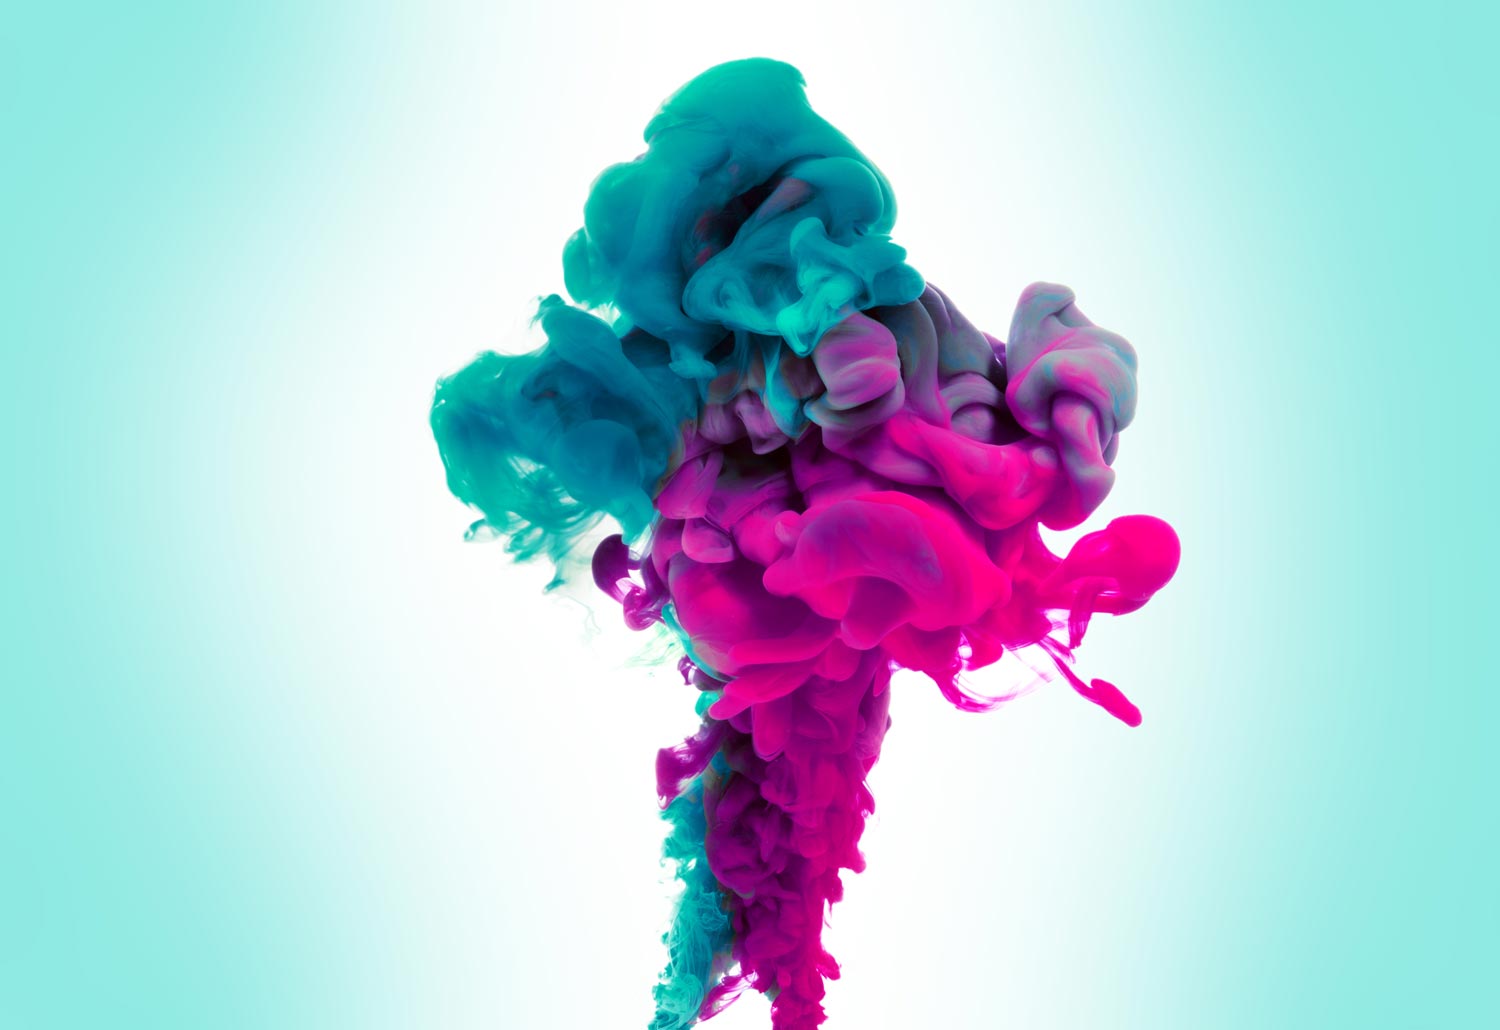
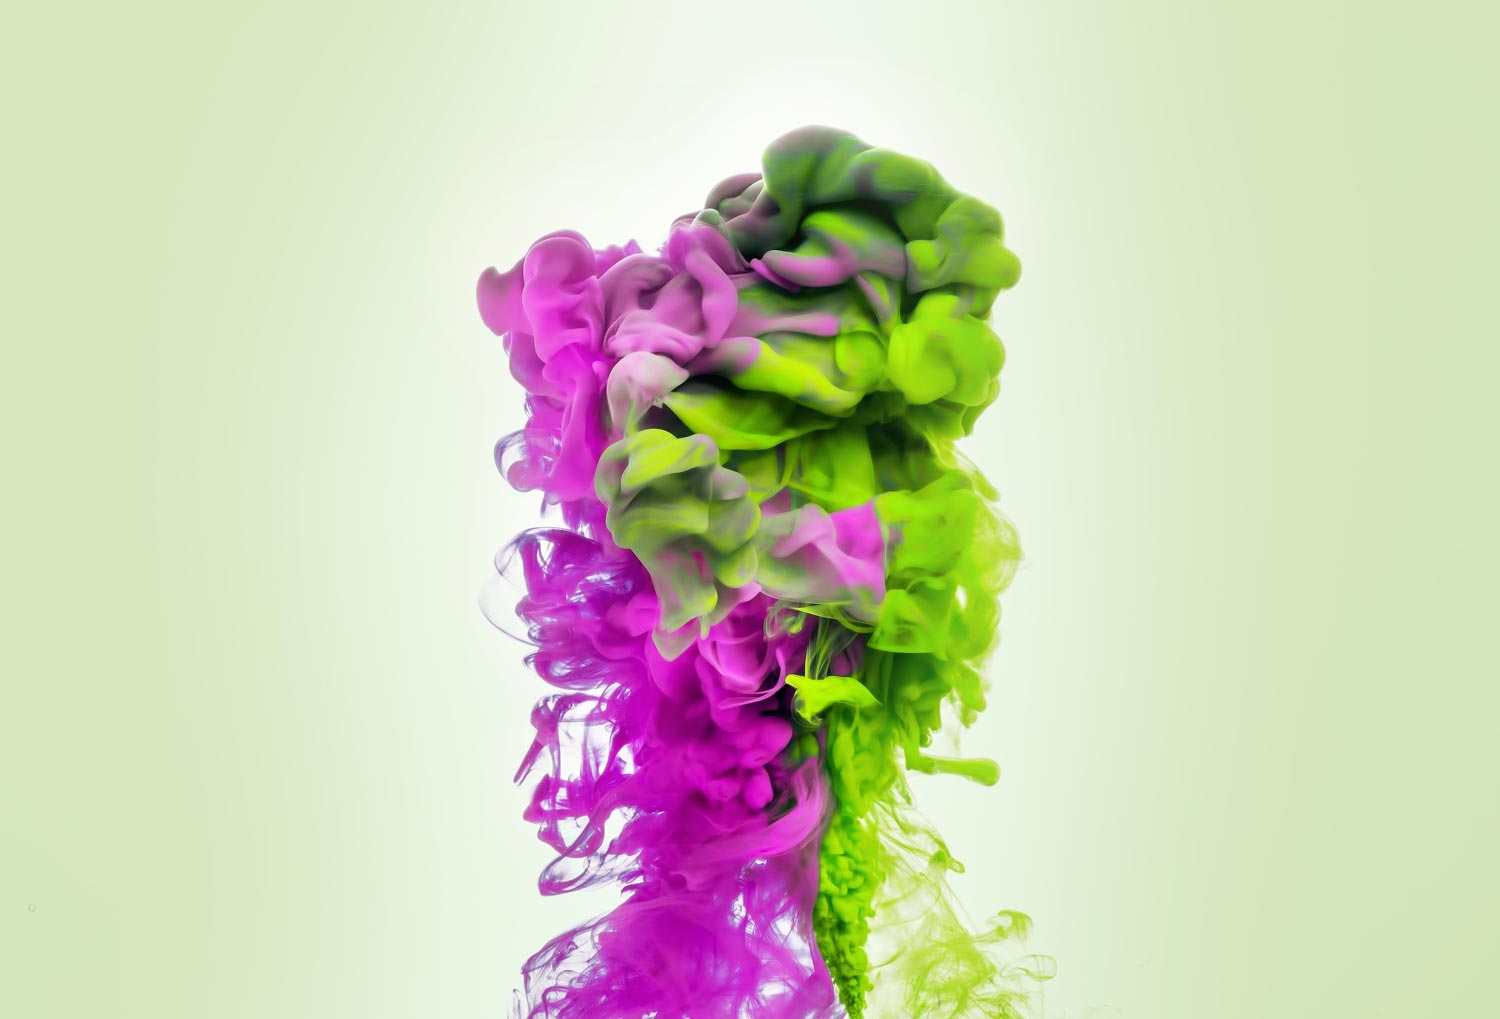
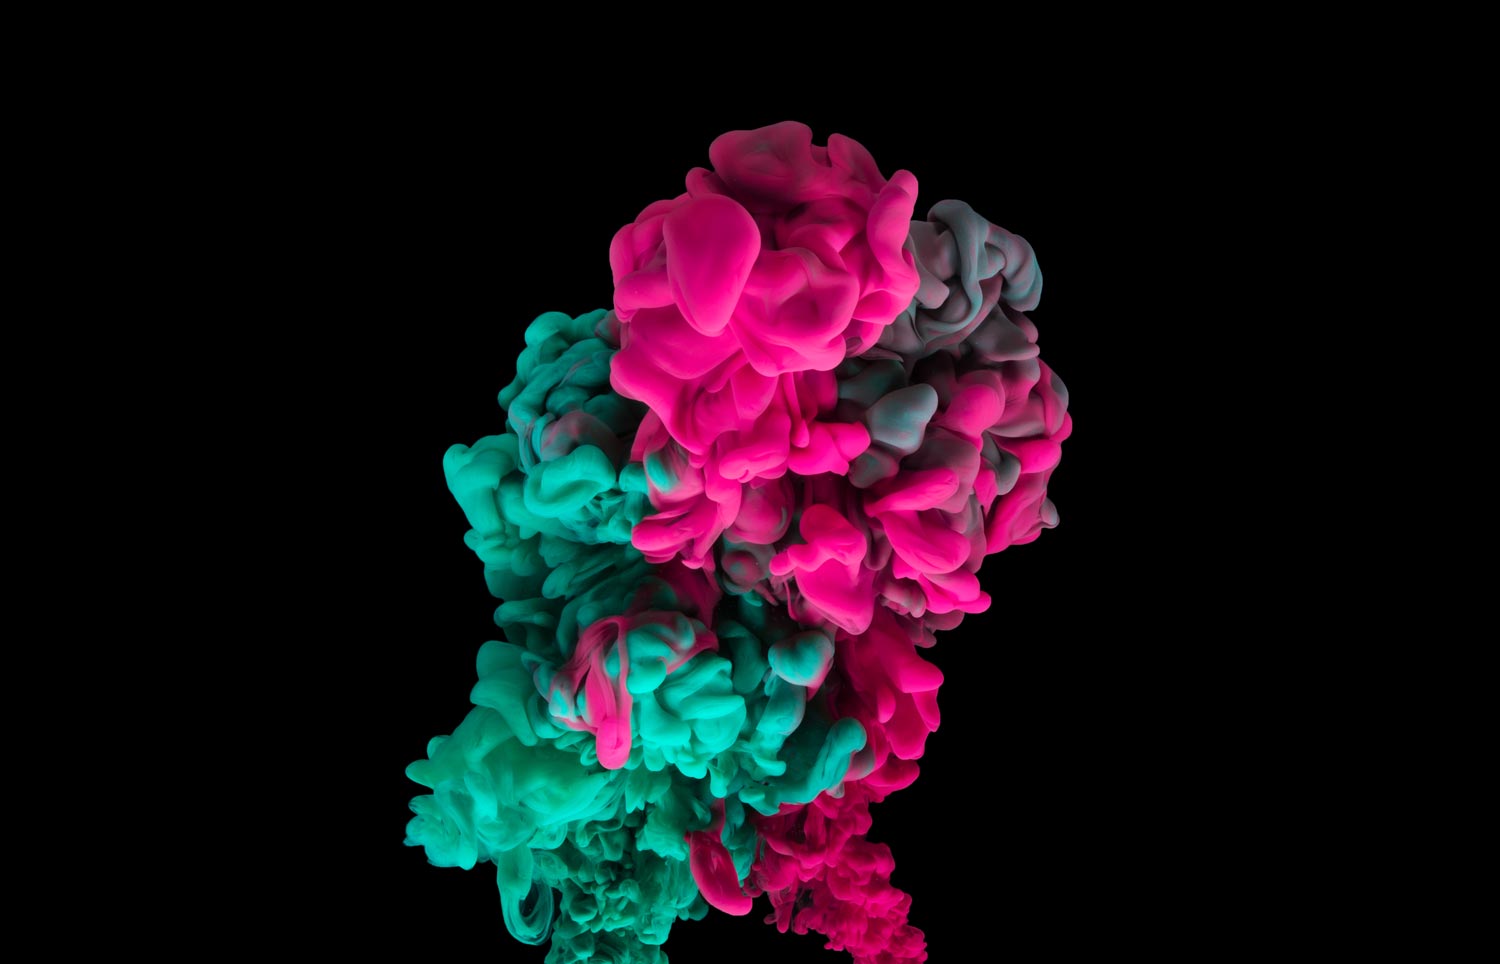
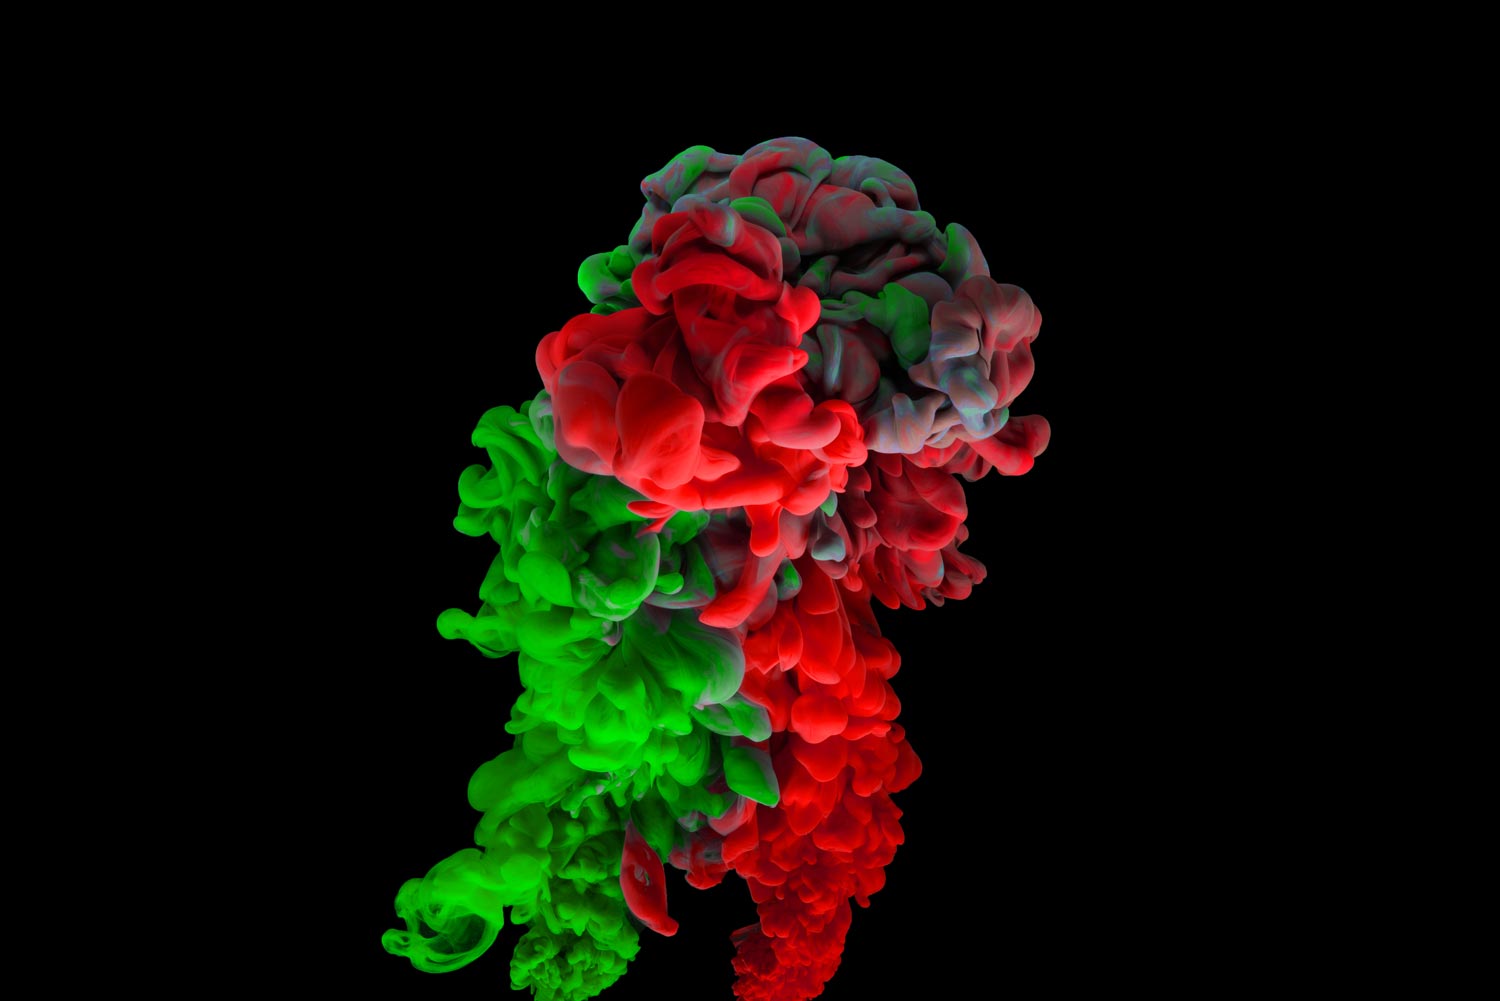
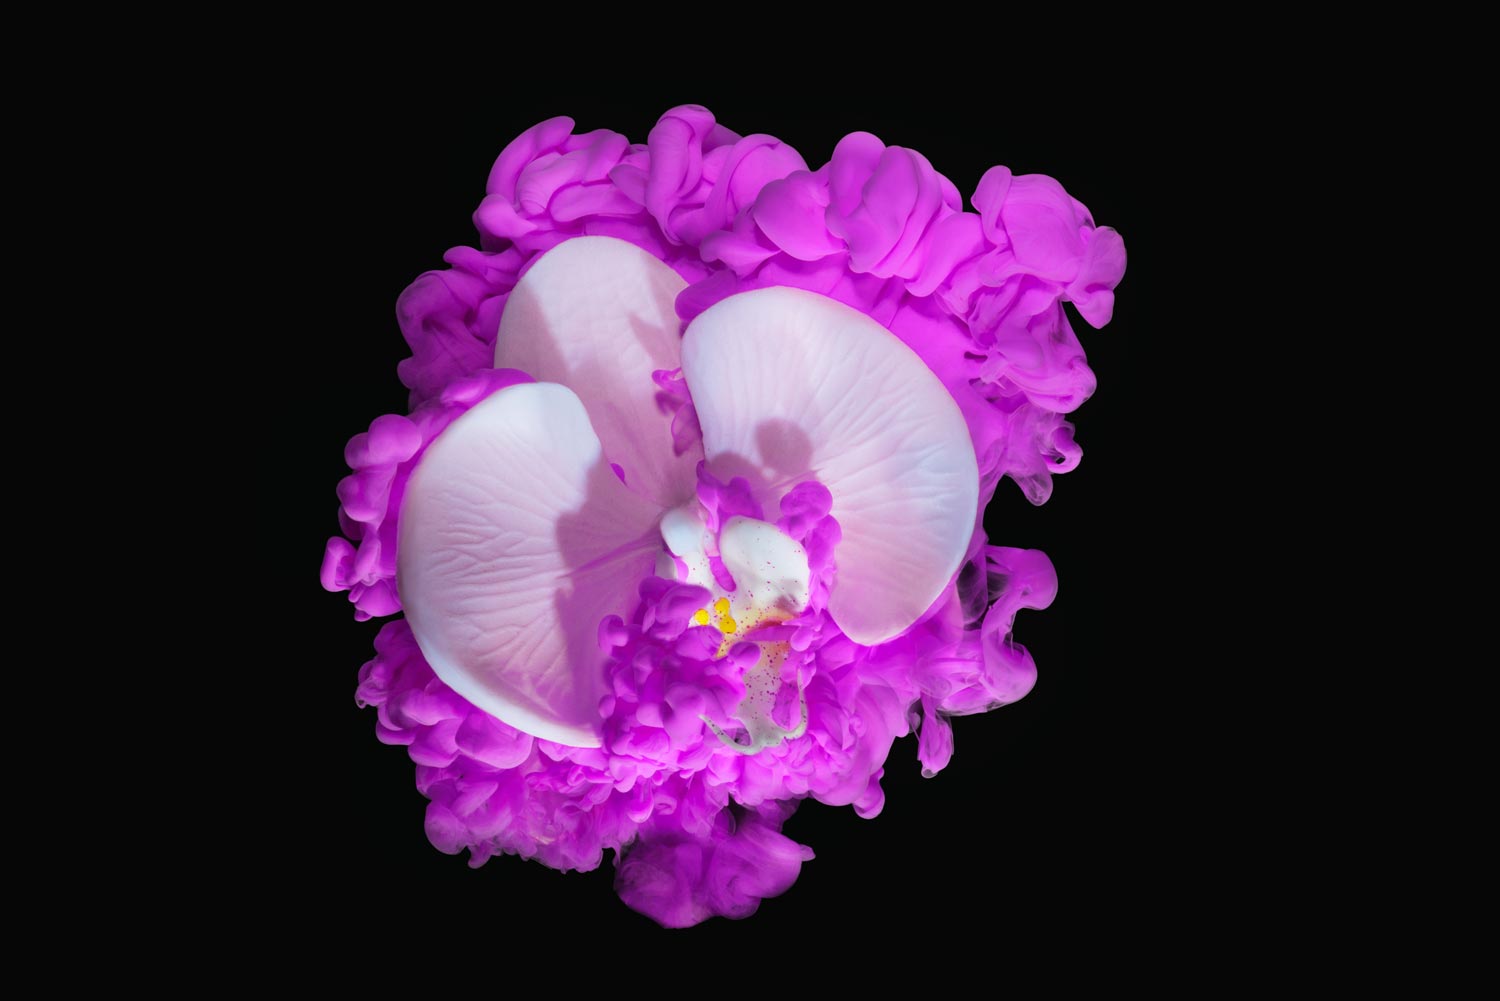
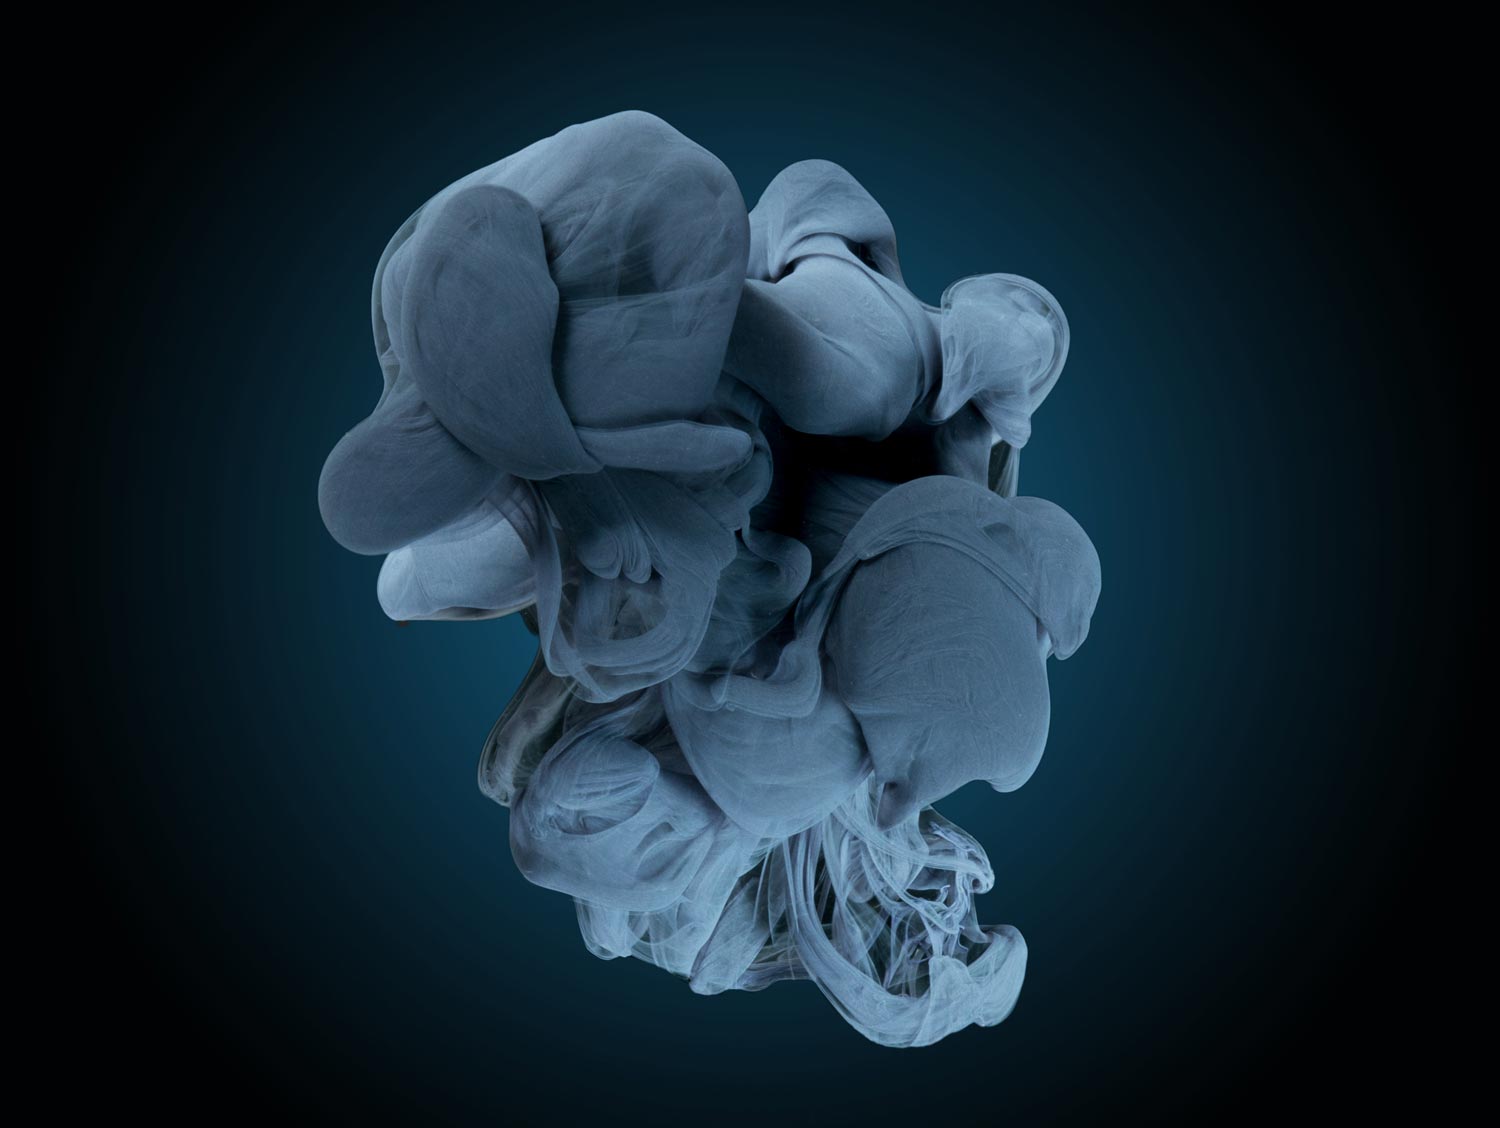
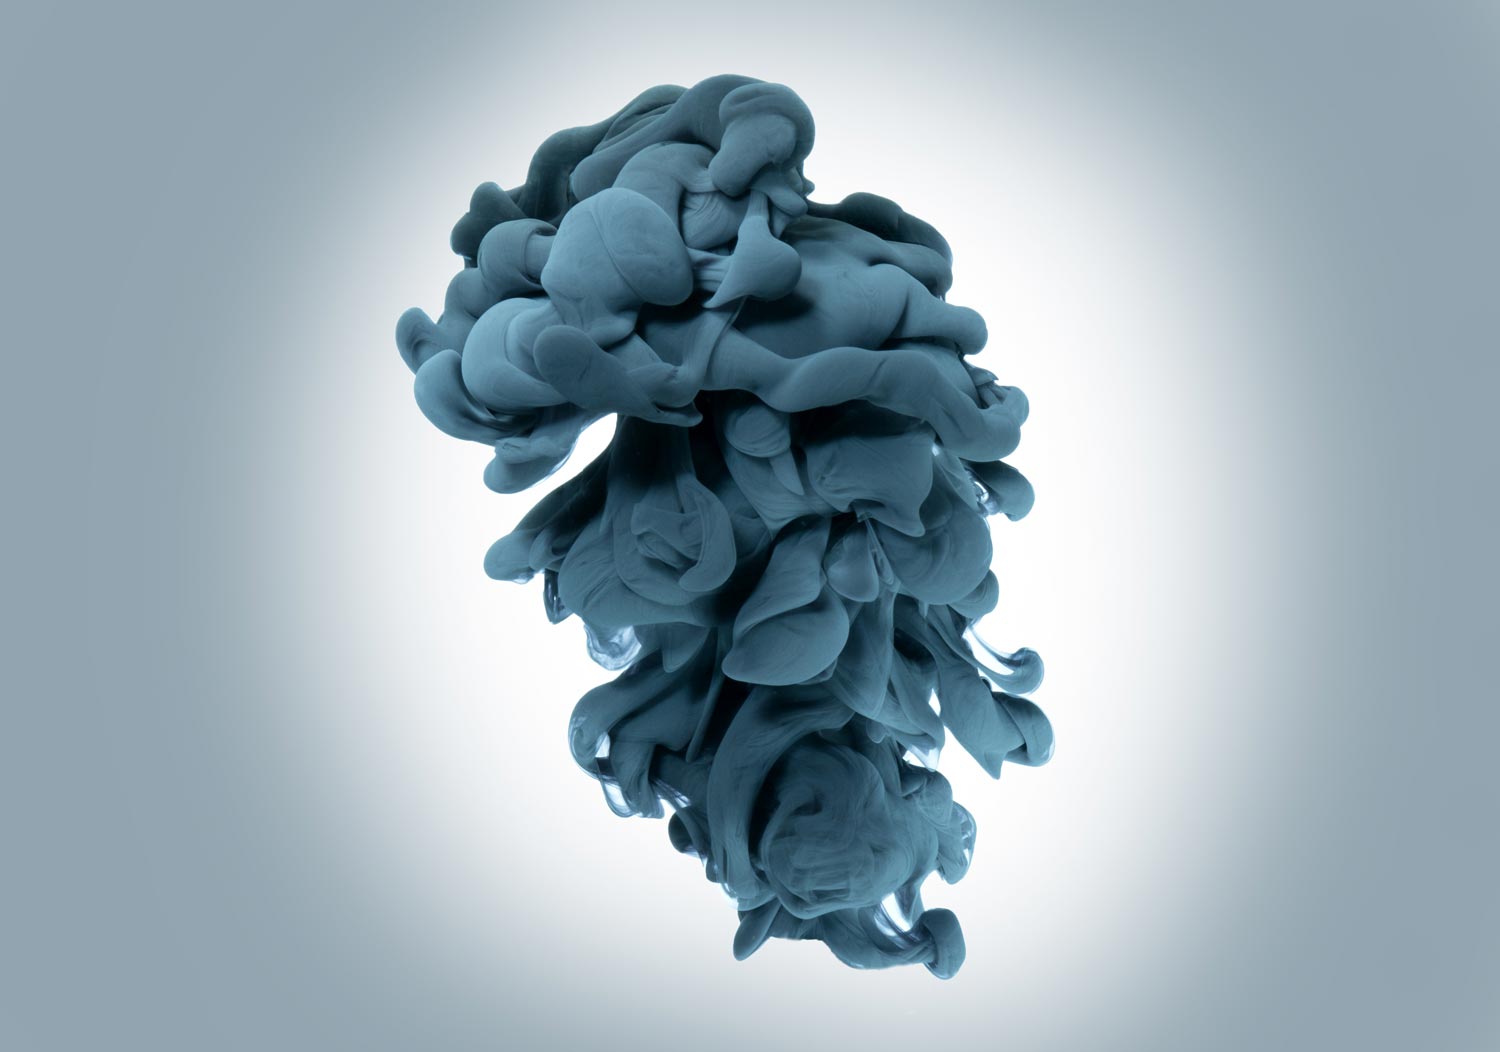
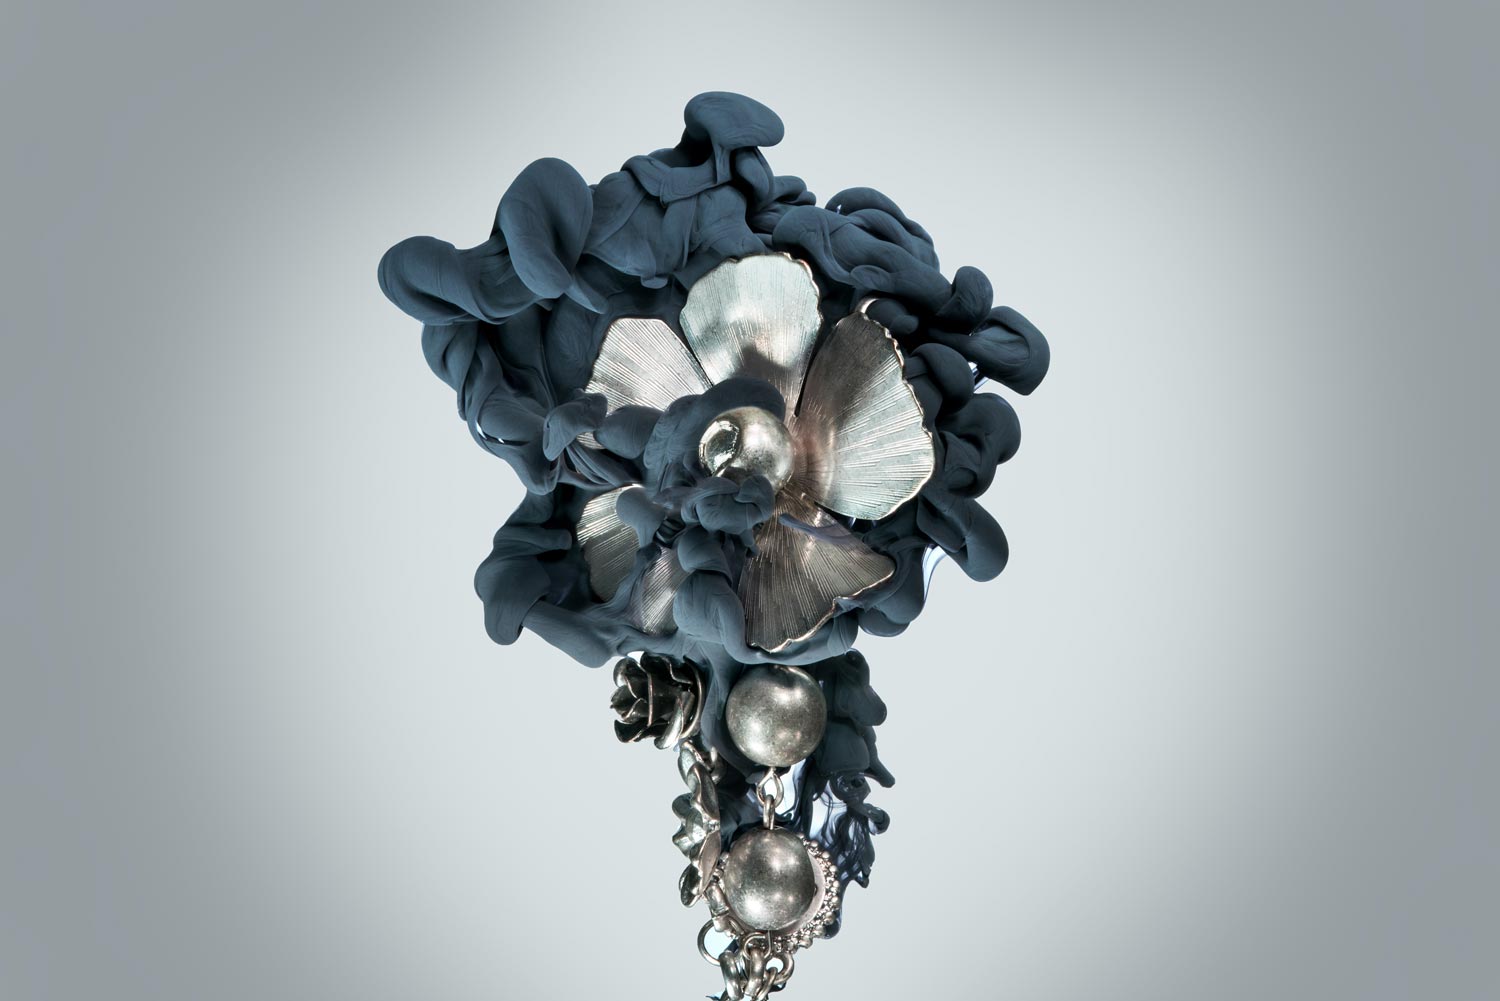
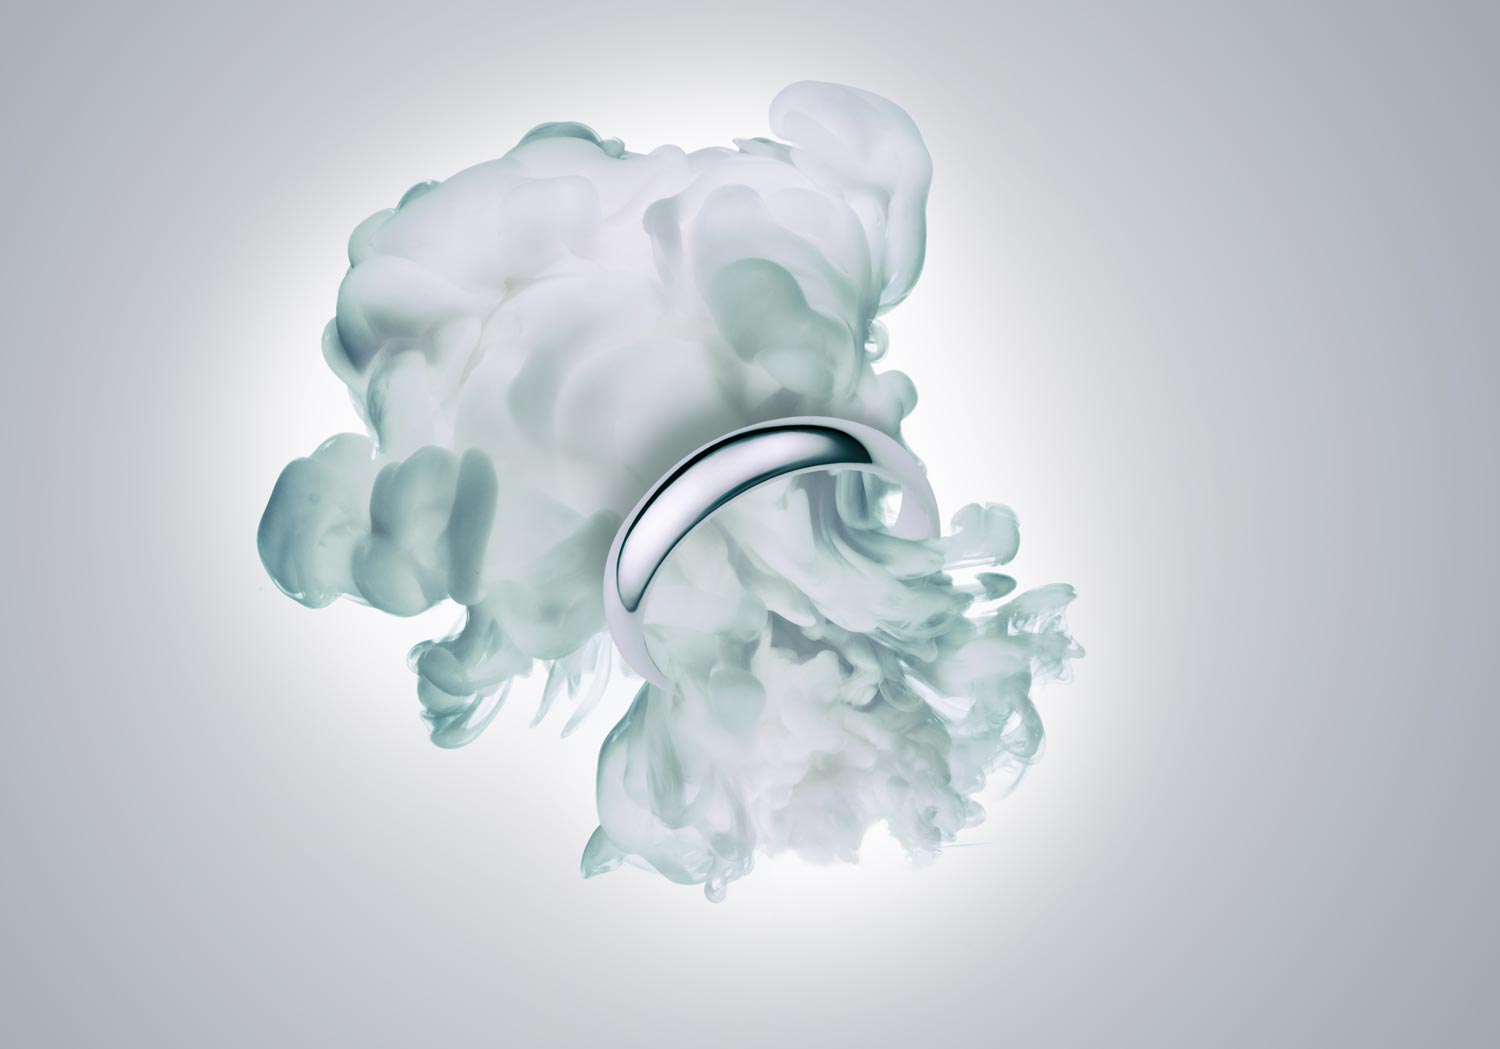
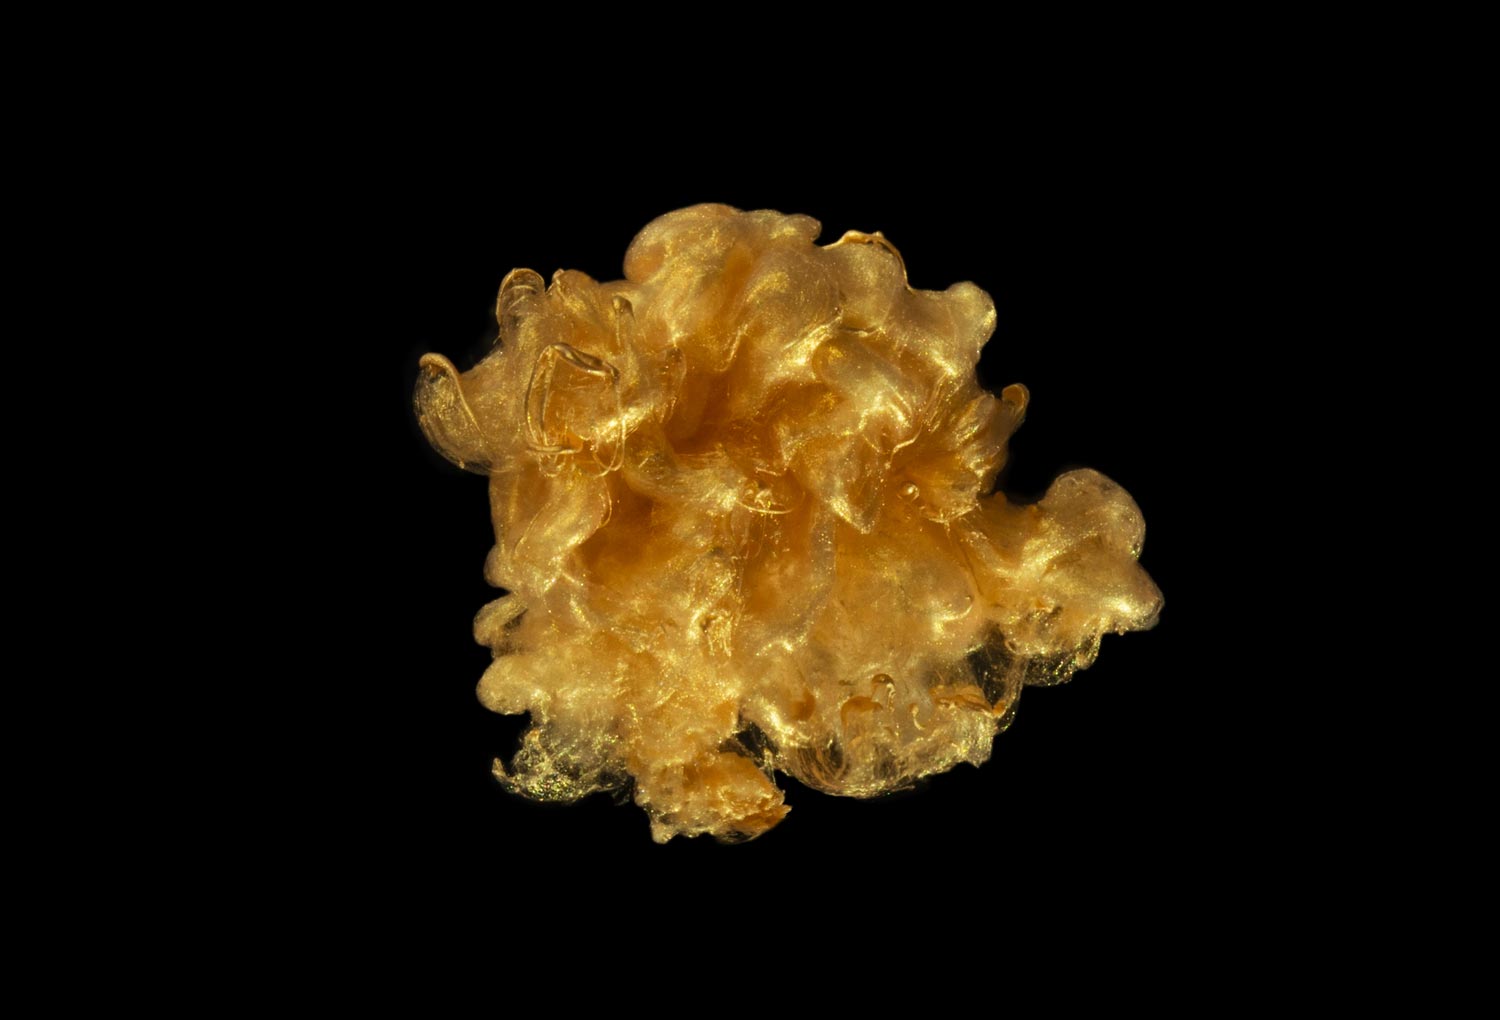
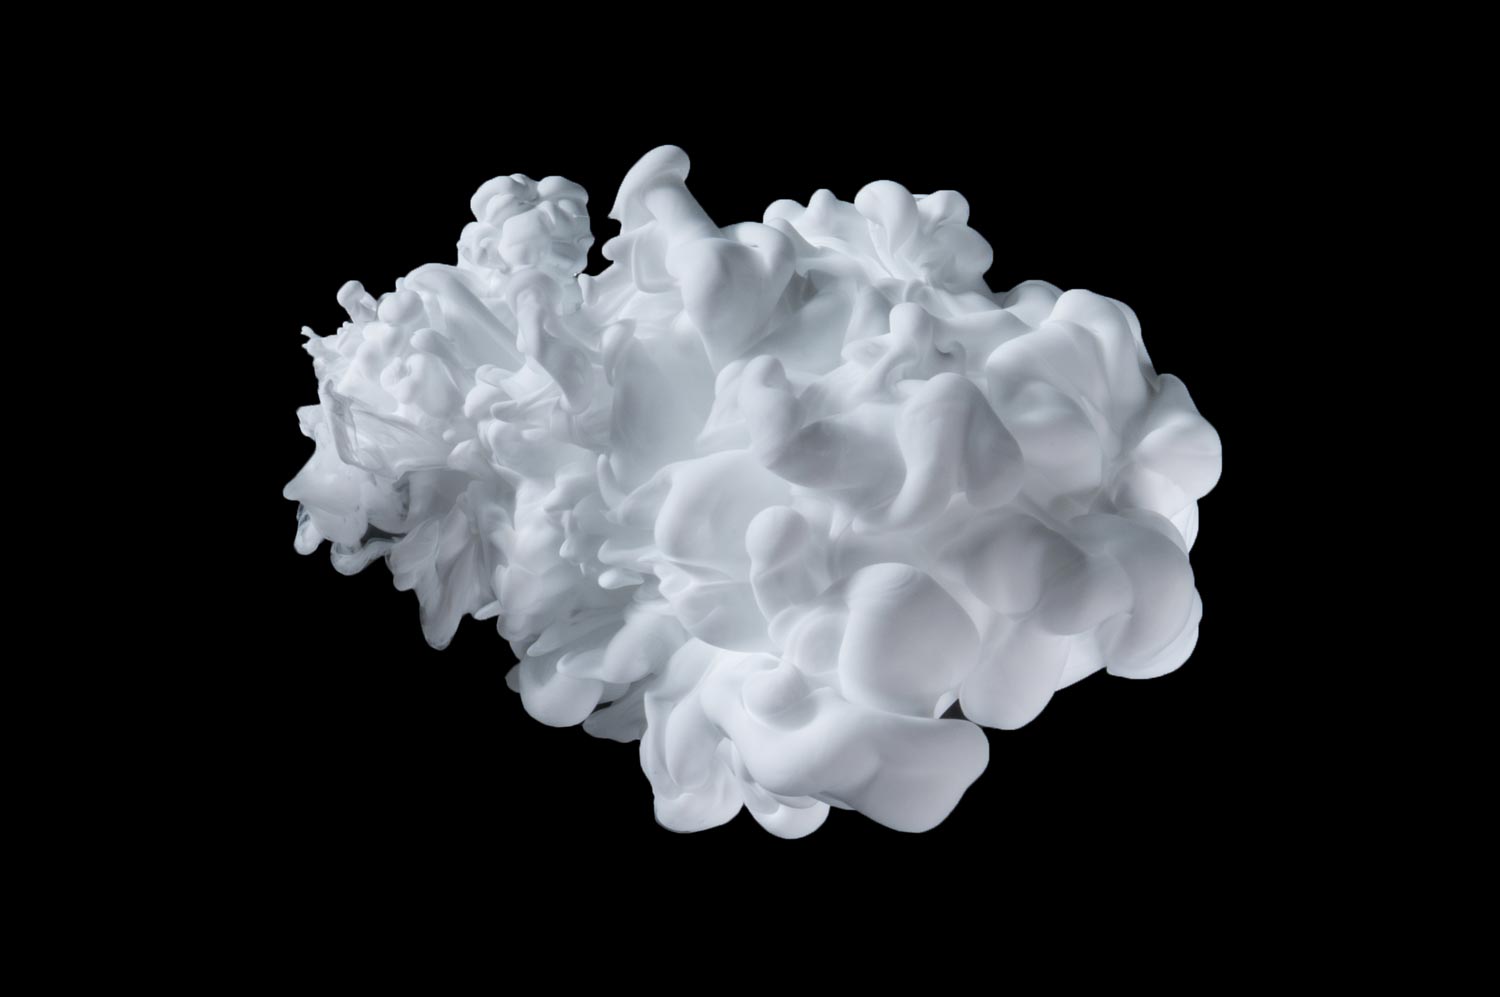
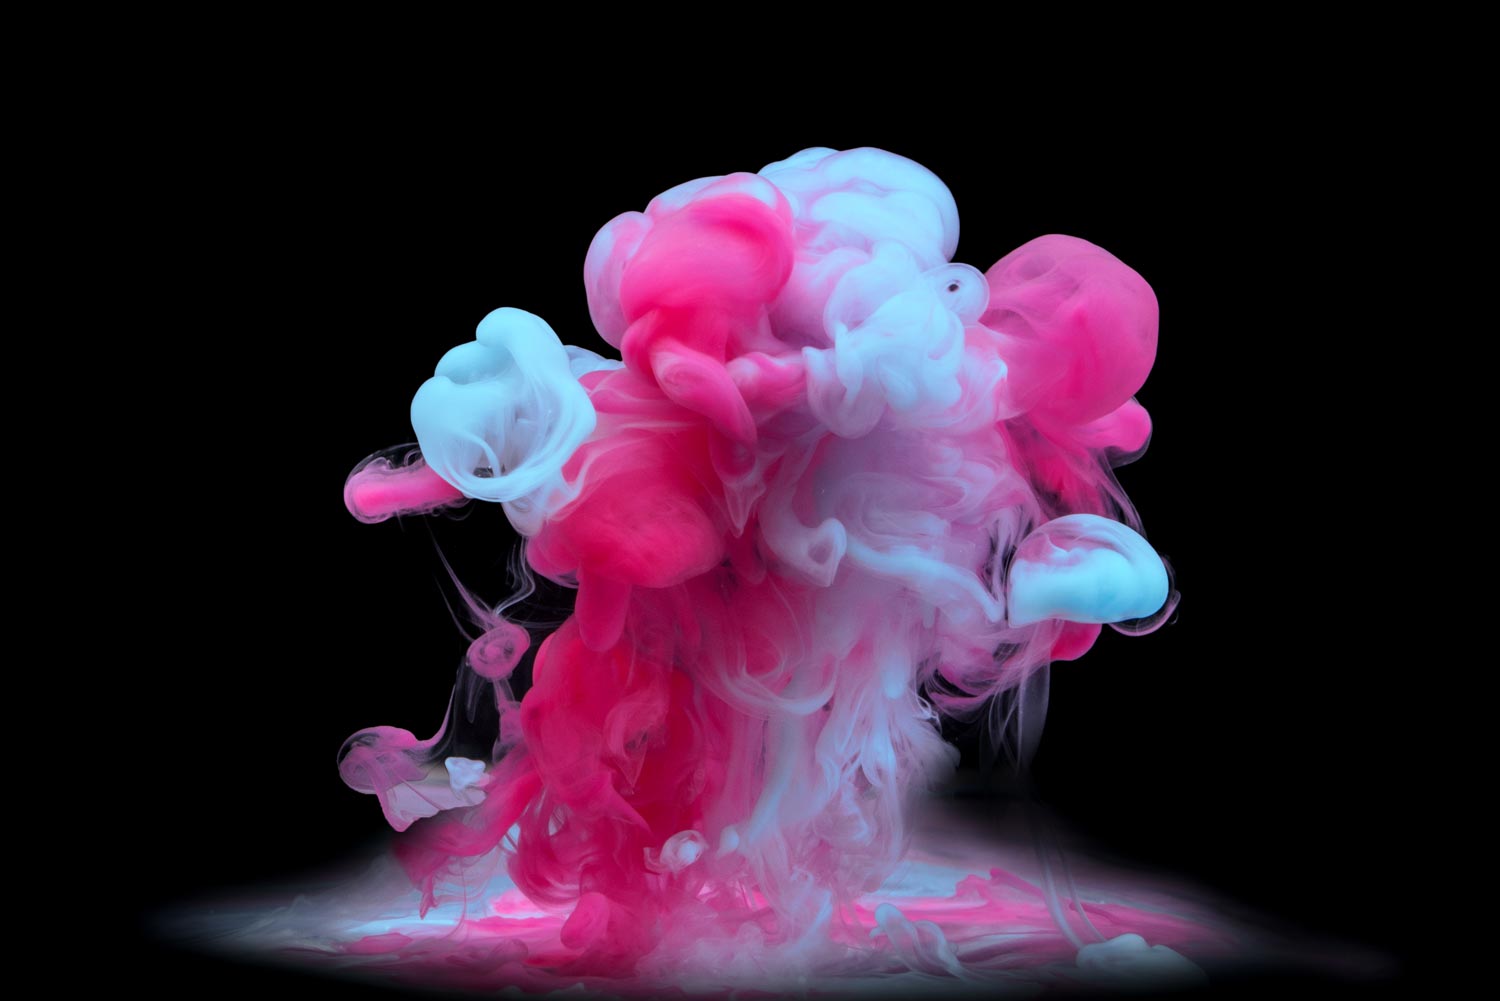
Learn how to create photos like these!
Sample photos from the program’s video lessons that you will learn
Course Curriculum
Course includes 4 module and 22 video lessons
SETUP
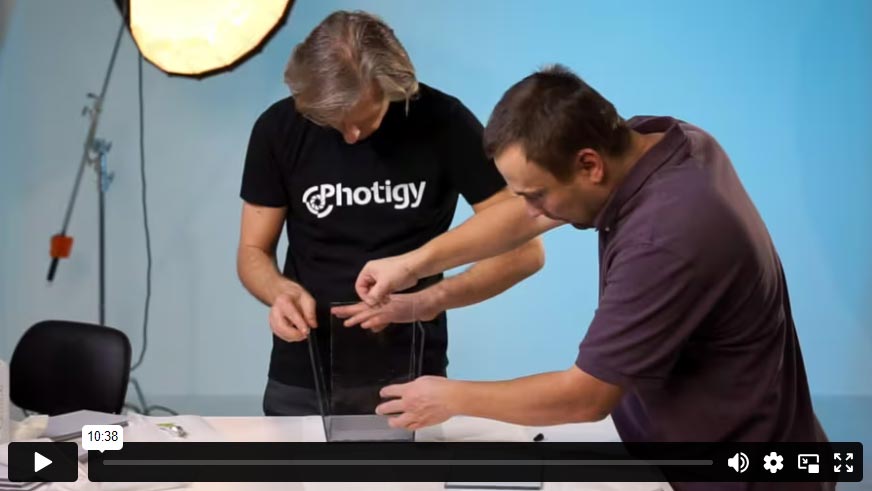
Alex discusses the advantages of creating a DIY water tank and demonstrates each step in building one from scratch.
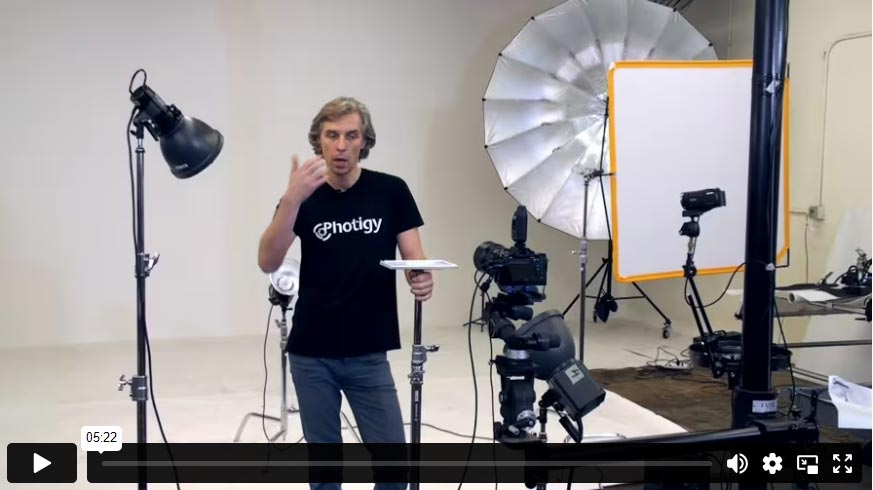
In this lesson, Alex describes the camera and lighting he uses to capture the aqueous images. He then walks through is basic lighting setup.
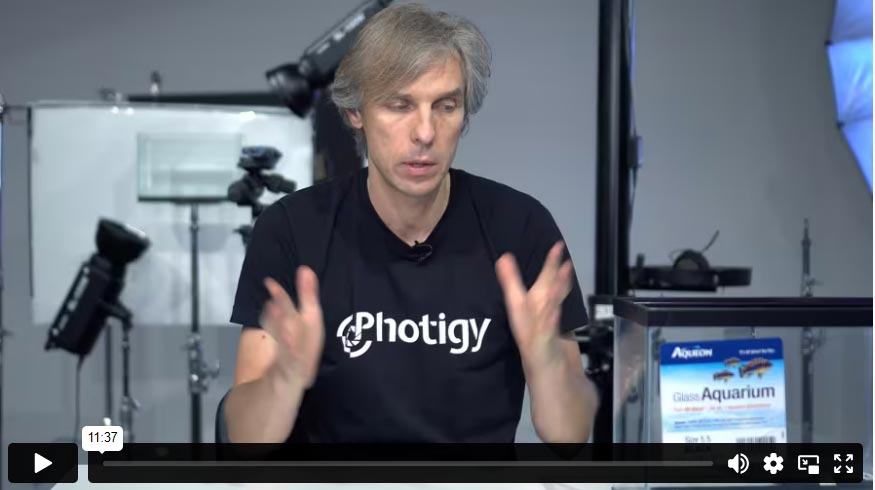
Alex discusses the pros and cons of DIY tanks vs. store-bought aquarium-style tanks.
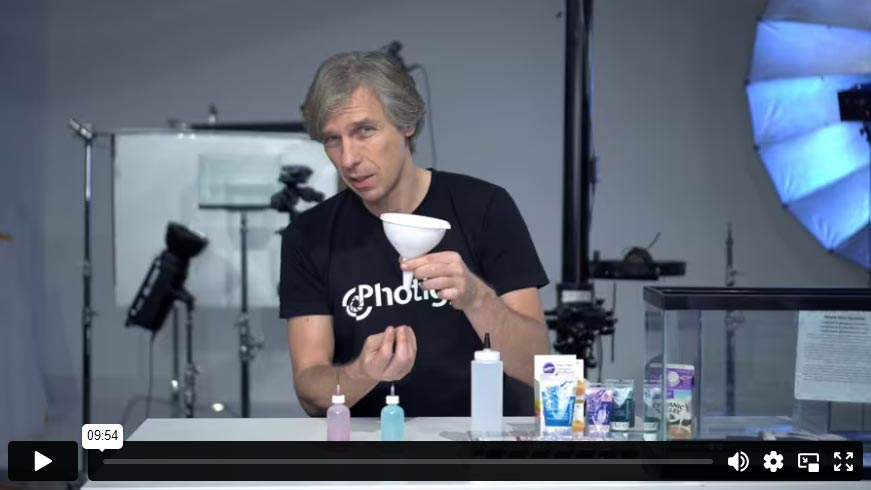
In this lesson, Alex reviews the inks that he uses to create the amazing aqueous effects. He briefly reviews other options that can be used instead of inks and discusses the pros and cons of these alternative choices. He also covers different tools to use for introducing the inks into the water tank to achieve the desired effects.
PRACTICE
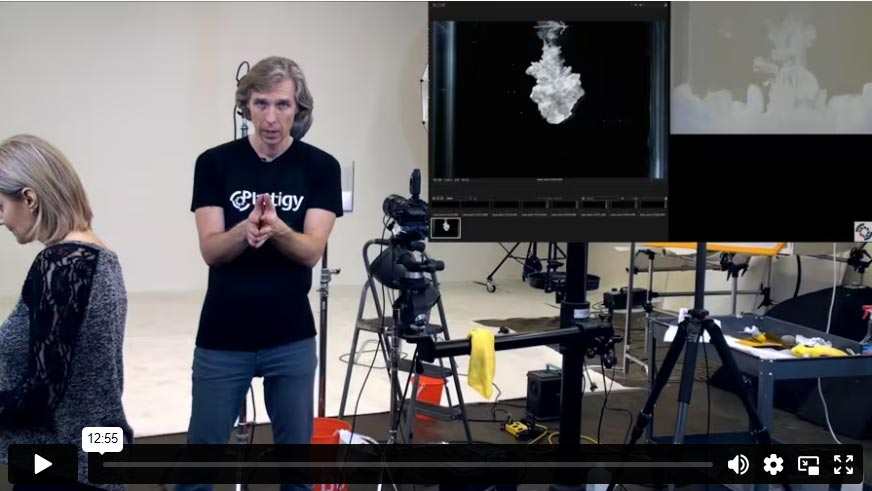
In this first shooting lesson, Alex discusses his camera and lighting settings and why those settings matter when it comes to capturing the best images. The initial shots are of white ink on a black background.
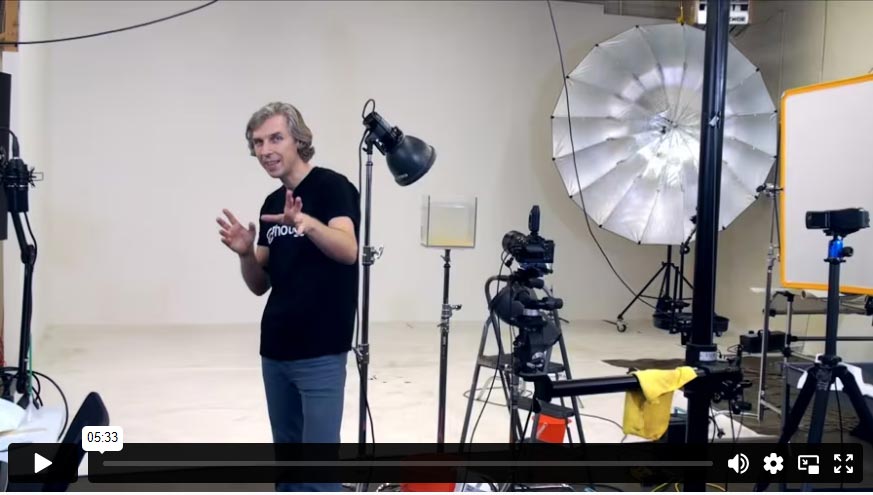
For this lesson, Alex shoots a gold ink against the black background. He discusses how the ink delivery technique affects the type of cloud that forms in the tank, which is important when you start adding other objects in the tank.
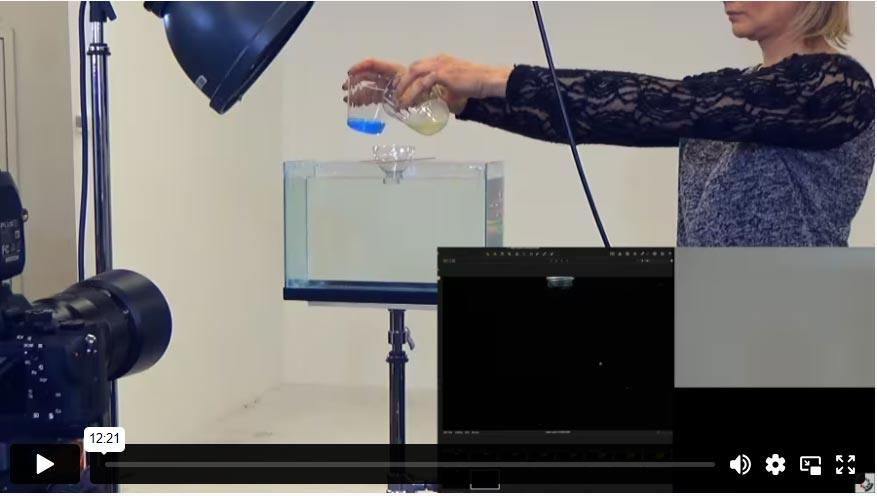
Alex continues shooting, but introduces a simple, DIY approach to adding multiple ink colors to the tank.
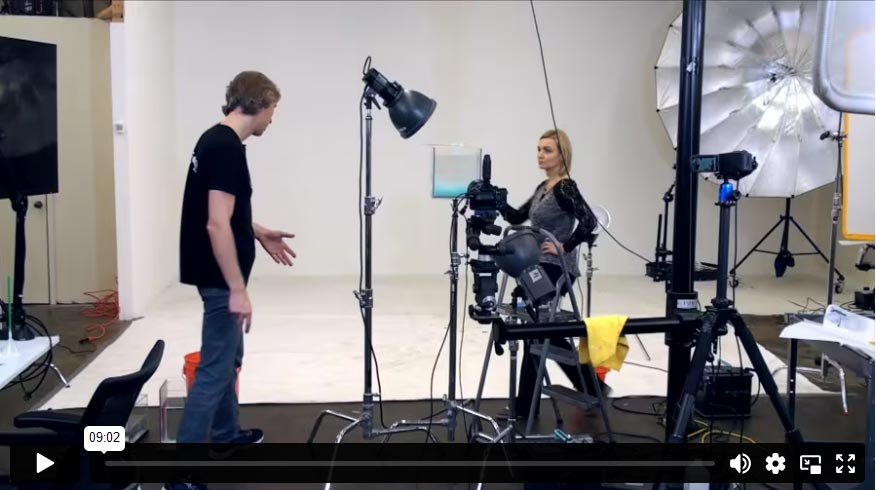
Mixing multiple ink colors continues with blue and yellow on a black background, but then disaster strikes as one of the DIY tanks suddenly springs a leak.
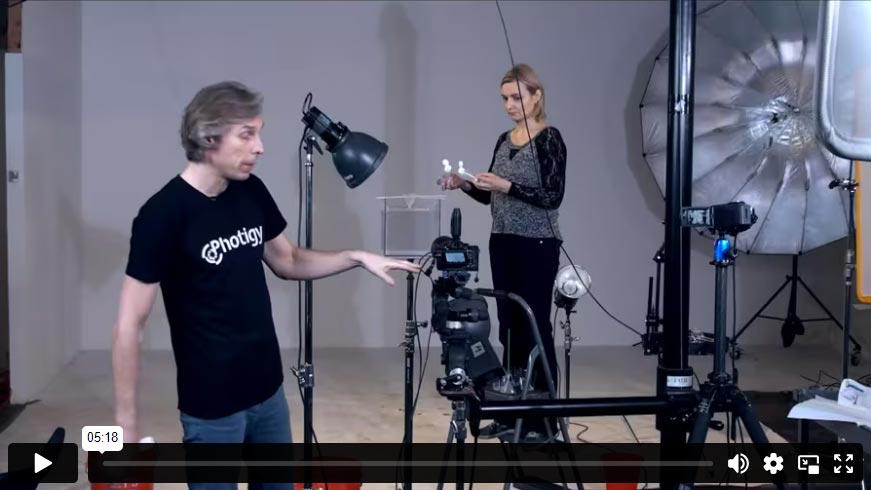
Alex starts by explaining what went wrong with the DIY tank and how to avoid a similar problem in your own shooting. He discusses what changes would need to be made to shoot with a more shallow depth of field and it’s not as simple as adjusting camera settings.
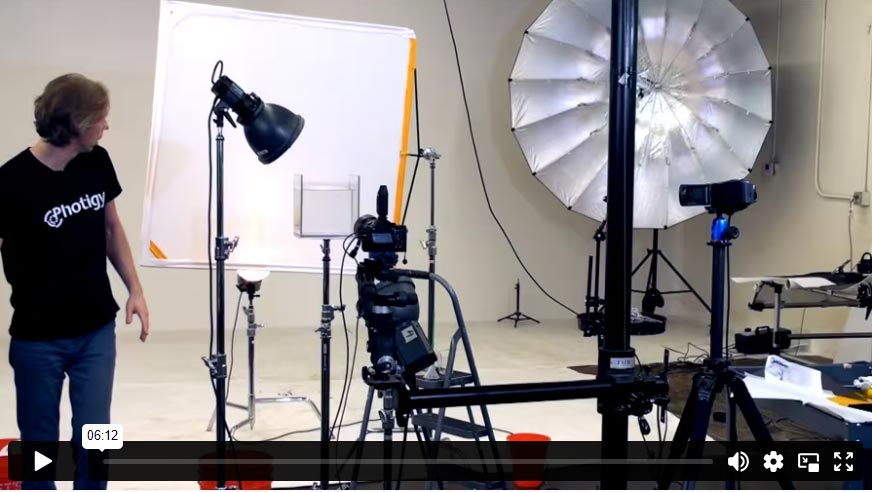
In this lesson, Alex switches over to shooting on a white background. He discusses how best to illuminate the background and still retain the necessary short flash duration to capture crisp images. He reviews how to mix the ink to obtain the right color, opacity, and viscosity for the shot.
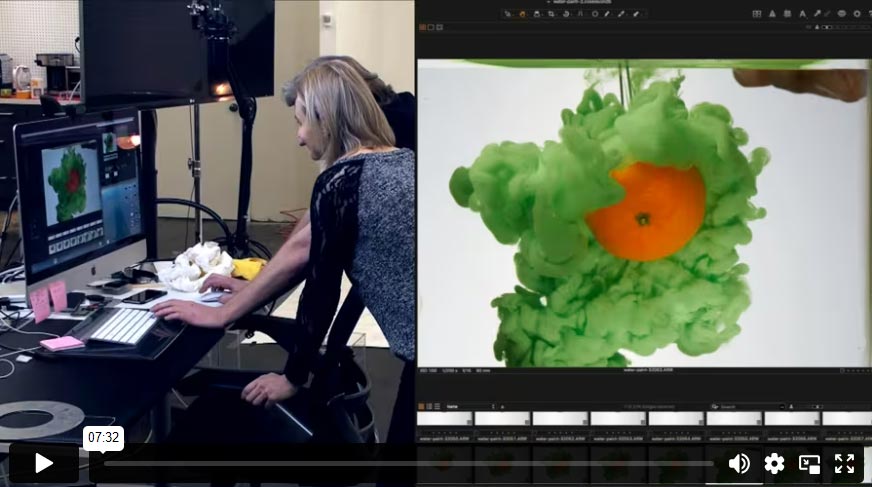
Changing the ink to a vibrant red really makes the images pop. Now it’s time to add different subjects in the water tank to combine with the ink cloud. Alex first combines an orange with green cloud before moving on to shooting a piece of jewelry with white paint mixed with glitter.
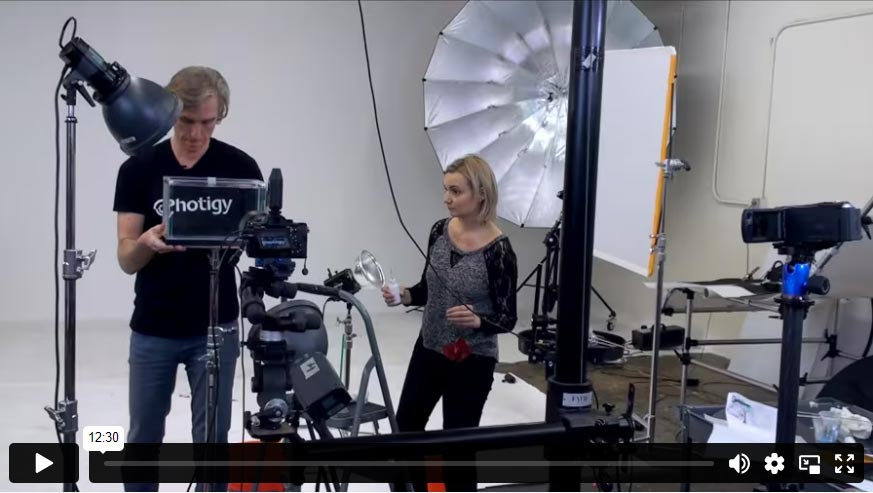
In this lesson, starts off with the same piece of jewelry, but changes the ink to a blend of white, blue, and pearlescent. He then switches back to a black background and uses a red artificial flower for the subject with white ink. He uses a larger tank for a second series of the flower shot to give more space for the cloud to blossom around the subject.
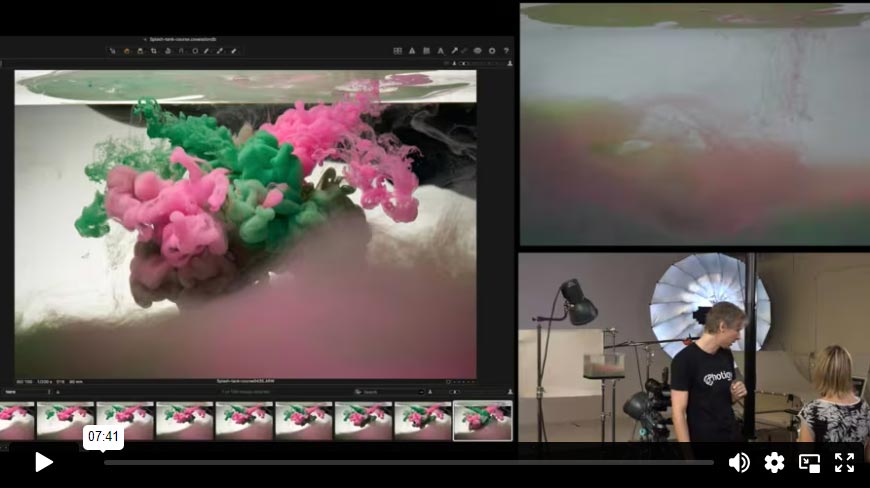
Alex adjusts the setup so he can capture the point when the ink enters the water and shoots a combination of ink colors. The next series combines blue and orange inks, then green and pink. He demonstrates how to force the streams of ink to collide in the tank to create interesting combinations in anticipation of adding a subject to the mix.
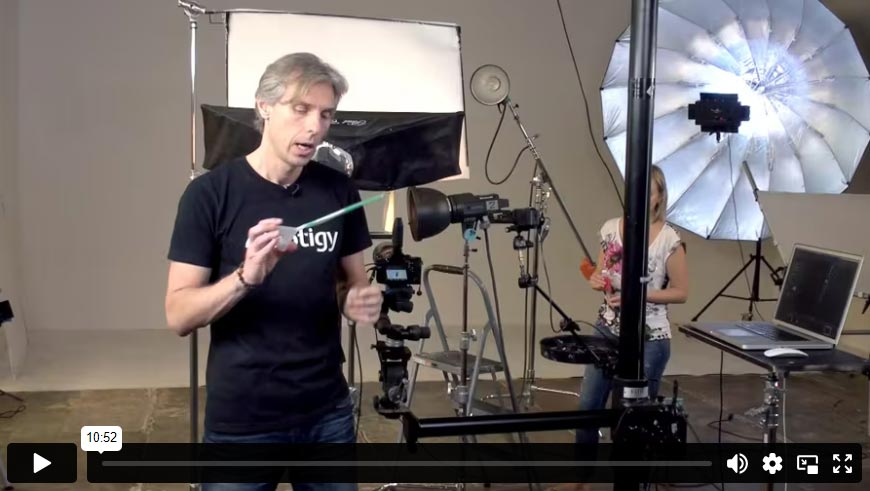
Alex start off this lesson by demonstrating how to clean the tanks and clear the adhesion bubbles from the interior surface when the tank is filled with water. He does a test shoot that combines green and pink ink. The first subject he introduces to the tank is a glossy tube of lipstick that requires some adjustments in lighting modifiers. The shots feature the black lipstick surrounded by a cloud of red ink on a black background for a stunning product image.
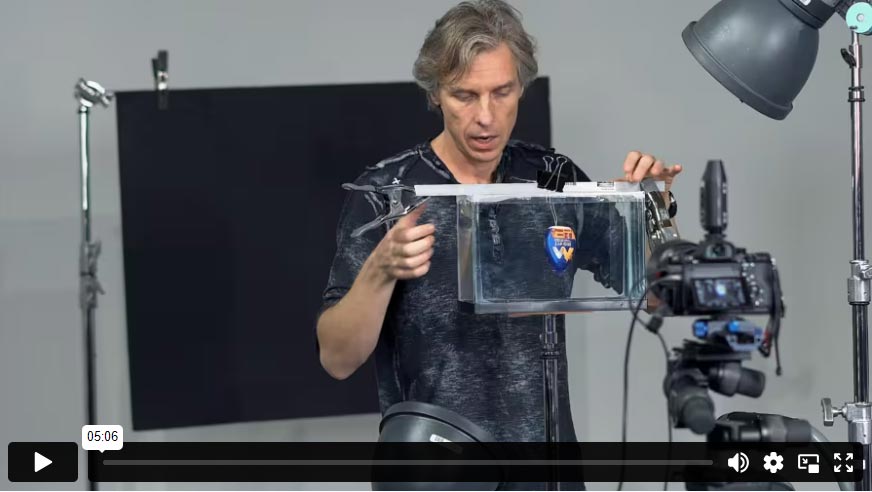
In this lesson, Alex discusses how to deal with internal reflections when using a glass tank and then positions a new subject – a MiO Fit bottle – in the tank while adding orange and blue inks clouds.
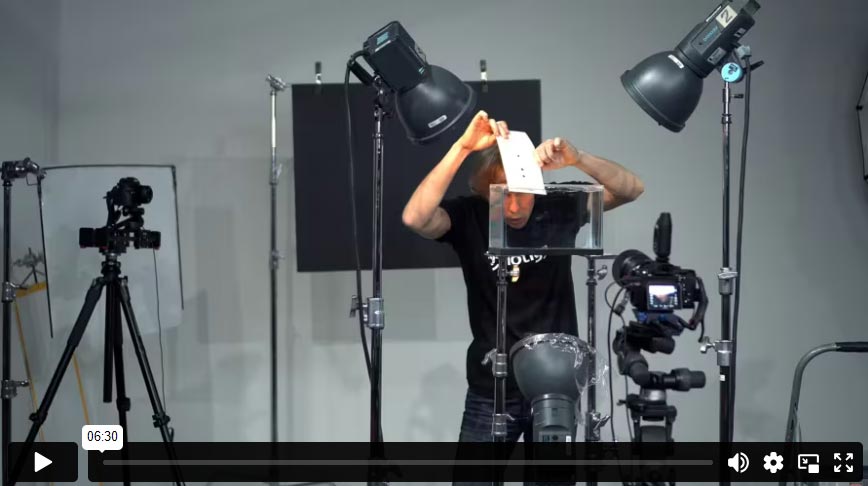
In the last practical shooting lesson, Alex demonstrates a slightly different approach to supporting the tank and lighting the ink clouds.
POST-PRODUCTION
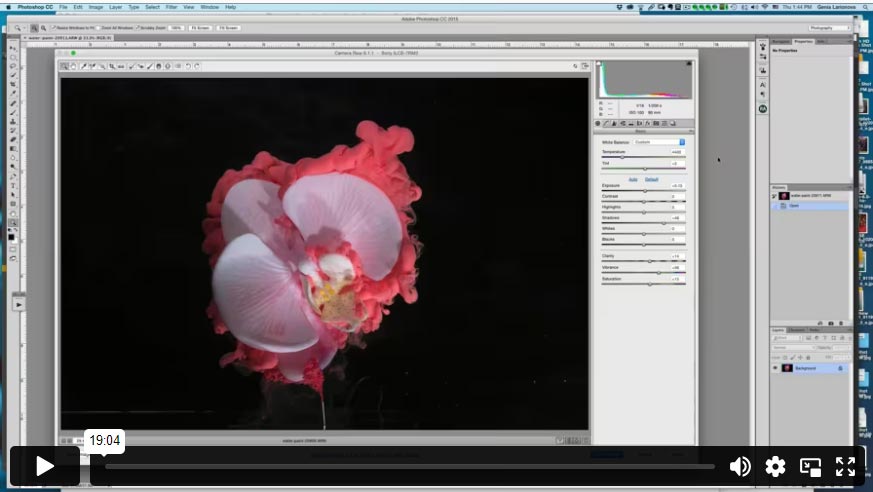
In the first post-production video, retoucher Genia Larionova begins working with the flower and ink cloud. She starts off by bringing her selected images into Adobe Camera Raw for initial processing, then opens them as layers in Photoshop to blend them into a single image.
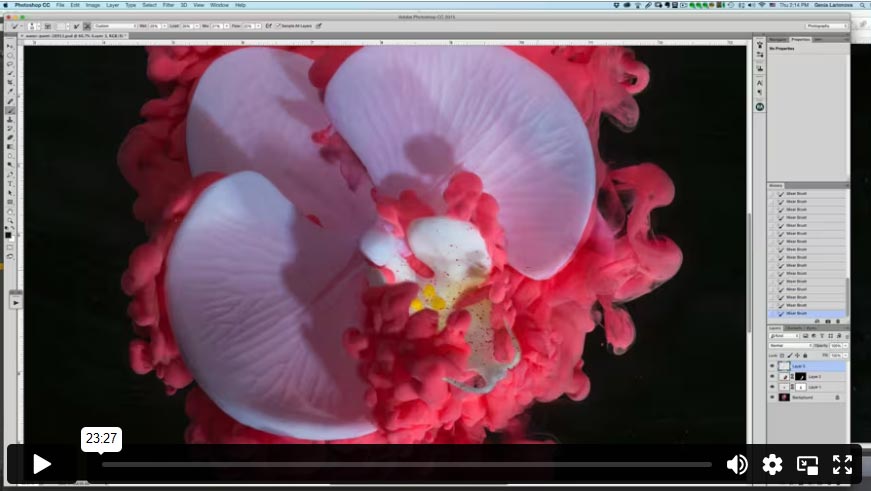
Genia wraps up the flower image by cutting out the composited result, placing it on a background and then adjusting the shadows, highlights, contrast, and colors of the image.
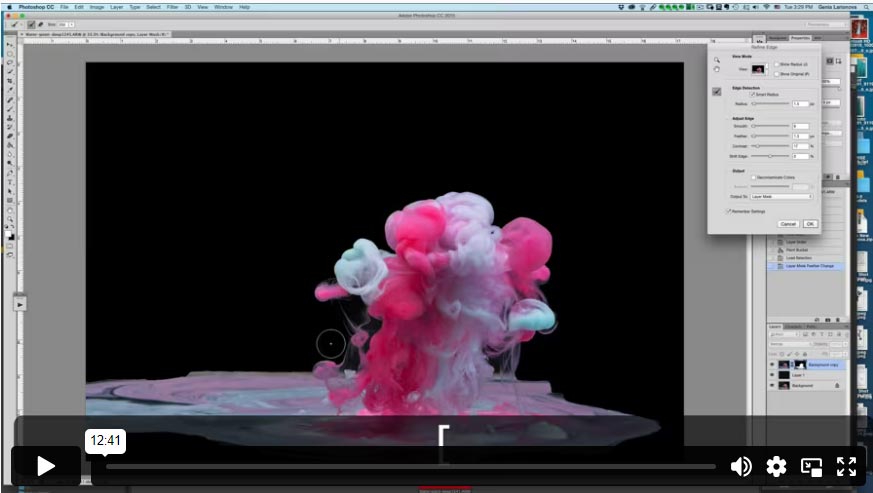
In this lesson, Genia works with one of the dual color ink clouds, applying various techniques to clean up the image before enhancing its overall appearance into a stunning piece of abstract art.
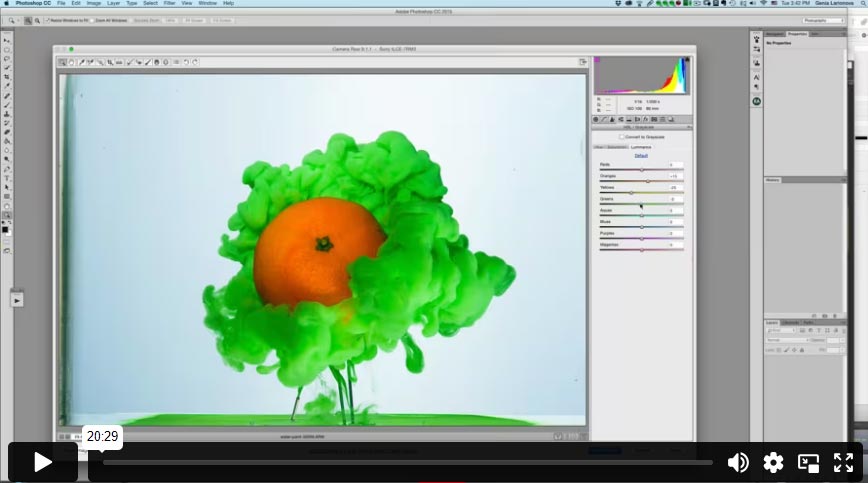
In this post-production lesson, Genia works on the orange subject surrounded by green ink cloud, starting off in Adobe Camera Raw to perform her initial adjustments before bring the image into Photoshop. Once in Photoshop, she extracts the image from the background and uses a plug-in to add details to the ink cloud before placing the subject on a new background.
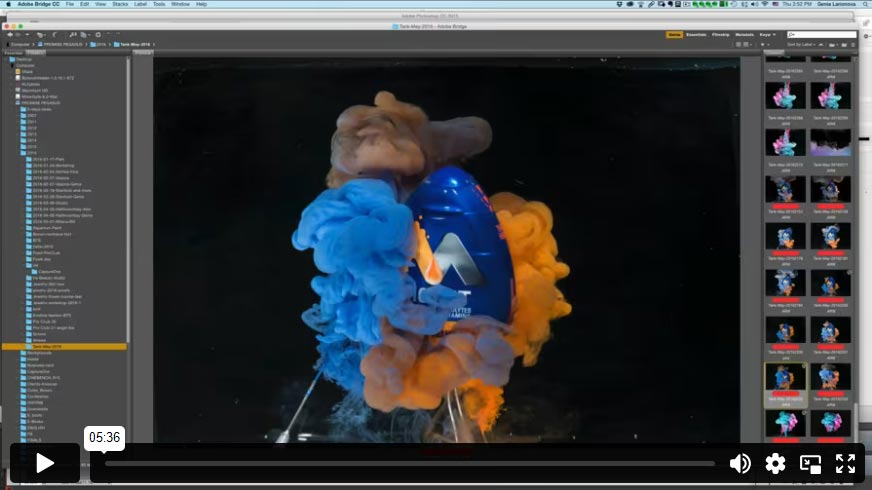
In the final post-production lesson, Genia works with the MiO Fit subject surrounded by a multicolored ink cloud. She blends several shots in Photoshop to get the best combination of ink clouds from each color. She then turns her attention to cleaning up the subject and adjusting the final shapes of the clouds before tweaking the colors and background of the final image.
BONUS
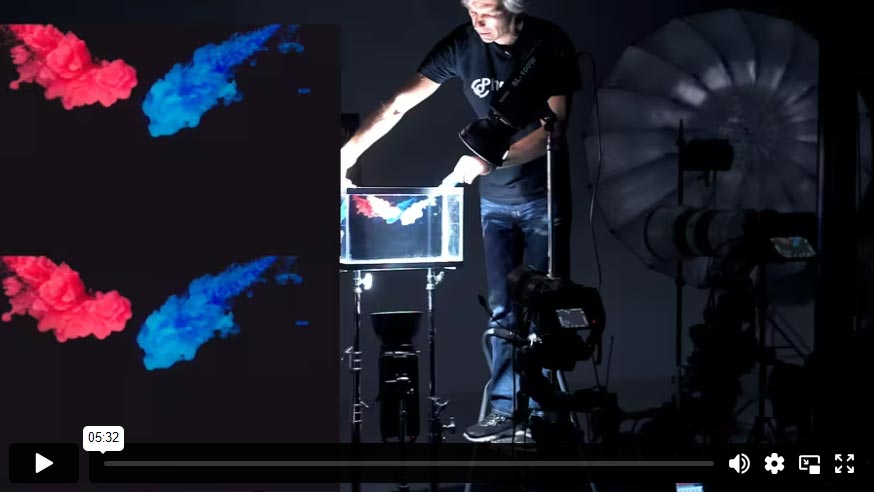
In this bonus video, Alex explains his setup to capture slow-motion video. He uses LED lights as his constant light source for stable color temperature. Alex uses two cameras, one recording at 4K and the other in HD so that he can get the frame rates he needs.
INCLUDES
Shooting & Post-Production
⭐⭐⭐ PROFESSIONAL SERIES
Best for long-term access, more DIY approach
Lifetime access
Weekly Q&A
24/7 Email Support
VIP Membership
Best for ongoing learning
Unlimited access to all courses
Priority support
FAQ
Is there a way to ask an instructor a question/to show work and get a feedback?
Yes, you can ask an instructor, as well as get a feedback on your work. We have a support forum for this course where you can ask questions, get answers, and feedback from your instructor.
How do I access the course materials?
You will have 24/7 access to course videos, forums, and reviews on the Photigy.com website. It is optimized for mobile as well, and we stream from the worldwide cloud to ensure a worry-free learning experience.
How long will I have access to this course?
You’ll have lifelong access to the course. There is no limitation on this.
How I can ask questions of the instructor?
All course students have access to a private forum dedicated to support. This is the place where Photigy instructors answer students’ questions, and students can share their own experiences and solutions.
Photigy School Of Photography 2020
Photos you'll learn to make
Meet your instructor

Most frequent questions and answers
Is there a way to ask an instructor a question/to show work and get a feedback?
How do I access the course materials?
You will have 24/7 access to course videos, forums, and reviews on the Photigy.com website. It is optimized for mobile as well, and we stream from the worldwide cloud to ensure a worry-free learning experience.
How long will I have access to this course?
You’ll have lifelong access to the course. There is no limitation on this.
How I can ask questions of the instructor?
All course students have access to a private forum dedicated to support. This is the place where Photigy instructors answer students’ questions, and students can share their own experiences and solutions.