

ABOUT THE COURSE’S
Instructor
Instructor of Photigy
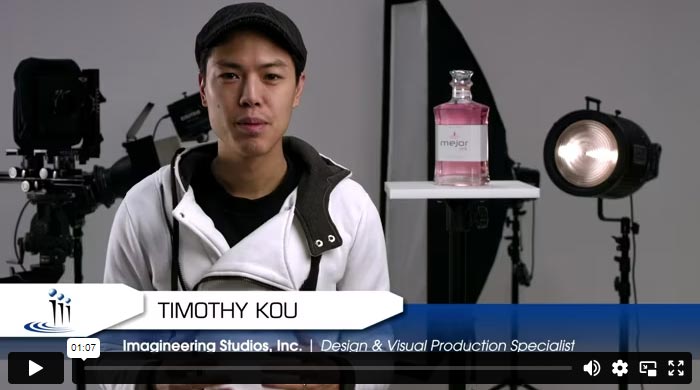
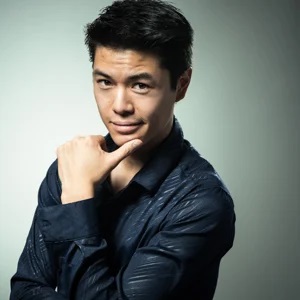
Timothy Kou
Design & Visual Production Specialist at Imagineering Studios, Inc.
I am a creative with a background in marketing. Imagineering Studios works to bring all marketing production services under one roof from audio/visual production to design for print and web. My title means that I do anything associated with visuals. I serve as Lead Photographer, Graphic Designer, Illustrator, and I’m also involved in video production and web design.
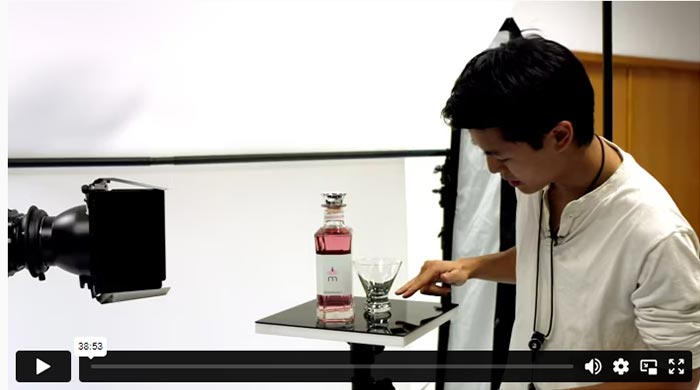
I began shooting professionally as a wedding/event and portrait photographer for musicians and actors. I still enjoy those shoots, but I love the amount of creativity and challenge that I get in the studio environment. I am very specific about the planning and vision of my shoots. I try to bring a creative/dramatic aspect to every shot I take. Like my mentors, I am an outside-the-box thinker when it comes to the technical approach to my shoots, and I’ll do whatever it takes to create the image envisioned.