Select Page
Magical Droplets
Pro Club Workshop #63
Magical Droplets
This is a product photography tutorial for the Professional Interactive Education Program, Workshop #63
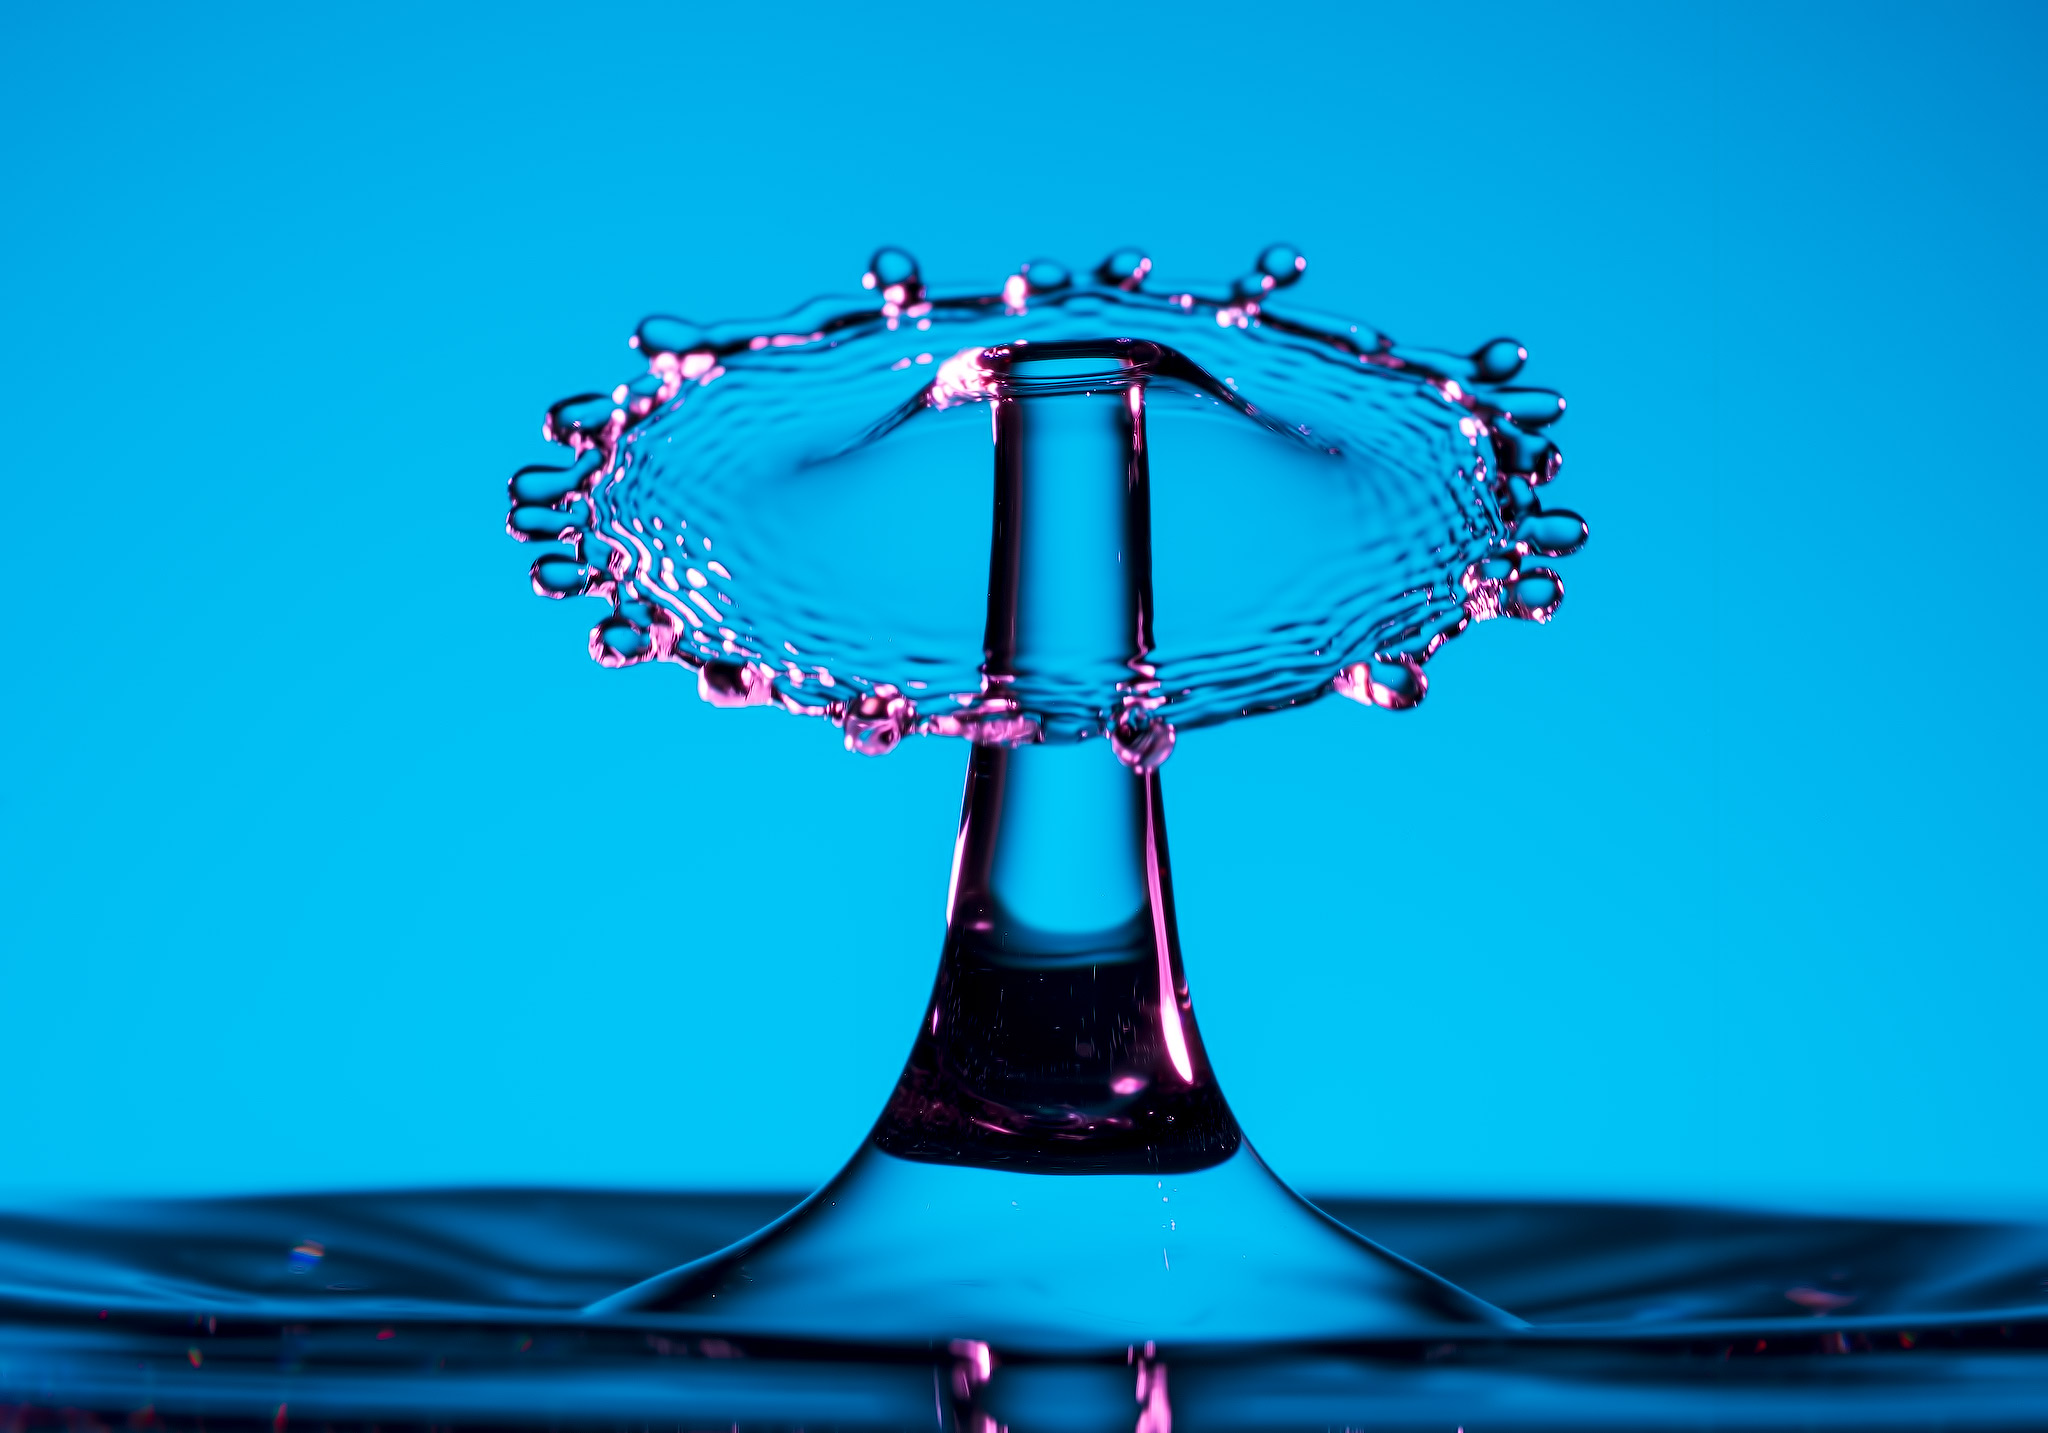
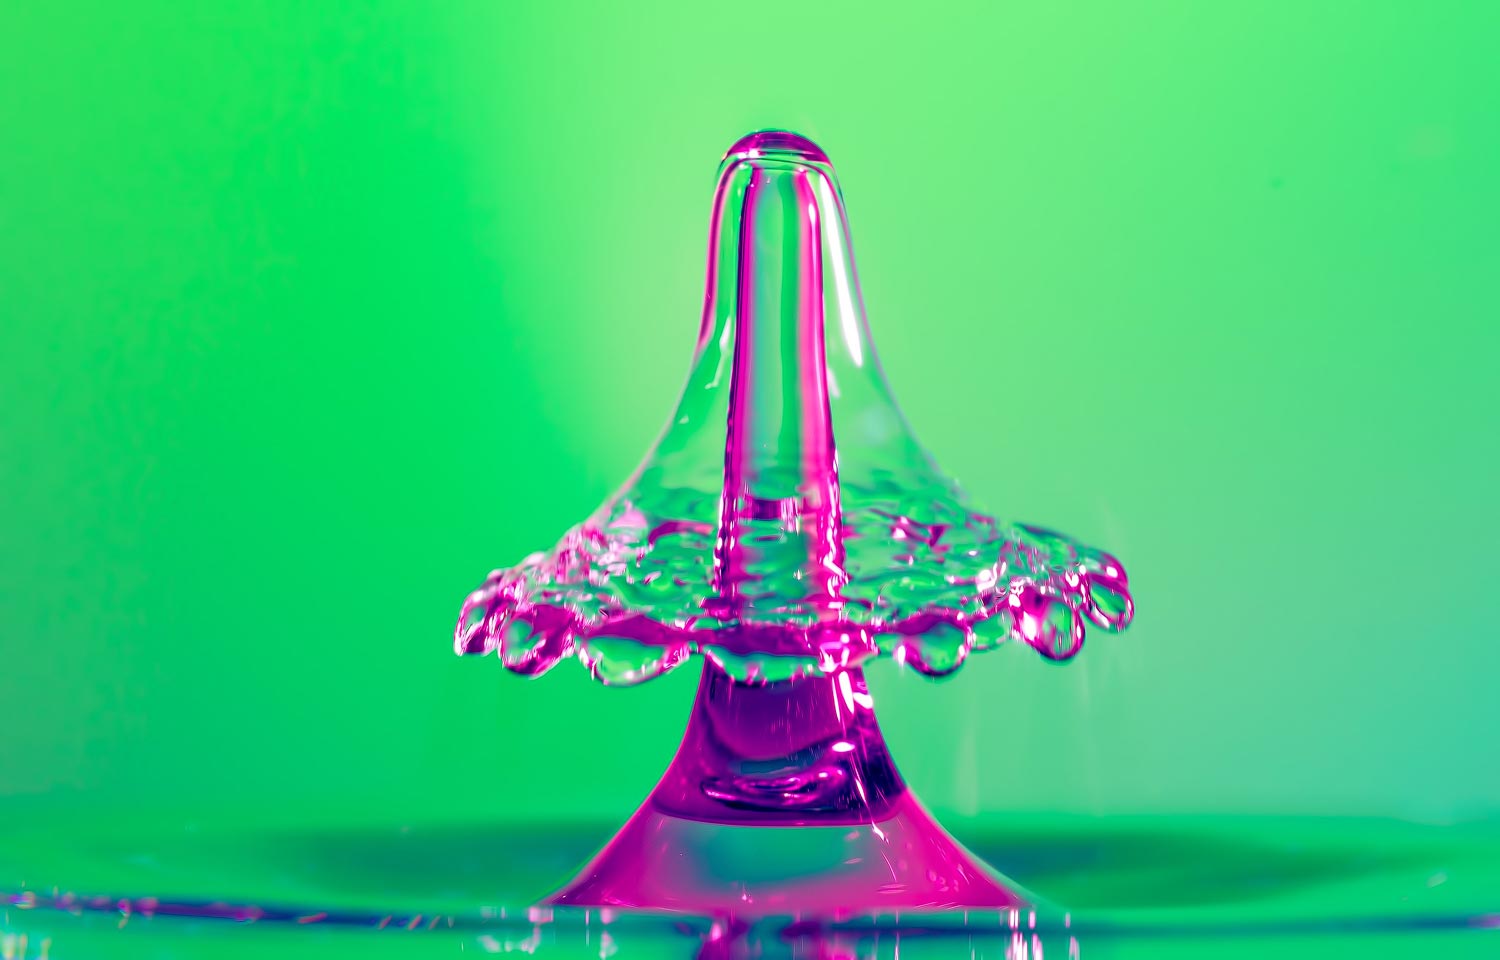
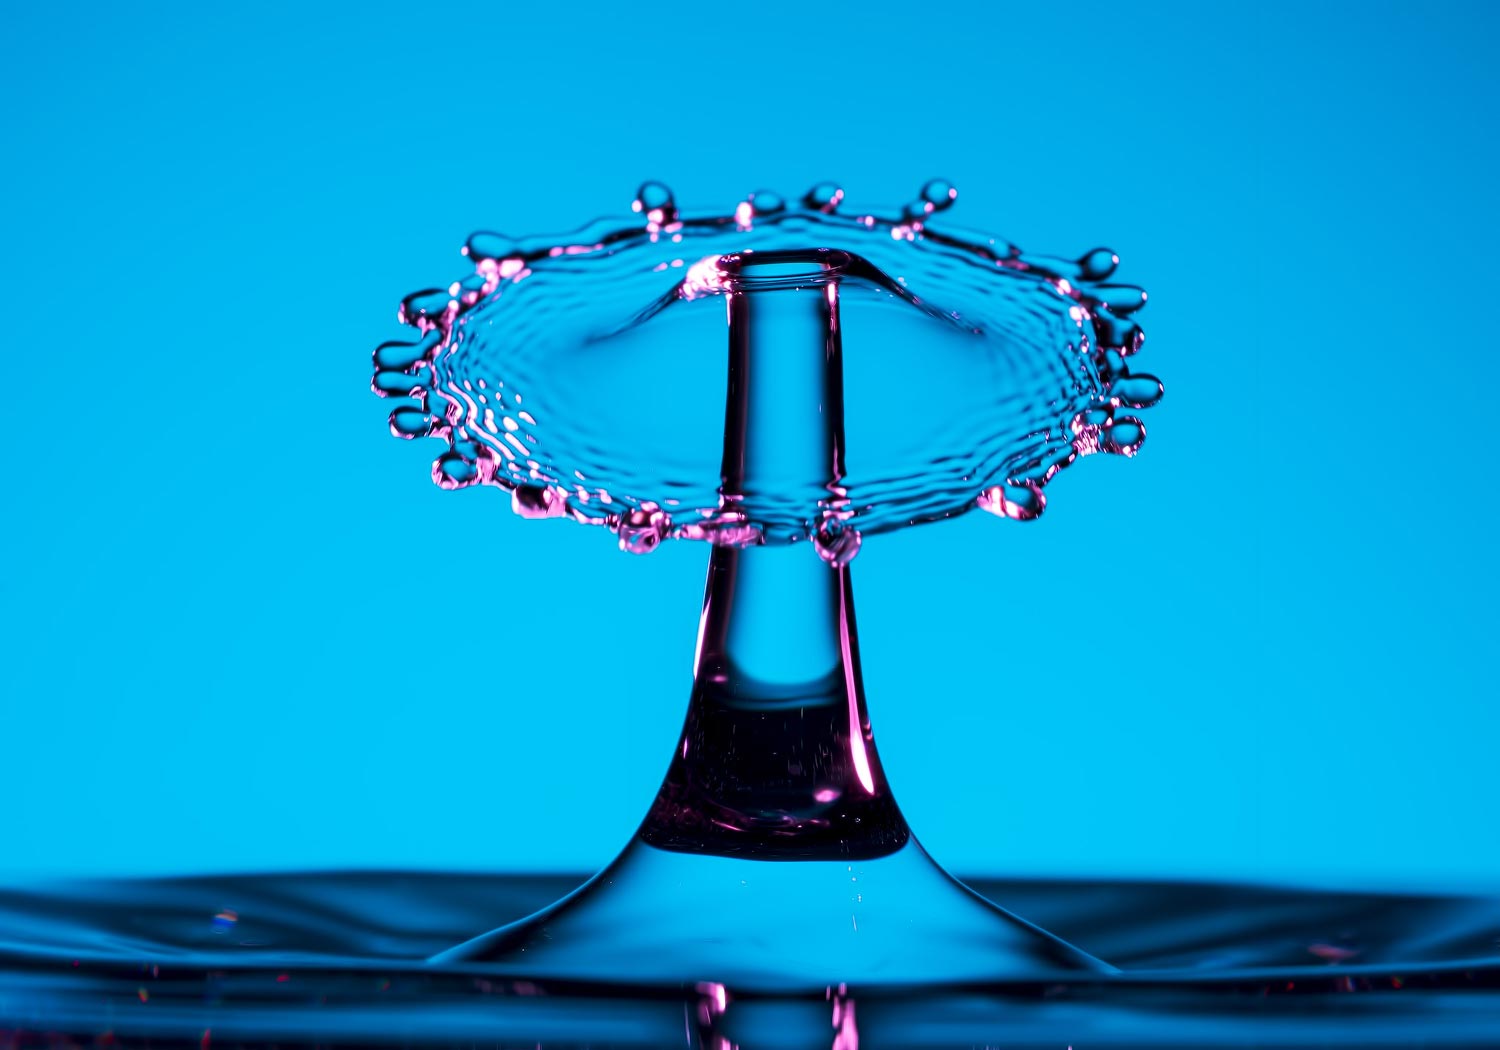
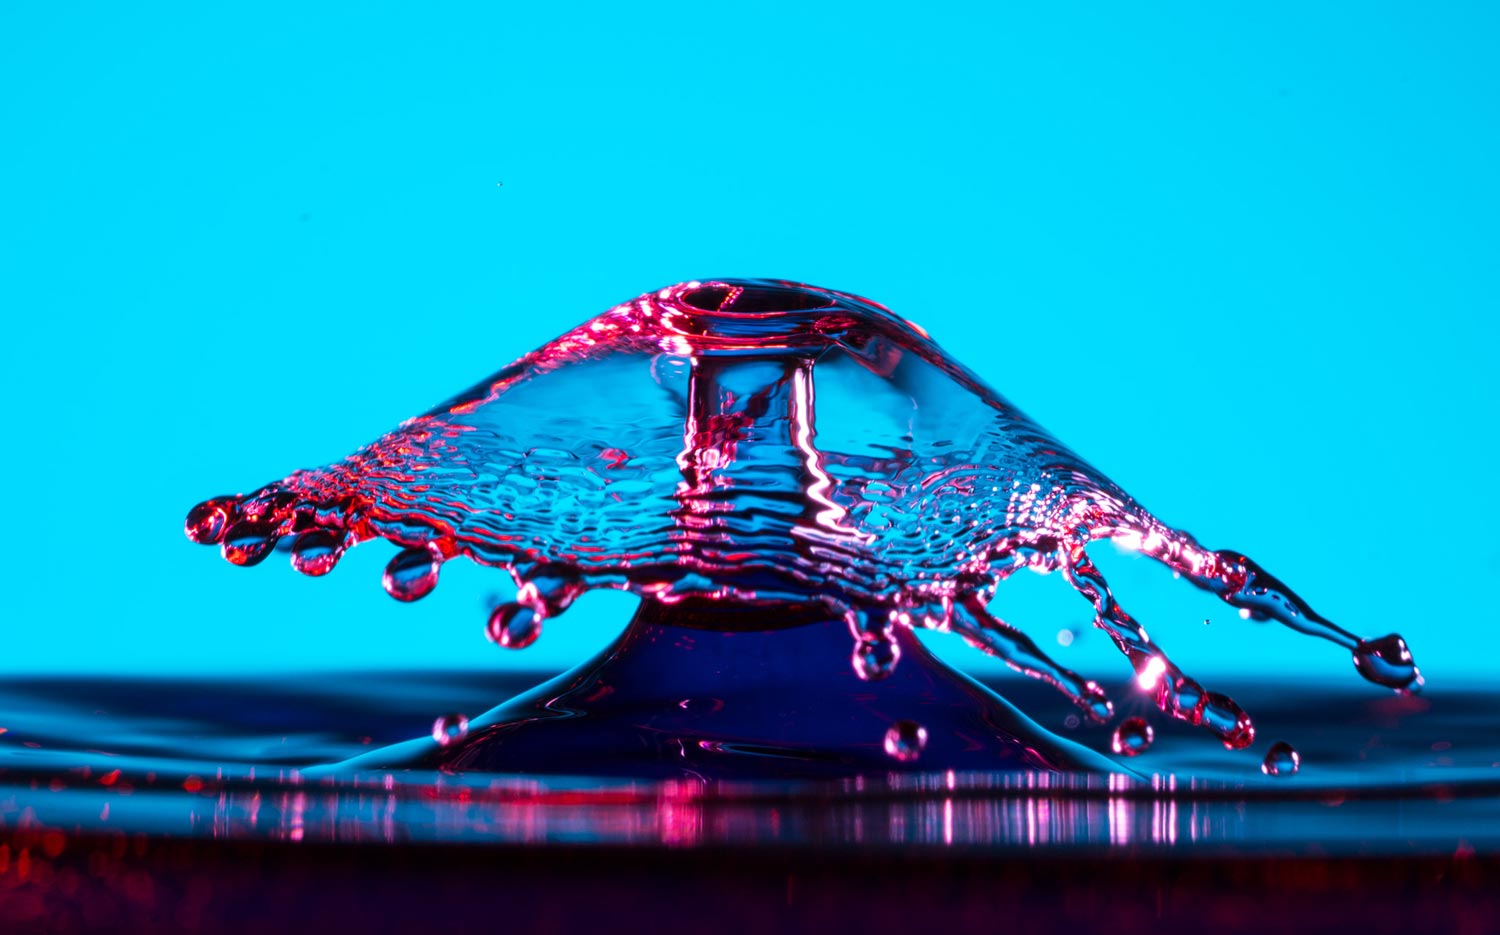
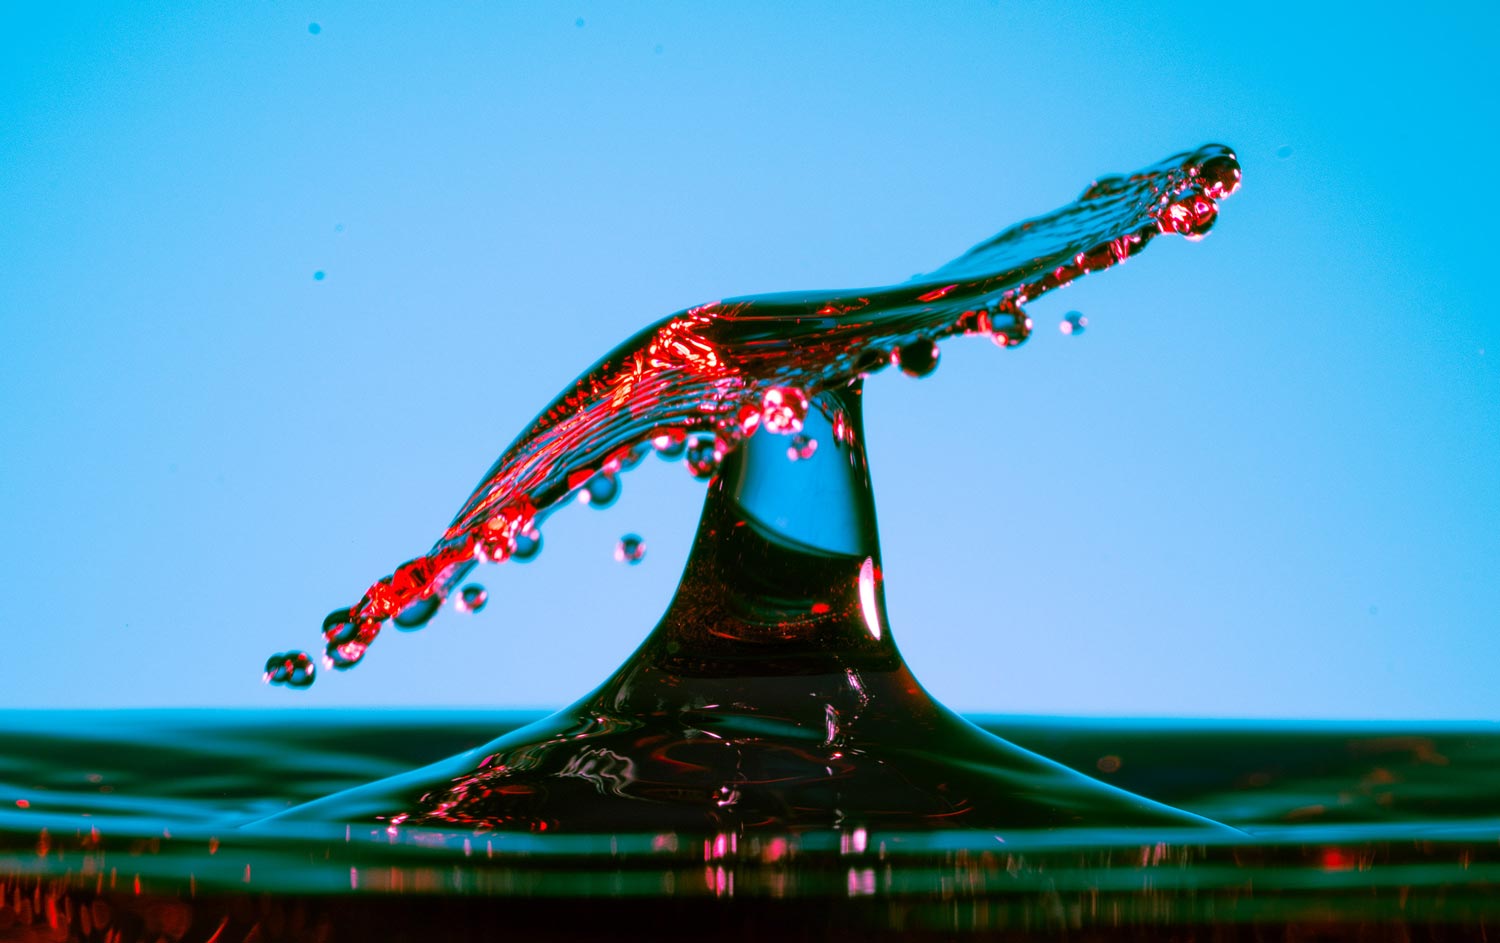
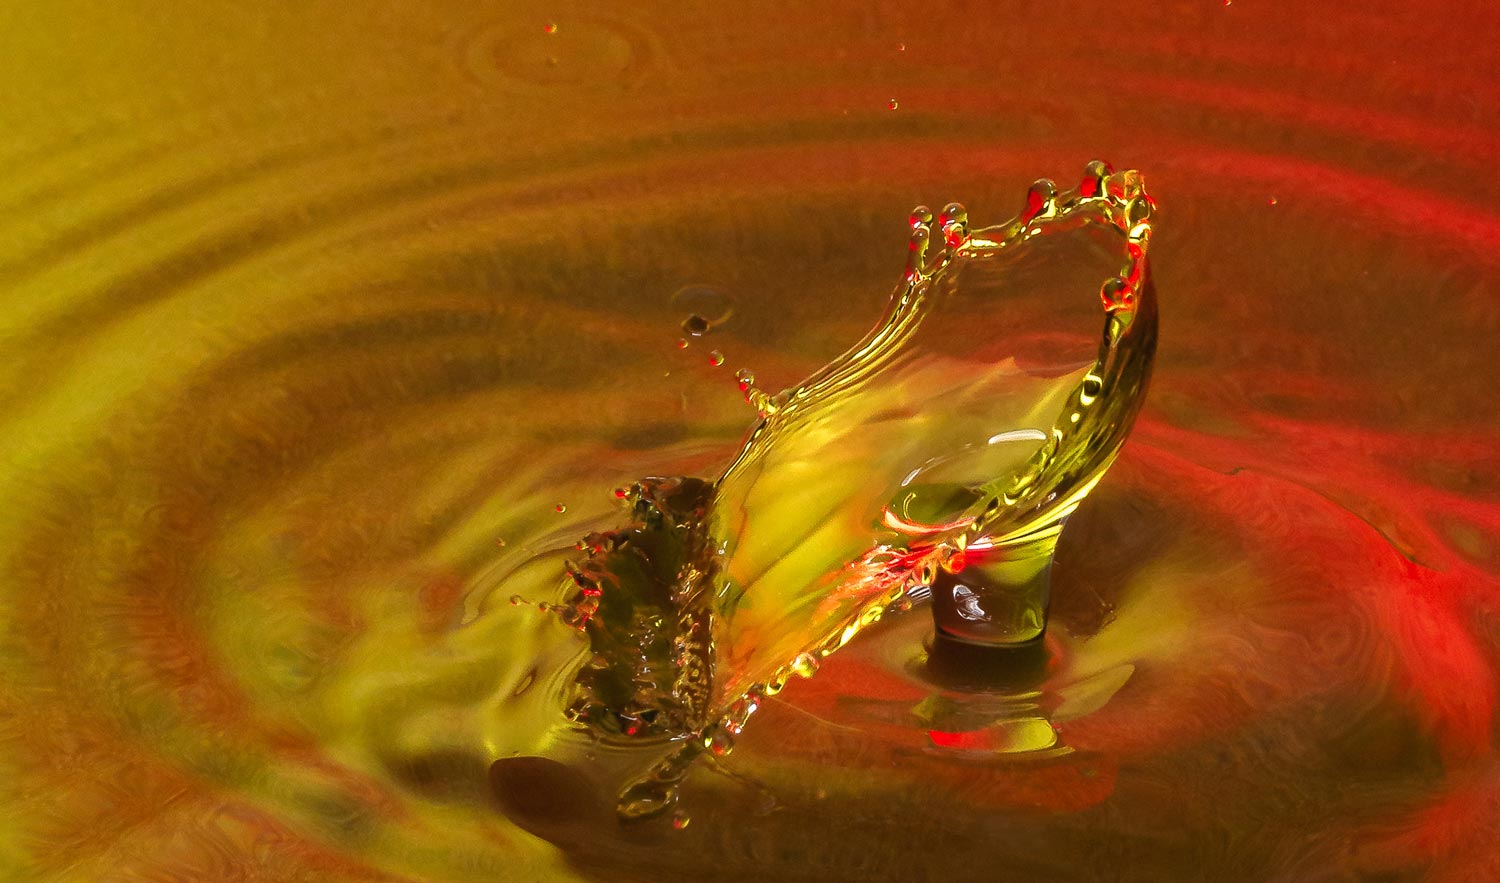
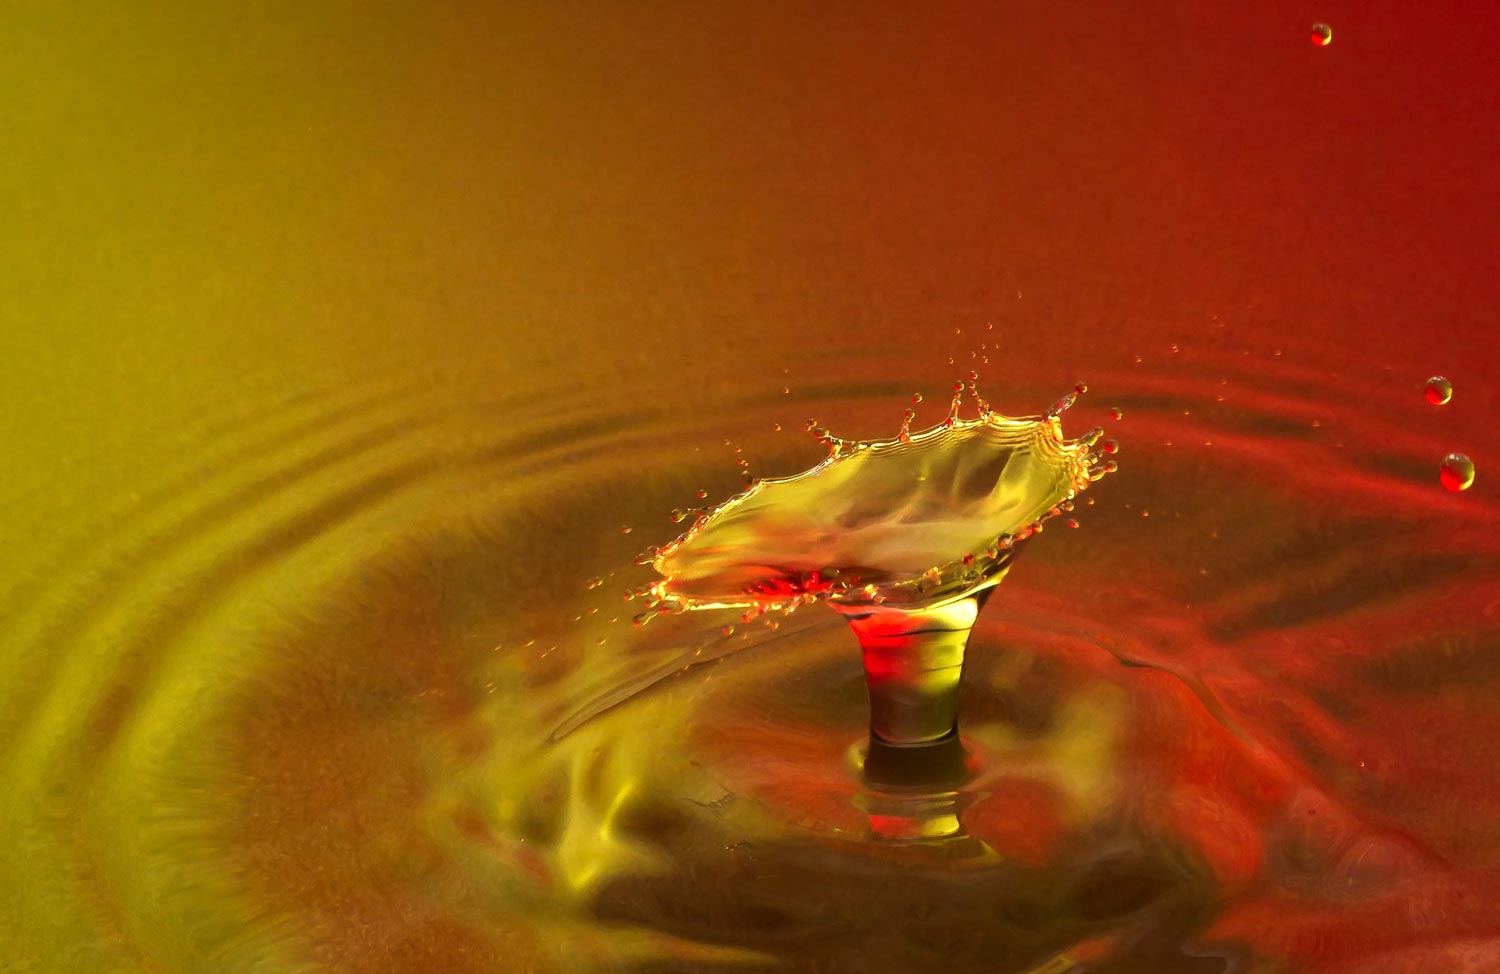
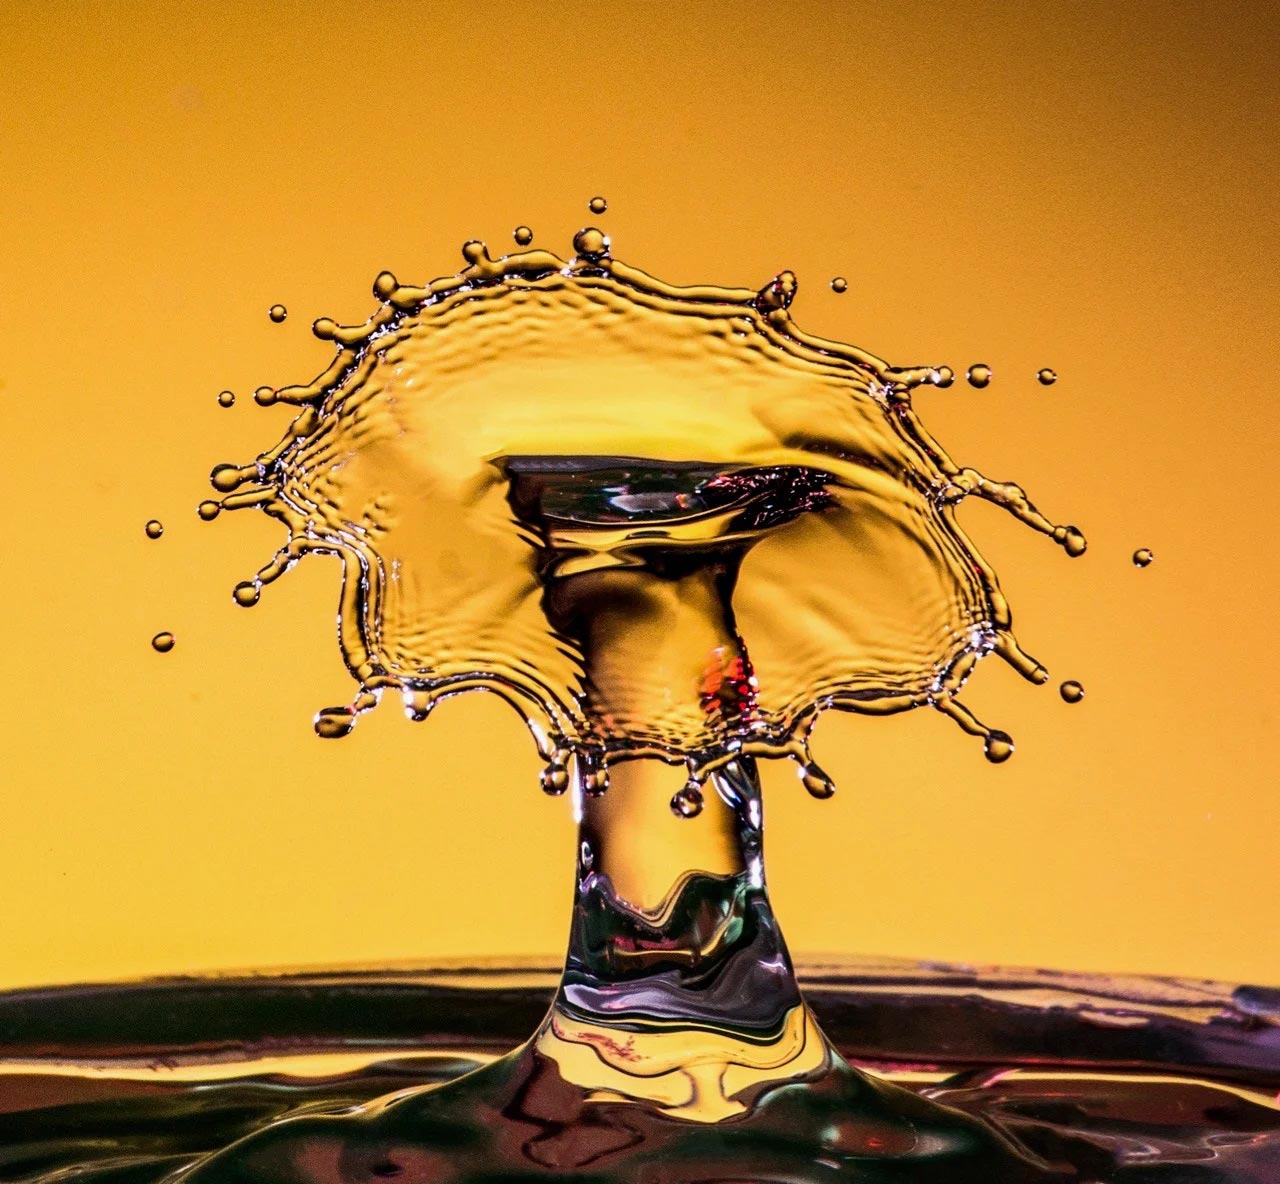
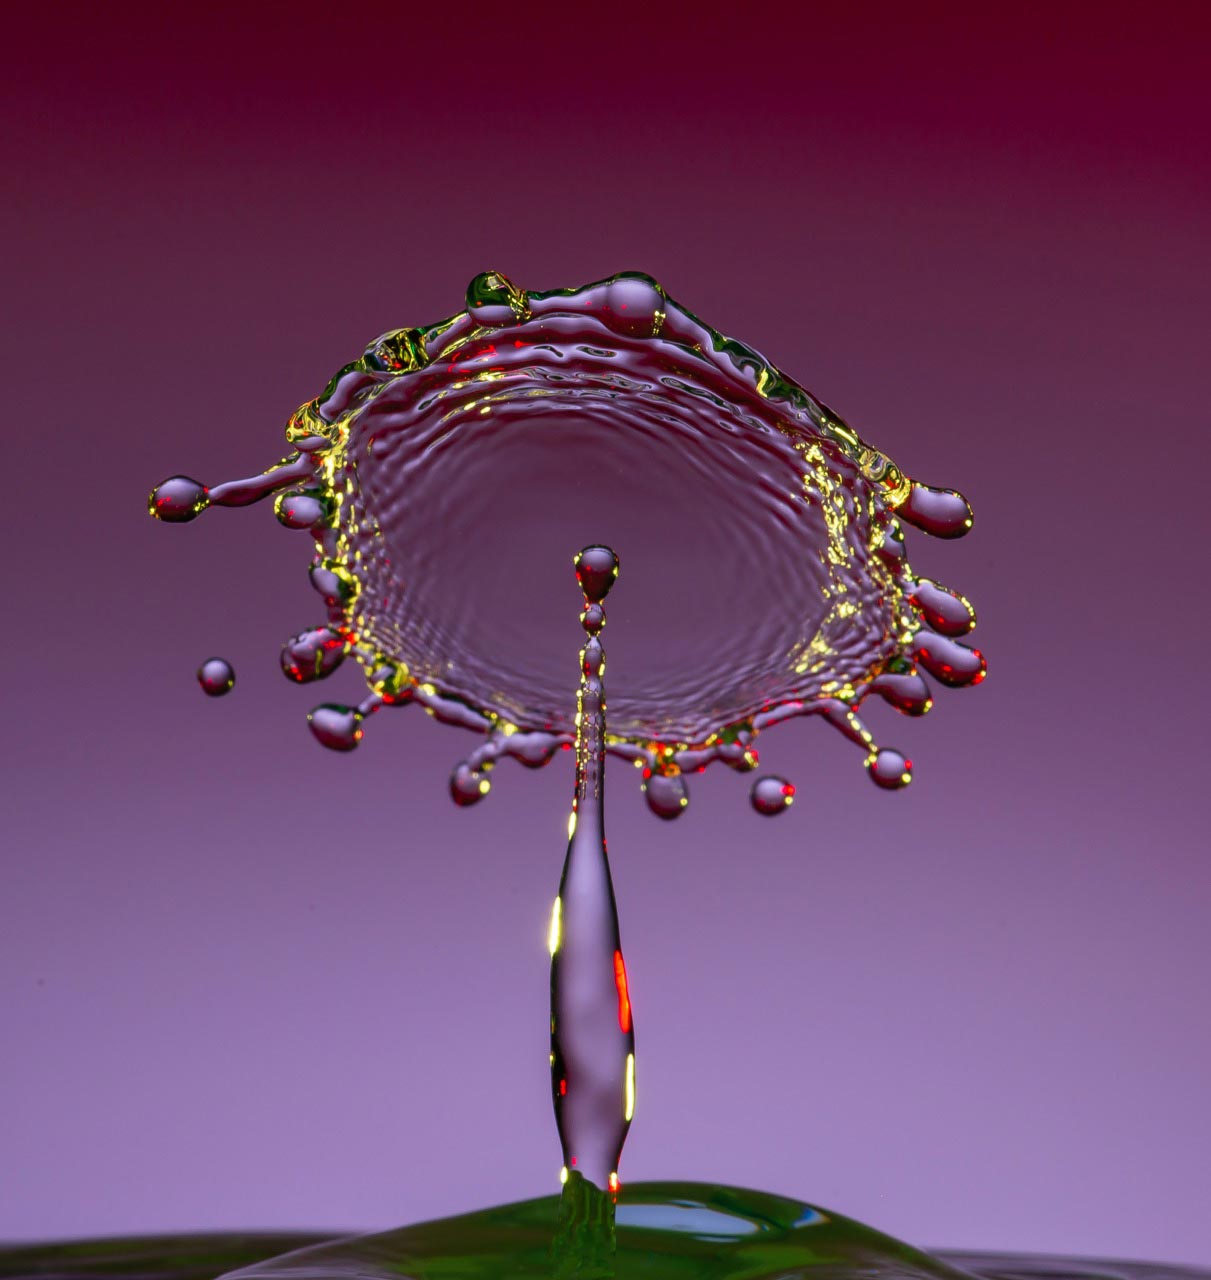
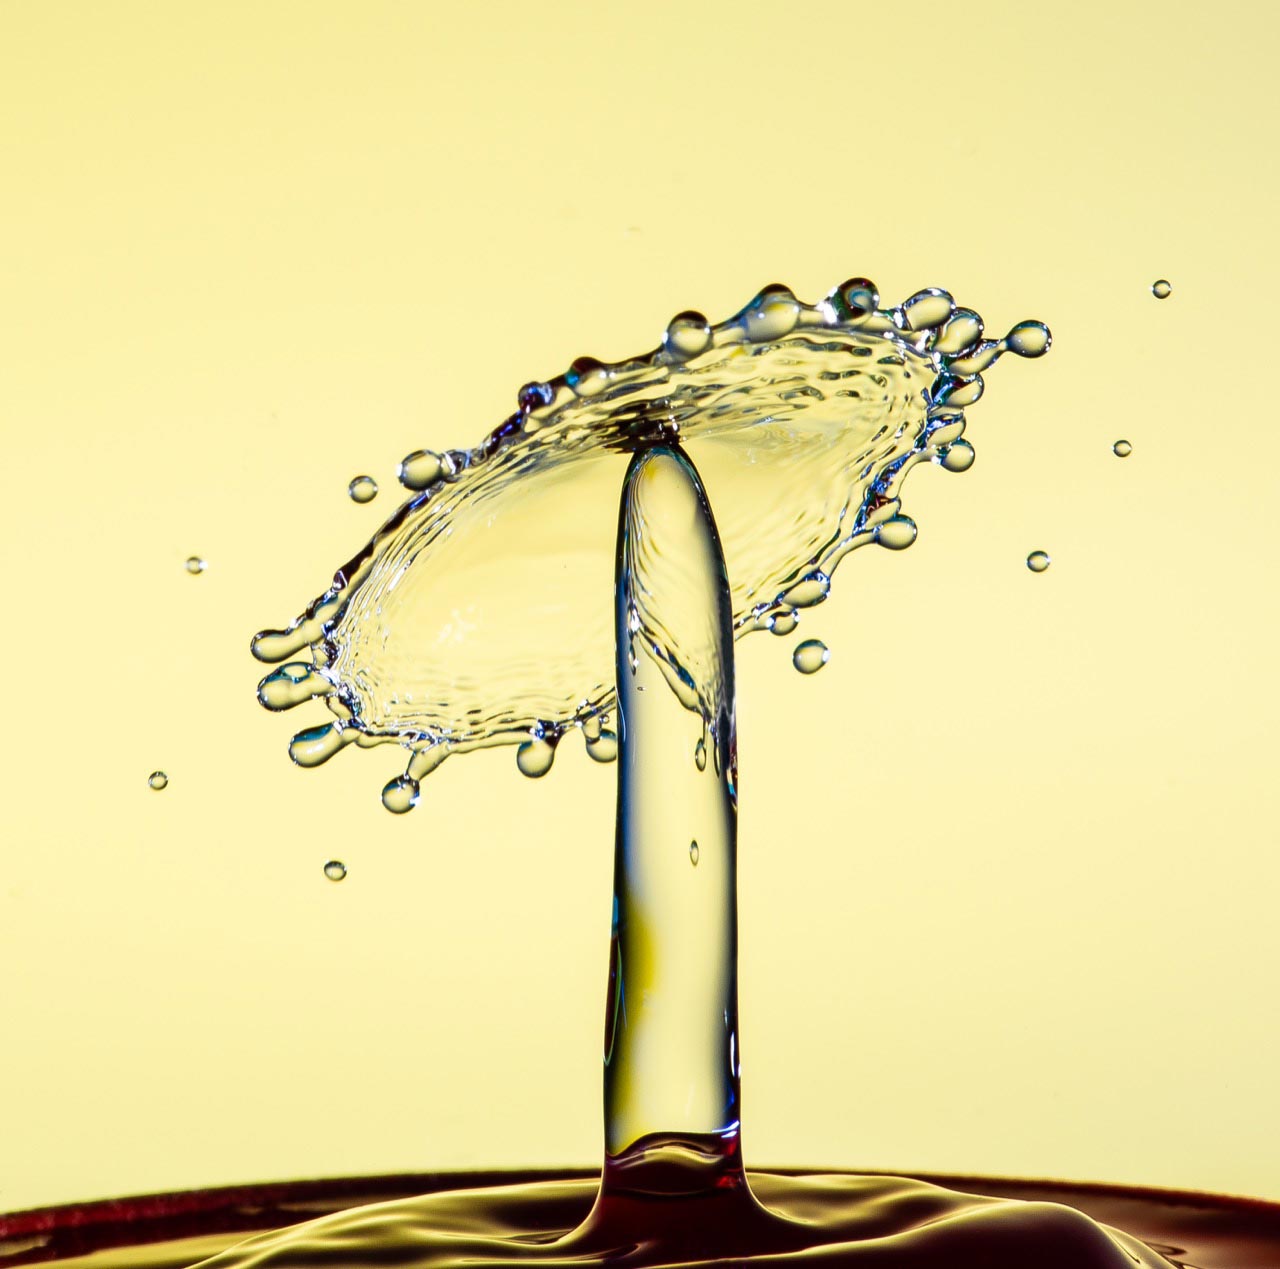
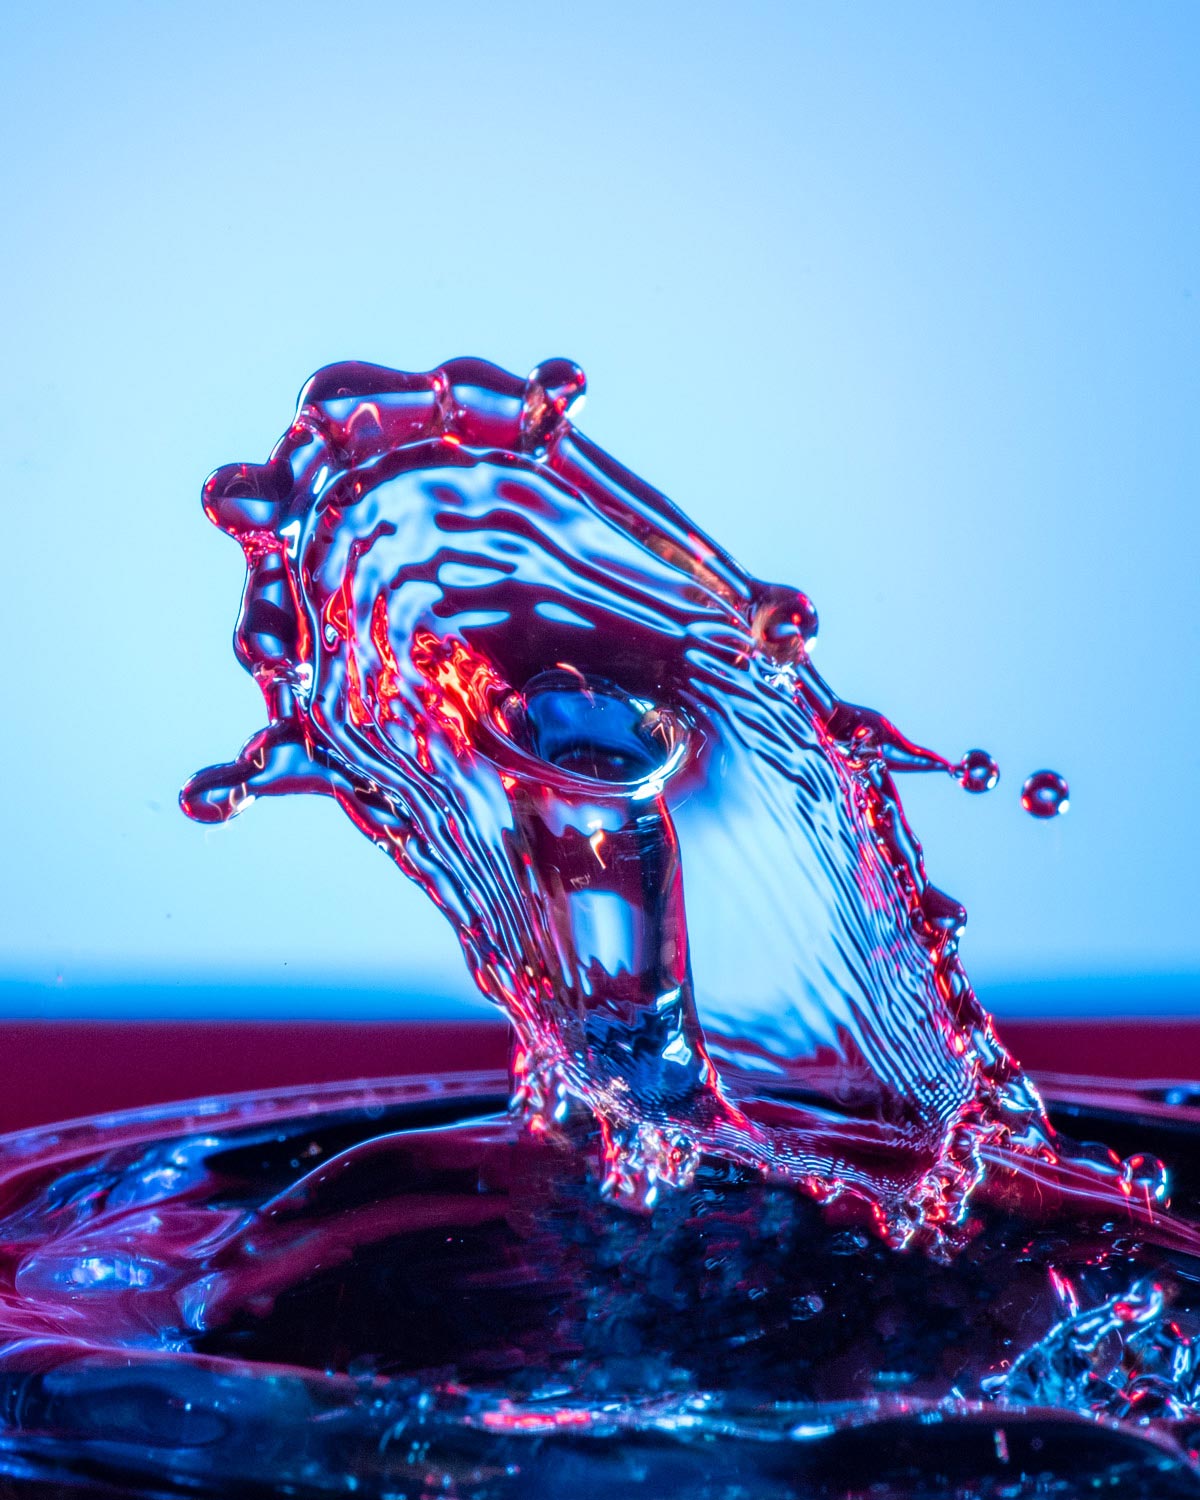
You must have seen those breathtaking water droplet photos. The key to capturing these magical shots are a combination of tools that you use and the technique that you employ. In workshop # 63 Alex from Photigy will be demystifying the whole process for you.
First thing first, you need one of these – Pluto Trigger. This is the secret recipe to creating those beautiful water droplet photos. The other thing that you need is the Pluto Valve for Splash Photography. This device will work with the Pluto Trigger mentioned above.
The other important ingredient is the actual liquid that produces these beautiful droplets. The key is in using the right liquid. Some of you might have guessed already – yes this is glycerin. But not pure glycerin. This is more like the liquid used inside smoke machines. It contains about 80-90% glycerin. Even at that concentration, the liquid is heavier than water. This is necessary too in order to create that beautiful effects when two or more droplets collide. With a lighter liquid like alcohol, all you will get are small droplets flying everywhere.
Your instructor for this workshop are Alex Koloskov
Meet your Instructor

About Alex Koloskov
Commercial photographer, co-founder and teacher at Photigy Photography School. Instructor at KelbyOne.com, Udemy.com.
I’m a mix of technicality, innovation, and out of the box thinking. I love to take technical challenges in anything I do, including photography.
As a photographer, I am completely self-taught. I don’t know the rules, nor do I care about them. I don’t follow the herd; I do it my way. That turned out to be invaluable in what I do. It allows me to experiment, to see outside the borders, to challenge the authorities; and also to create a stunning photography style that is crisp, sharp, and crystal clear.
In-Studio Photography Tutorial
🔒 VIP members only
Become a VIP member to watchFinal Images
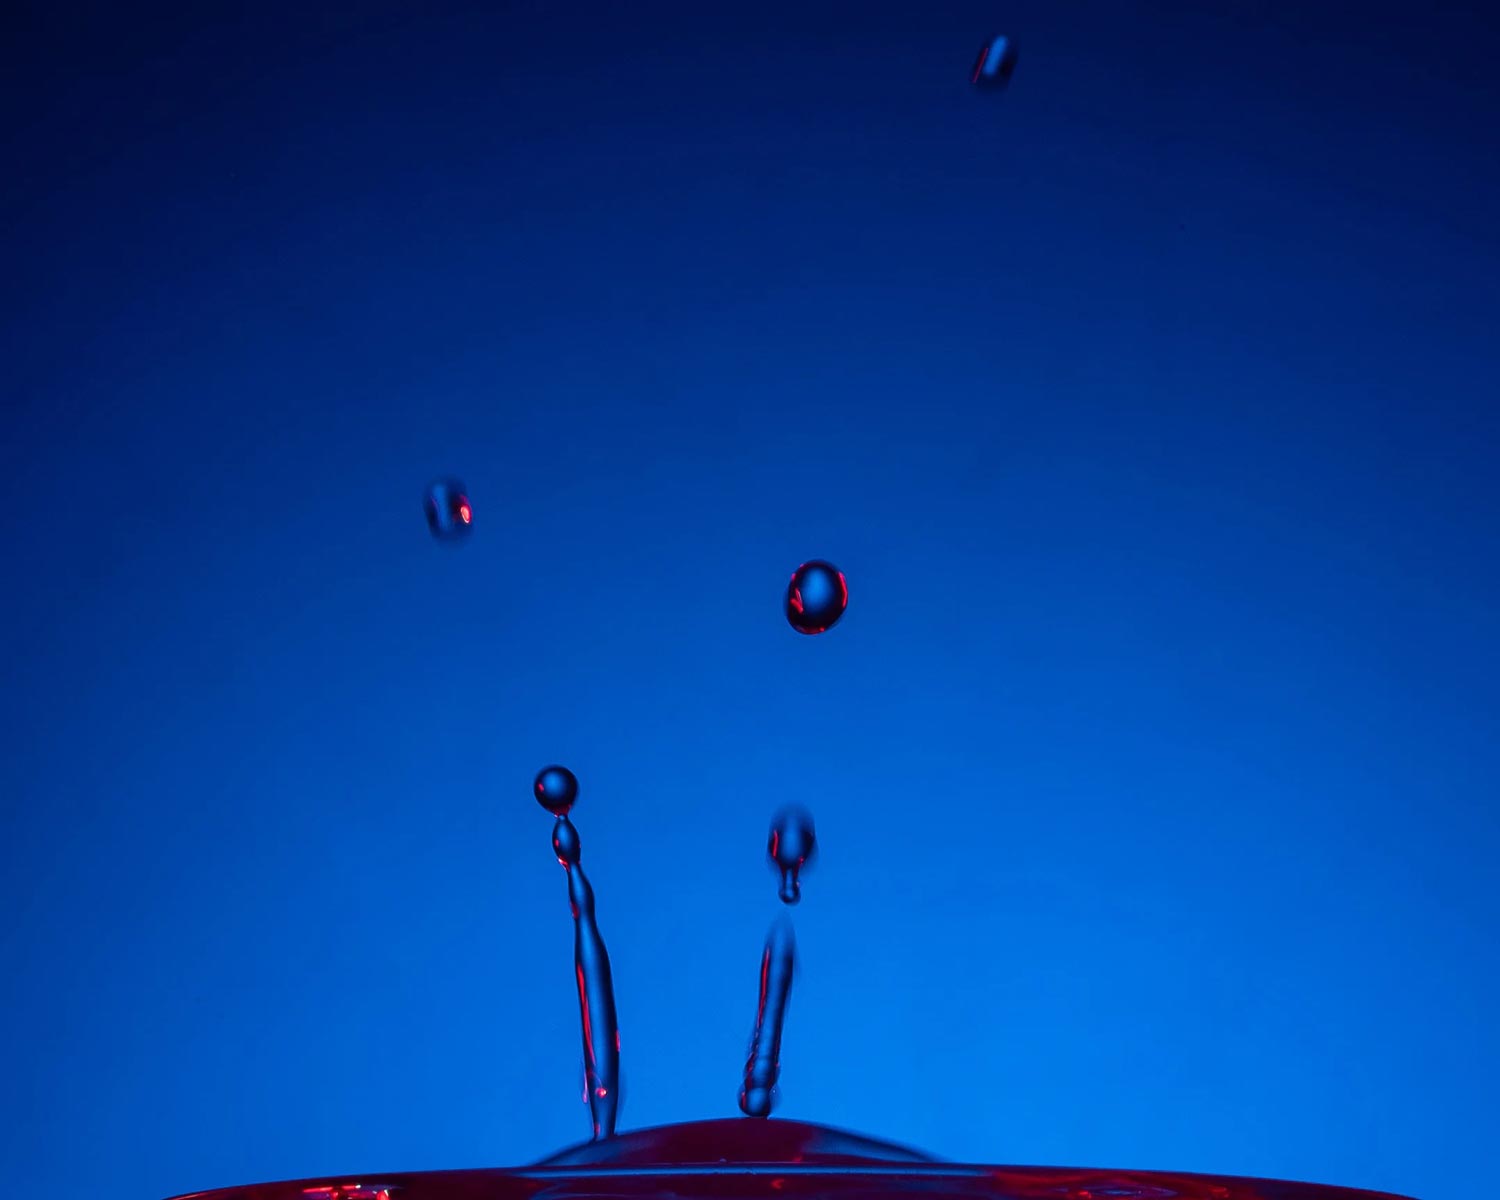
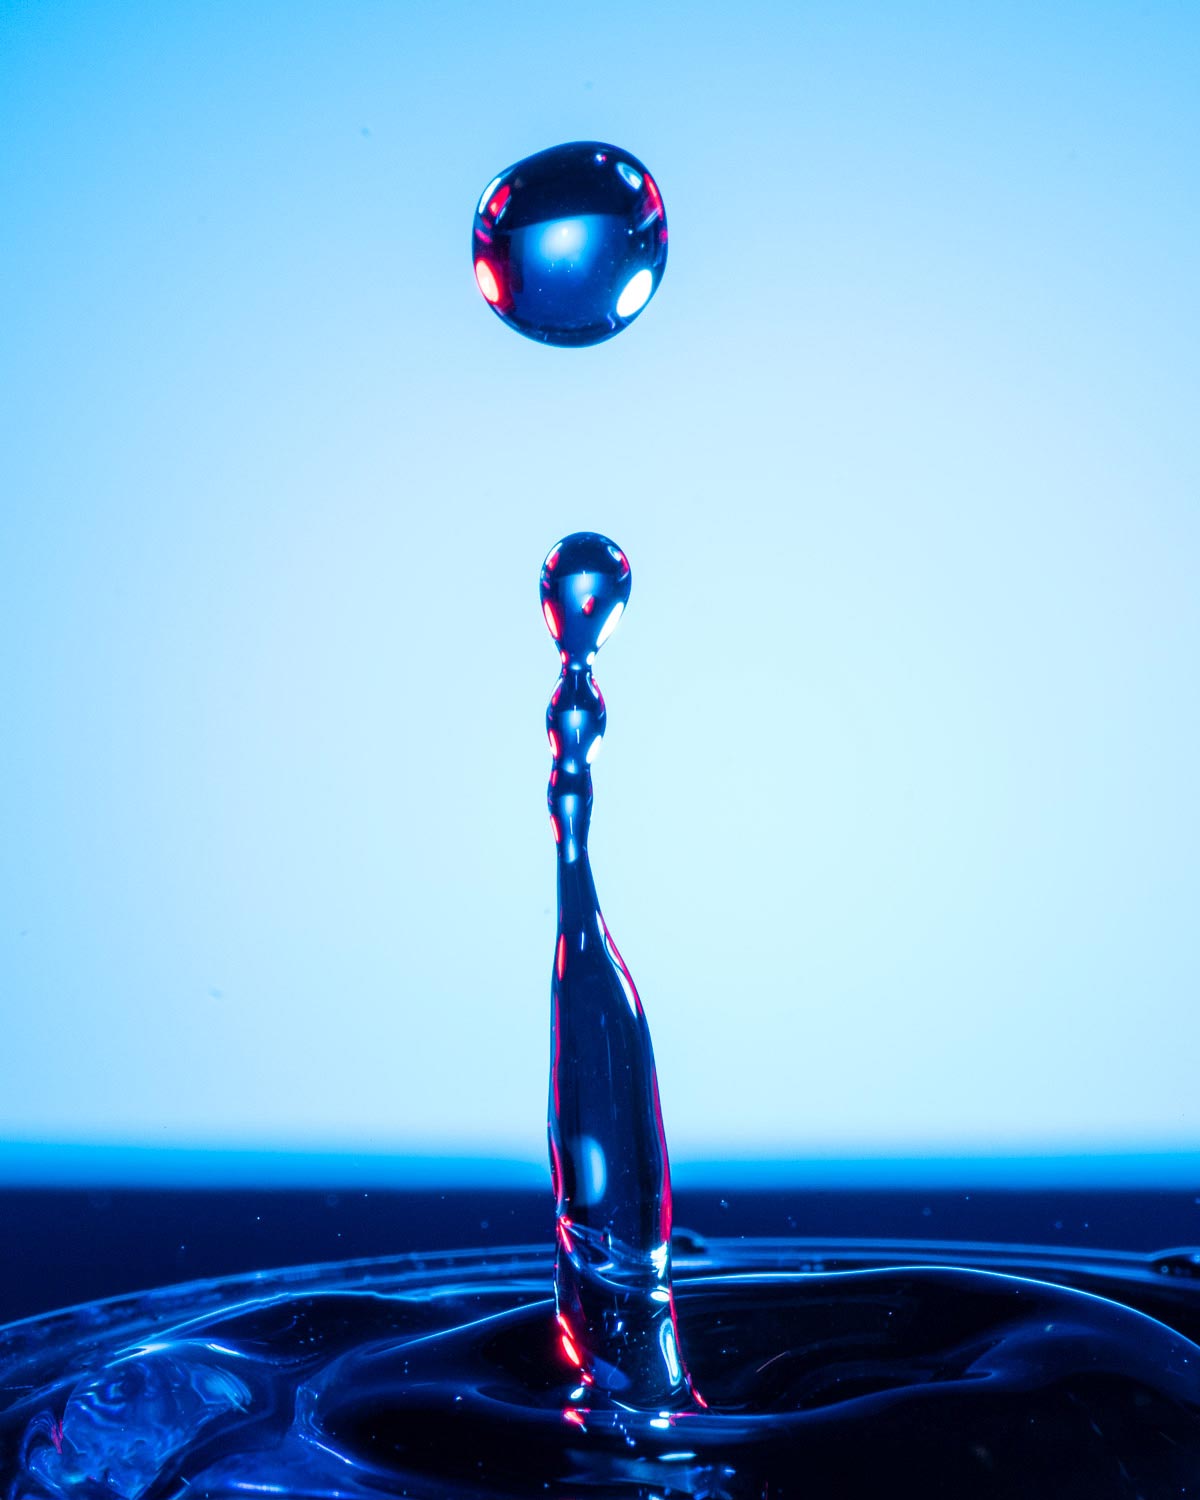
There are a few other things that you need to consider before you can hope to get those magical droplets photos. Alex explains all of them in a meticulous way in this workshop. One of the most important being Flash Delay. Flash Delay is the time interval between when the drop is released from the dropper and when the flash fires. Ideally, it has to be synced so that the flash fires at the very instant the liquid touches the surface of water.
Flash delay is a variable setting and you need to change it according to the camera and setup you are using as well as the result you are after. For example Alex uses a flash delay of 150 ms. On the other hand if you have a mirrorless camera the delay needs to be slightly more (about 100 ms) than if you are shooting with a DSLR. This will take you several shots (running into scores) as you try to fine tune the exact flash delay. In Alex’s case he uses not one but two drops every shot to get that mushroom effect that he keeps talking in the video. Yours is likely to be different.
Another thing that you have to pay attention to is the camera settings. Alex explains the ball park figures that should be a good stepping stone to getting them perfect for your shoot.
There is more to this workshop. You can now watch the rest of the workshop to get an in-depth understanding of what goes into setting up such a shoot. All you have to do is login with your Pro Club credentials. Not a member of our Pro Club yet? You can join it now here