Product Photography Lighting:
It is Simple When You Know How
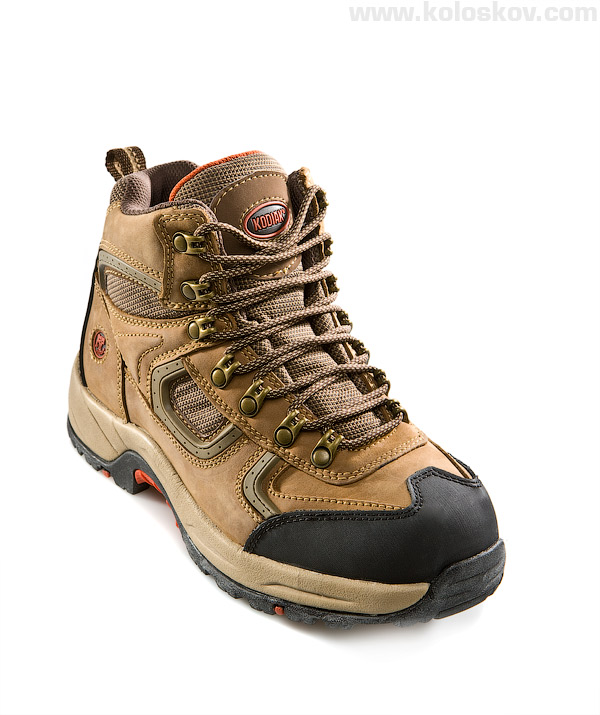
The object I’ve selected is a simple to photograph. Really simple.
Why?
Because it has a well visible texture and doesn’t have highly reflective or transparent surfaces.
However, having an easy to shoot object doesn’t mean you should not worry about the lighting. It is so easy to do a crappy image just because it looks “nice” as is, with one light source (large softbox will do it). Believe me, I am not against simple lighting schema, but more lights give me more control over the look of the subject, I just need to make sure I use them right.
I am going to show you how each additional light source will change the look of the boot and explain why I need it.
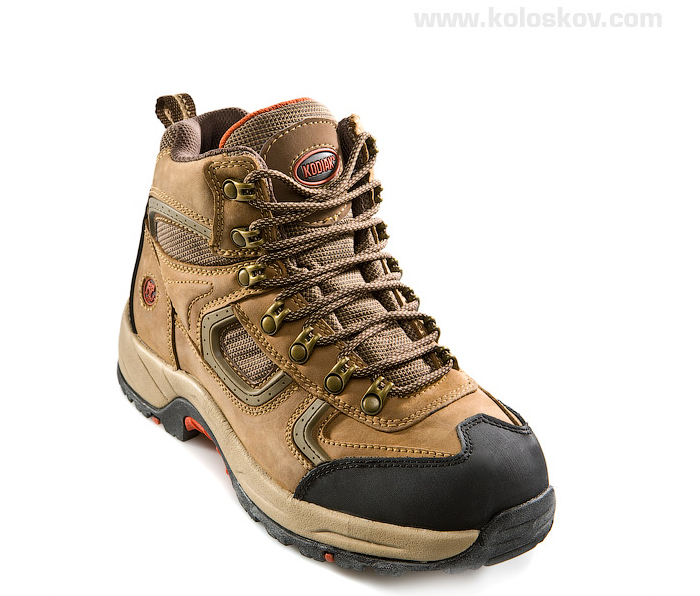
Let’s start from this well textured boot and only one light in the front-top of it (White Lightning BD in my case, you can check the lighting setup ):

 Only for Pro Club Members
Step one: one light on front/top
It may look good, but not for our catalog where a white background is required. It needs to be completely white (RGB: 255.255.255). We do not clip out the whole object, but instead use a different technique explained in
Is the white background really white? article, it allows the shadow to remain under the boot and is much faster to do.
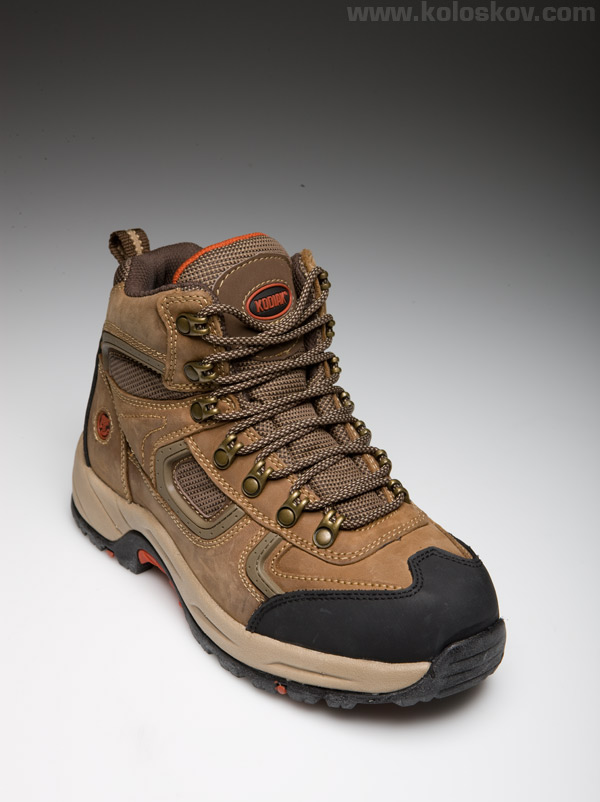
Next, we added one strip box added to fill the background:
Step two: background light added
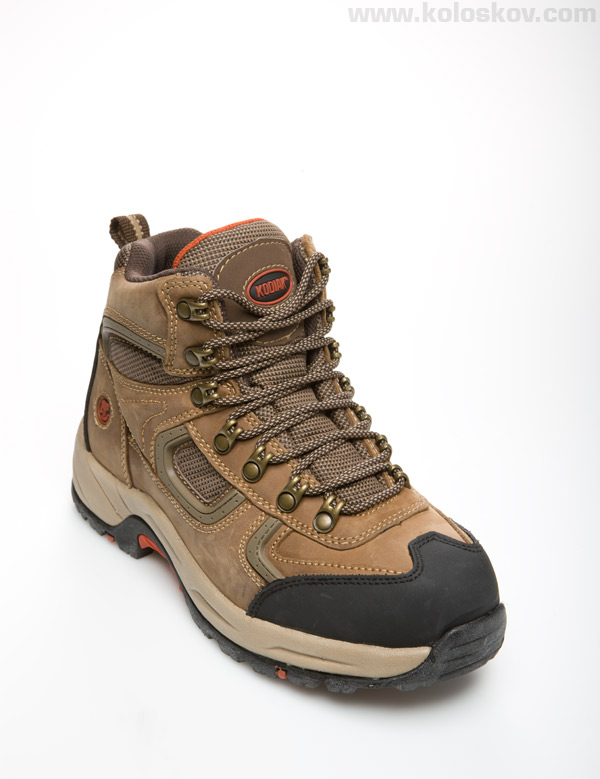
Does not look bad, right? However, it won’t be good for a catalog shoot, as it does not have clearly visible product details. Now it is time to add some backlight to highlight the texture: intense directional (from 20° honeycomb) light that hits the boot on a very low angle, from behind (right side) and adds more volume to our boot:
Third step: backlight from the right
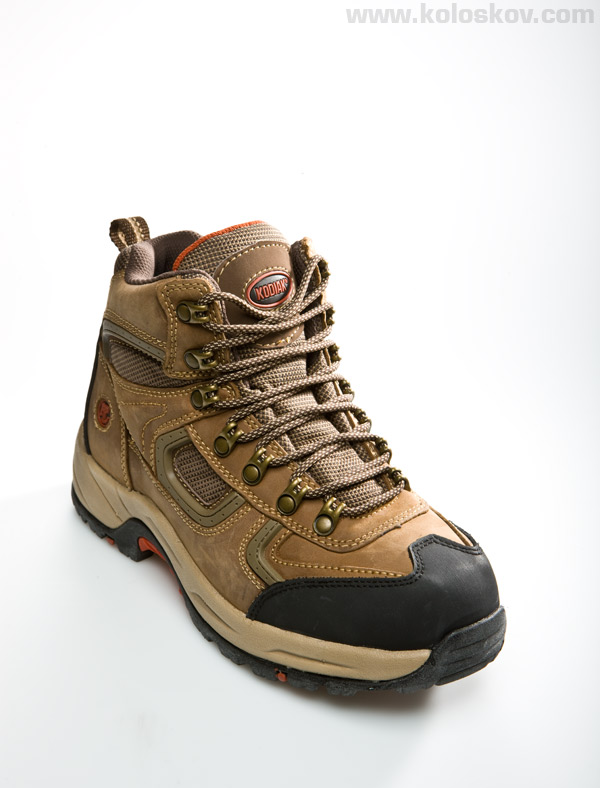
Now, the last light.
The same spot light (20° honeycomb) was added from behind on the left side, to show the texture on this side of the boot. Additionally, top-front light (BD) was decreased by 1.5 stops (approximately, I do not use a flash meter) to compensate additional light source. Now it is more like a fill light.
Background was whitened during post-production as well.
The final shot
&sbnp;
I know some may say that the very first shot looks better then the last one… This may be true if we were talking about individual preferences, each has his own vision. I like it better the way I did it on the last image, plus, there are unwritten standards for the catalog photography which I need to follow to be successful in what I am doing.
&sbnp;
Lighting Setup:
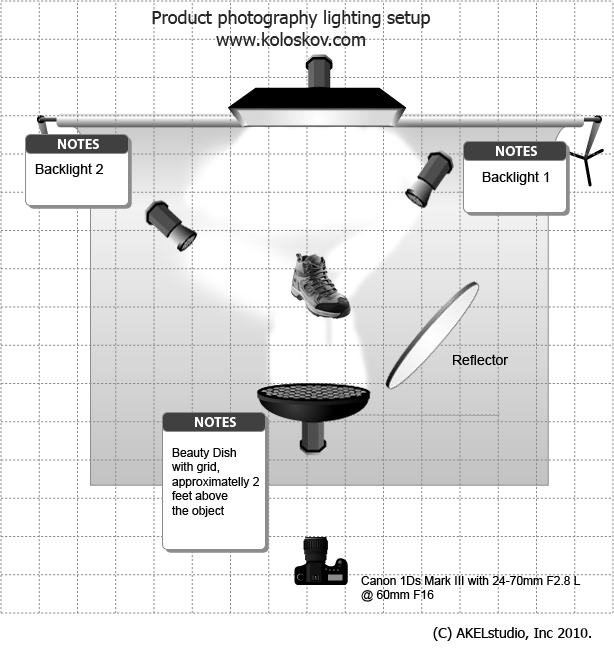
Lighting setup for the boot
That was a shoot for the catalog. Nice, but not quite challenging: regular catalog with products on white glossy paper.
Customer did not ask me to do such a shot, but it will be a good exercise for me to produce something more creative. One additional hour spent in the studio, and here is what we got:
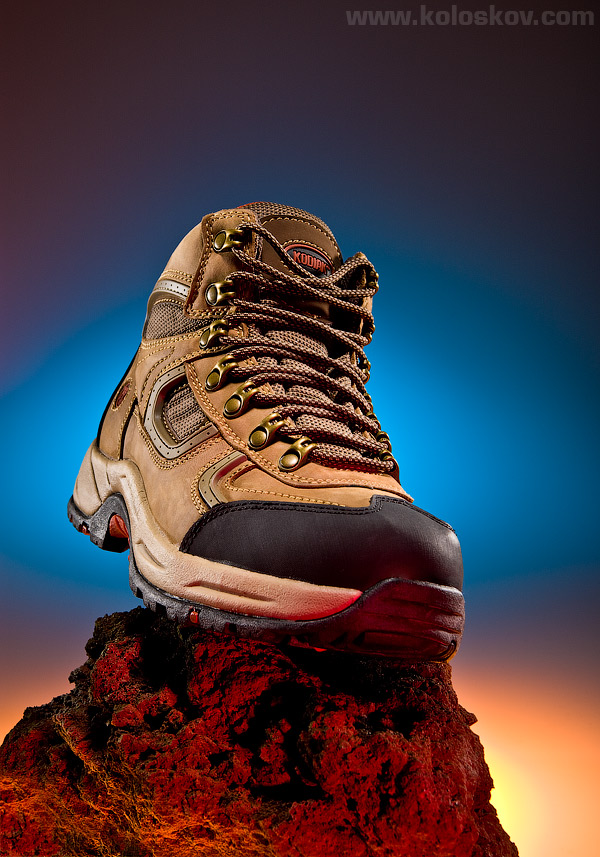
advertisement photography example with color gels
I did not use color gels much in my past work, but now I love it! It is like adding additional dimension to photography, working not only with light and shadow, but with the color for each light source. Interested in how it was done?
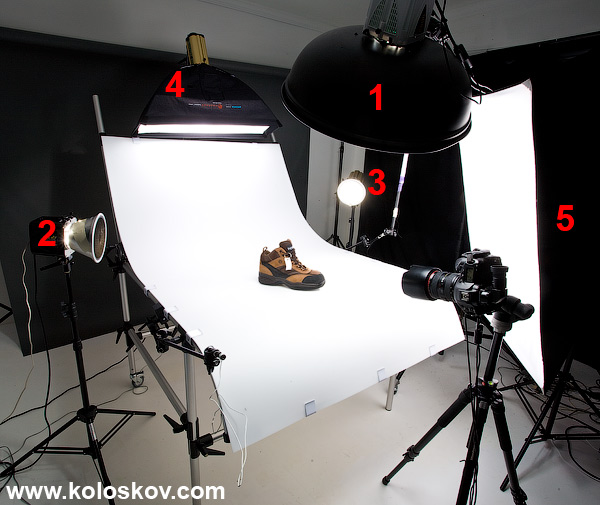
Here is the setup, you can guess what each light was doing there:
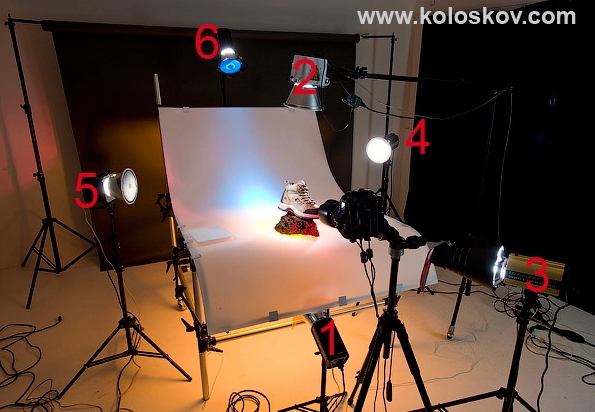
Studio lighting setup using color gels: product photography by Alex Koloskov
 |
In the Gearbox |
|
Canon EOS 1Ds Mark III DSLR Lighting and Light Modifiers and Accessories: Paul C. Buff Lighting: 2×1600WS, 2×800WS, 1×400WS All shots were done with: shutter speed 1/250 sec, F16, ISO 100, Custom WB 5600K |
Hello.
Why do you use the Angle Finder?
I have the CANON 100m Macro Lens; is this enough for product photography?
Thanks.
Victor Ancajima.
Hello.
Is the background a cardboard?
VA
Hello Victor. The Angle finder is used to look down to see what is going on in the viewfinder instead of straight at. Sometimes this is helpful because the camera is facing upwards. So it’s like an extension viewfinder.
The Canon 100mm Macro is lens is an excellent lens for Product Photography.
About the Background, I am not quite sure who of them you mean, since this is taken on a white shooting table