Beer Photography Tutorial:
Using a Composite to Simulate Multiple Light Sources
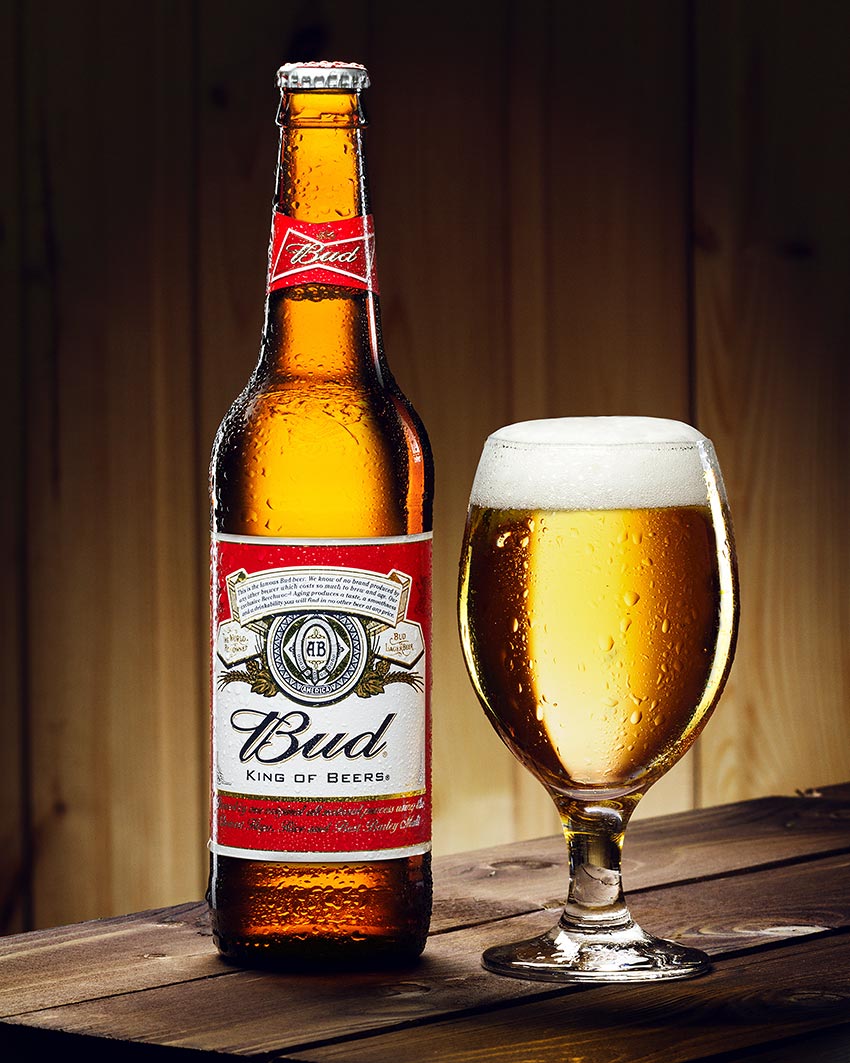
Hi. In this article you will know how to easily shoot bottle and glass of beer with just a couple of flashes. There’s nothing hard to create composite shots of still life.
While objects don’t move you’re totally fine to use one or two light sources to create the sense of using 5 or more lighting setups. Of course you’ll spend little more time to move around, but the result worth of it. This technique is very similar to light painting, but in this case we don’t move our light sources.
I started to create my composition before I even touch camera or any piece of equipment. First of all, I decided that I want to have dramatic mood of my shoot in interesting environment. Association between bottle of beer and bar seemed very intrusive in my mind. So I went to local hardware store to find some nice wooden surfaces and planking. After that I bought a mordant to give a wood nice tone.
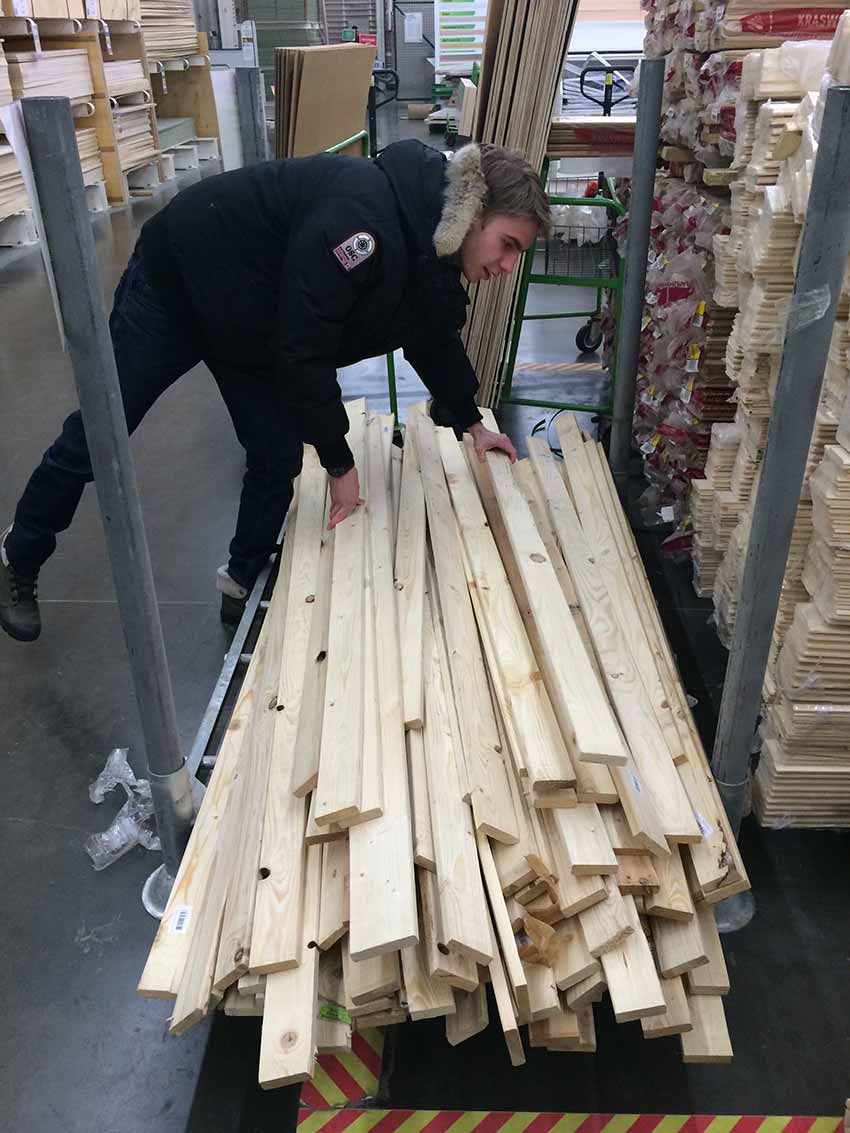
Hardware stores are a paradise for photographers. Looking for right stuff.

This is raw composition without any lighting. I just put all pieces together to find good angle for camera.

 Only for Pro Club Members
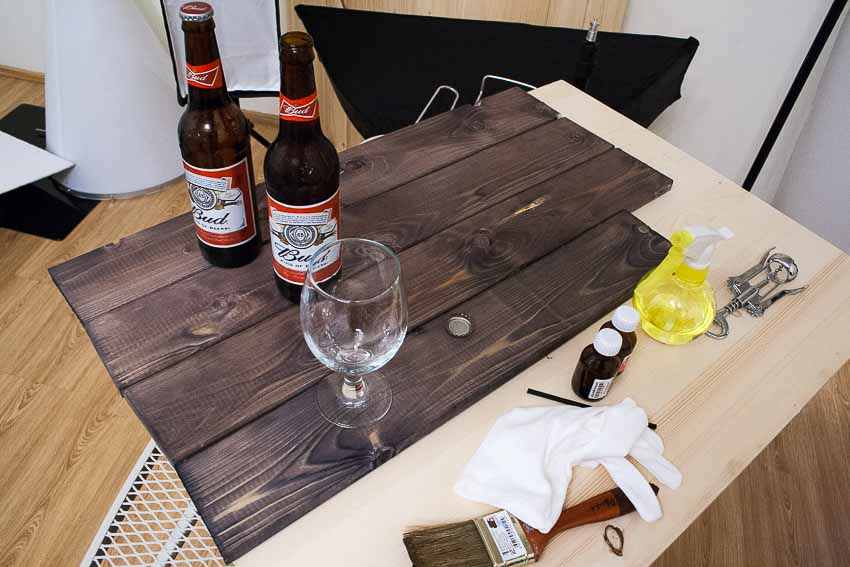
Preparation is very important part of any project. I realized that with good planning I spend on shooting much less time than if I do everything disorderly.
I prepared liquid for droplets (one part glycerine, two parts water), serving gloves for the glass, straw to move a foam on the top of the glass and one more bottle of beer. In most cases make sure you removed rear label from the bottle as it could block light if you will put light source behind the bottle.
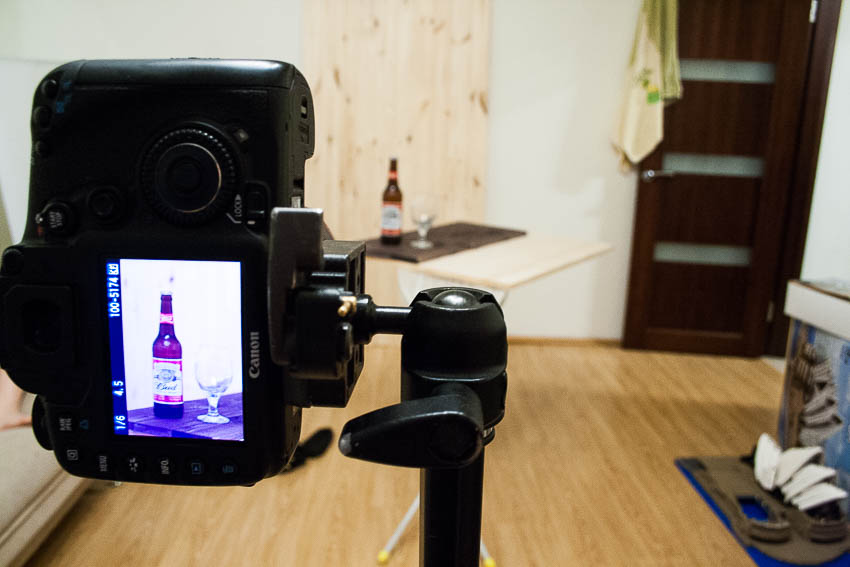
Looking for right position.
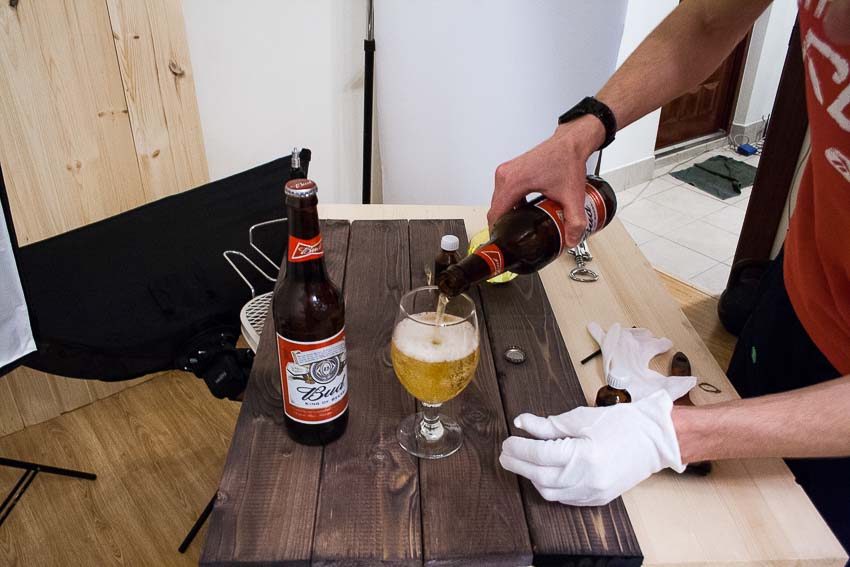
Careful pouring the beer into a glass. Gloves doesn’t allow to leave fingerprints on a glass. If you don’t want to fight them in post production, I strongly recommend to use serving gloves.


Above you can see lighting setup and first shot which I used for composite as a basis. Stripbox on the top gives nice relatively hard shadows from the bottle and glass, another stripbox creates gradient on the wooden planks from the bottom to the top. Also you can see cool highlights on the lefts side of the bottle.


Next series of images shows the lighting setup for the label. Again it’s just simple stripbox positioned above objects. Classic scheme if you want to highlight certain part of the bottle. Then I added some foam on the top of the glass and took another shot. As a result I’ve got two different shots.


Time to bring some life into our glass and stand out. For this task I used DIY diffusion panel. Stripbox behind such panel gives exactly gradient I want. I could put diffusion panel even closer, but shooting table prevent to do it. There are many ways how to light the glass, you can add some small white reflector behind the glass and highlight it from the side (in this case I think it would be great idea, but I figured out it later). Here you can see two different shots for the bottle and for the glass. I just moved stripbox further to get more uniform gradient.


As final touches I added few highlights on the sides. It really helps to define the object from background and makes image a bit more attractive.
 |
In the Gearbox |
|
Canon 7D Canon EF 100 mm f2.8 L IS USM Canon 580 EX II Canon 430 EX II Pixco stripbox 8,8×36″ Godox S-Type Bracket |