Product Studio Photography BTS:
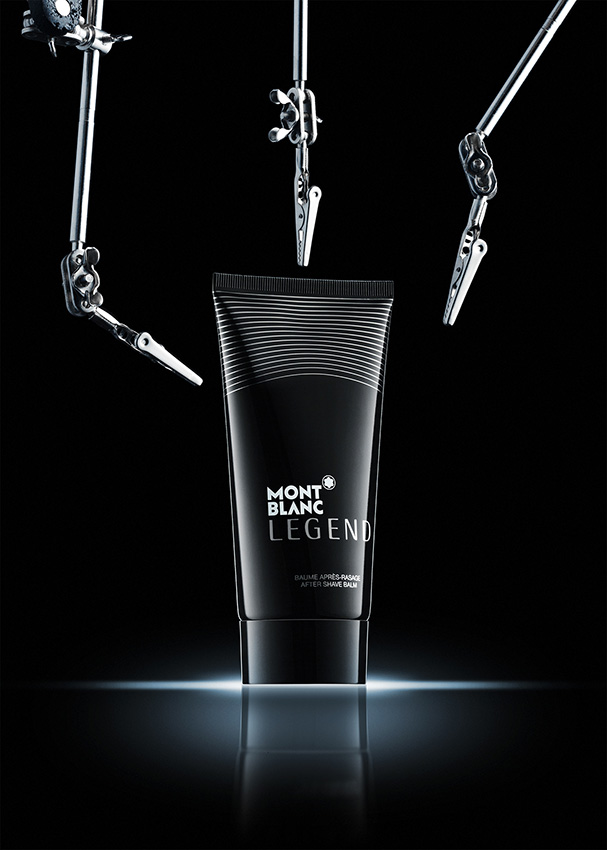
Montblanc Legend
Hey guys, I was working on this image and decided to share BTS with you. It was a fun shot, and you may pick up some ideas for your future work:-)
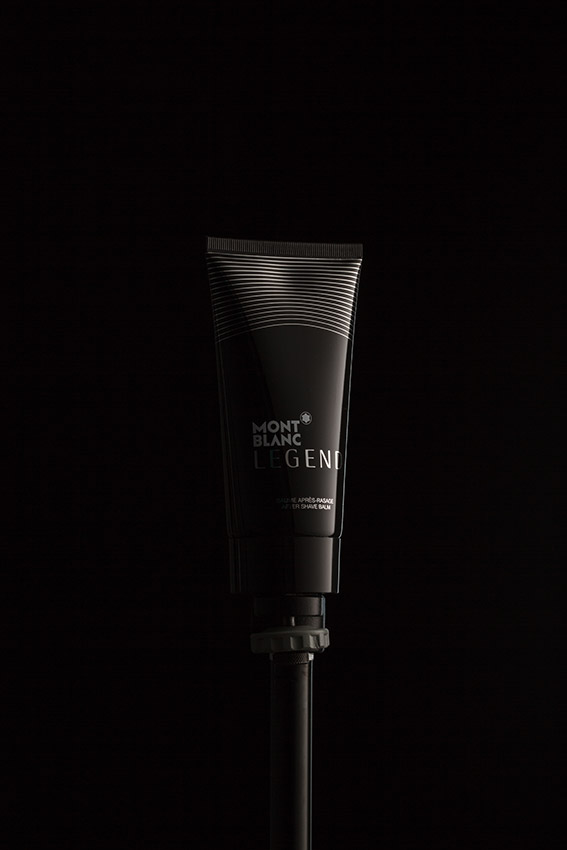
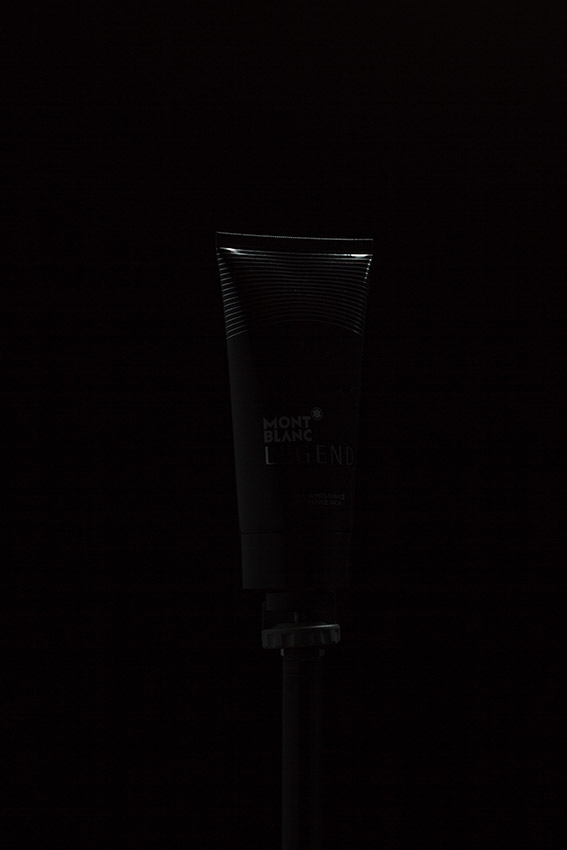
The Final Image
At the beginning of this project I wanted to create a nice lit object on a black background. I planned to get simply and stylish shot, but as it was self assignment I decided to add few more elements.
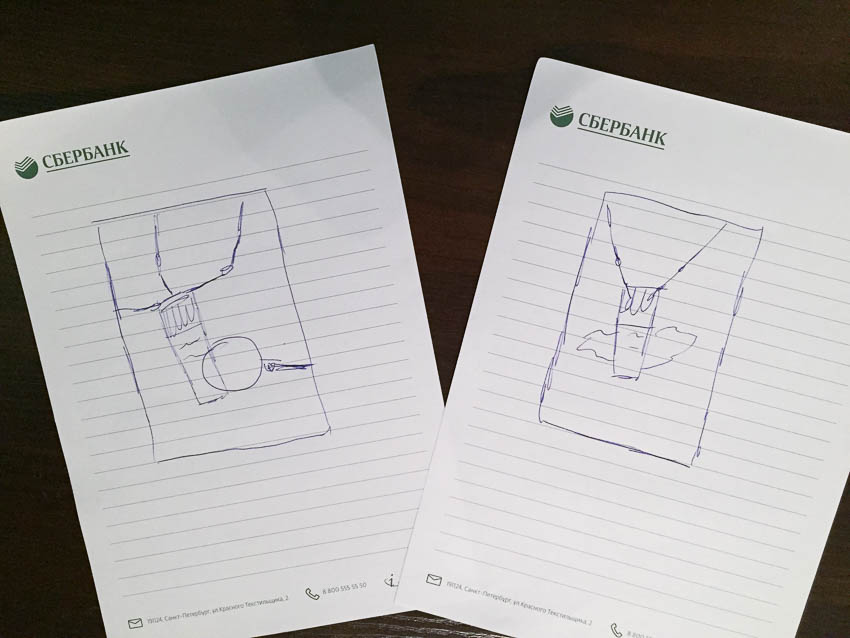
I drew pretty raw sketches for better understanding of process for myself. Magnifying glass was also a part of the possible composition, but lately I decided not to include this element. There were some thoughts about liquid and splashes around the tube. I remembered initial desire to get simple shot and excluded any liquids.
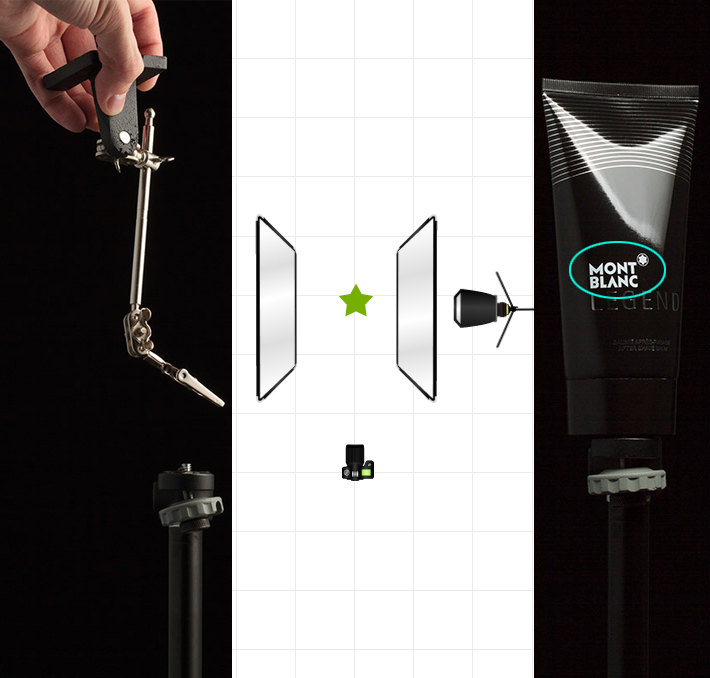
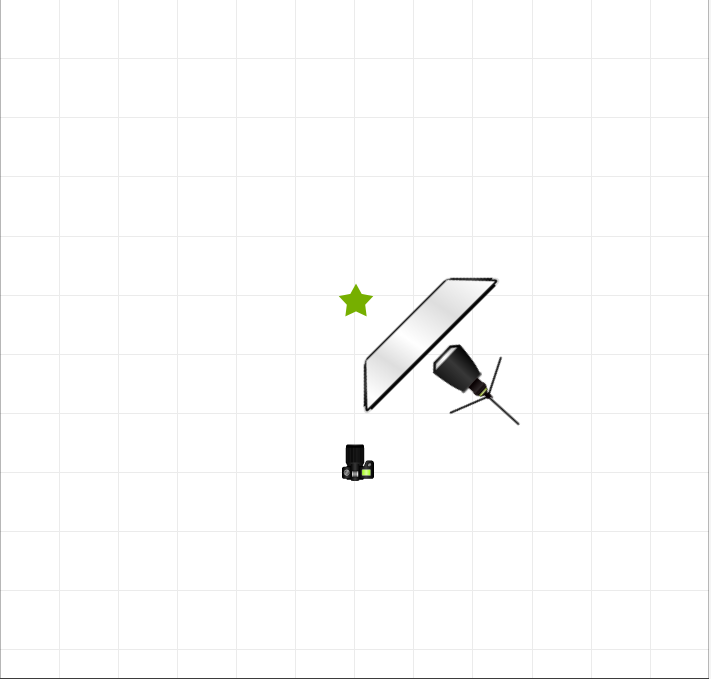
First of all, I started to work with position of tube. You can see that tube is slightly rotated to the right, this way it looks a bit more interesting. The tube was standing on Manfrotto Magic Arm. Narrow bracket doesn’t create unwanted reflections on black surface.
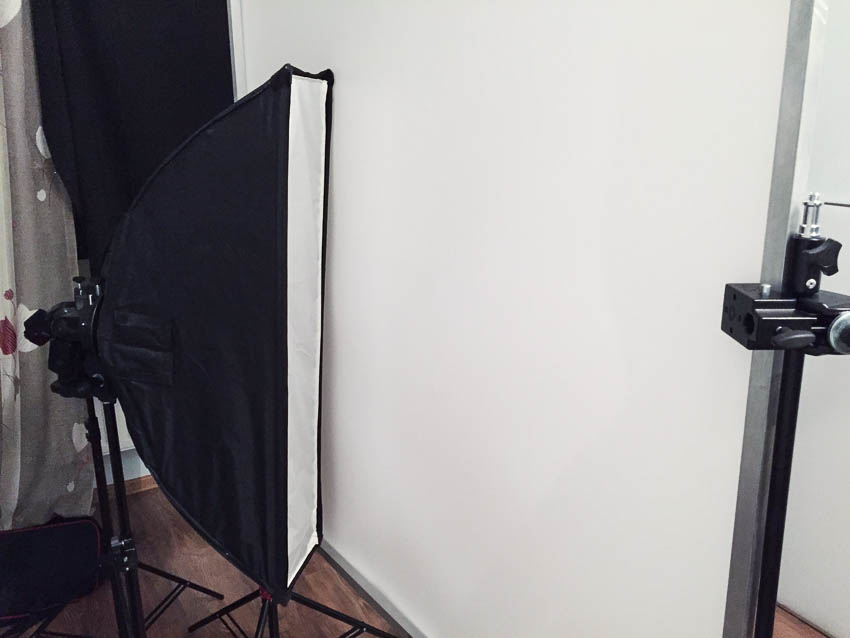
As a background I’ve used black fabric.
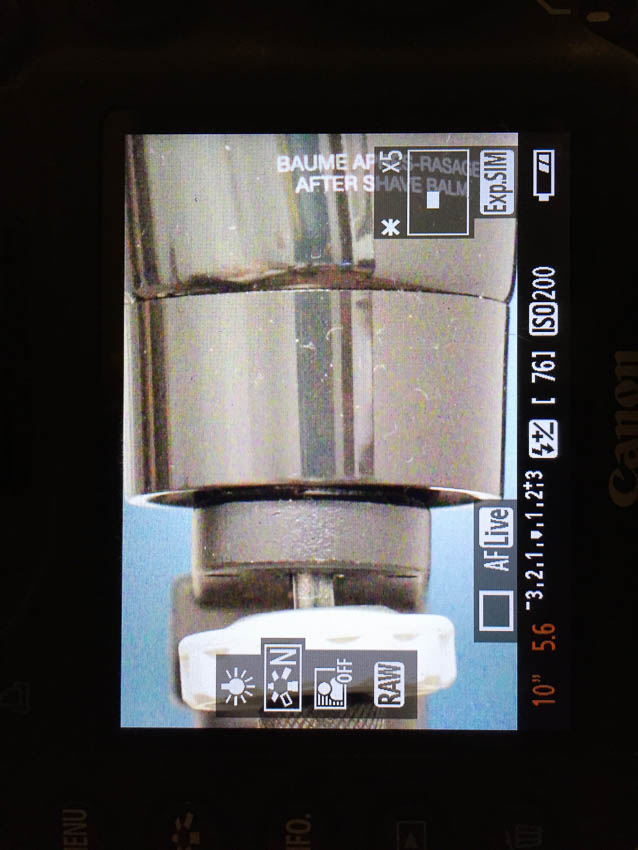
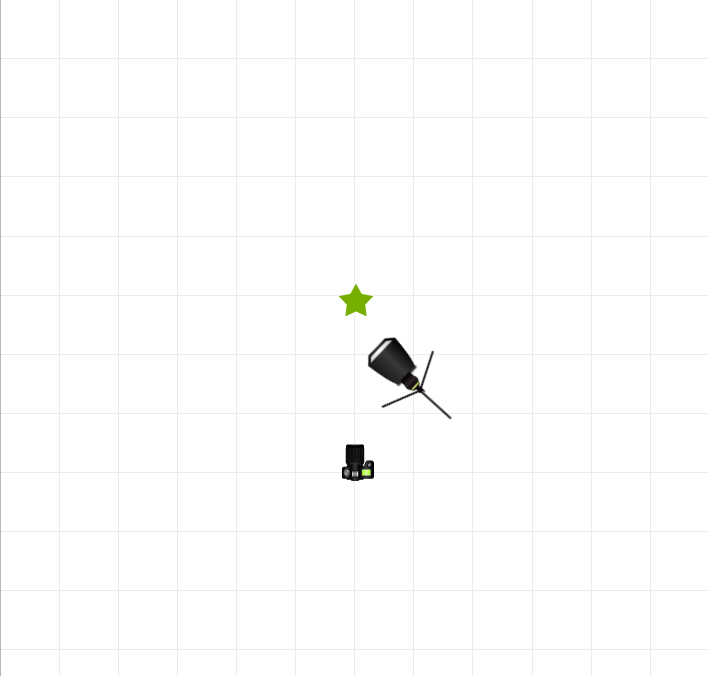
It’s important to choose correct angle of camera if you don’t use any surface to position an object. Here’s you see that camera angle is too low and we see farthest edge of the tube. Another thing which I recommend you to do is to clean your object from dust completely. How much time would I spend in Photoshop if I didn’t do that? Probably a lot since dust was everywhere. It’s very noticeable especially on black glossy surface. Even if you think that surface is almost clean it’s not. Light comes from different angles and brings new details which you don’t see under natural light. Also I’ve used white serving napkins to hold and position the tube.
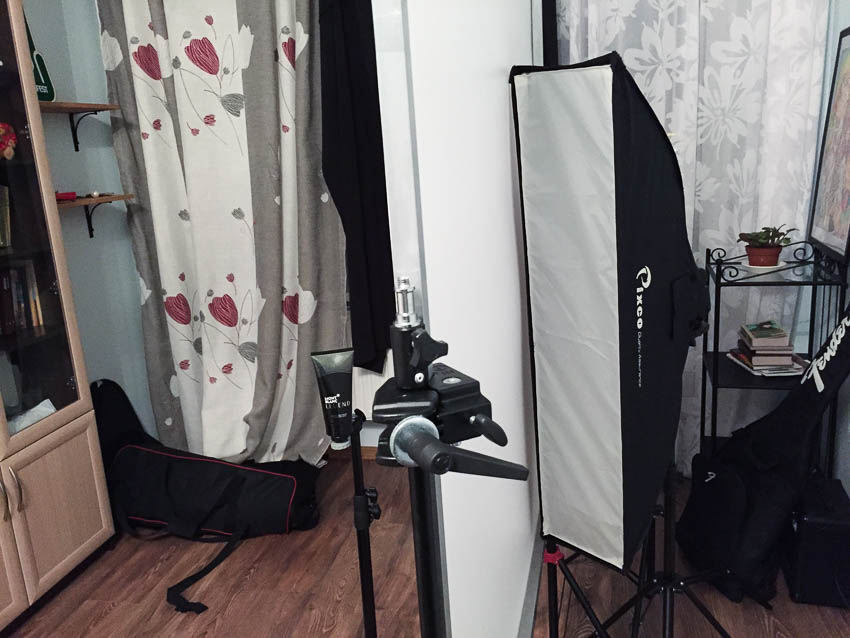
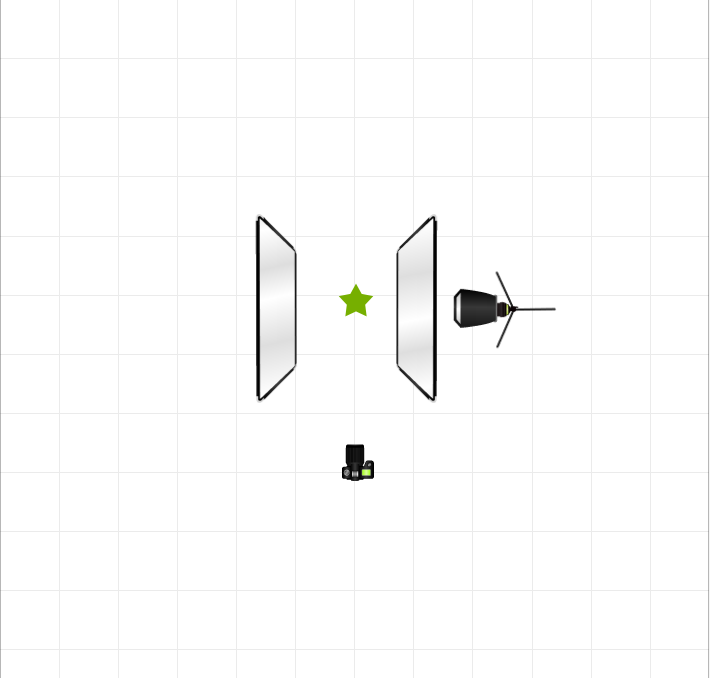
Softbox with Canon 580 EX II was positioned behind diffusion panel to create smooth gradient. Another stripbox with Canon 430 EX II gives nice rim light. It takes some practise to manage right position of light source to get not too thick not too thin rim light.

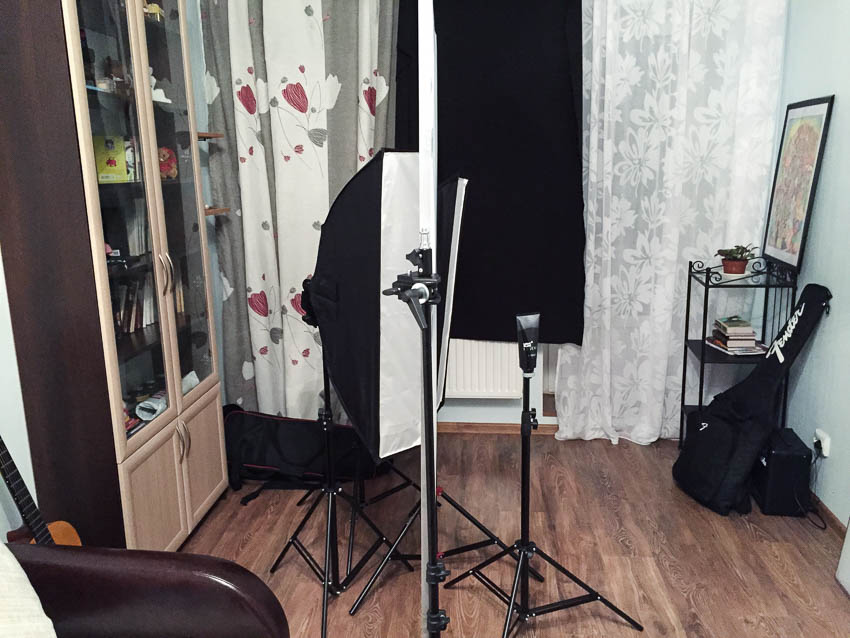
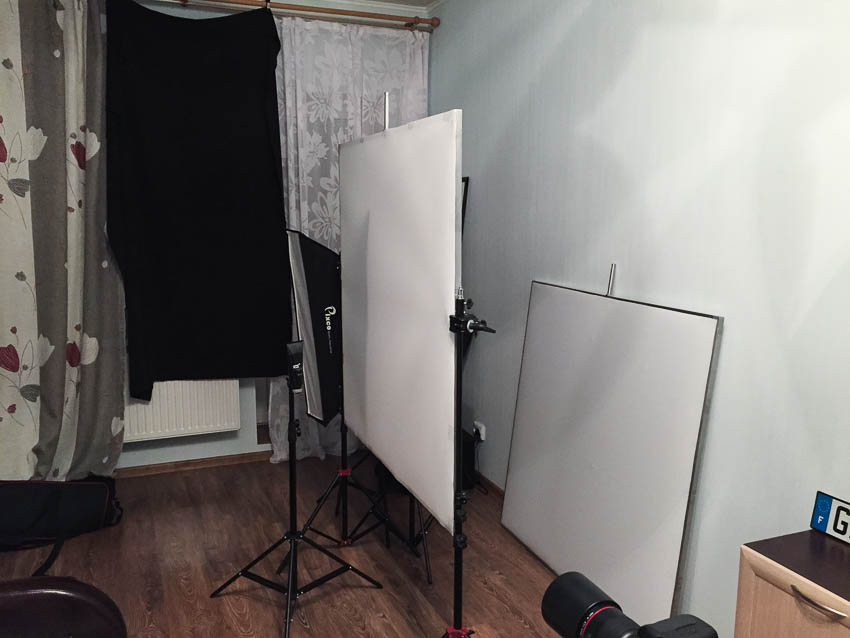
Exactly same setup for another side. Tricky part here is to keep distance between all elements (lighting, diffusion panel, object) at same distance as it was at the first shot (of course if you want to see symmetrical reflections).
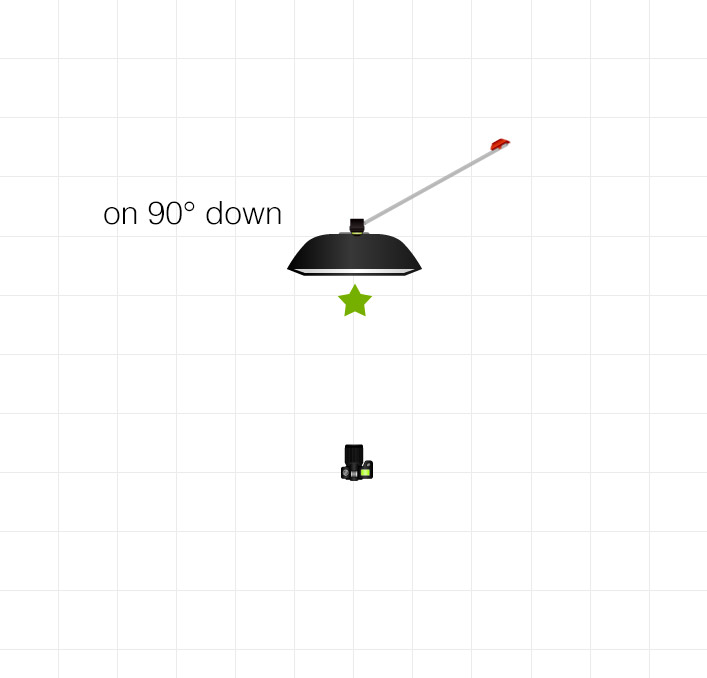
To highlight top part of the tube I put strip box above and slightly behind it.

Also I’ve tried to highlight letters with white reflector. I must say that I try to use real shots when I do a composite work, but here I decided to lit letters in Photoshop.
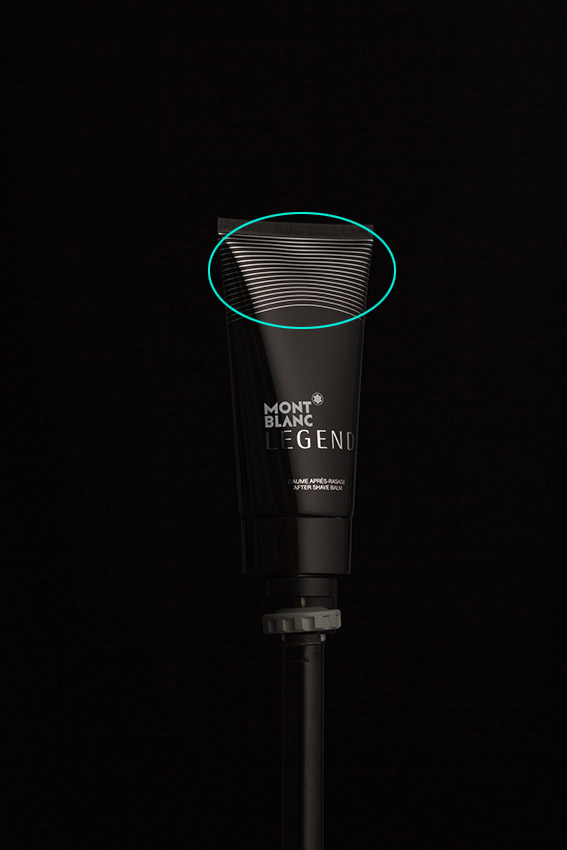
This part with stripes demanded additional amount of light. Big soft light source solved this issue.
Logotype should be clear visible. Relatively hard light to get edgy look for logo.

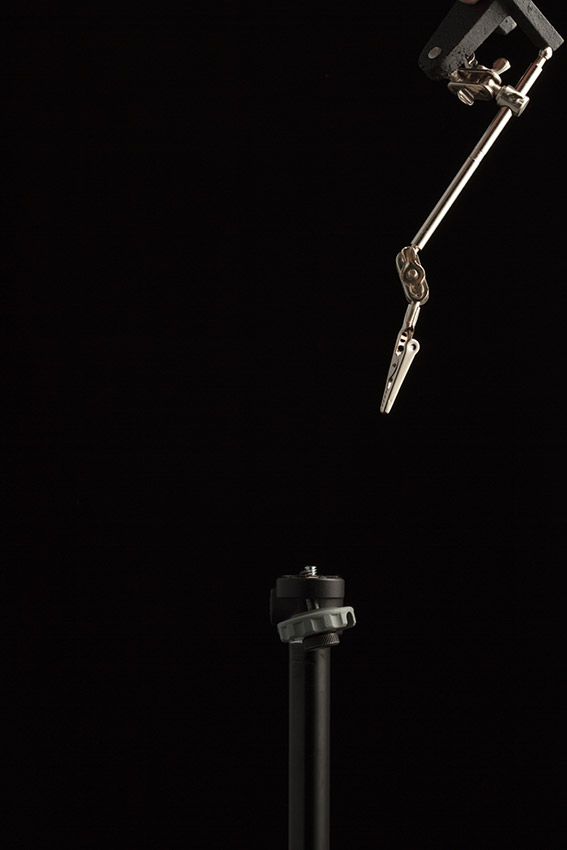
I wanted to keep correct scale, so the tube was removed and silver clips were positioned at same place. This way I shouldn’t change focus, distance and many other things. Magic Arm was a reference point to keep all parts in DOF.
And that’s it for production part. You can download PSD file to see how all parts were blended together.
 |
In the Gearbox |
|
Canon 7D Canon EF 100 mm f2.8 L IS USM Canon 580 EX II Canon 430 EX II Pixco stripbox 8,8×36″ Godox S-Type Bracket |
