Commercial Product Photography Behind The Scene:
The Making of Dove Splash image
 About Maja
Maja is a member of Photigy Pro Club, and a student of various courses from our e-store.
Maja is actively participating Photigy activities and won first places on photo challenges and contests on Studio Basics and Pro Club.
First of all, I would like say that it is a great honor to share my experience on this site. Thank to Alex, Maxim and all Photigy, for this great opportunity.
My name is Maja Galezowska, I am Polish but I live in Italy. My story with photography is a bit particular, and I think I can say that everything has begun when I found Photigy.
In the past, I worked mainly as a graphic designer, but most of my work was limited to layout the catalogs. For this reason, sometimes I did the simple shots of products on a white background (in the light tent 😉 ). Photography wasn’t my passion, but I had the basics – I learned to use the analog SLR and developing film and prints even at art school, where we had classes in photography, but nothing was pushing me over.
Until the day when an acquaintance (the owner of a graphic design agency) is urgently needed photos of some jewelry and asked me to try, because the photographer that usually does it, couldn’t.
I started searching the internet for some advice to do my best and I found the video of Alex that led me to Photigy.
From that moment, everything changed. I’m really passionate and I tried to learn as much as possible, devoting all the time I could to product photography. I also started collaborating with the studio, which that day asked me to try.
Two years have passed and soon I’m going to try to turn this passion in to my main job.
All thanks to Photigy! Cross your fingers for me! 🙂
Commercial Product Photography: The Making of Dove Splash
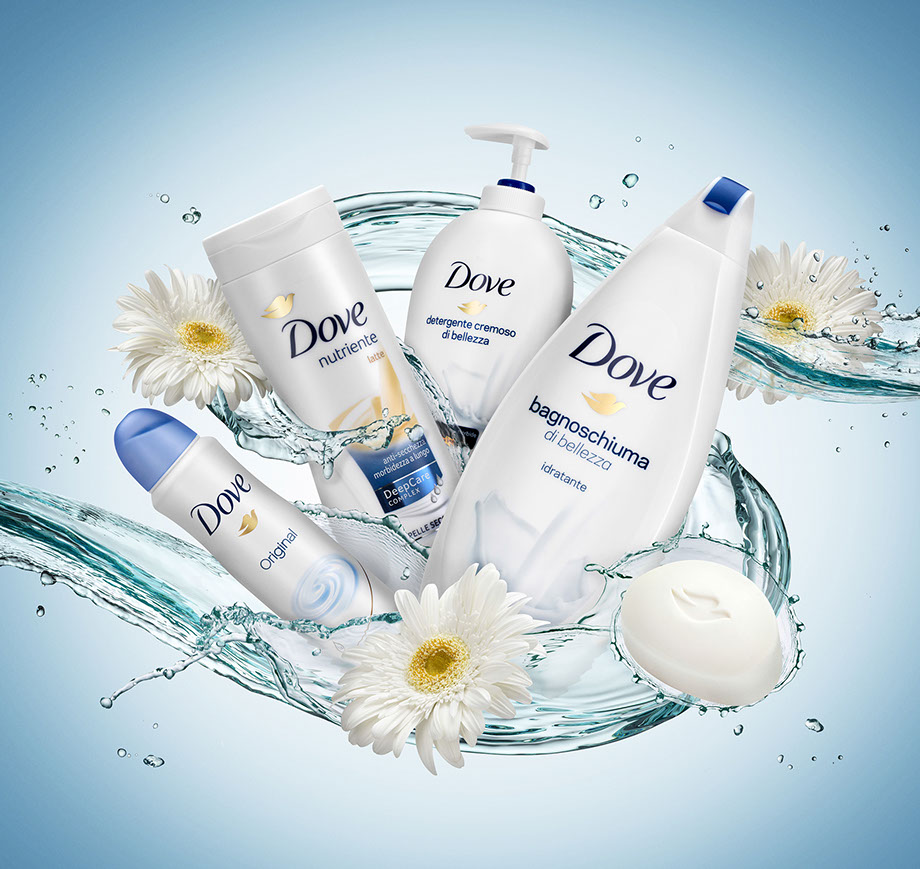
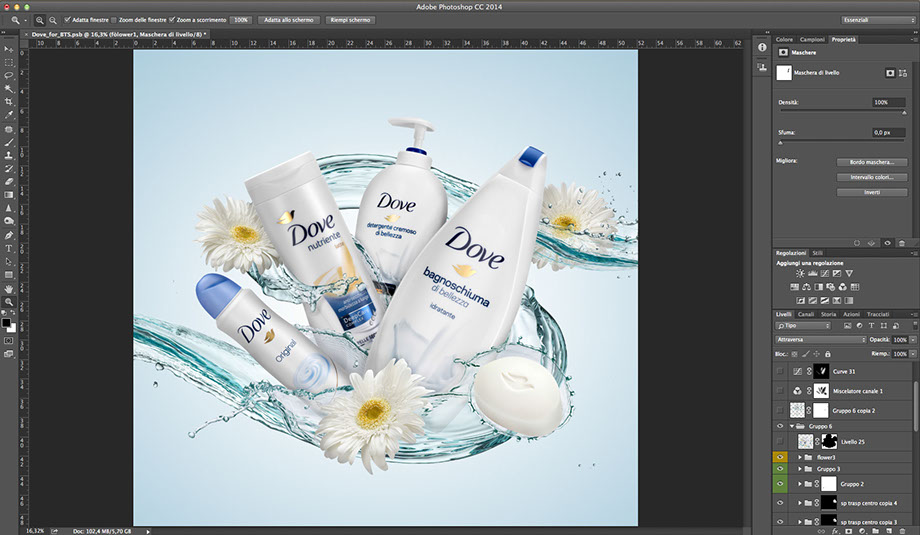
The Final Image
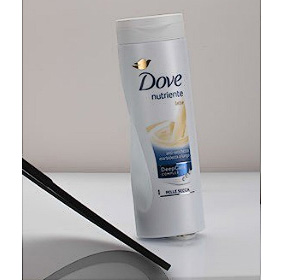
I made this picture for a Studio Basics challenge, for which it was requested a stylized composition of cosmetics. The requested photo was static, but having all pieces needed and having just bought the Splash Package from Alex, I decided to make also a dynamic version.
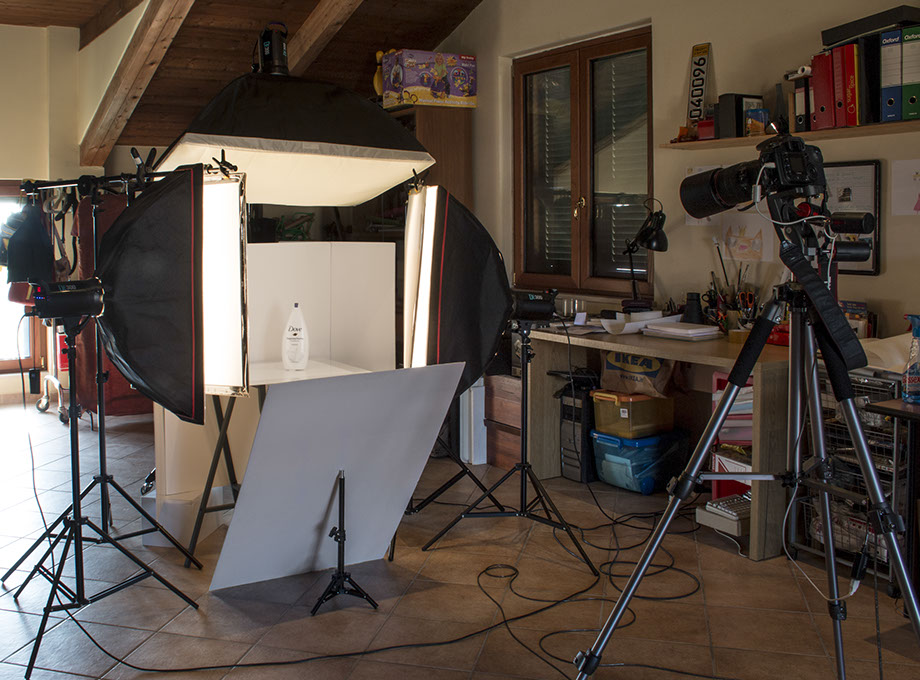
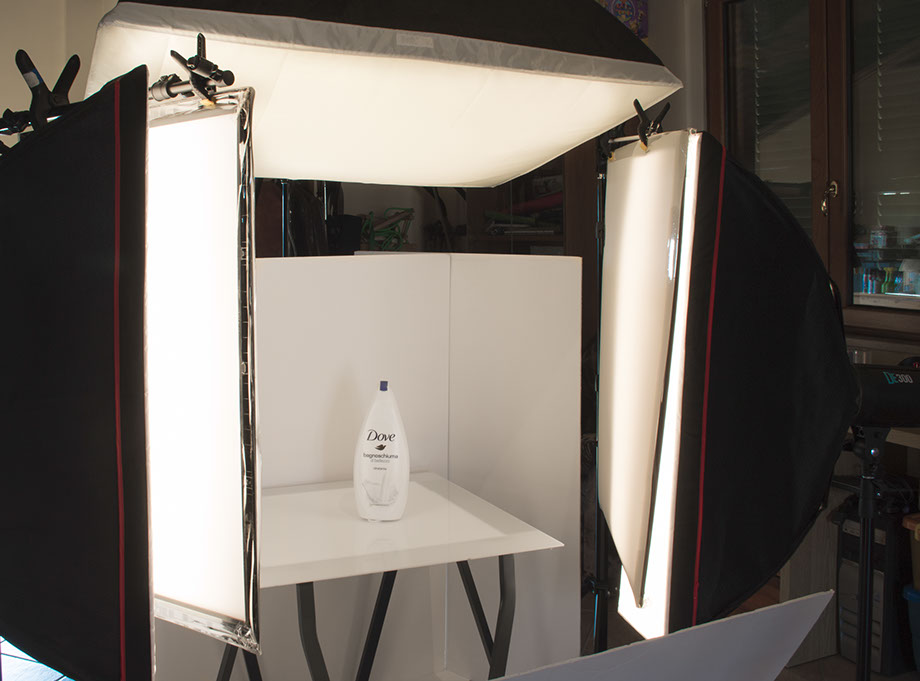
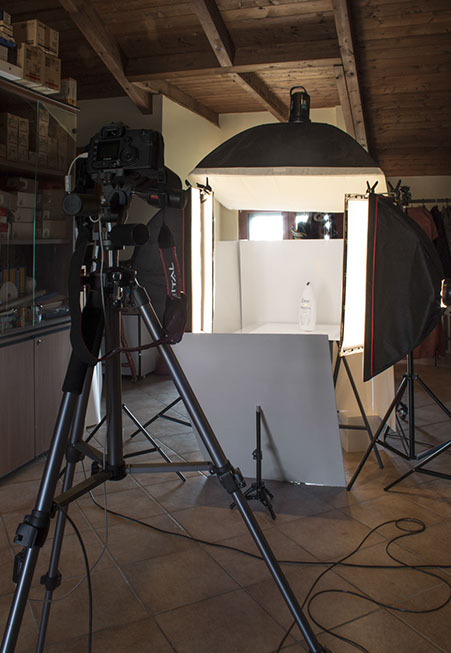
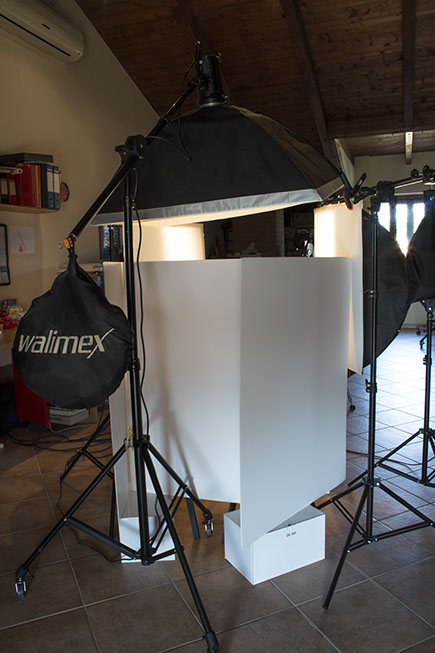
Part One. Shooting
Part Two. Post-Production
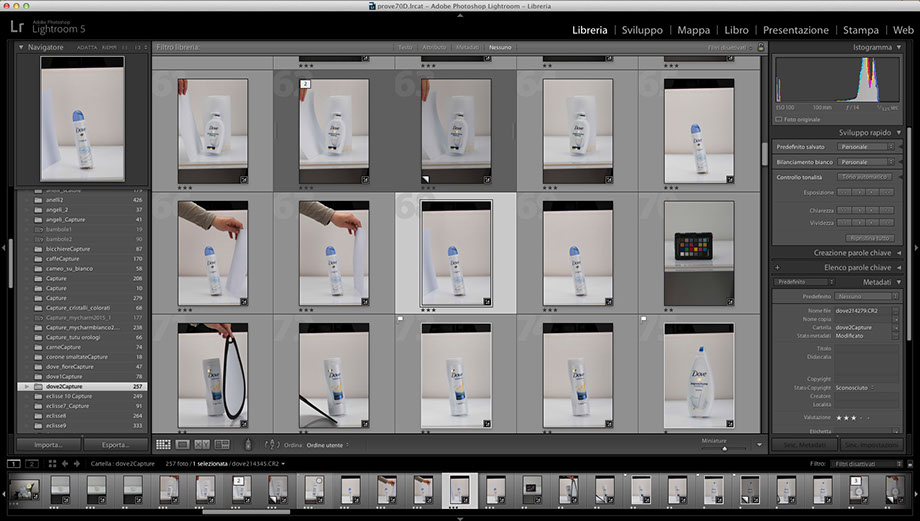
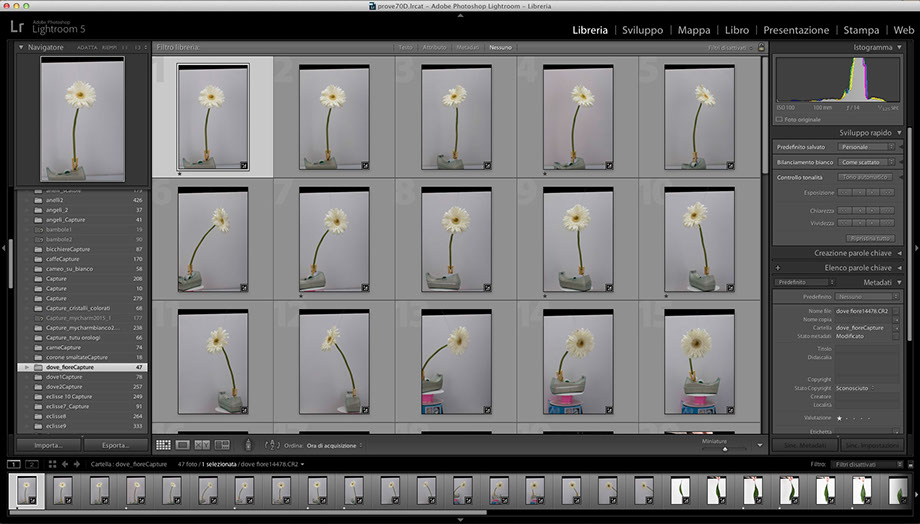
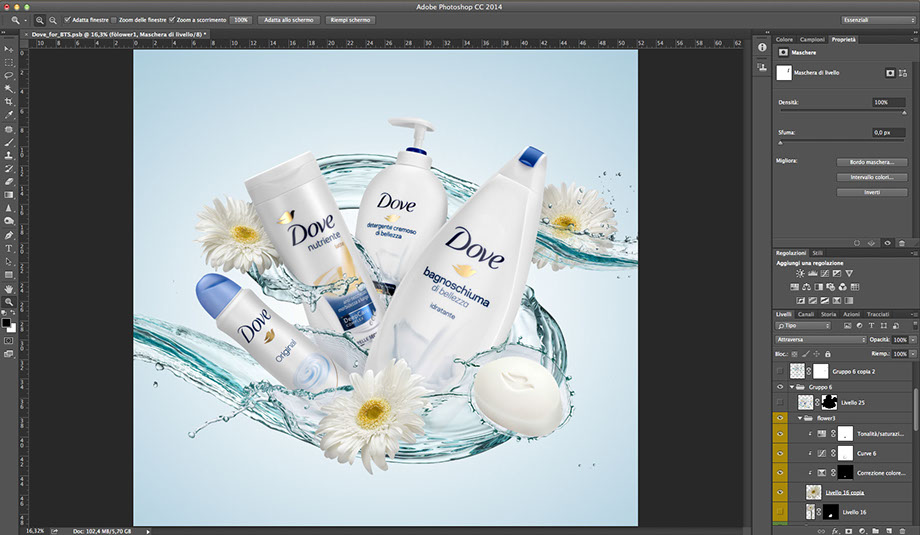
Once exported the psd files, I opened the Bridge and I chose which shots I want to use. Sometimes it was necessary to compose two or more shots of an object, in this case I have uploaded the files to the levels in Ps and I have masked the parts that I did not need, thus obtaining a complete image of an object.
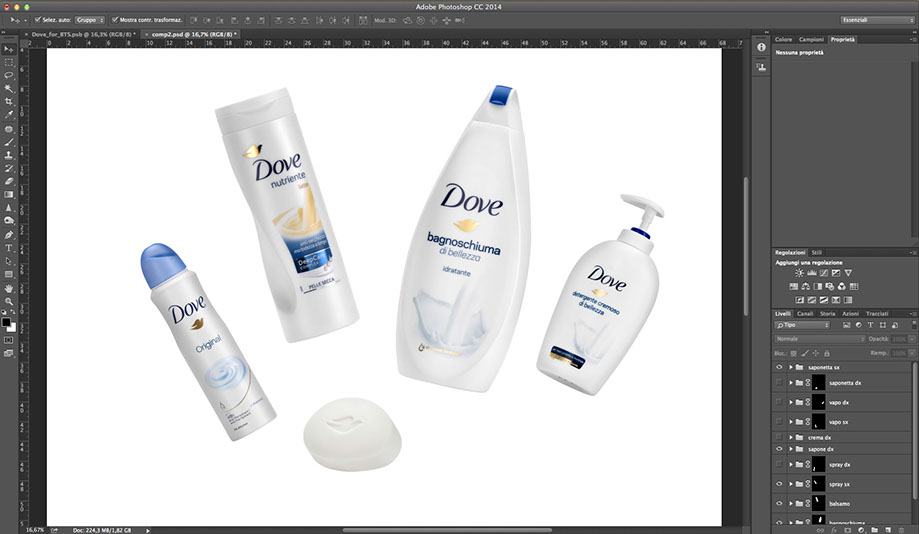
Later I clip out the objects and I made the first trim, still fairly Approximate.
Now the fun part! Creating the final image
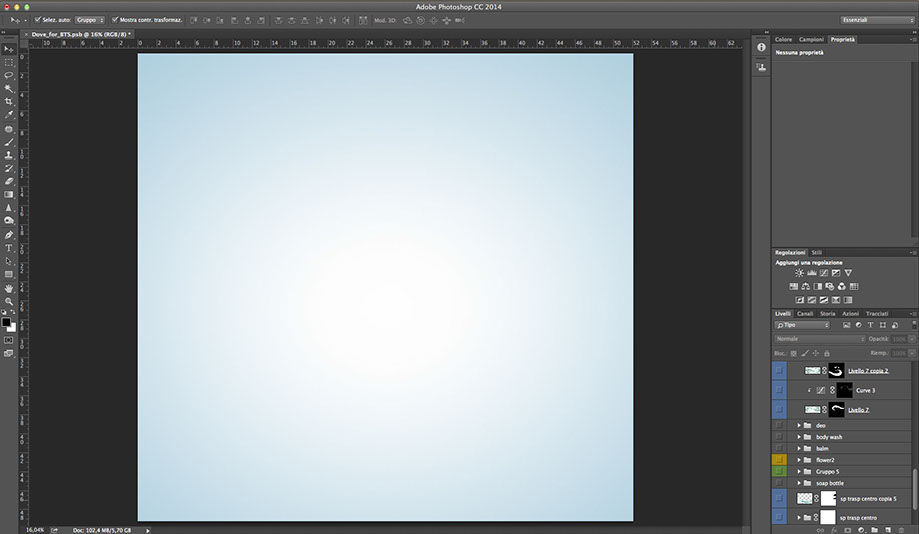
I have to create the background. I choose a light blue. After I change the color in white and do a single click with a very large and soft brush on separate layer, creating a white spot. I update its size and transparency.
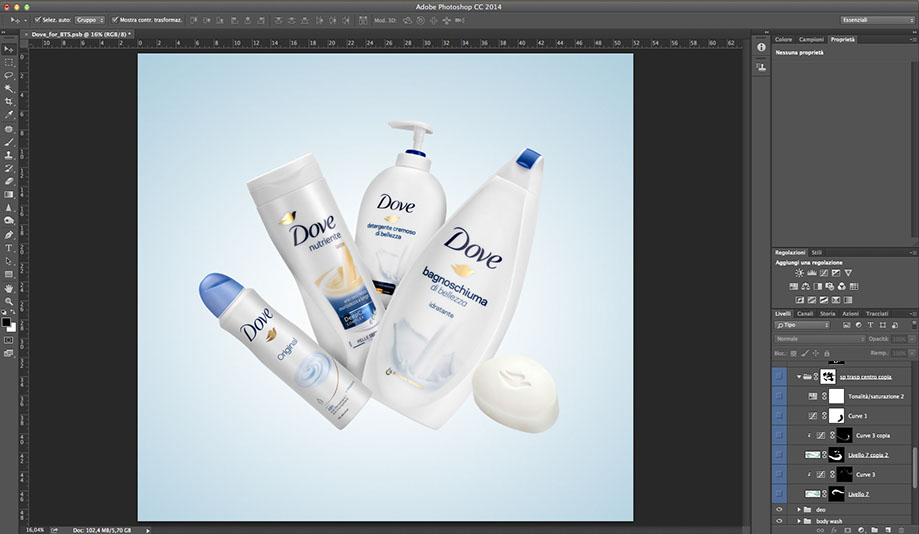
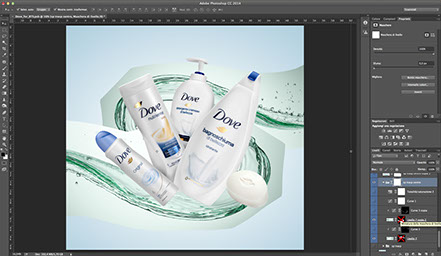
I moved all the items (bottles of cosmetics) into my new file and started to place them together, trying to create a balanced composition. I have not chosen and imported the splash yet, but having quite clear ideas about how they were placed, nothing prevented me to focus first on the cosmetics.
I’m going to edit each item, clean the dust and blemishes, add the correct levels and desaturate the white parts, to avoid any risk of color dominance.
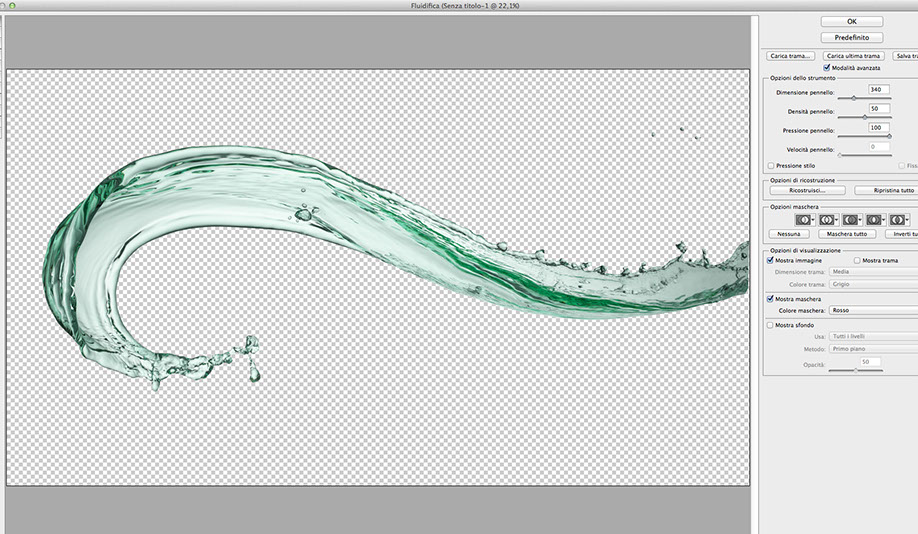
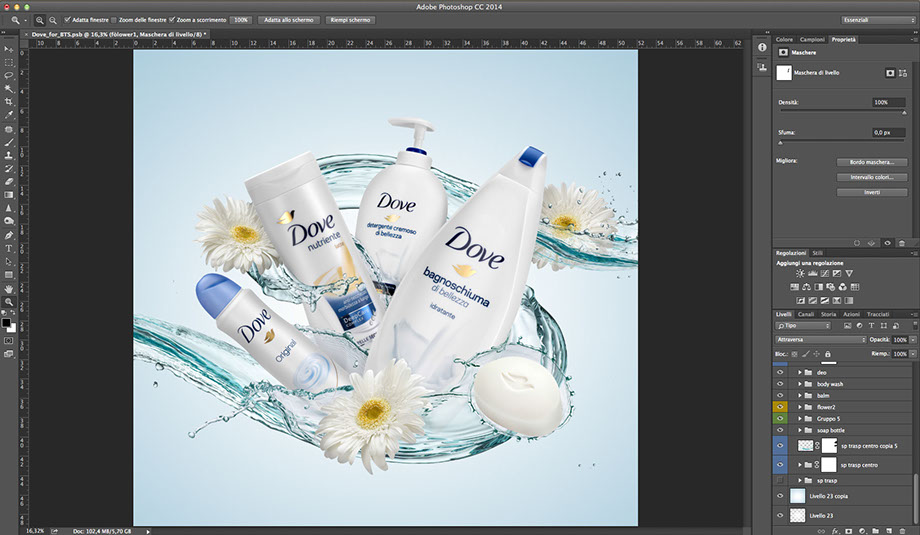
After I chose the splash from the package purchased on Photigy, I exported the selected files and decided which ones to use. I clip them out. Subsequently, using the Puppet warp tool, I modified their shape to create a kind of two vortices, which create the letter S. After having given a right line, it was necessary to adjust the shape with liquefy filter.
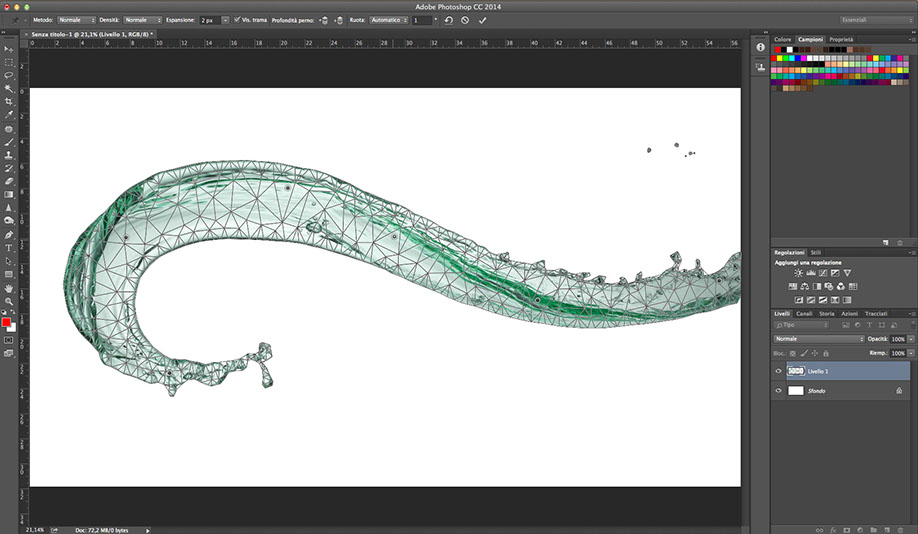
Once satisfied with the form and position of the seats splashes behind the bottles, I adjust their color with Hue / Saturation adjustment layer, to change green to blue.
I applied the curves to add contrast and make them lighter.

I duplicated layers with splashes 2 times and I moved them above the cosmetics.
Now I applied to one of them a blending mode “darken”, to the other (the bottom one) I applied only 70% of opacity.
All the parts that should not be visible, have been masked.

Added other parts of splashes to make them more complete.
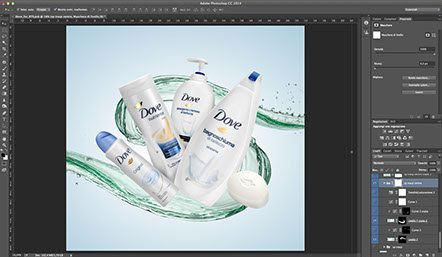
Now comes the time of the flowers. I choose three shots from different angles and I put them in the picture.
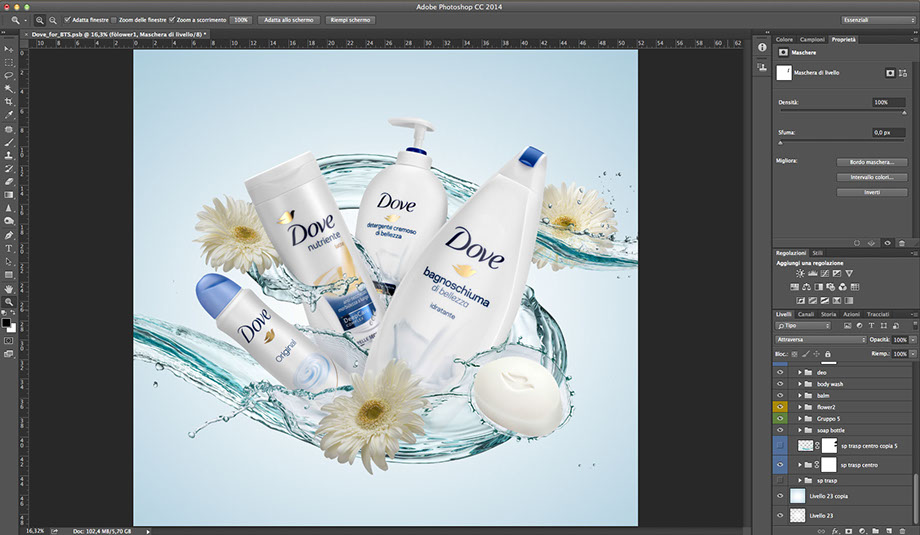
I fixed the tones – slightly desaturated the petals (they had a shade too hot for me), adjusted the color and imperfection of the center of flower.
Now we repeat the whole process again to obtain a transparent effect of the splash over the flower to the right.
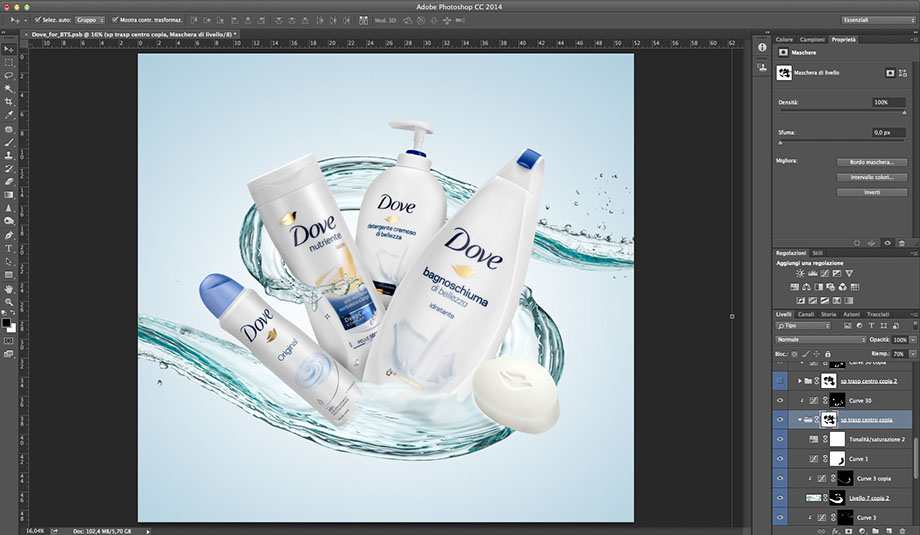
Adding shadows to give greater credibility to the composition. Use the curves adjustment level to do it.
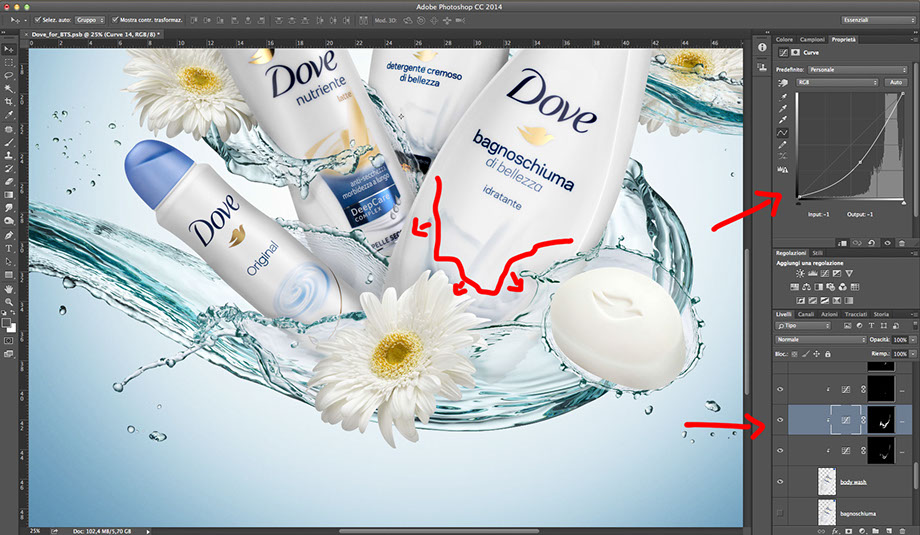
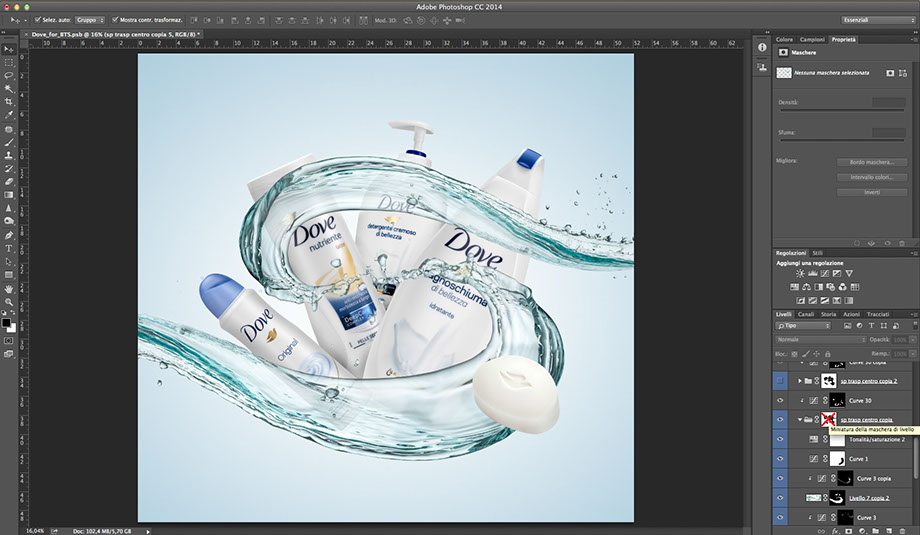
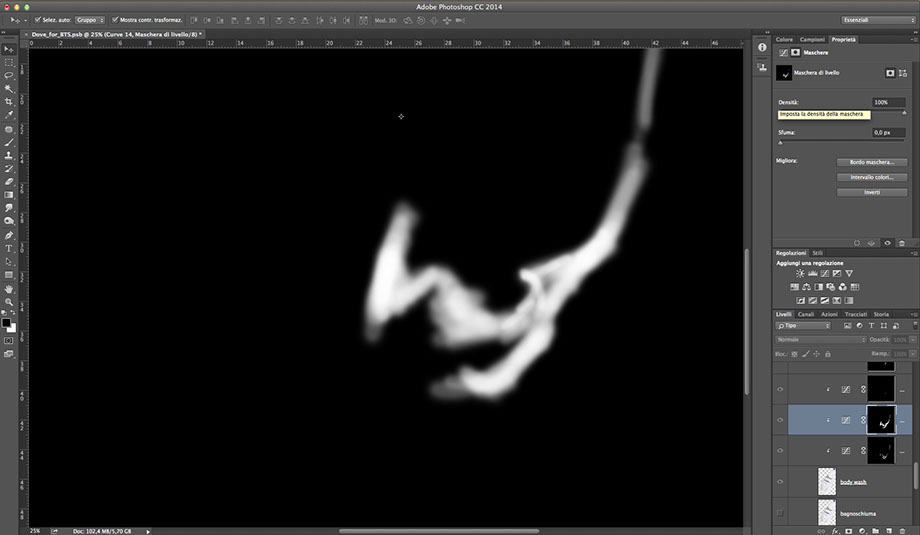
The mask of curves adjustment layer
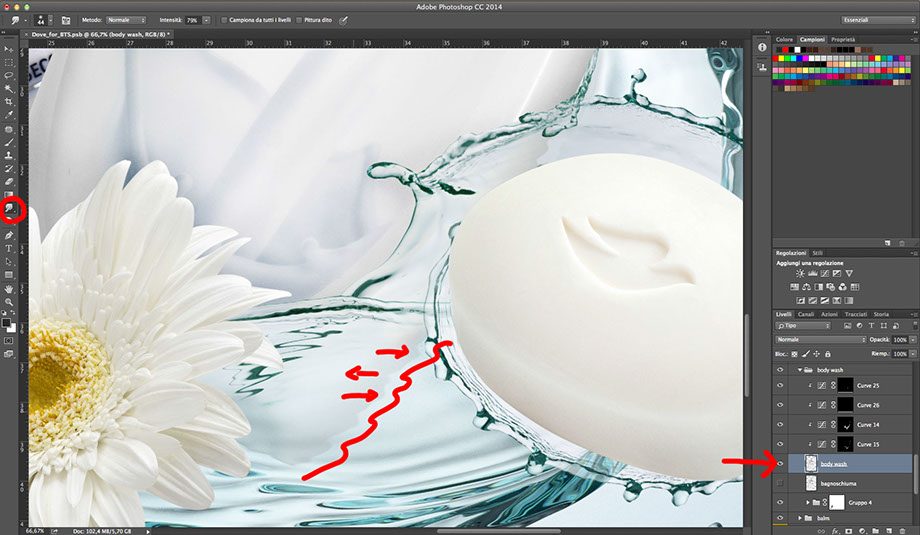
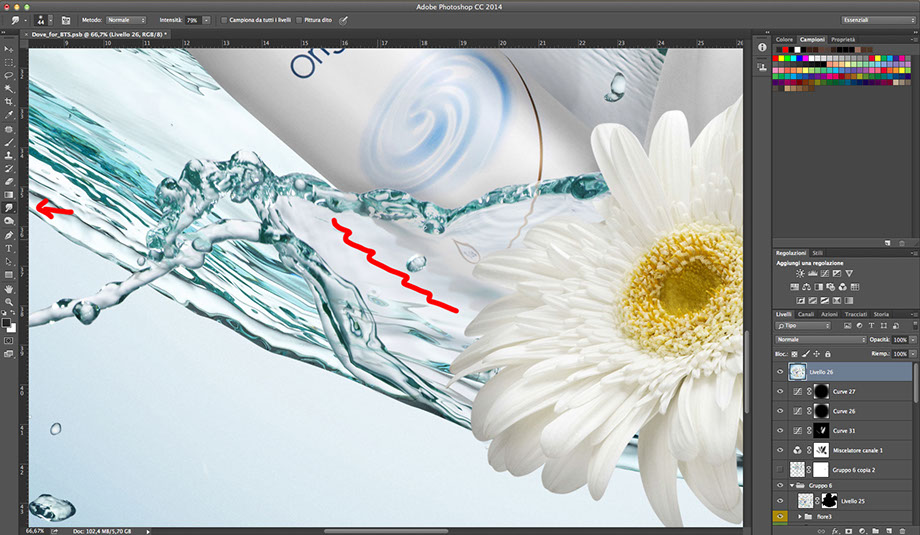
I try to be fairly accurate, not only objects create shadows, but also does the water. I create the delicate shadows in even proximity of splashes.
One of the last operations that have remained is to deform objects in the areas under the water. Using the smudge tool, I’m going to create an effect of refraction, following the small curves on the splashes surface.
I added few more drops and made a vignette to “close” the image and directing attention to the center.
I also fixed the logo (on the balm bottle, on the right), which was more glossy than others and was distracting the eye.
At the end, merge together 2 levels of the background and added slight noise, to limit the banding problem.
Last minor adjustments and voilà! : )

 |
In the Gearbox |
|
Equipment Canon 70D 3 monolights 300W (identical to Godox DE 300) |
