Few Tricks on How to Shoot High-Glossy Subjects
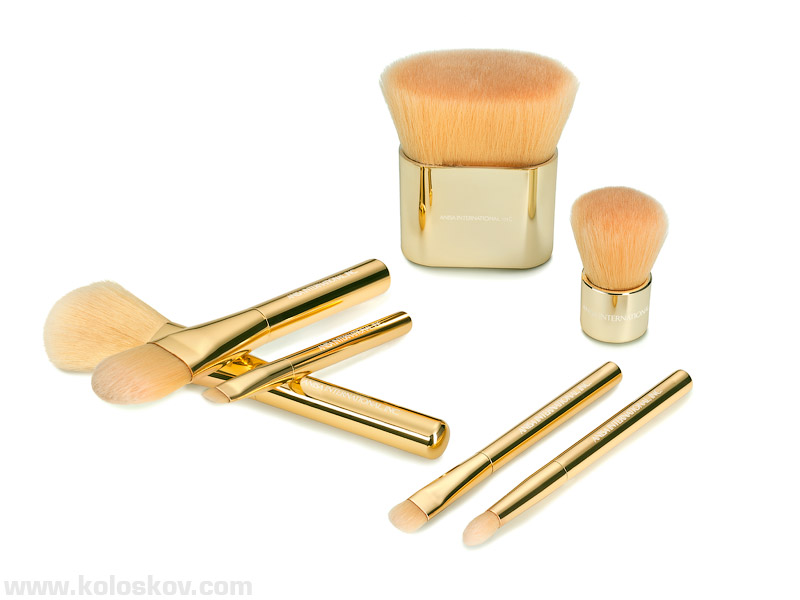
If you’ve been reading my blog, you probably recognized Anisa International product, since we’ve worked on many shots for them. Cosmetic brushes one of my favorite (after the liquid :-)) subjects, as they are very nice looking and yet are always challenging subject for a product photographer. Let’s see the lighting setup:
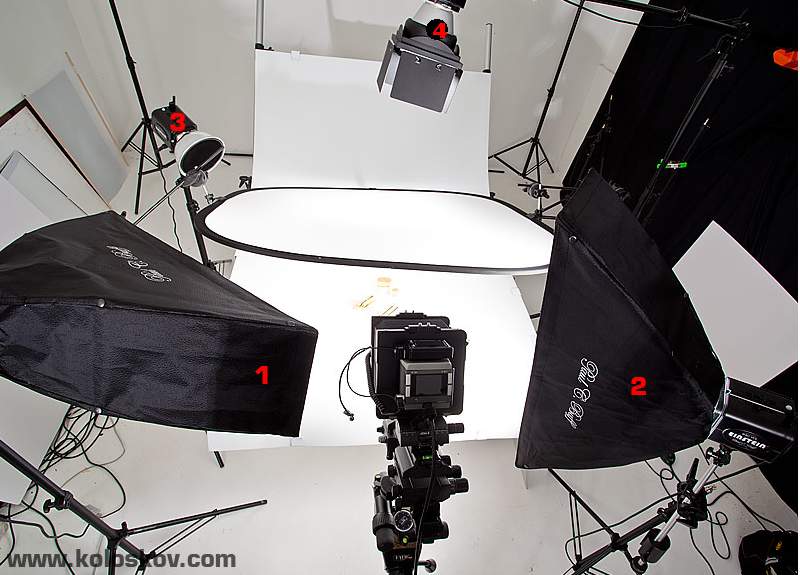
Studio Lighting Setup for Reflective Products
The lighting is similar to other shots I’ve done for similar brushes: my shots for Anisa International. Lights #1 and #2 PCB E-640 in constant color mode were the main lights, but they were mostly for the brush hair. Glossy brush handles can’t be lit directly, they were reflecting the table (vertical standing brushes) or the studio ceiling (horizontally positioned ones).
This is why I had that large diffuser on top of the composition. Another strobe #4 (PCB E-640, CC mode) with a barn-doors attached helped me to create a gradient which can be seen on the horizontally positioned brushes.
Light #3 was added to create slight highlights on a brush hair (true “hairlight”: -).
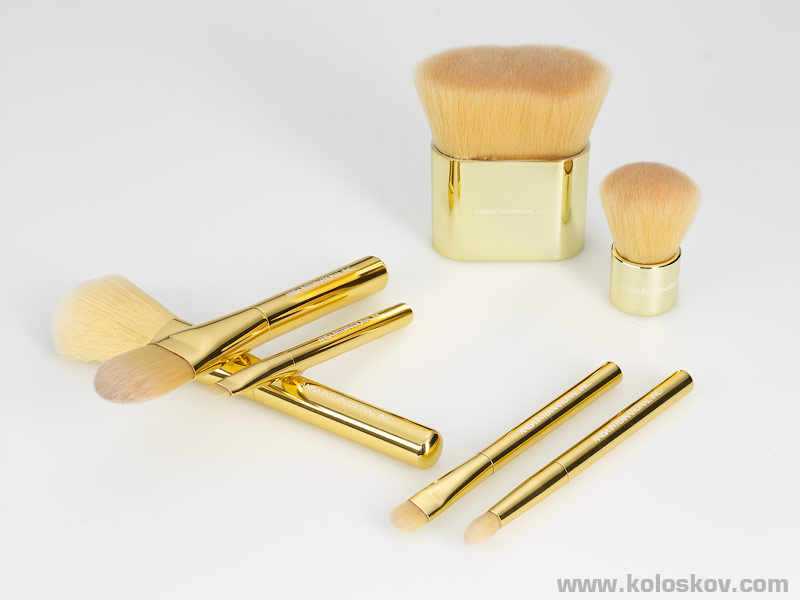
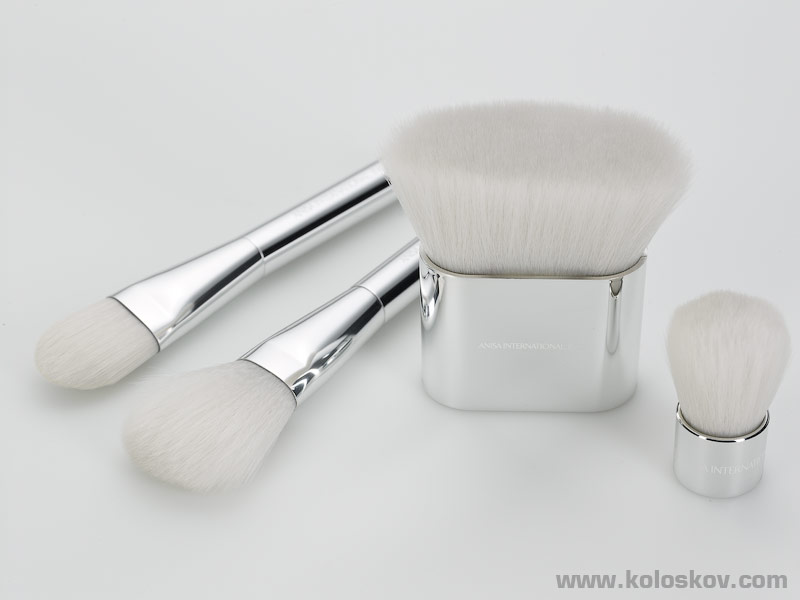
The image you’ve seen in the beginning of the article is a composite one, created from 2 separate shots. This is a usual solution we use to photograph a group of glossy products. I am talking about the technique of separating the composition to it’s individual items (or groups of items) to eliminate unwanted reflection from one to another.
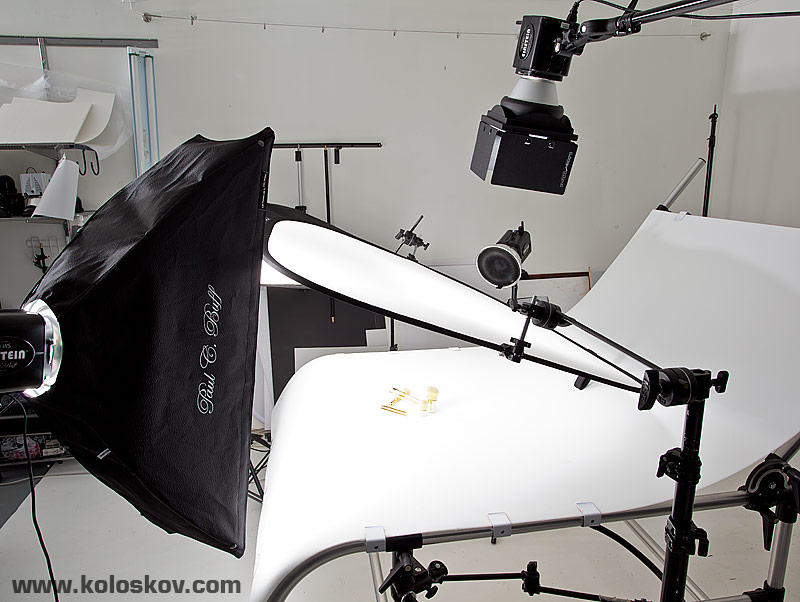
Lighting setup from different angles:
Lets see how we did it this time.
This is how the image of the whole set looked like as-is, directly from the camera:
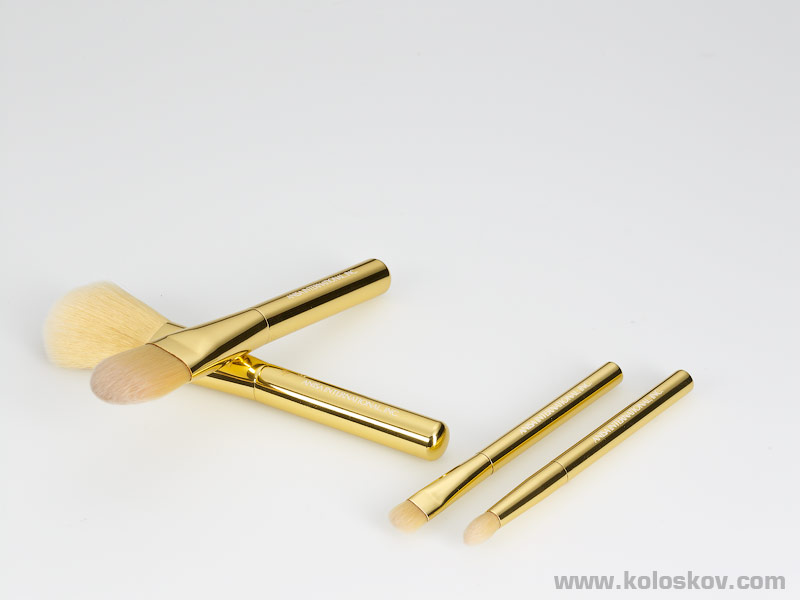
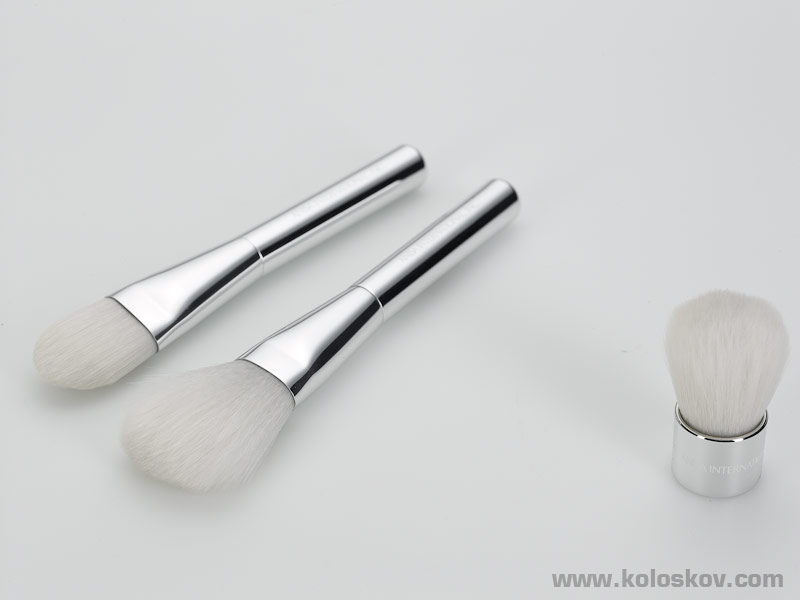
While some of the “internal” reflections are fine, showing the nature of glossy handles, the others (like those on the left brushes) are too distracting. Therefore, we did this shot without the bold brushes:
Separated items, as-is from the camera:
Very nice and smooth gradients on the brushes, isn’t it?
Then we combined first and second shot together along with minor color tweaks and background whitening, and you get what you see at the beginning of this post.
One more set photographed during this assignment, done exactly the same way as the gold one:
As-is, a complete brush set:
And the second, separated shot:
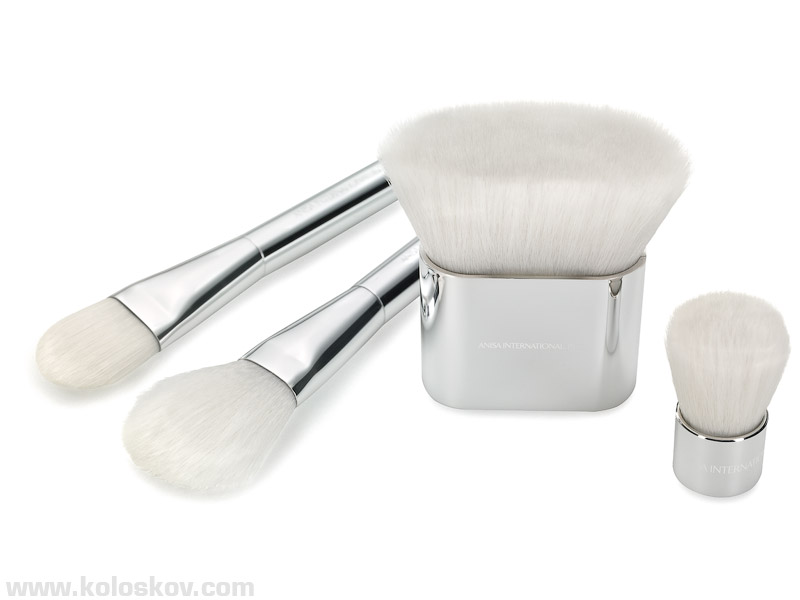
The Final Image, Composed From These Two Images:
As you can see, we’ve left the reflection on the large brush intact. Without it the set won’t look natural and we’ll lose that glossy look of the product.
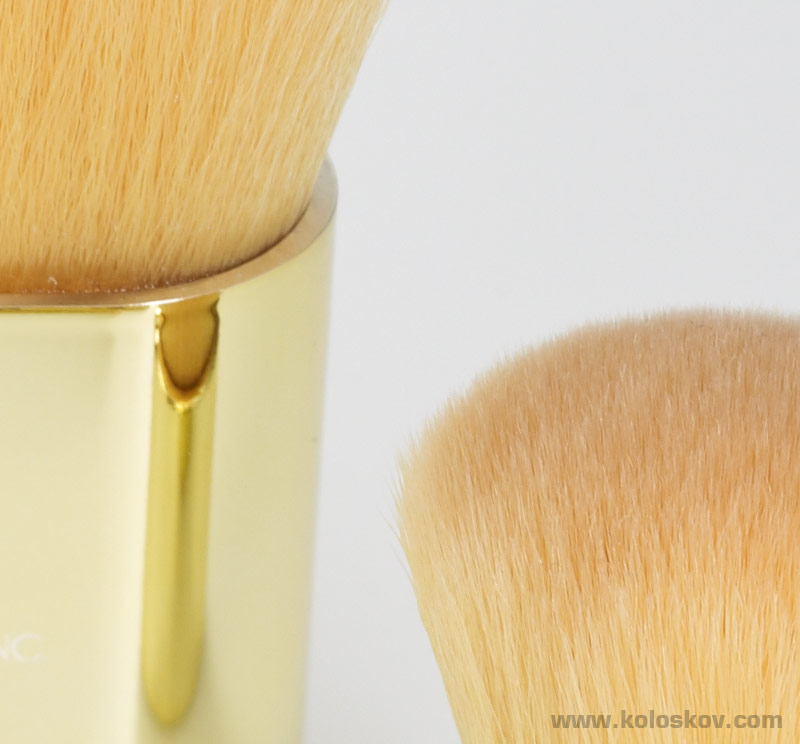
Few words about the camera I ‘ve used for this shot: Below is 100% crop from the gold brush set, un-sharped from a camera RAW.
Not only do we get much better details (no AA filter), but also a correct color. As-is from the camera where a medium format sensor is really superior over a 35mm one. More about difference between 22Mpx canon and P25+ sensors can be found here: Canon 5d Mark II and PhaseOne P25+: Does a physical sensor size makes a difference?
Hope this was interesting for you.
In the Gearbox |
|
|
Camera gear: Cambo Ultima D technical camera Lighting, light modifiers and accessories: Paul C. Buff Lighting: 4×640WS Delta Dual Arm |

 Only for Pro Club Members