Online Courses For Product Photographers › Forums › Certification Programs › The Complete Guide To Product Photography Program › Assignment 1 – Backgrounds – Angle of incidence = angle of reflection
- This topic has 3 replies, 3 voices, and was last updated 5 years, 3 months ago by
Dot Ward.
-
CreatorTopic |
-
Dot WardParticipantI have a question regarding angle of incidence = angle of reflection, related to Part 1 – Backgrounds.
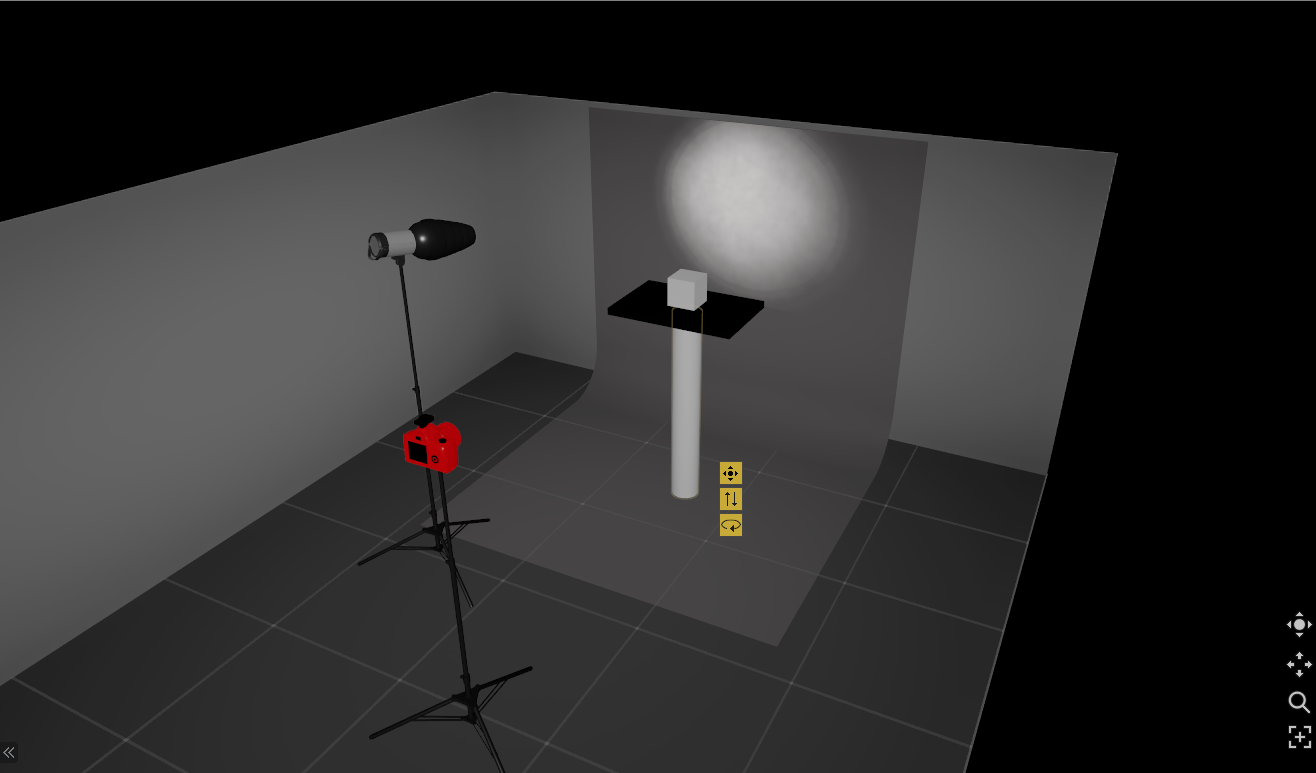
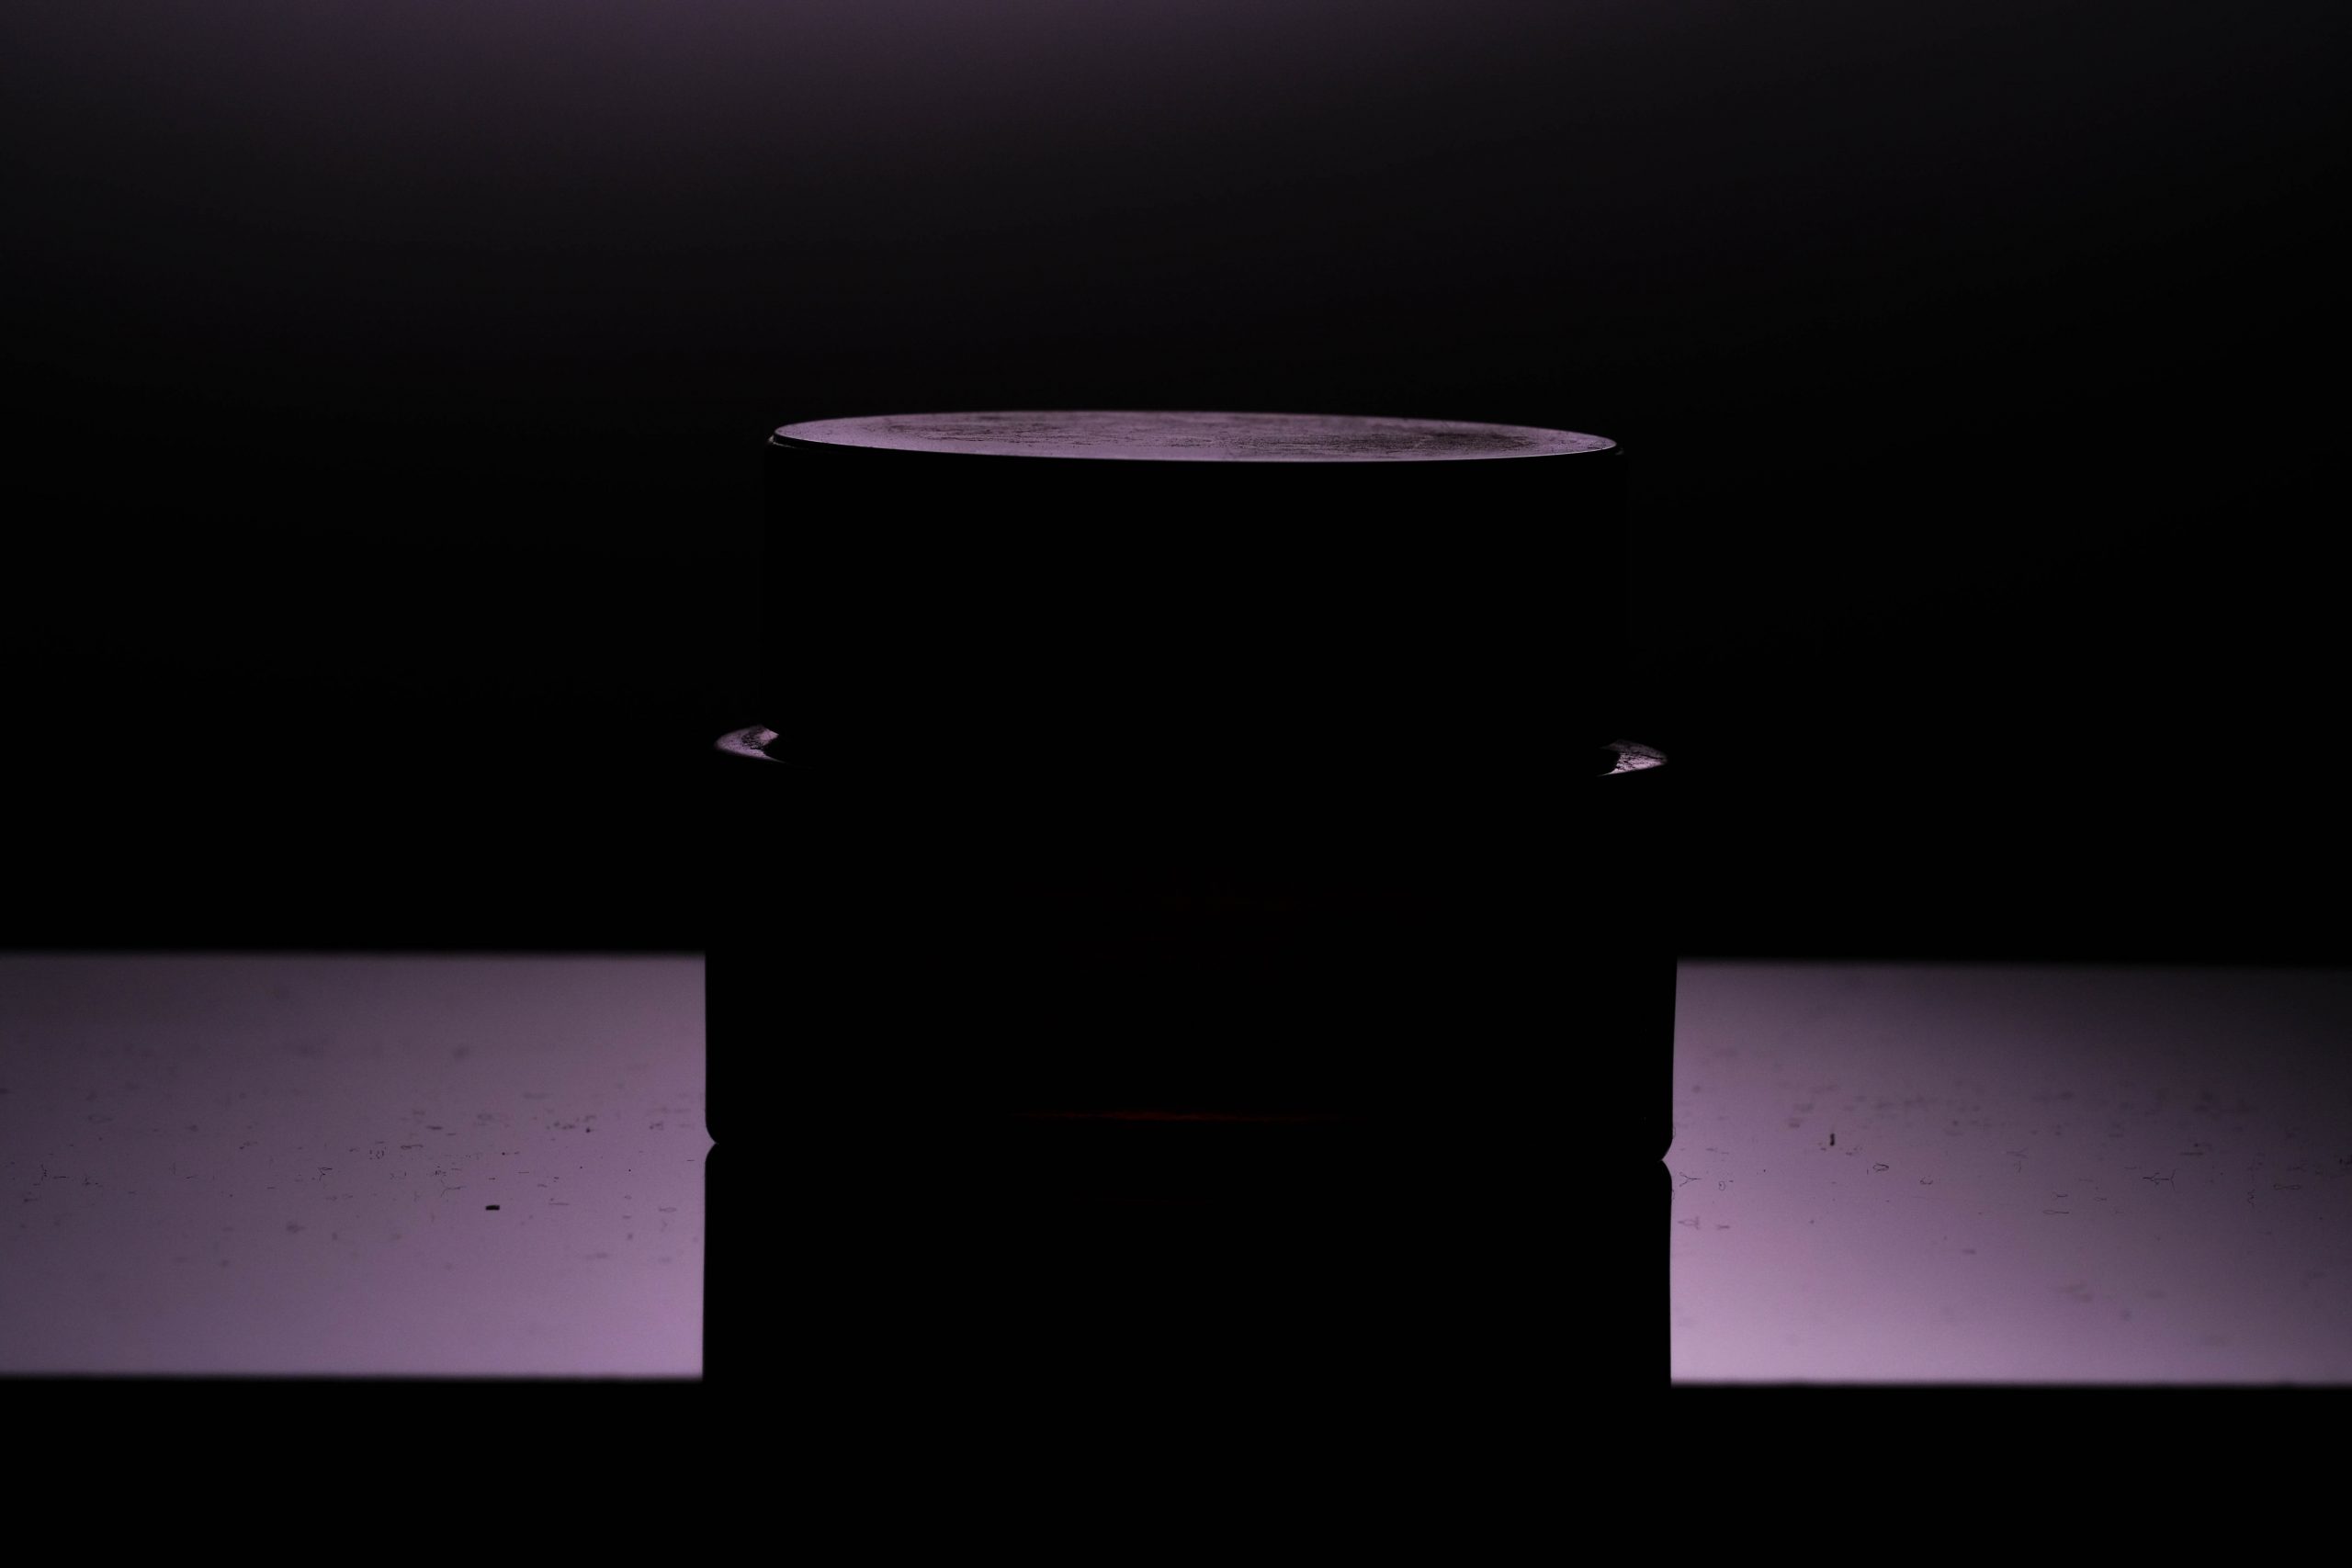
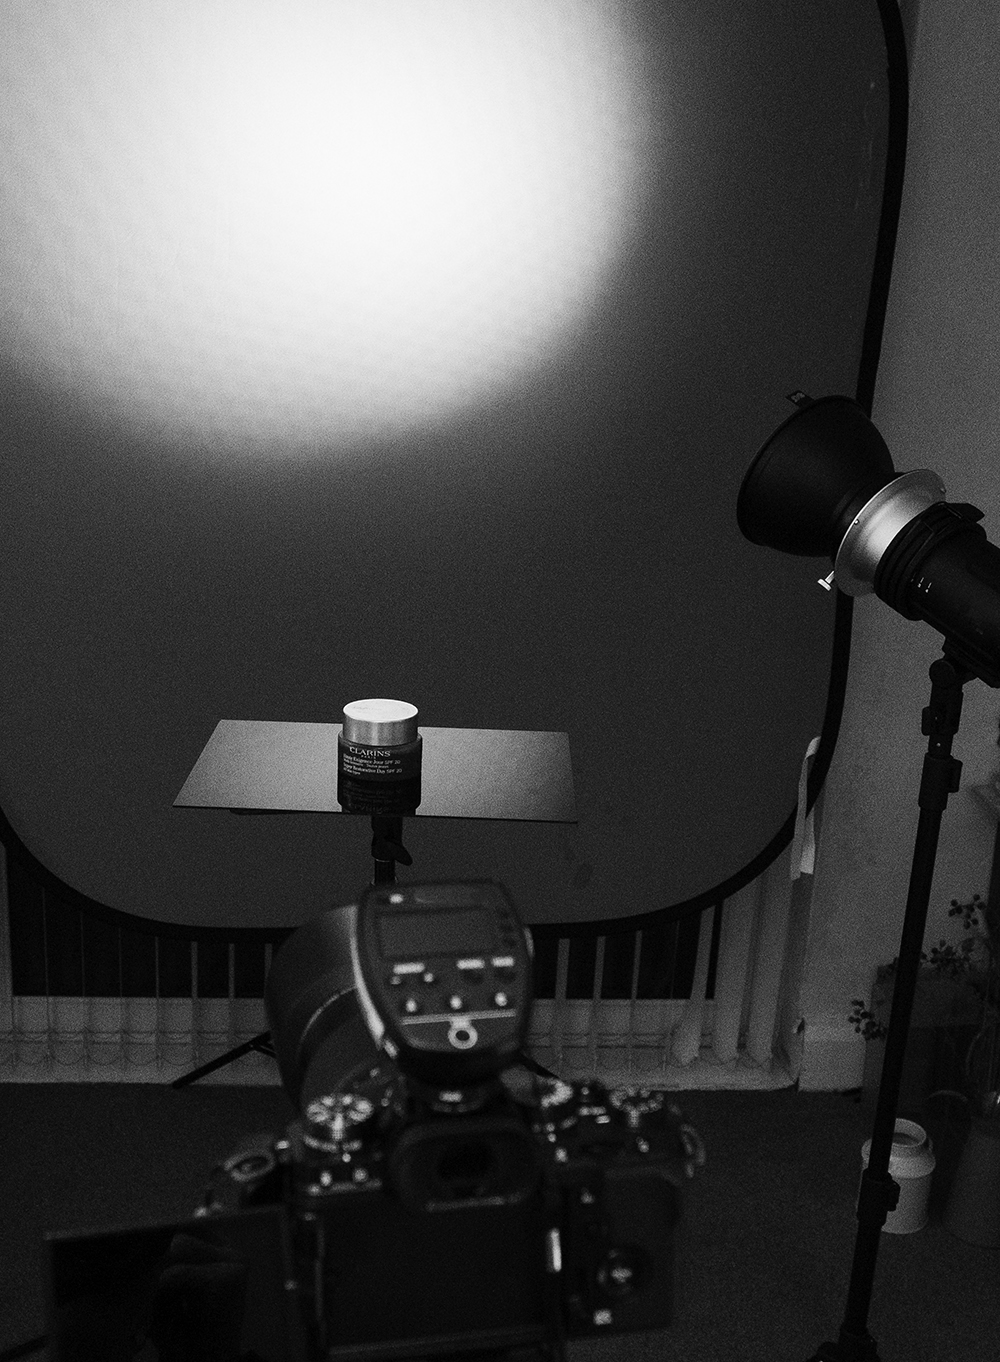
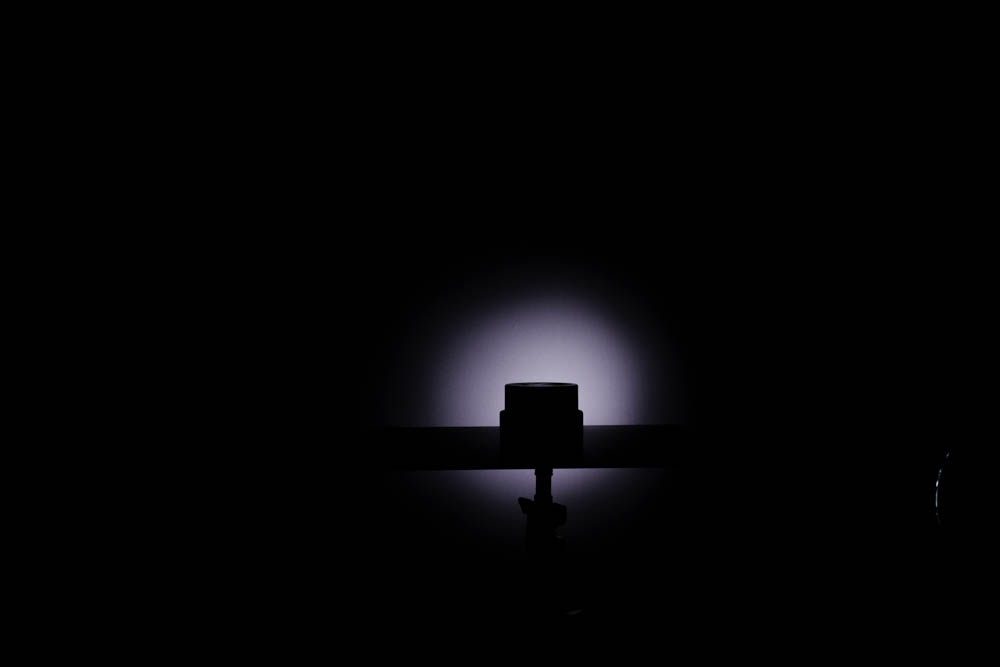
I understand that creating a spot on the background level to the subject and camera lights the back of the subject – see diagram 01 and image 01
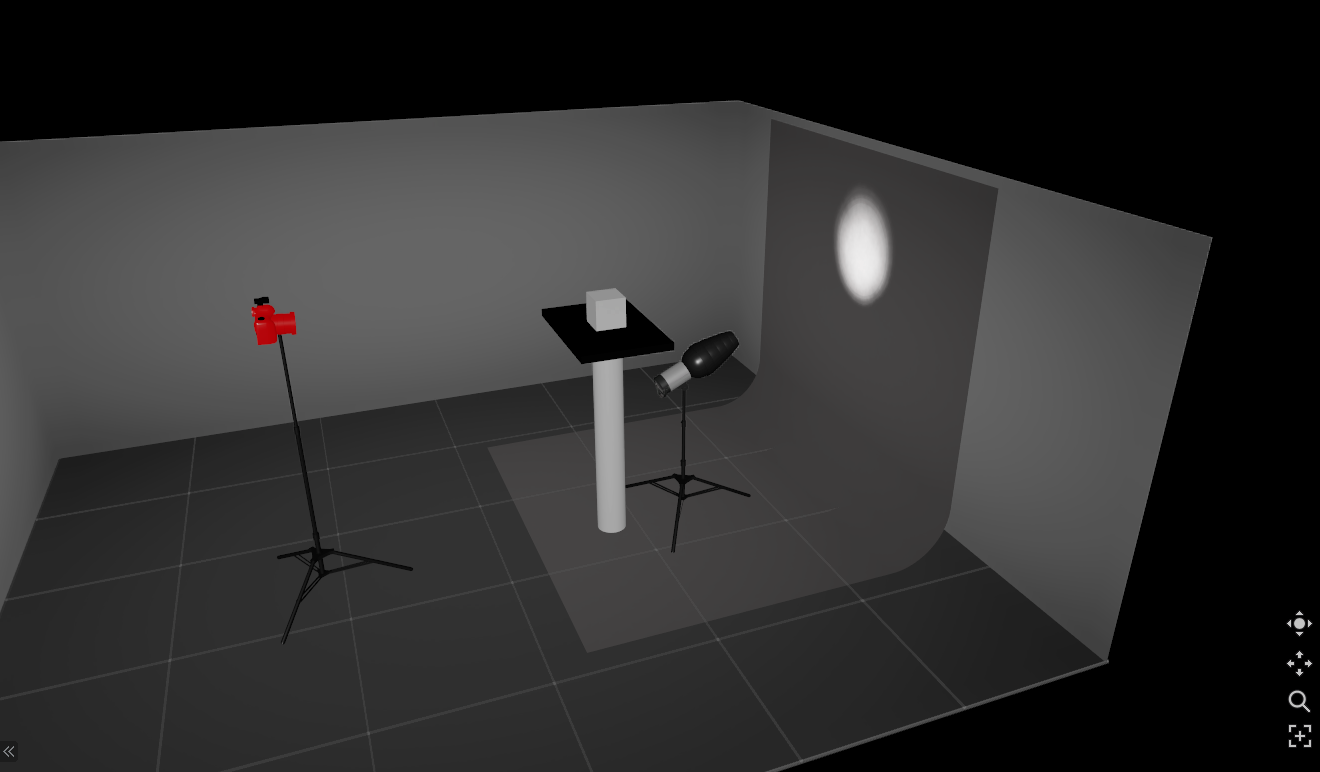
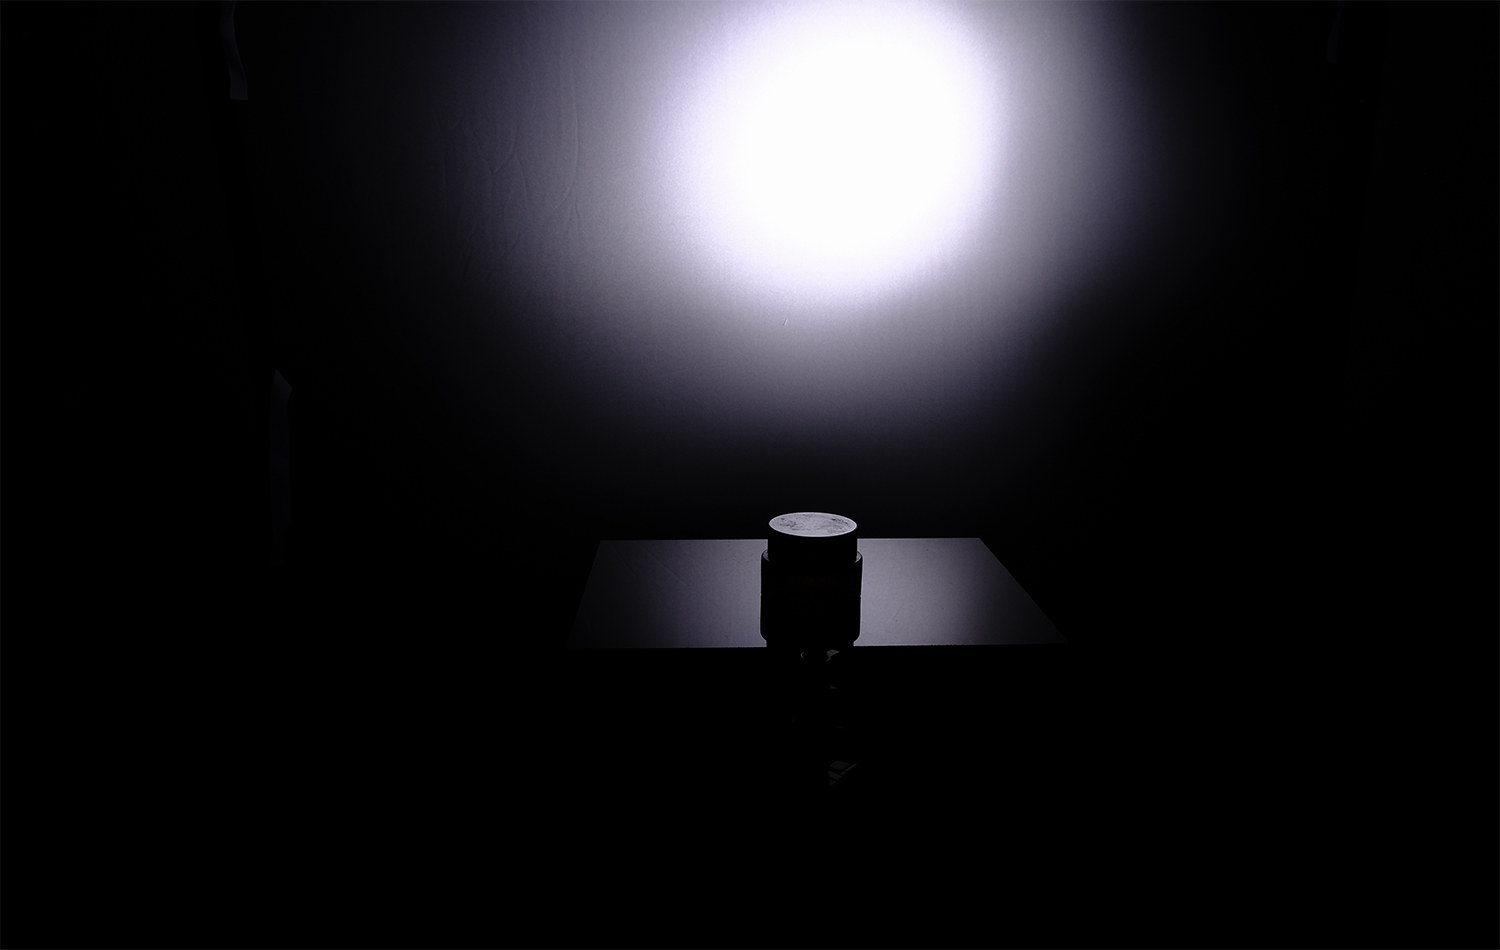
And that creating a spot on the background slightly higher than the subject and camera lights the top of the subject with the feather of the light – see diagram 02 and image 02
However, I do not understand (or have misunderstood) how the angle of incidence = angle of reflection applies to the lights being angled upwards, as when I attempt this I light the ceiling and not the front of the subject as I would hav expected from the feather of the light
I would be very grateful if you could explain further – many thanks in advance
Attachments:
-
CreatorTopic

-
-
Andrei Raileanu
ParticipantHi,
Thank you for your question. You basically have two possibilities:
1. The one you are describing where the light hitting the background is in front of the subject, so in this case, you can only point it down as trying to light the background from below most likely will be difficult or quite impossible.
2. Have the light between the subject and the background in which case (considering that your are not shooting the subject from above the light will be much lower than the subject pointing upwards (not straight to the ceiling but at an upward angle).Have a look at the attachment and let me know if I have answered your question.
Attachments:
-
Graham Keeling
ParticipantHello!
Like you I am a student, so not technically ‘qualified’ to answer but I have completed Assignment 1 and thus these same exercises and I can see that no one has answered – which must be frustrating for you.
The exercise uses angle of incidence/angle of reflection to help understand where a light source needs to be to create specific effects or light a specific position on a subject. Its the angle from the camera to the subject that sets the angle if incidence and thus the angle for light reflected from it back into the lens.
As I understood it, this assignment’s exercise was to create a reflected spot on the surface below the subject – as a background to the subject – without, in this case at least, the source spot itself being visible, and then add gradient backgrounds running left or right and up the background?
Your 02 image is thus very close – its just that the spot is also visible. Its hard to tell exactly from the result, but your background looks very close to the subject – closer perhaps than the camera is to it? Since the angle of reflection remains the same regardless of distance to background, the further the background is from the subject the higher up the background the spot can be positioned to reflect on the surface…ultimately out of frame!
Your subject is quite small in the frame so I think there is scope to move it towards the camera to create greater distance to background if you need this, but doing this I think you will need to lower the camera position in order to maintain the style of shot rather than looking down steeply on the top of the subject…which of course alters the angle of incidence!
I notice too that your surface below the subject looks matt? I found it much easier to use a glossy black piece of perspex / acrylic as this readily reflects and means you easily get a good shaped spot reflection from the background which probably won’t be as clear or as straightforward using a matt surface.
If it helps… when I did this I first framed my shot as I wanted it to look and then used Alex’s torch trick to highlight the background to find where the spot needed to be positioned. I had to move the background further back from the subject initially to ensure the spot was out of frame and it took a few attempts for the penny to drop!
I was sceptical about the torch but its worth its weight in gold when trying to work out where a reflection you don’t want is coming from or where to put a light to hit the subject ‘just so’.
I am not sure I understand your question of light angled higher on the background lighting the front of the subject – your image 03 looks completely black? In the other 2 images the camera angle has changed -and thus so too has the angel of incidence / reflection, and I don’t know if you changed the angle again for shot 3? If the camera angle remained as 02 then the angle of incidence to the font of the subject looks like it is down and to the right which would suggest that the subject would reflect from below and to the right of the camera (or the surface below the object if its in the way!)
I found the torch really useful in understanding all this and why things didn’t work out as expected. Leaving the camera in a set position and wandering around with the torch to see where the subject reflected light from really helped me understand the principle and start using it proactively. This does require tethering and live view so you can see what’s happening on screen as you walk about though…or co-op someone to walk around with the torch as you look through the viewfinder?
I really hope this helps and that I’ve not misunderstood your question / problem?
I couldn’t make your second post with drawing work – sorry.
Best regards,
Graham
-
Participant
Many thanks Andrei and Graham for your comprehensive replies.
After practising with all your suggestions, the penny has finally dropped and I now think I understand the light bounce and direction of the reflective spot, angle of incidence and angle of reflection.
I initially tried Andrei’s suggestion of positioning the light between the subject and background, pointing the light upwards, which helped explain the initial direction of light.
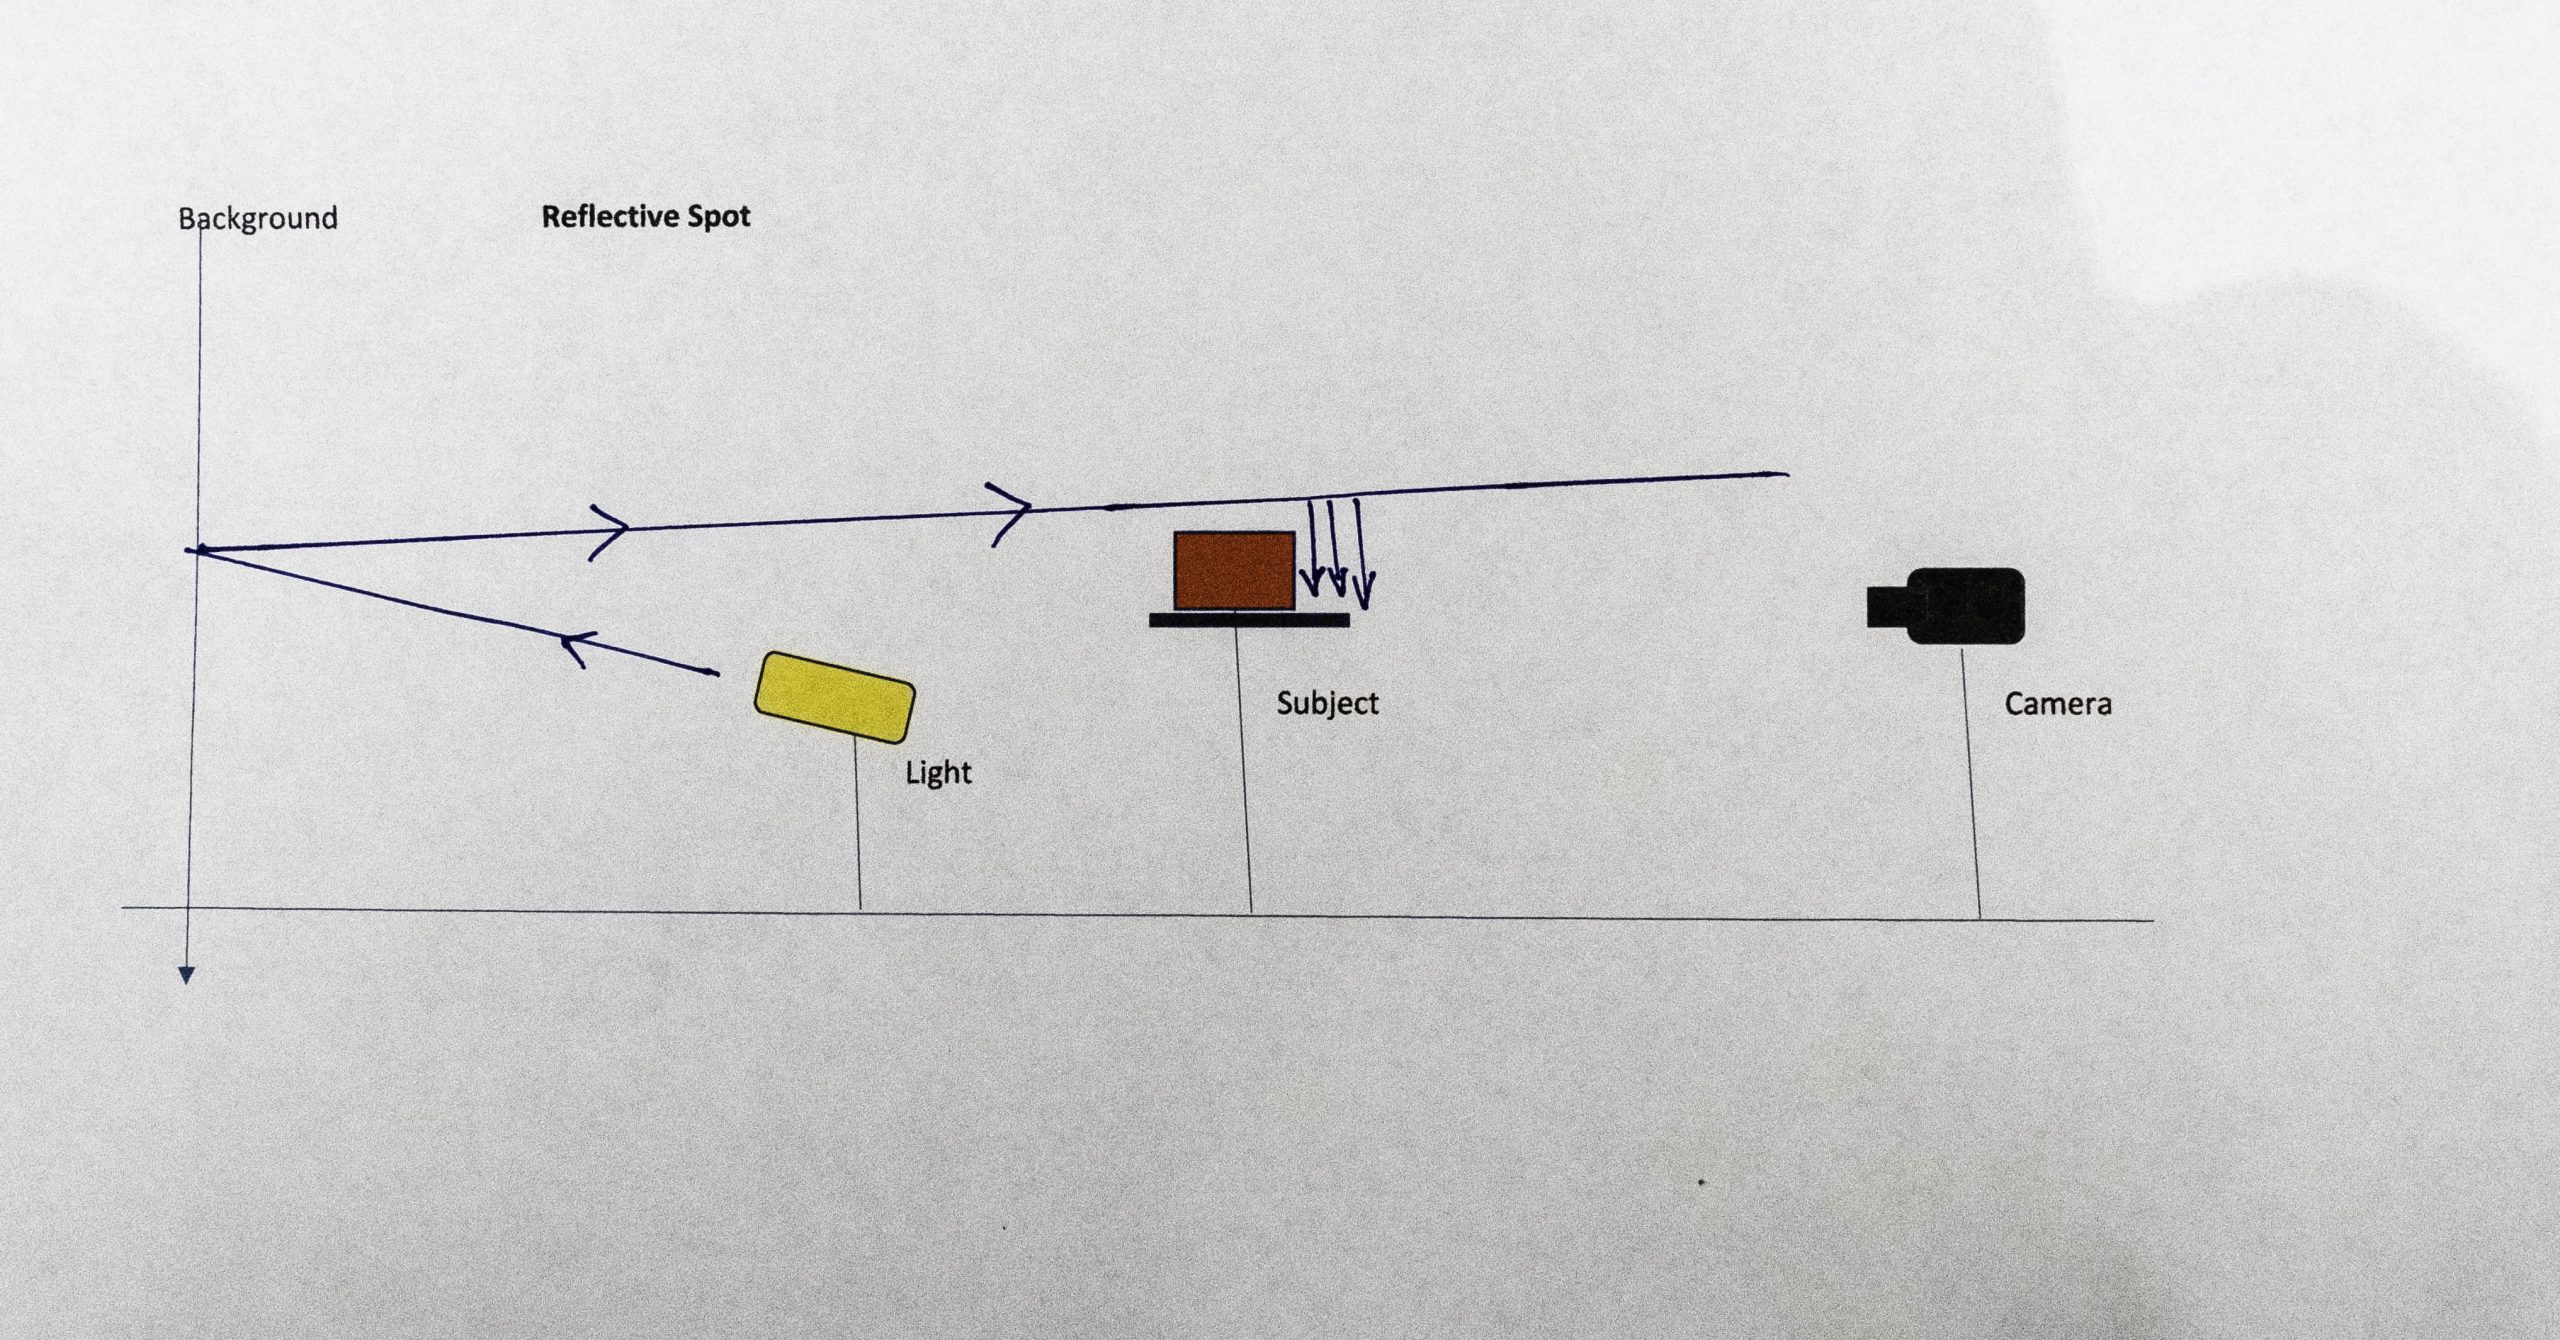
I have drawn a diagram of my understanding in case I have missed something ?
IMAGE 01
I have also worked through Grahams’s suggestions with a torch 🙂
This was an extremely useful sentance in your forum reply ……
Its the angle from the camera to the subject that sets the angle if incidence and thus the angle for light reflected from it back into the len
I then went back to Alex’s video
Part 1
Backgrounds (part 2)
at 09.41 to 13.00 mins
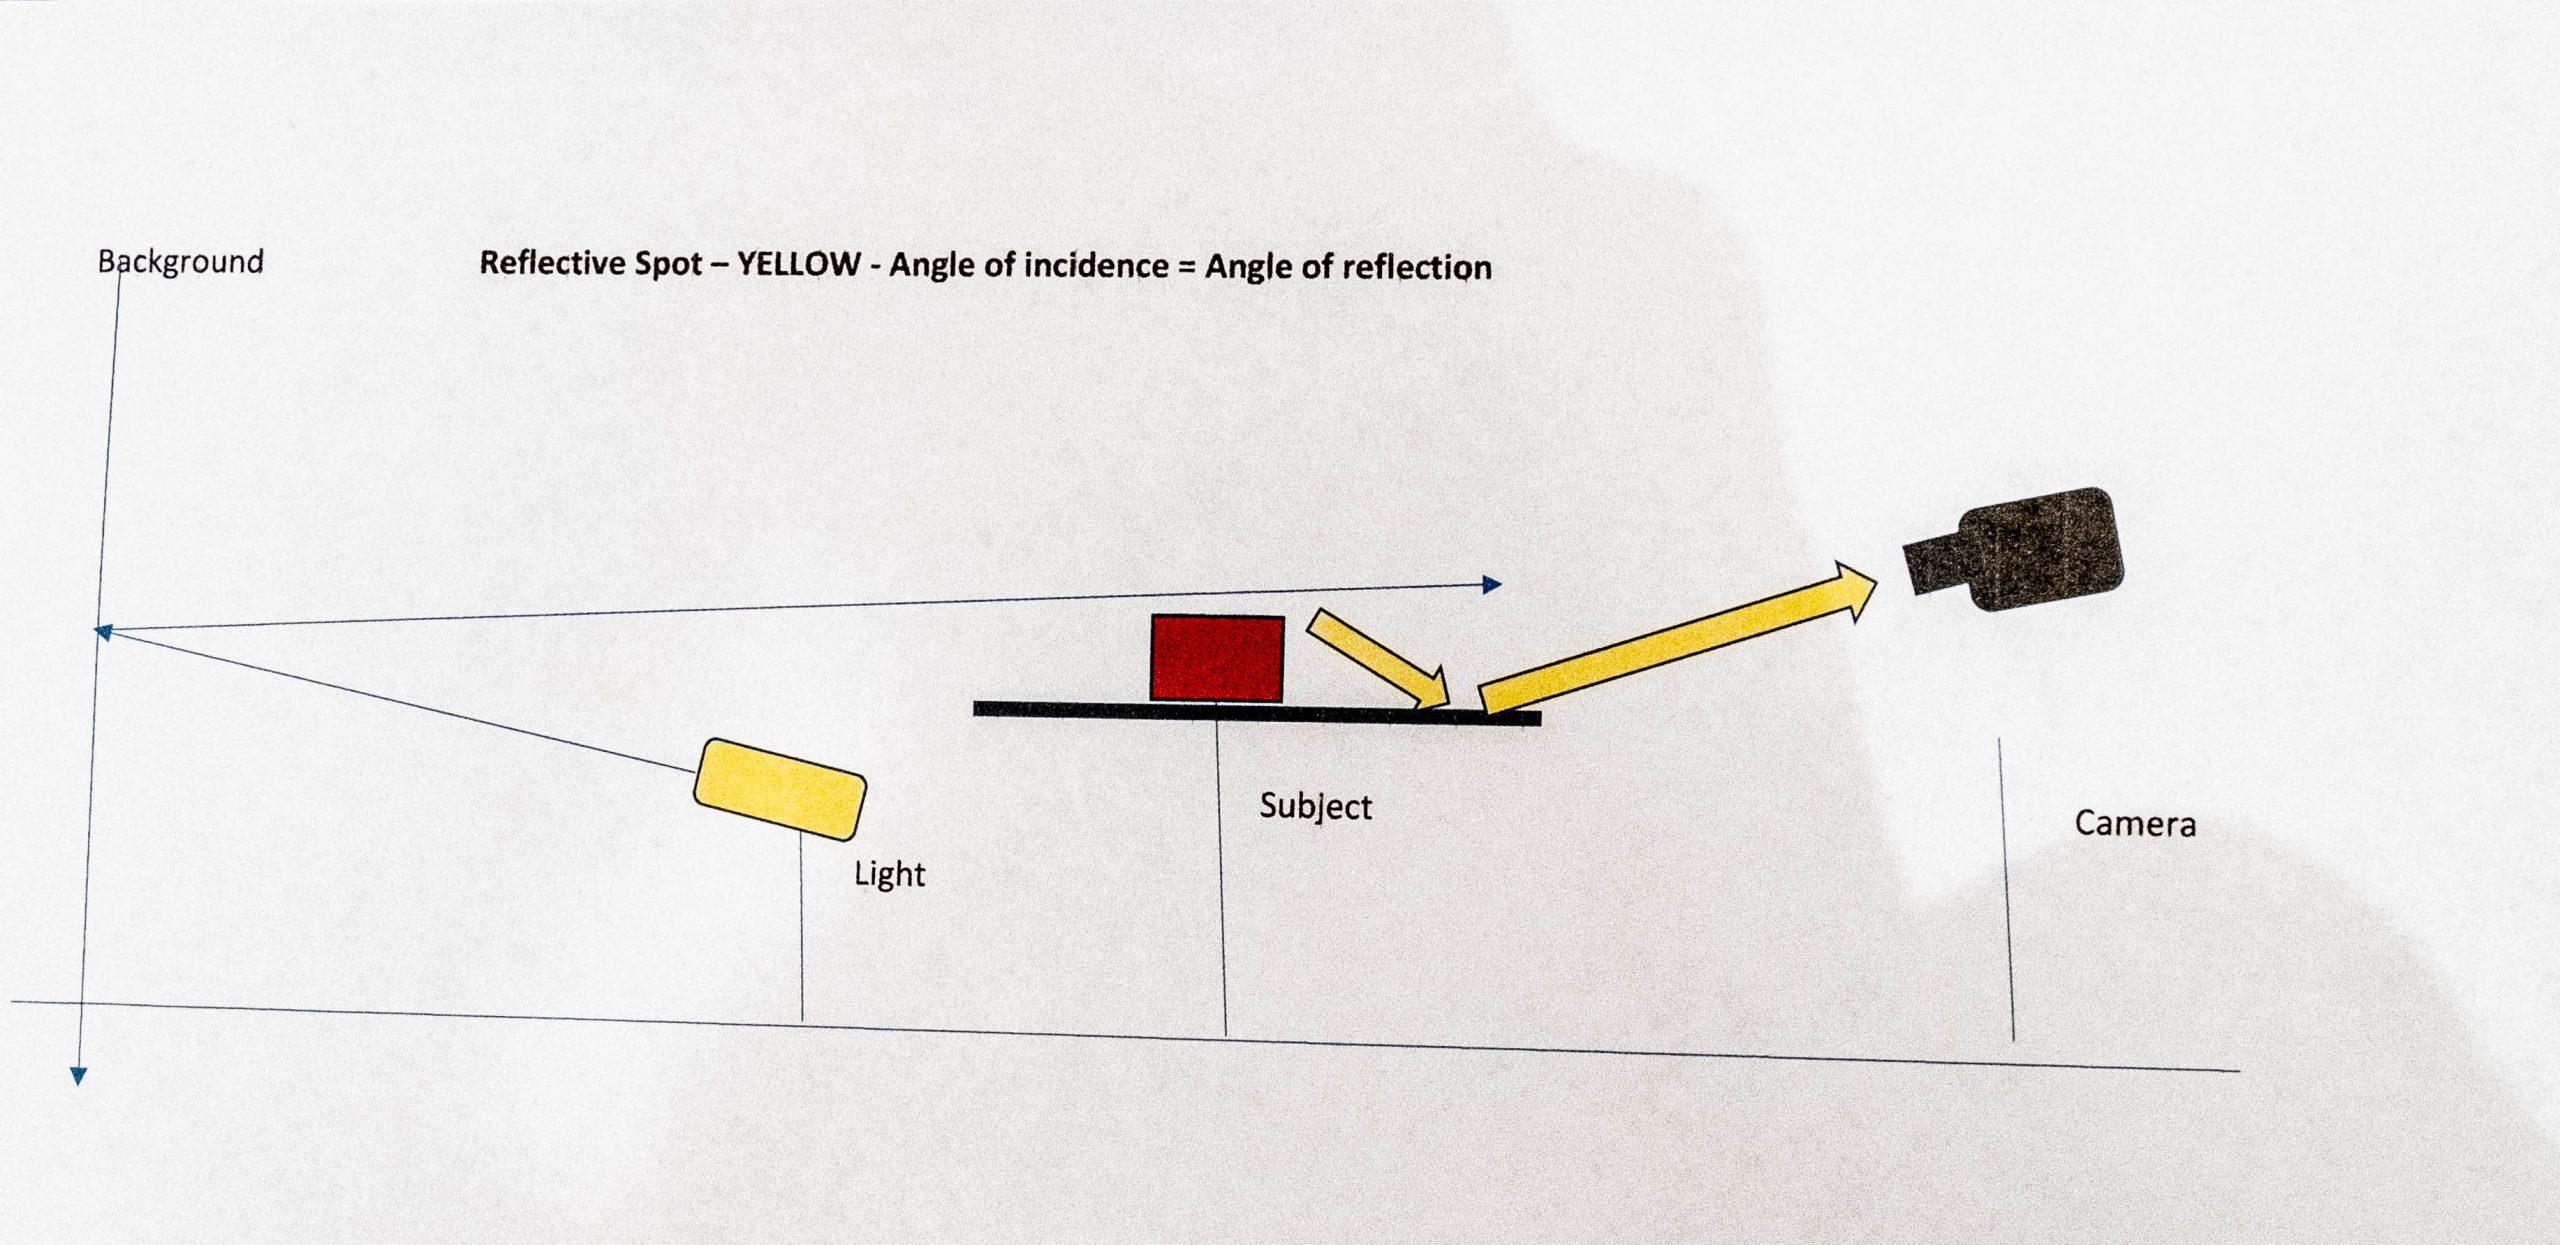
where Alex creates a silhouette by reflecting the light directly behind the subject, then moves the light slightly upwards to create a light on the top front of the subject, then moves it upwards a little further to create a light on the surface the subject is sitting on, which I now understand after practising the suggestions above.In summary, moving the reflective spot upwards on the background, moves the light angle further forward and the angle of incidence is where the light hits the subject / surface which is equal to the angle of relfection which is where the camera needs to be positioned.
Again I have drawn a diagram of my understanging in case I have missed something ?
IMAGE 02
And here is my new image of a reflective spot bouncing light onto top of a subject and the surface the subject is sitting upon
IMAGE 03
And here is my setup image with distance details, any suggestions comments would be very welcome 🙂
IMAGE 04
Subject 5 feet from background
Light 3.5 feet from background angled upwards, on the righthand side of the subject (from camera position) positioned behind and above the subject.
Camera 2.5 feet from subject (slightly angled down to show the surface the subject is sitting upon and catch the angle on reflection.
IMAGE 04
Thank you both so much again Andrei and Graham for taking the time to clarify these issue, I really appreciate it.
I’ve had no issues with the rest of Assignment 1, gradients up and down, left to right on the background, or bokeh and I’m now looking into refraction, almost ready to submit the first assignment 🙂
Have a good day
Dot
-