From Idea to Implementation:
Einstein 640 Creative Shot.
What is the most important behind any decent studio shot? The idea, right Without idea (concept) there is no way we can create anything really good and remarkable , regardless of how good the technique was. Obviously, bad realization can kill any idea.
This is why I like to create the image from concept development to its implementation. It doesn’t happen when we get completed, “ready to work on” assignment request form the client, where they specify what exactly they want to see on the final image.
The idea I’ve got for this shot:
A creative image of PCB E640 strobe (my favorite monolight so far), all on a black background with no direct light from a camera side. The only edges of the monolight will be visible, same for the outer reflector’s surface. The label “EINSTEIN” on a side of the unit should be visible.
The challenging part would be this:
I’d like to create an expression similar to what we would possibly see if can capture the moment right after flash was ignited in a flash tube of the unit being photographed. Imagine that we can stop time so it will be visible how the light start spreading, like the air starts to glow itself. The central bulb with or without the cup should be highly overexposed, and then brightness of the light will fall off exponentially all around the reflector.
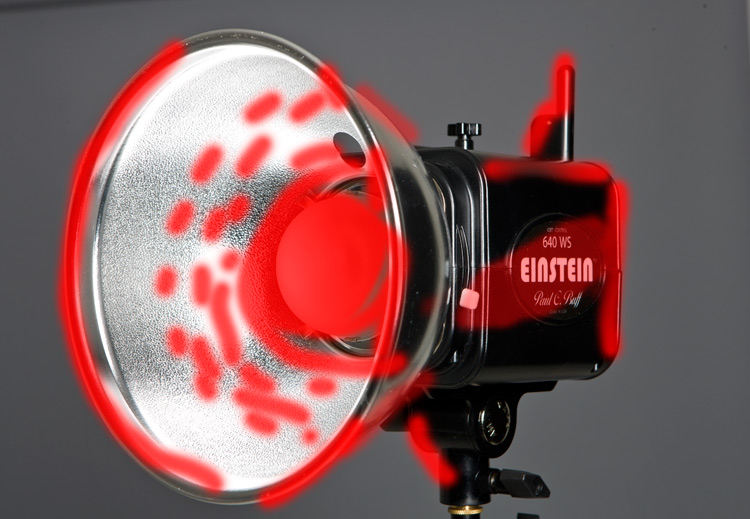
The draft below shows the position of the subject, red areas is what I want to be highlighted, the rest to be dark.

 Only for Pro Club Members
This was something I never did before, and most likely we’ll need to use Photoshop to get desired look. However, I was determent to do as much as I could with the lights and the camera.
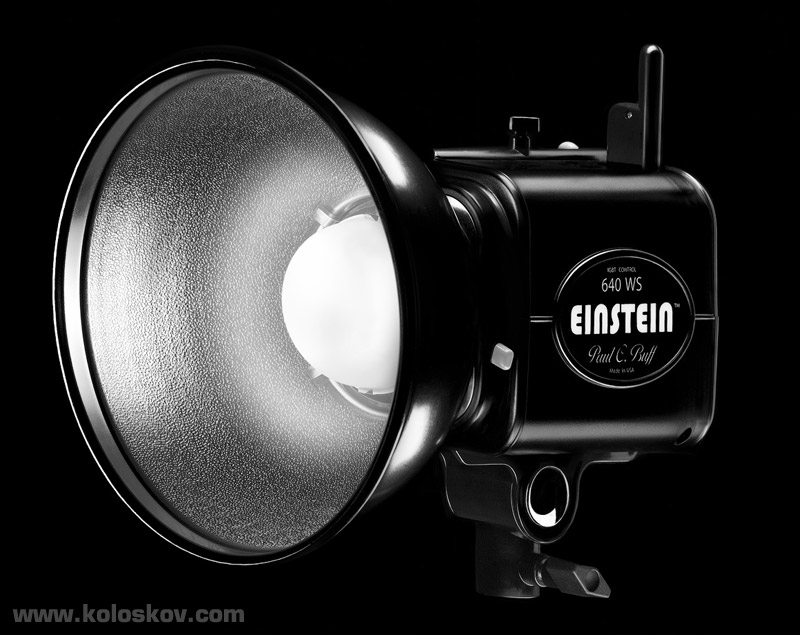
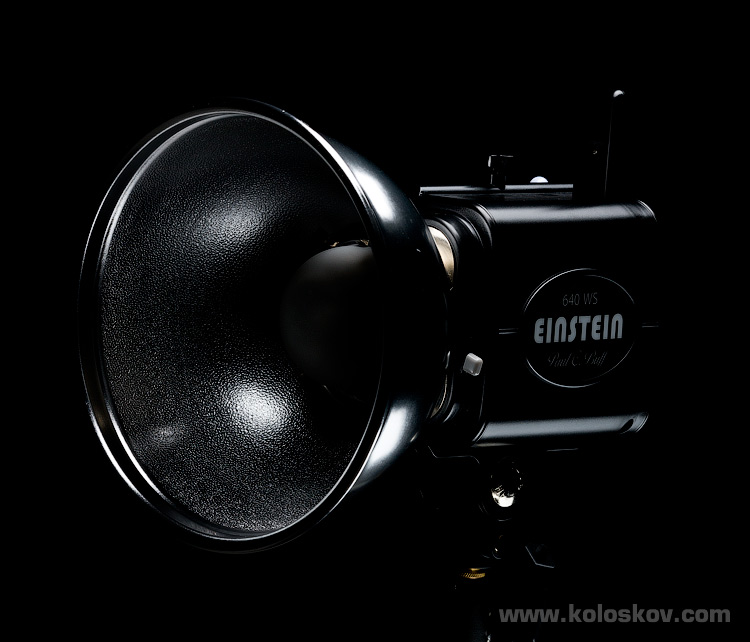
Now lets see what we’ve got – The Final Shot:
Pretty cool, isn’t it?
Honestly speaking, this is very close to what I had in mind.
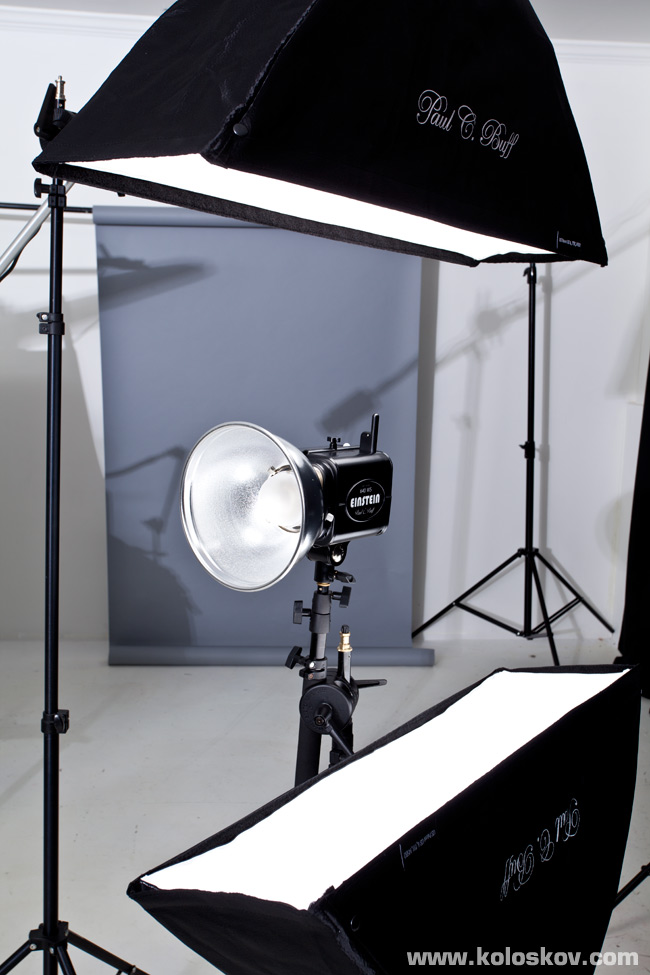
This is the Initial Lighting Setup I Started From:

Studio lighting setup for self assignment: the initial set
The idea was simple; light from the top will create a bright edge on the top of the subject. Diffuse was added just to make it smoother. The reflector from the bottom was used to see where I would need to have the second light. Like I said, this was an initial setup. The very fist image showed what was wrong:
Einstein creative shot first sample
Not sure if this is exactly one with the reflector on the bottom/ front side of the unit (do not see the reflection here) , but the diffuser was too large for this shot: soft, diffused highlights on the subject were not exactly what I had in mind. Why did I put diffuser there at the first place? Good question for me:-))
Anyway, after this first shot I knew what exactly needed to be done:
Studio lighting setup for self assignment, the final set
Two stripboxes, from the top and the bottom. The angle was sharp enough to create highlights only on the edges of the monolight.
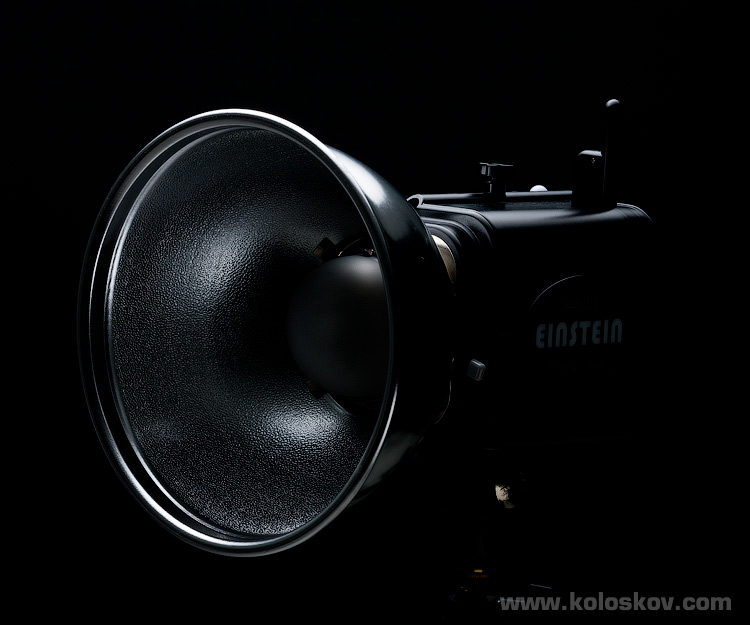
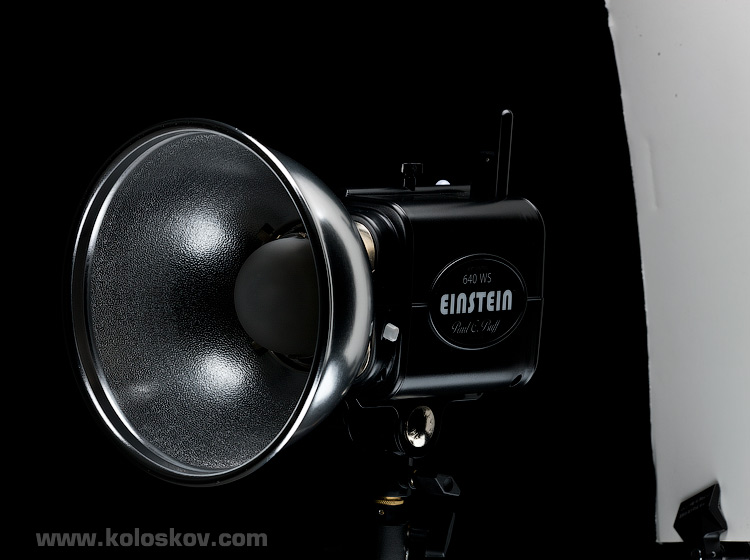
As-is image I’ve got from this setup:
This was much closer to the idea for the shot. Nice how the oval around “Einstein” was shaped out. The only thing it was missing is the edge on the back side of the strobe. So, the image below should explain how I got it there:
Einstein creative shot back reflector added
I did not like the spills on the front plate of the strobe, and wanted to get even more contrast lighting. So, I isolated the light by adding a black screen on the bottom half of the stripbox surface and covered the one the same way, making a small square-box from both stripboxes: only the area on the top and bottom of the subject was not covered (I do not have image for this, hope you’ll be able to understand what I am talking about:-)).
This is the result:

As you can see, several thing got lost (no reflector behind, for example). However, this image could be used for a future Photoshop play. I always work keeping in mind a possibility to use a composite image instead of a pure “single-shot” photograph.
This time was no exception: From the beginning, I was planing to shoot the monolight body and the flash bulb/reflector in separate sots. The plan was to use a light brush technique to simulate a flash discharge: it will give me much more control of what and how much to expose there. Also, I suspect that even at lowest power settings (~3Ws) direct shot of the flash bulb will me problematic (it appears that I was right).
So, I got my DIY light brush (tactical LED flashlight with variable power mounted on a one end of feet-long tube and enlargement lens on another) and started to paint the frosted glass cup of the Einstein. Playing with the different angles, I was trying to get less exposure to the reflector itself, so only the flash tube will be bright. The end result was this:
Using Light Brush to Mimic a Strobe Light
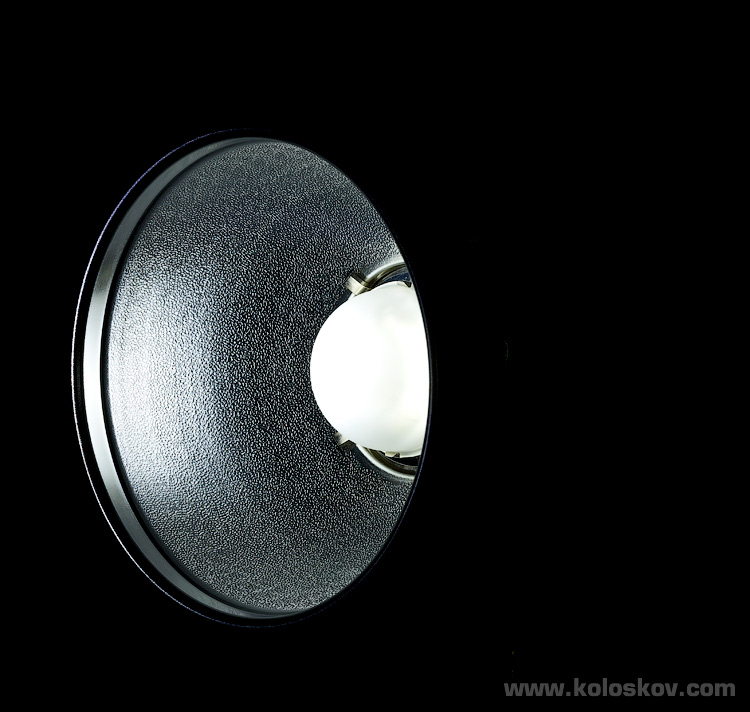
light brush instead of a flash shot
This was exactly how I was imagining to get the flash light. About a 10 sec exposure at f14 (F14 was constant through all the prior shots)
Curious, I’ve performed the same shot with the real flash head firing, and everything was overexposed at F14. The closest to the light-brushed image I got was the one below, done at ISO 50 F32 and minimum possible flash power:
The Real Flash Fired at Minimal Power
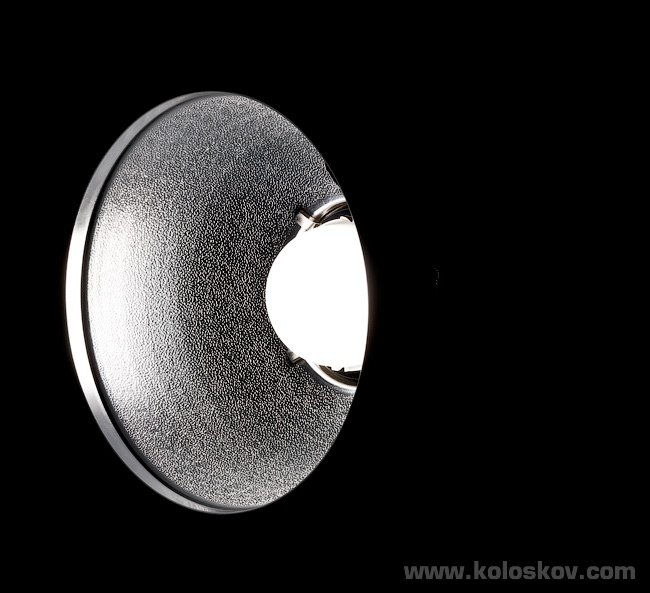
Very close, right? I could fix the brightness issue by using a neutral density filters, but I liked the image from the light brush, plus this one was missing the circular reflection from the outer edge of the reflector: flashgun did a great job creating this tiny circle on a previous photo.
Later we combined the images in one. The bright halo was added in the last attempt, that was the 100% artificial part of the image, done by Photoshop.
Hope this was interesting!
 |
In the Gearbox |
|
Canon EOS 1Ds Mark III DSLR Lighting, Light Modifiers and Accessories: Paul C. Buff Lighting: 2×640WS Matthews Minigrip Mounting Kit Adobe Lightroom 3 and Canon EOS Utility as a remote capture solution for tethered shooting Exposure Specification: shutter speed 1/250 sec, F14, ISO 100 |