About the course
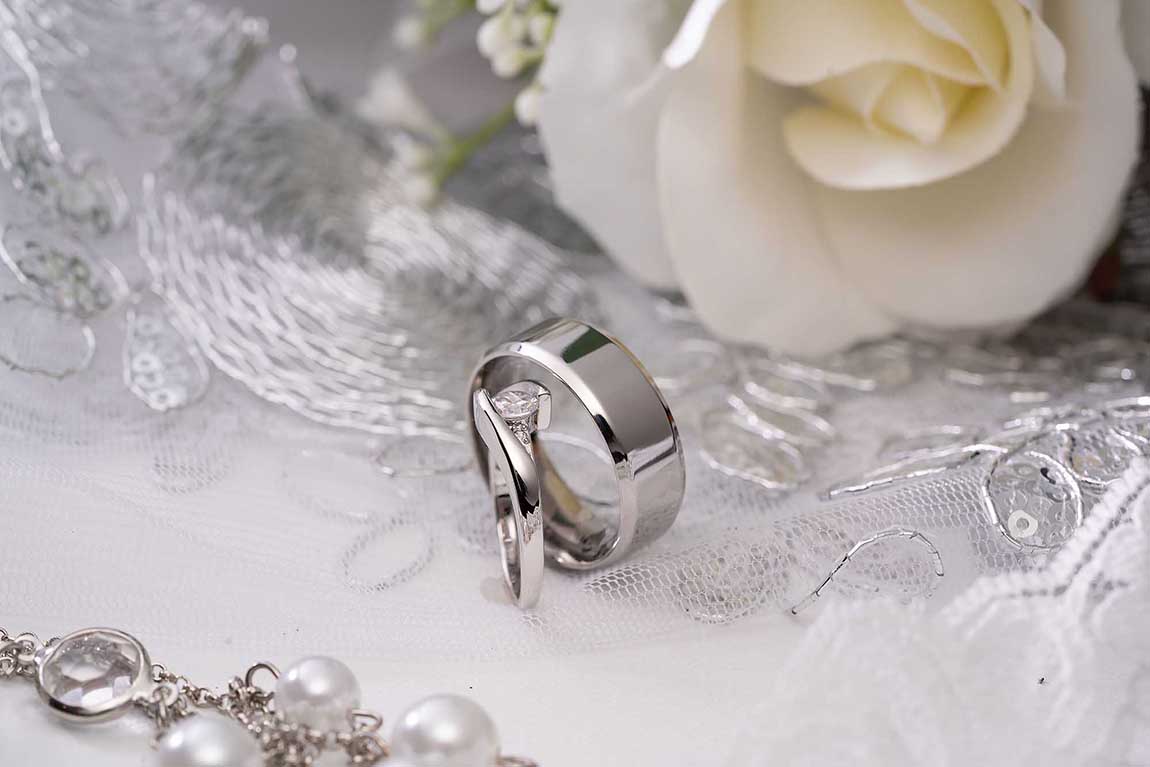
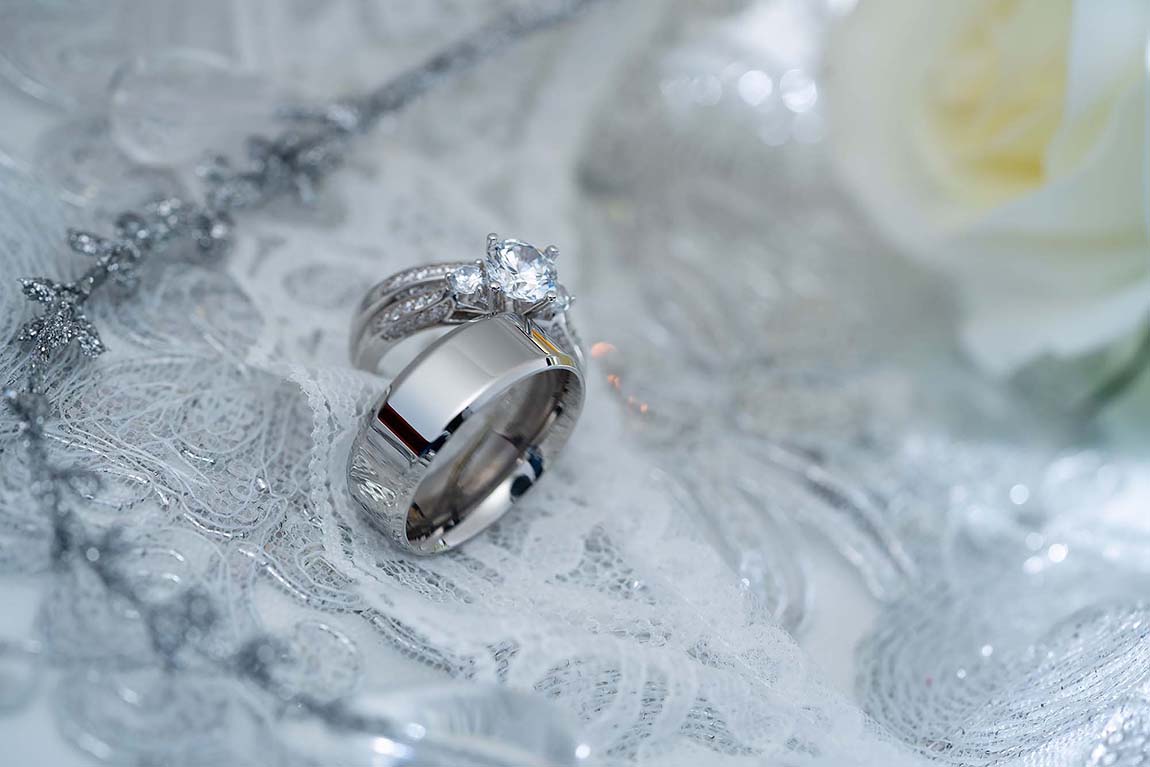
You will learn how to take studio quality photographs of wedding jewelry using only your camera and a speedlite (on-camera flash). Find out how to get professional shots with no tripod and no studio lighting. You won’t even need Photoshop – we’ll show you how to take pictures that look great even without any post-production!
At the end, your final assignment will be reviewed and critiqued individually by our instructor, giving you the detailed feedback you need to take your work to the next level and make your portfolio stand out from the crowd.
Your clients would love to have the beauty of their wedding/engagement rings captured in such a professional way!
Duration
3 hours, 40 minutes
Level
Intermediate: photographer must know how to work with the camera and a speedlite.
At the end
Certificate of completion.
New Release
20% discount first week of release sale
TIME LEFT BEFORE SALE ENDS
Day(s)
:
Hour(s)
:
Minute(s)
:
Second(s)
Highlights
Learn to take great shots regardless of the lighting conditions – indoors, outdoors, without any lighting at all, you can make it work.
Quick and easy-to-follow lessons. We know that you don’t have lots of time to spend, so we keep it brief!
A professional retoucher explains in just 5–10 minutes their super simple post-production techniques.
Ask questions on our online forum and get answers from our professional instructors.
Lifetime access to the course materials.
After course completion, you’ll have an option to submit your homework to be reviewed by the instructor – professional feedback is key to successful learning!
Who will benefit the most from this course?
Wedding photographers who are looking to improve the quality of their wedding jewelry detailed shots.
Craft makers who sell jewelry online (Etsy, eBay) who are looking to improve the quality of the images in their online stores.
Hobbyists and photography beginners who would like to learn jewelry photography without spending lots of money on studio lighting.
New Release
20% discount- first week of release sale
Curriculum
Introduction
Introduction and gear for the course
Lighting theory: what you need to understand before you start
Lighting theory, demonstration
Shooting Day 1
Shooting on location. Working with mixed lighting
Mastering your camera settings
Basics – working with rings. Finding good angles and reflections
Shooting on location. Propping, styling and setting the composition
Shooting on location. Why starburst filters won’t help
Shooting on location. More ideas for propping and styling
Shooting Day 2
More ideas and demonstration: when you do not need any additional lighting
Pearls, fabric and gemstones
More ideas with backgrounds
Dealing with issues
Glossy black background
Understanding limitations of this technique
Post-Production
Post-Production in Adobe Lightroom
Bonus: Post-Production in Adobe Photoshop
Introduction
Introduction and Gear for the course
Lighting theory: what you need to understand before you start
Lighting theory, demonstration
Day 1
Shooting on location. Working with mixed lighting
Mastering your camera settings
Basics – working with rings. Finding good angles and reflections
Shooting on location. Propping, styling and setting the composition
Shooting on location. Why starburst filters won’t help
Shooting on location. More ideas for propping and styling
Day 2
More ideas and demonstration: when you do not need any additional lighting
Pearls, fabric and gemstones
More ideas with backgrounds
Dealing with issues
Glossy black background
Understanding limitations of this technique
Post-Production
Post-Production in Adobe Lightroom
Bonus: Post-Production in Adobe Photoshop
Conclusion
What to do next
FAQ’s
What camera and lens and speedlite do I need for this course?
Any DSLR or mirrorless camera with a hot shoe mount for a speedlite will work., You can use any macro lens for your camera, and a camera-compatible speedlite (starting from $60) will work.
There is a lesson about gear needed included into this course.
How do I access the course materials?
You will have 24/7 access to course videos, forums, and reviews on the Photigy.com website. It is optimized for mobile as well, and we stream from the worldwide cloud to ensure a worry-free learning experience.
How long will I have access to this course?
You’ll have lifelong access to the course. There is no limitation on this.
How I can ask questions of the instructor?
All course students have access to a private forum dedicated to support. This is the place where Photigy instructors answer students’ questions, and students can share their own experiences and solutions.
How well do I need to know photography? Will this course work for an amateur or a beginner in wedding and jewelry photography?
Yes, Alex Koloskov uses simple explanations that are easy to understand. However, you will need to know your camera and the basics of shooting with it: things like “how to set the aperture in aperture priority mode”, setting the ISO, and switching from manual to auto focus on your camera.
Sign up for the course
About the course’s instructors

Alex Koloskov
Is “one of the most recognized product photographers in the world˝ and the founder of the Photigy school of photography.
Before starting to teach, Alex ran a successful commercial studio photography business for many years. His clients included companies like WalMart, Siemens, Home Depot, Endochoice, and many other well-known brands.
In 2012, Alex with his wife Genia Larionova founded Photigy, the world’s best online school for product photographers. Since then they have helped thousands of photographers to build successful commercial studio photography businesses.
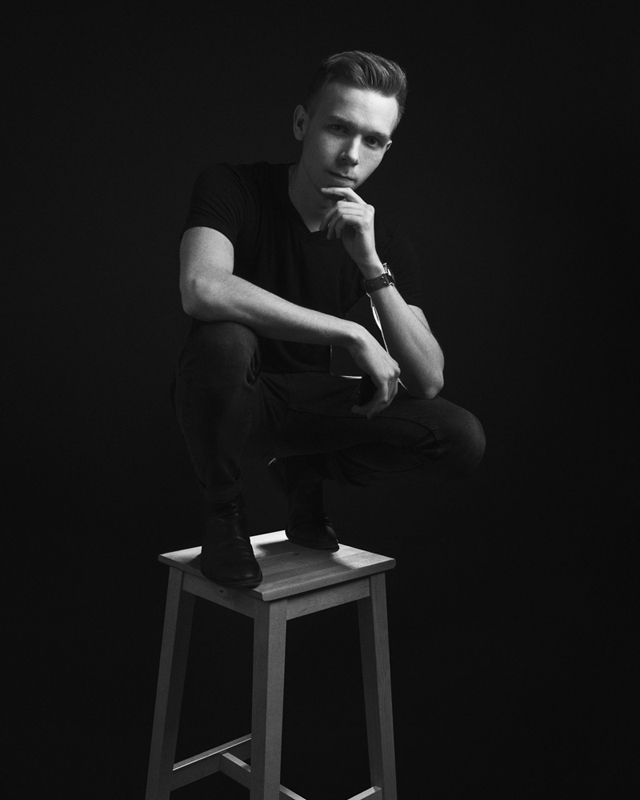
Artem Pissarevskiy
Artem is a 22-year old retoucher from Finland. He’s been working in the post-production field for about four years.
He sees himself of a more technically skilled retoucher than an artist, specializing mostly in product and creative retouching and he enjoys problem-solving as it is a huge part of the post-production process.
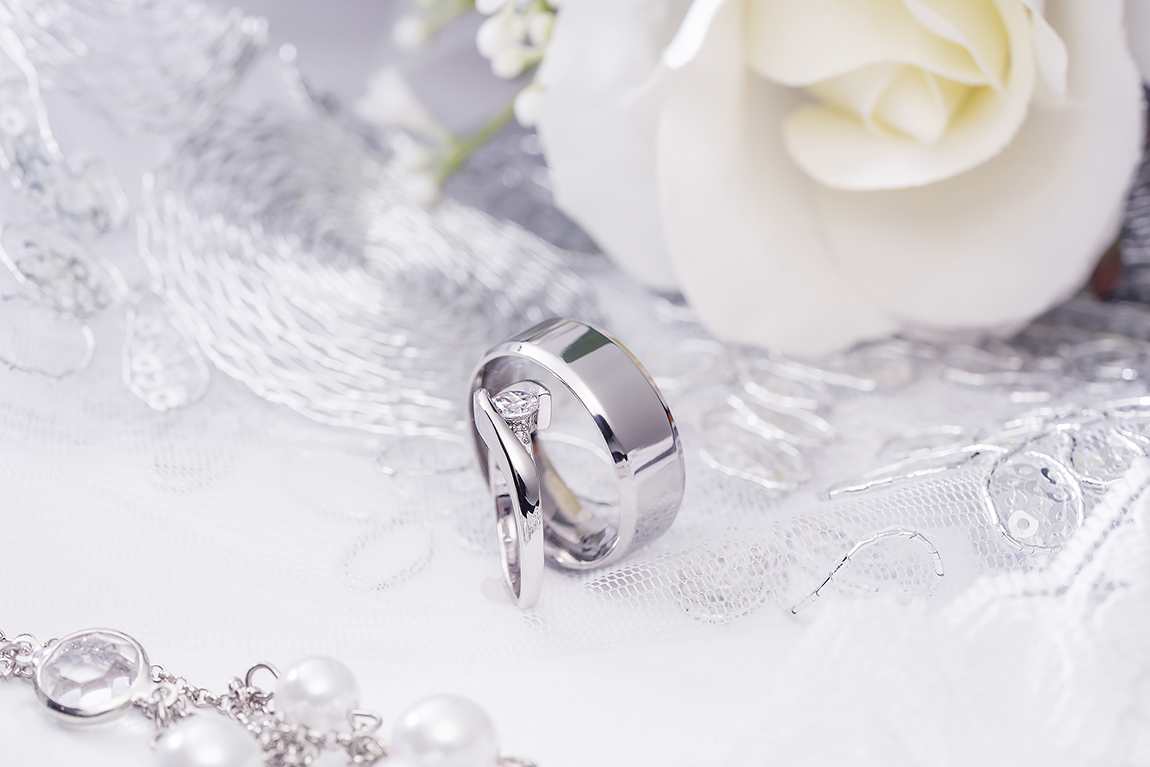
BEFORE and AFTER (IN THE BONUS)
Left – SOOC (straight out of the camera), Right – after Adobe Photoshop

