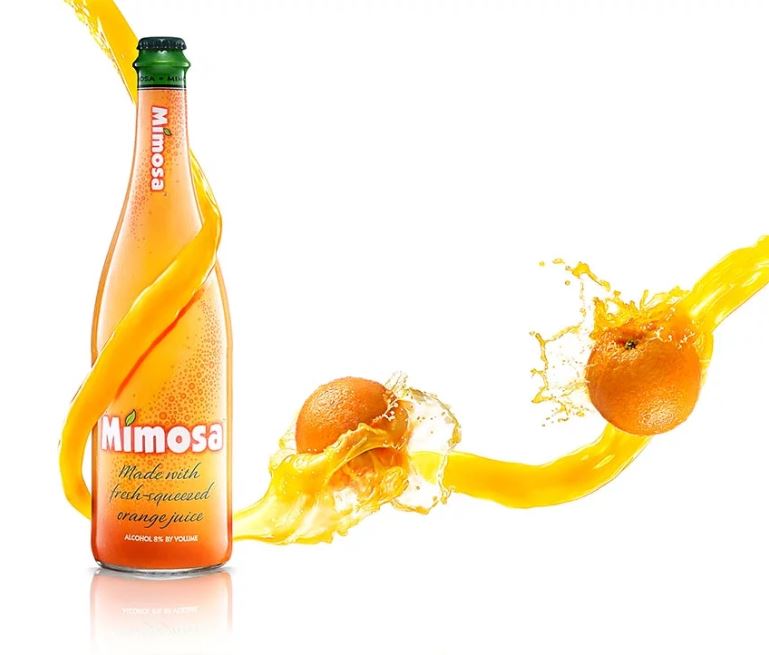
Making of “Mimosa” shot –
Product Photography Behind the Scene
The complete BTS of creating the ”Momosa” shot from Matt Marsh

Hello!
My name is Matt Marsh. I am autodidact just like many of the folks in the Photigy circle.
My wife and I have both been wedding photographers for over 7 years. However, I’ve been interested in product photography ever since I was hired by an E-bay seller to photograph shoes for his store a little over 4 years ago. Frankly, it was a rude awakening…
I had a long way to go if I wanted to enter that genre of photography as a professional. Since that experience, I have slowly worked on my understanding of the industry and techniques.
While I do not currently have an operational product/advertising studio I am in the process of creating a portfolio that could compete in the marketplace. Being a member of the Photigy community has certainly been a humbling experience and I’m excited about growing and getting better at my craft!
To see more work and get in touch with Matt Marsh visit his website: ichoosesomethingblue.com
My goal was to use this concept to create a portfolio image that could possibly have a marketing application.
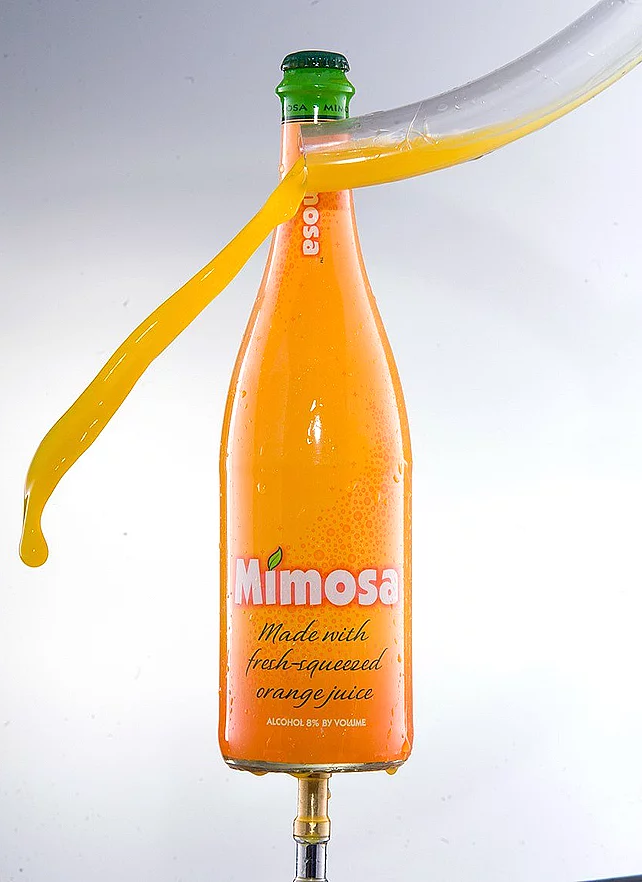
While in the grocery store I noticed the colors of this mimosa bottle. Then I read that it was “infused” with orange juice and this was the product and branding I was looking for!
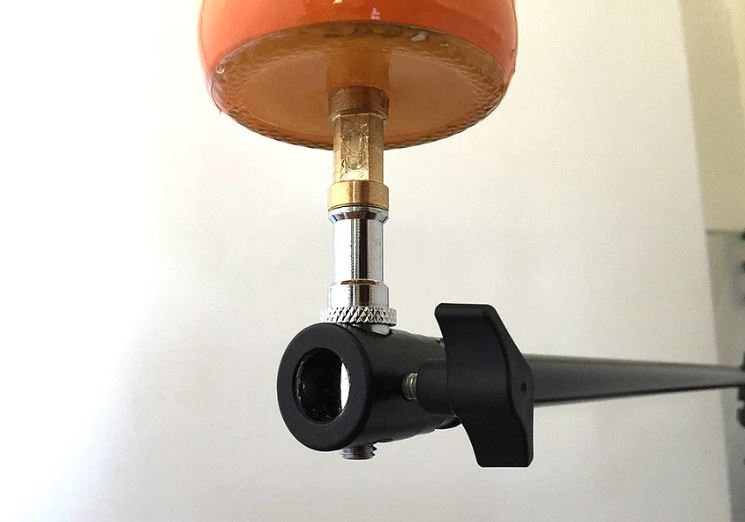
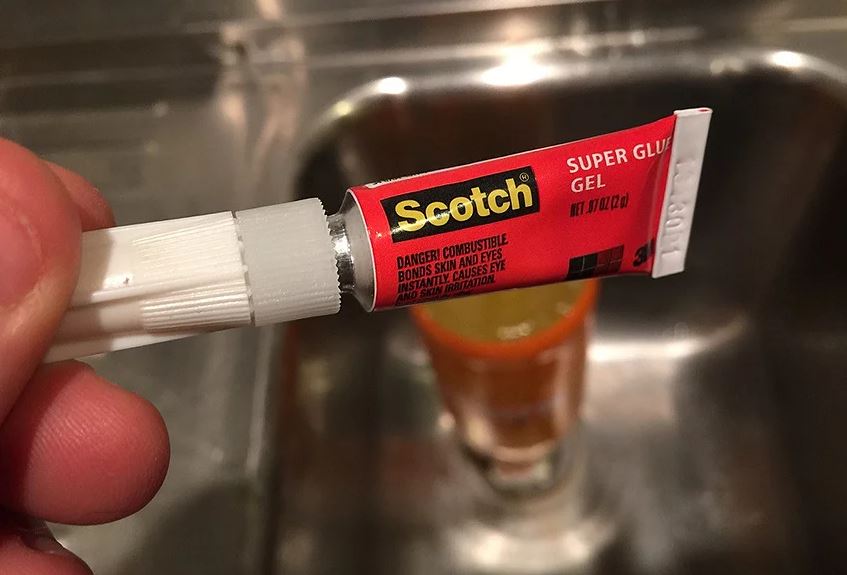
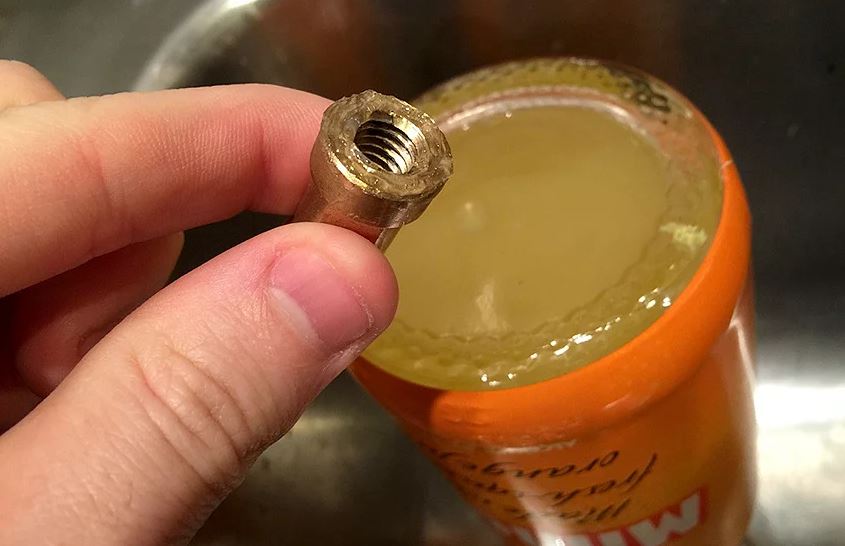
I started by gluing something that could be screwed into my boom on the bottom of the bottle. This would allow me to easily cut the bottle from its base when compositing in PhotoShop.
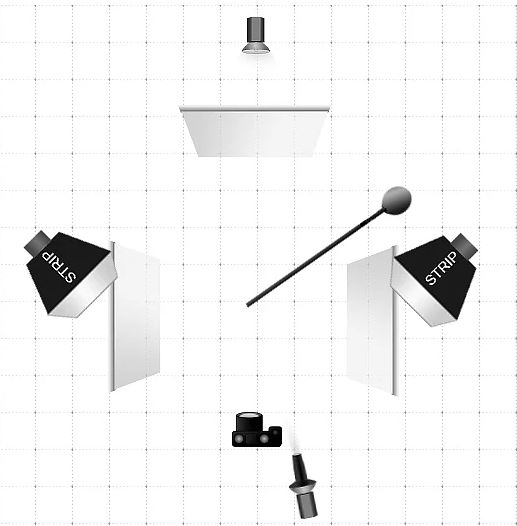
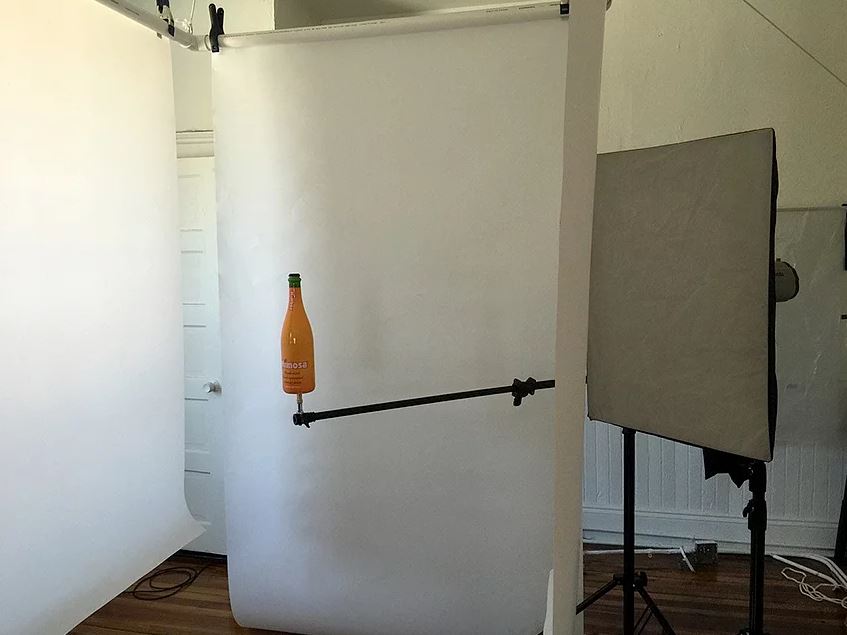
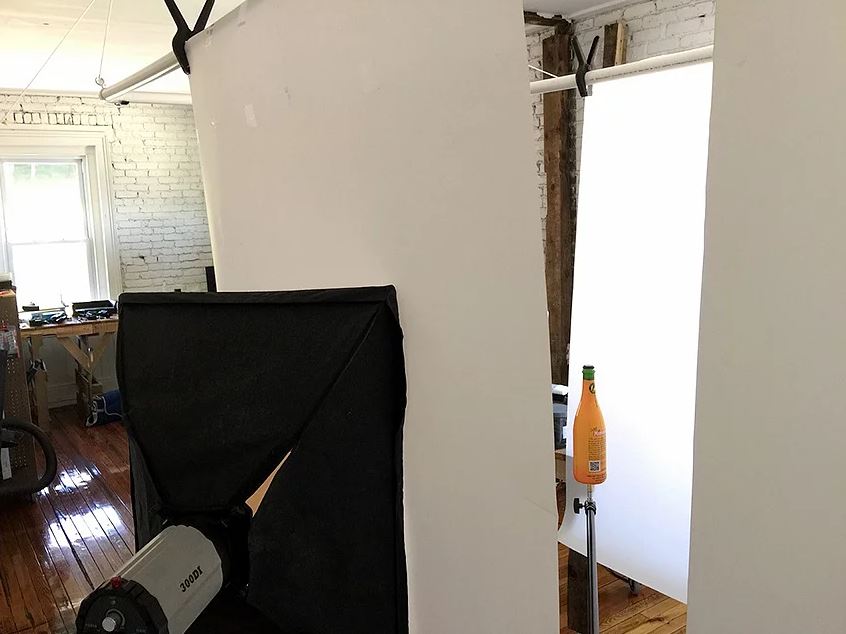
The lighting for a “clean” bottle was 2 soft boxes at an angle through Transom diffusion background material. I photographed the bottle by itself before any splashes to guaranty that the product was light well. Not shown is that I used a white foam core board to reflect light onto the label and composited the images together for the clean bottle.
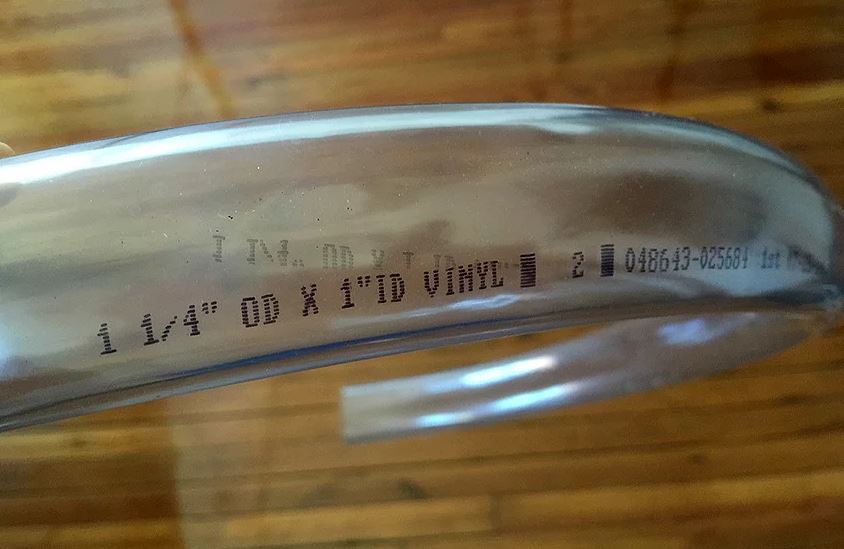
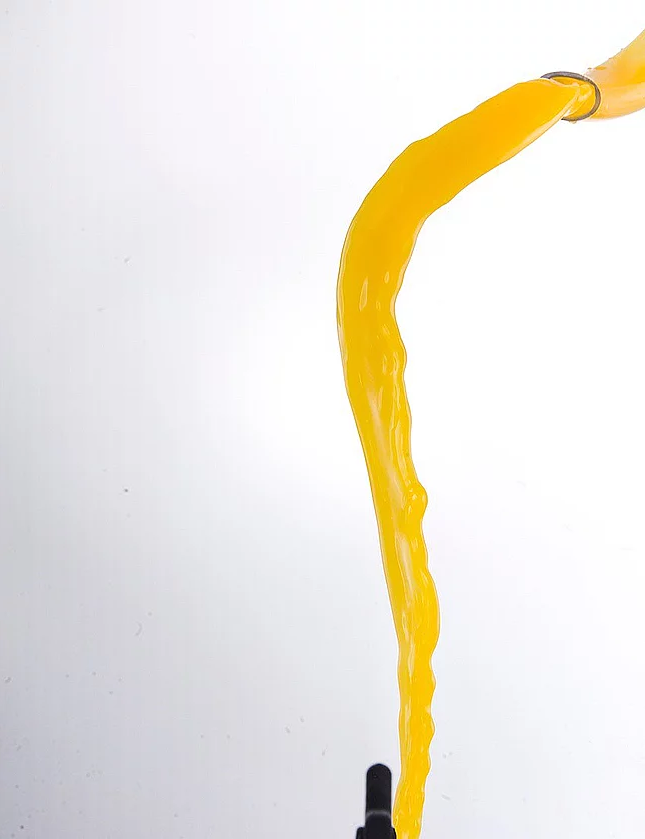
Next, I had to create the stream of orange juice flowing around the bottle. For this I used plastic tubing I found at local hardware store.
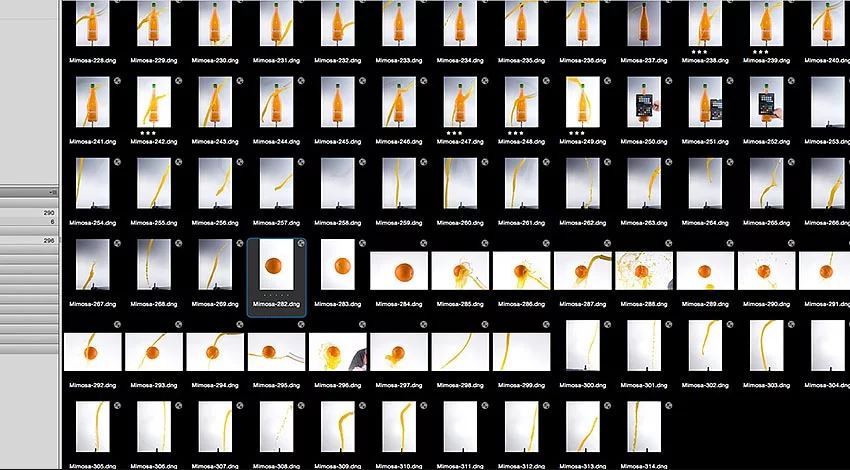
I simply poured the liquid around the front of the bottle until I created the stream I had envisioned. I couldn’t get it all the way around the bottle this way so I had to composite two pours for the final image. This took about 45 attempts for the front and another 20-30 for the back.
It all was manually timed with a wireless trigger for my camera. I did add a speed light to the setup just to the left of the camera to create some specular highlights on the liquid.
You can see the reflections in the bottle with the splashes.
BTW, shooting high aperture showed how dirty my sensor was! Remember to clean your sensor! It will cut down on your PS work.
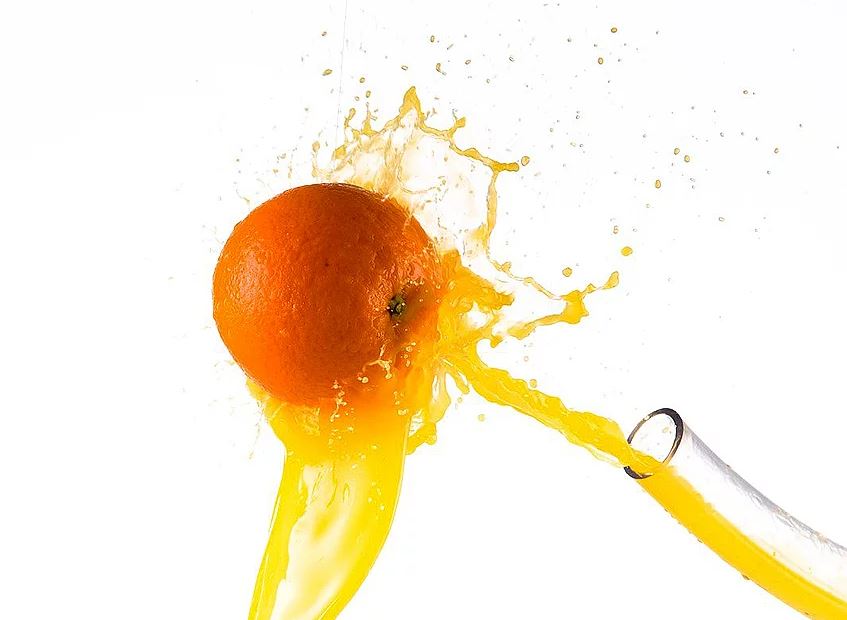
The process was basically the same for the orange.
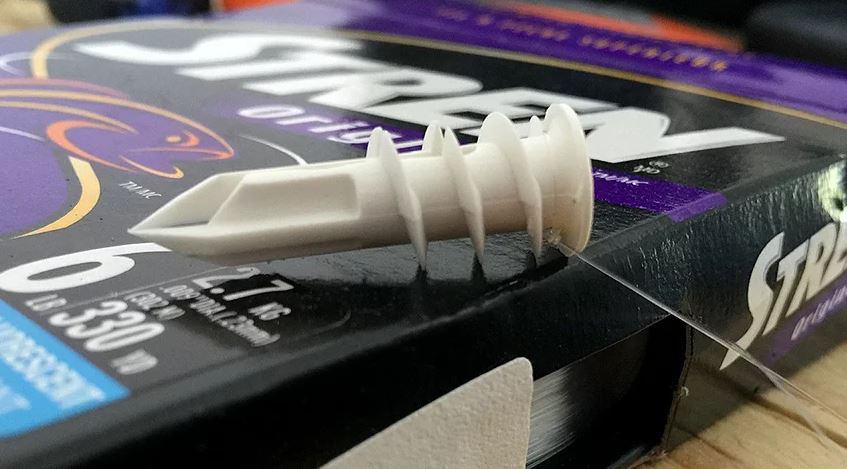
However, the orange was hanging from the boom arm by fishing string attached with a sheetrock anchor.
I wanted to get a couple different looks so the orange didn’t appear to be the same in the final image.
So I poured some, threw some and even blew the liquid out of the tubing so I could create many different velocities of the splash.
The final set of images was to have orange juice by itself. This was to connect all the parts together and I simply poured the liquid and photographed it as it fell.
Once the images were chosen I cut them from the background to ensure I had pure white for each piece of the composite.
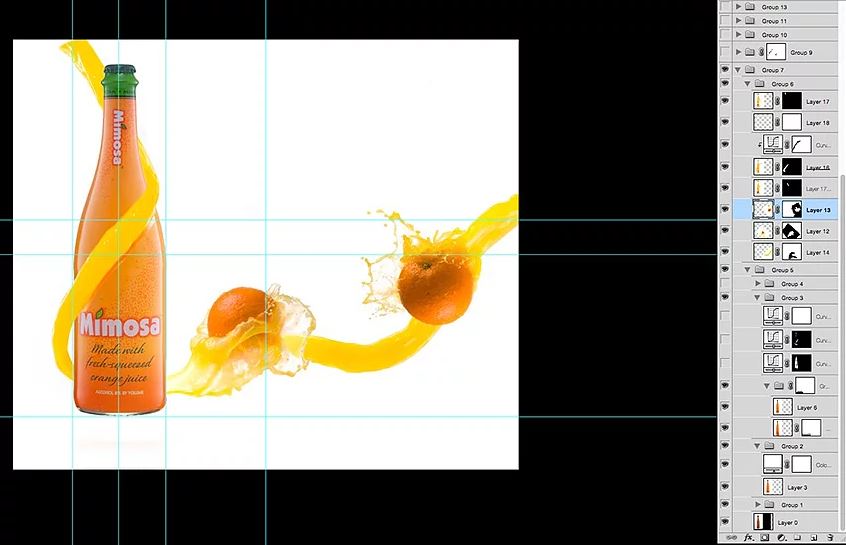
At this point my goal was to nail down the placement and composition of the overall image. I used a touch of liquify filter to mold the liquid into a more believable transition.
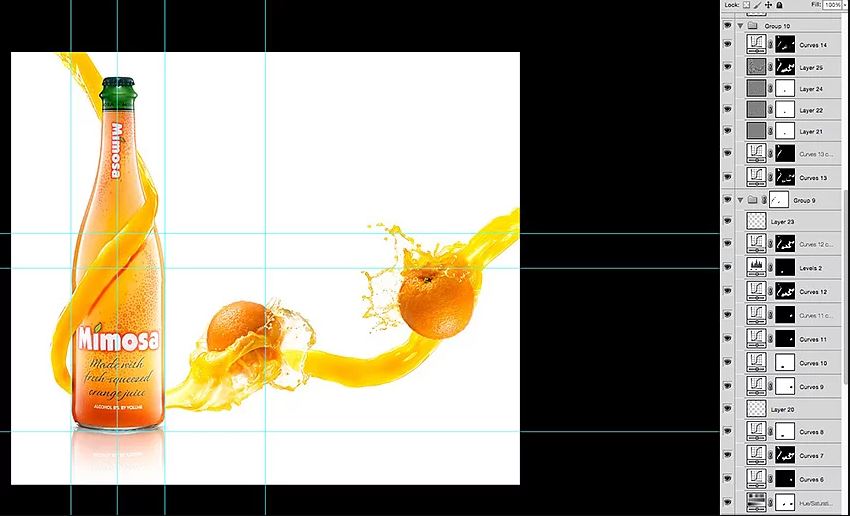
The next step was to clean up, dodge/burn, saturation and sharpen.
I have a tendency to create a ton of layers simply bc I selectively sharpen my highlights, mid-tones and shadows separately. Unfortunately, that may make it hard to follow as a reader and I apologize!
Final step of composition was adding a reflection and shadow to the bottom of the bottle.
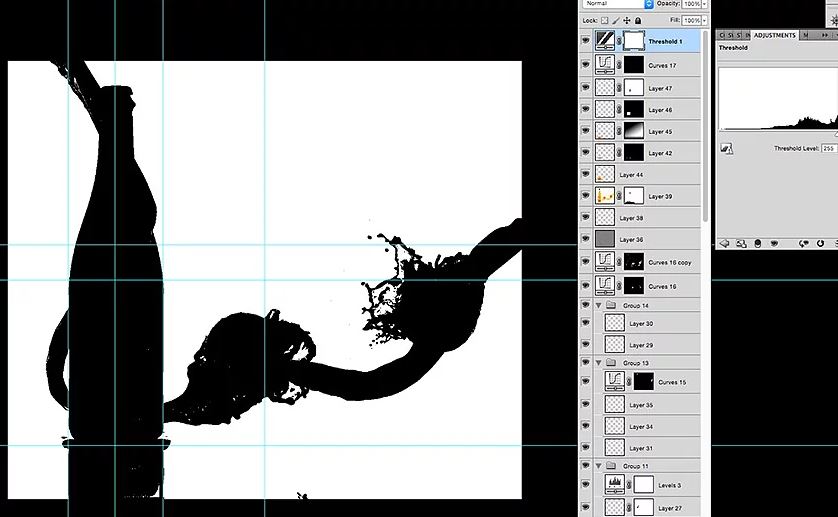
Last, I used a threshold layer to guaranty all of my whites were in fact white!

 Only for Pro Club Members