Post-Production of Glass of Whiskey with Ice shot:
Tabletop Photography Tutorial Part 2
In this part of the photography tutorial I want to show you how I did the photo editing and post-production for this shot.
Import and sort the images in Lightroom
I Started by going trough every image from the photography session in Lightroom. I mark the images that I like with blue color. Next thing to do is to sort the images marked with blue out so I only have those to work with in the final image.
When I’m done with the sorting I start with making some basic adjustments for one shot and then I copy the settings and paste it into the other two. (I’m able to do this because I used the same flash and camera settings on all of the three shots.
If had different settings I would have to change each image manually or, change each image to the way I want with any specific part of that image).
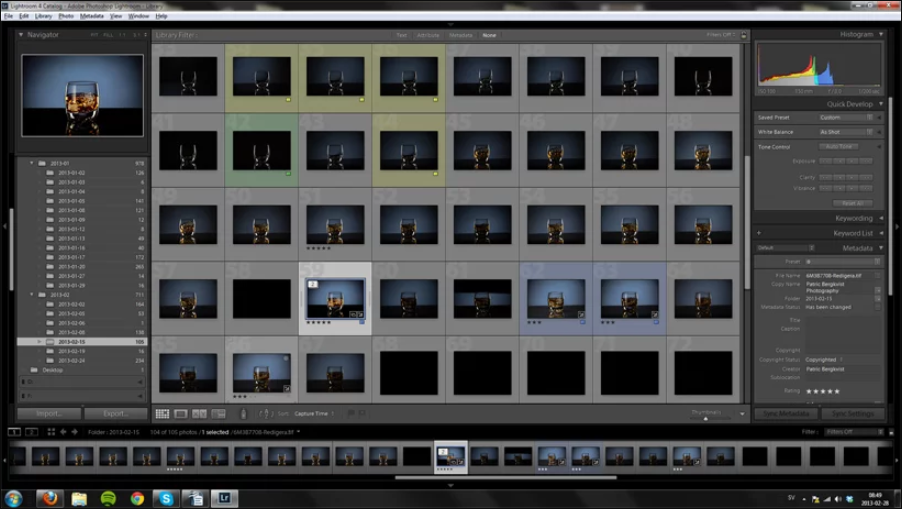
This is how my Lightroom catalog looks like Yellow and Green marks is for Part 1 of this tutorial
Basic adjustments in Lightroom
Next up is to do a couple of basic adjustments. When I was going trough the images I thought they needed to be lit up a bit, so my basic adjustments for this shot looked like this:
- Exposure +1,19
- Clarity +48
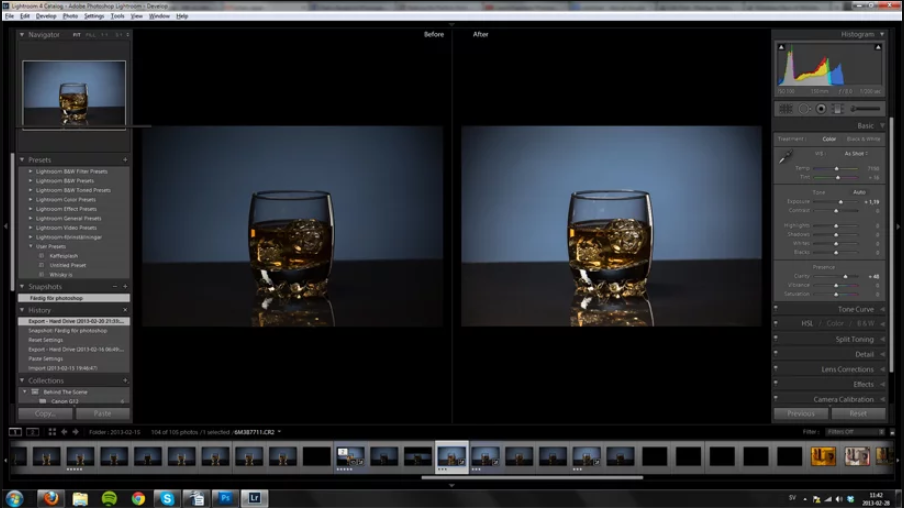
This is Before and After i made those adjustments
Open images in Photoshop
Now it’s time to open these three images in photoshop and start masking them together. I do it like this. I start by marking those images that I want to blend in photoshop, and then I right click on one of them and go to
Edit in –> Open as Layers in Photoshop
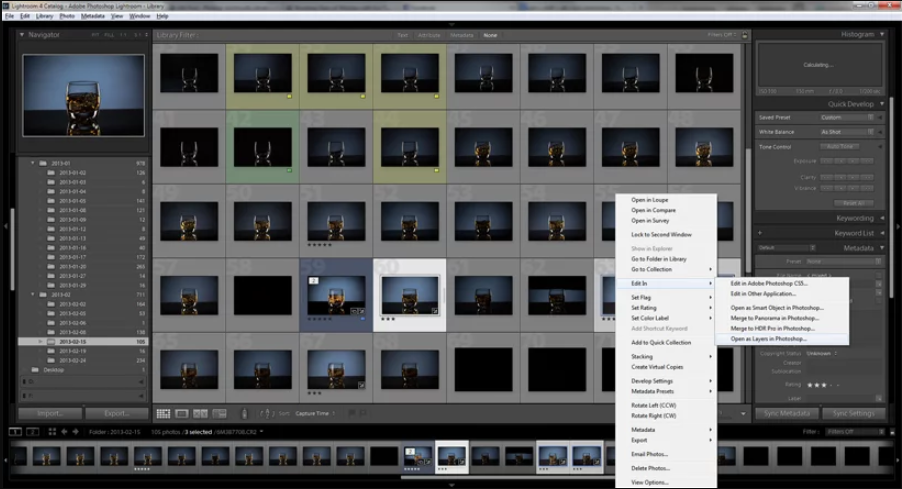
Mark images – Right click – Edit in – Open as layers in Photoshop
Final touch in Lightroom
The very last thing I did in post-production was to add a little bit of vignette in Lightroom to frame the glass a little bit more.
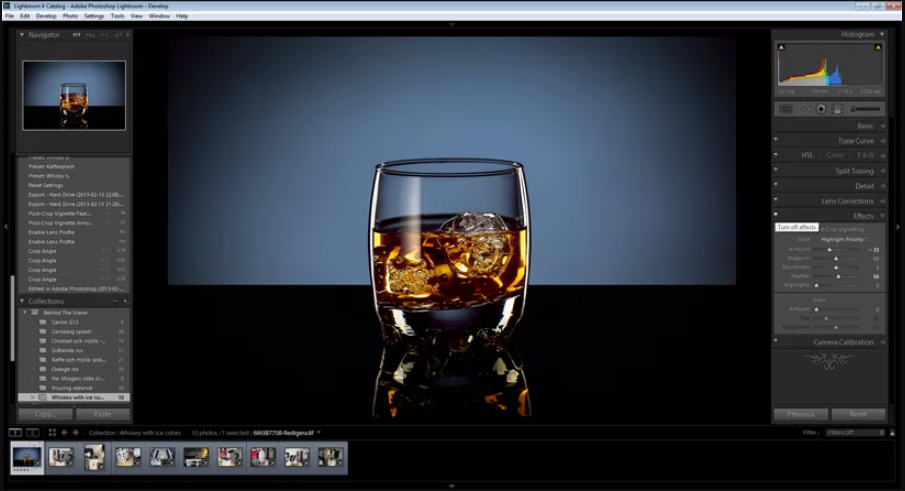
(Effects – Amount -33 Feather 56)
That’s all for now! I really hope that you guys have learned something from this two part photography tutorial. And remember, just because you don’t have access to a big studio it’s still possible to make good shots at home! Just keep on going and never give up!
