Splash Product Photography Behind The Scenes:
Becherovka
This is a step-by-step tutorial of a creative shot from Ali Naim Ulusoglu, the commercial photographer.
Step-by-Step Splash Product Photography Behind The Scenes
Hello Everyone,
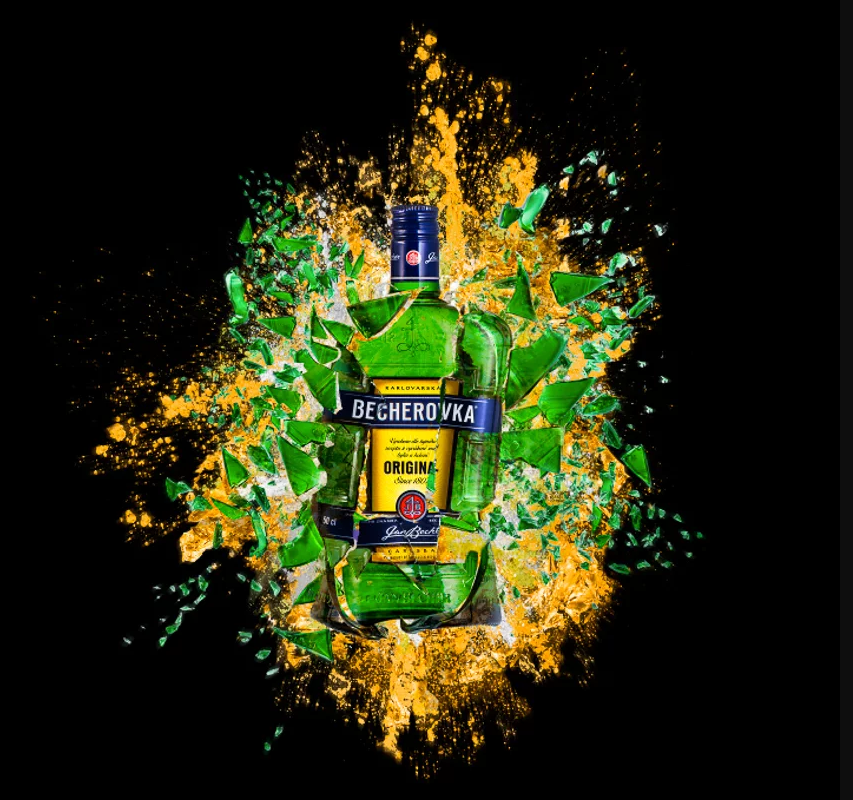
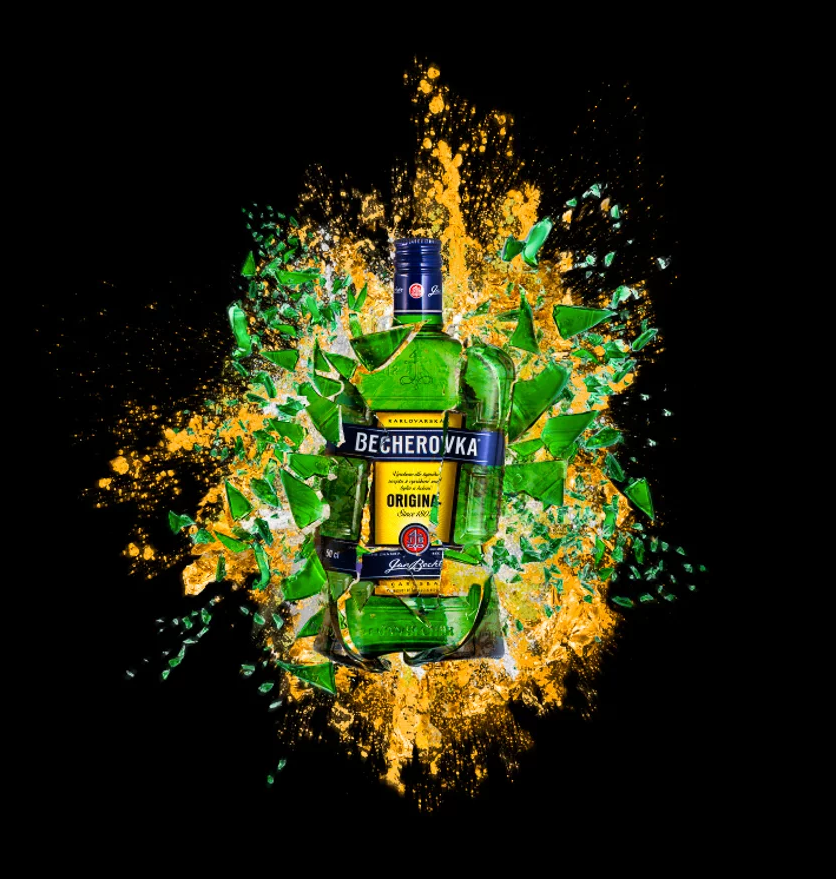
In this tutorial, I am going to show you how to achieve the photo shown below, which is probably considered in Splash Photography. We will go step by step to reach the final image and try to show you every details.

So this is a composite shot includes following shots
- Bottle
- Bottle while breaking
- Broken pieces
- Splash
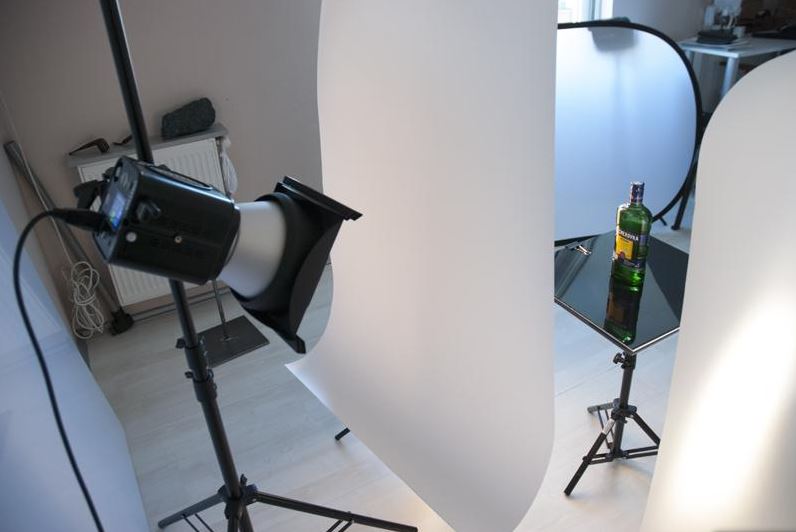
1. Bottle Shot :
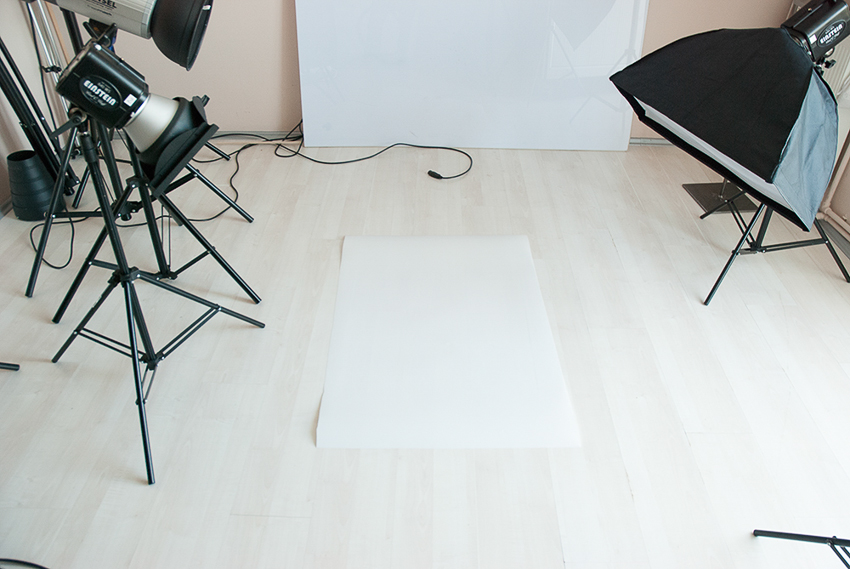
Gear:
Einstein with strip box
Einstein with reflector
Two pieces of Savage Plastic as a diffusor
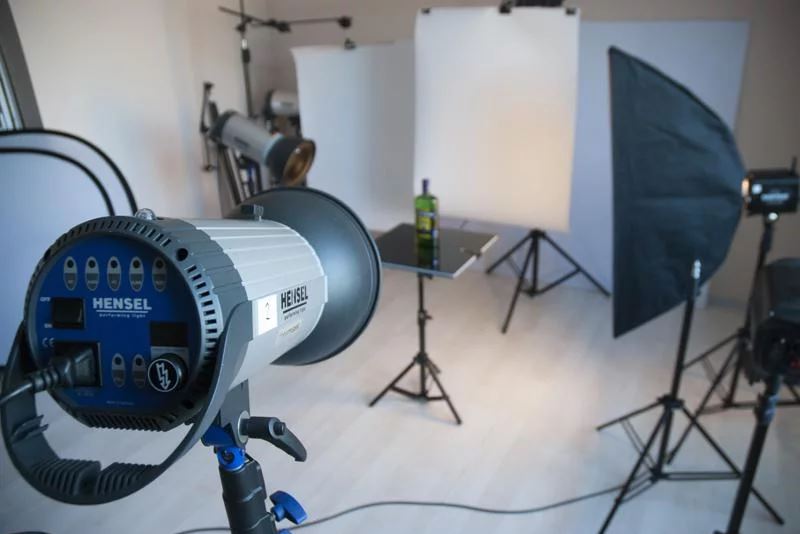
2 x Hensel with reflector and Honeycomd grid
Shooting table : A black acrylic and a small light stand
Figures :
105mm, f22, Shutter : 1/200, ISO 100, White Balance : Manual
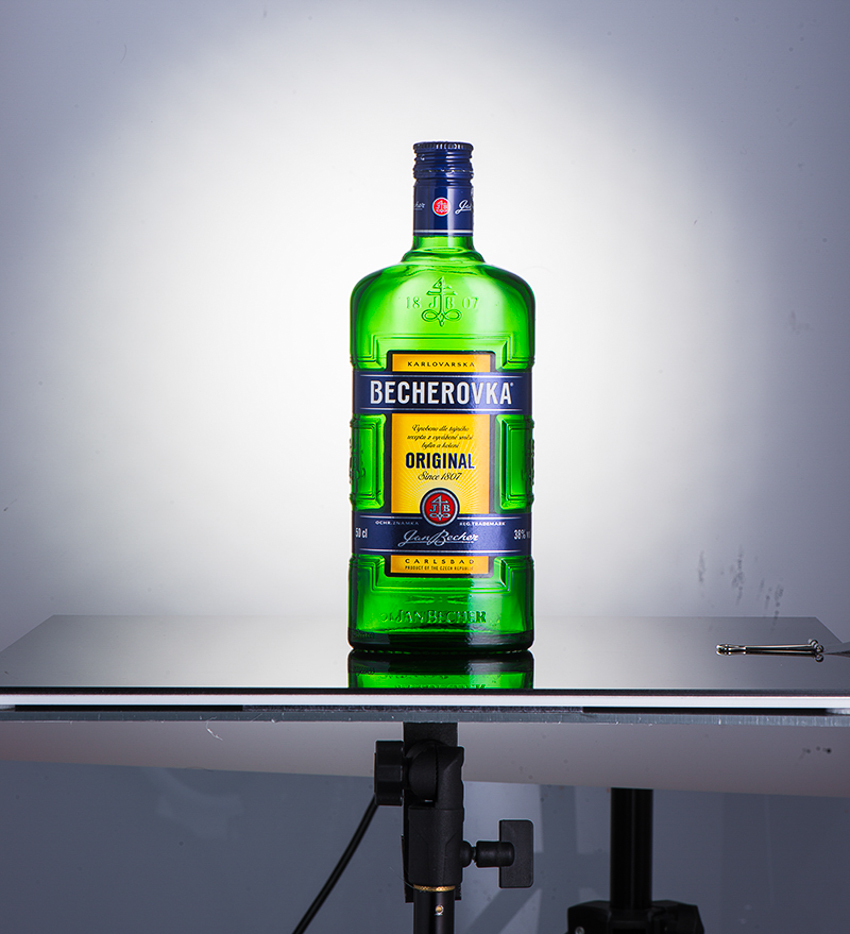
I placed the bottle on Acrylic Surface and light it from both sides and from back. Finally for the face of the bottle I placed a strobe with reflector and honeycomb grid almost 2 meters away.

 Only for Pro Club Members
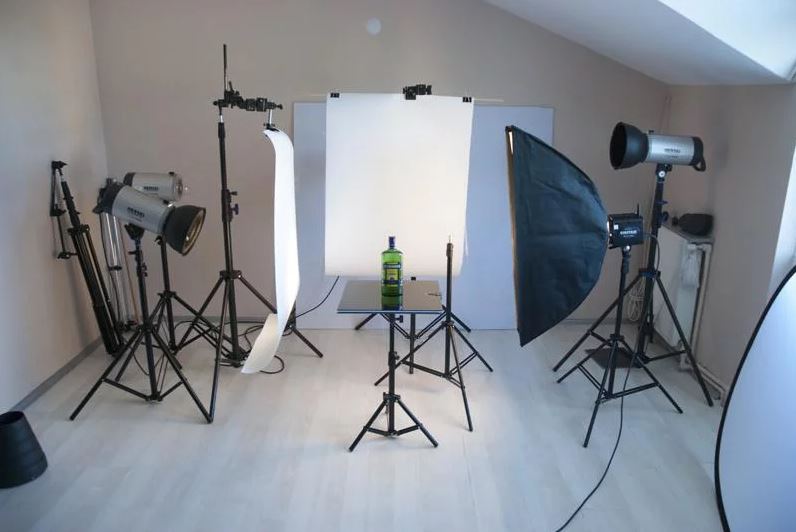
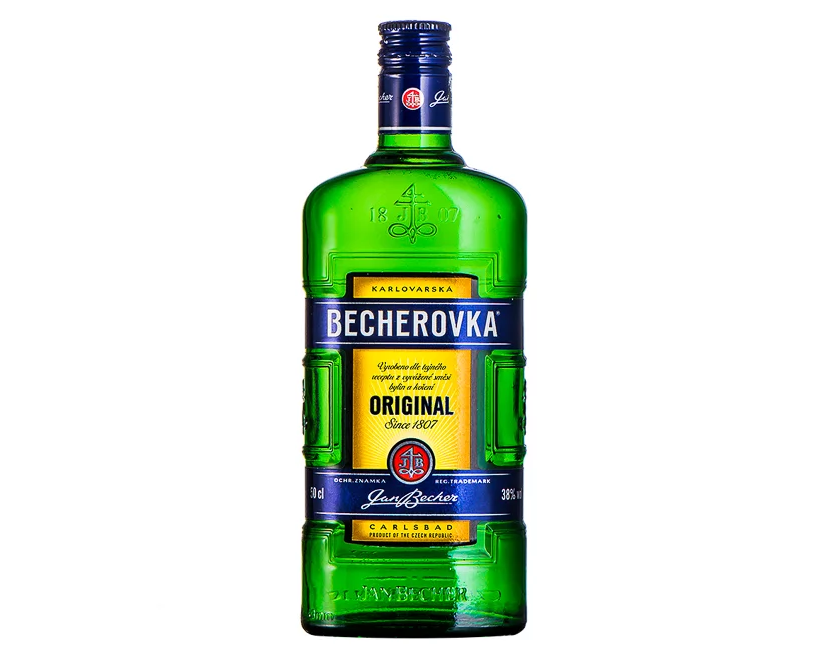
Here is the result :
I only removed the background and did some Raw retouching, nothing more. No need for cleaning surfaces right now.
2. Now, time to break our lovely bottle :
Gear:
Einstein with strip box
Einstein with reflector and honeycomb grid (30)
One piece of Savage Plastic as a diffusor
Figures :
105mm, f22, Shutter : 1/200, ISO 100, White Balance : Manual
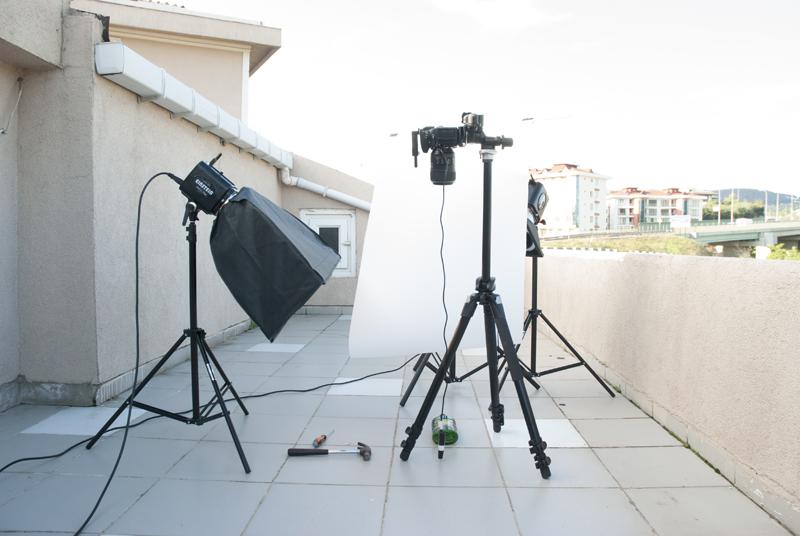
I needed a proper place to break the bottle and shoot it while breaking, so I carried all my stuff to a terrace; a shot with a nice view
Here are the photos :
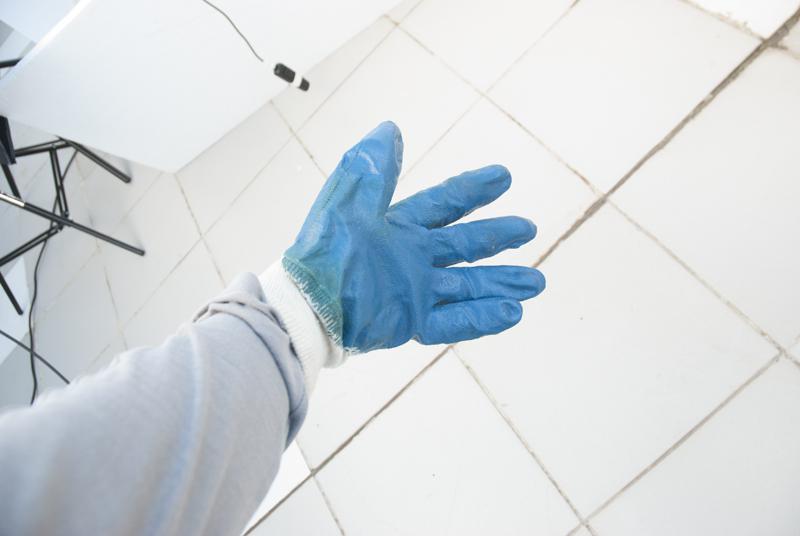
Safety First!
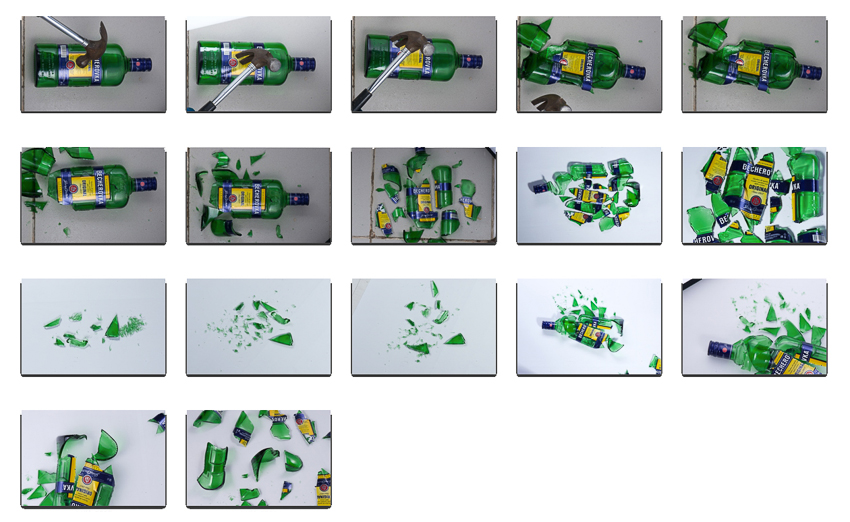
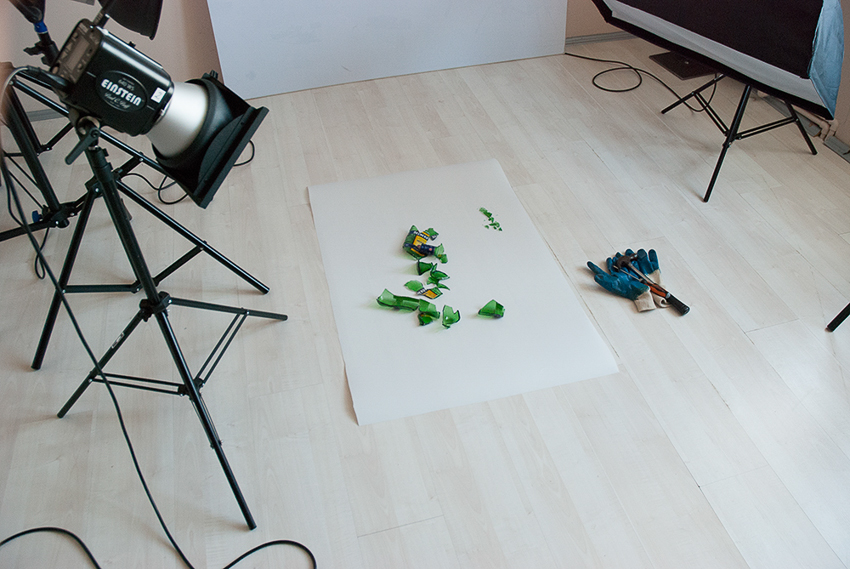
3. Broken Pieces
I carefully placed all the pieces on Savage Translum and shot as you can see below. My intention was to have the same color and reflection with the photo of the bottle before breaking, so I can put them together without any color or exposure problem. Well, anyway, you always can fix those differences in PS later.
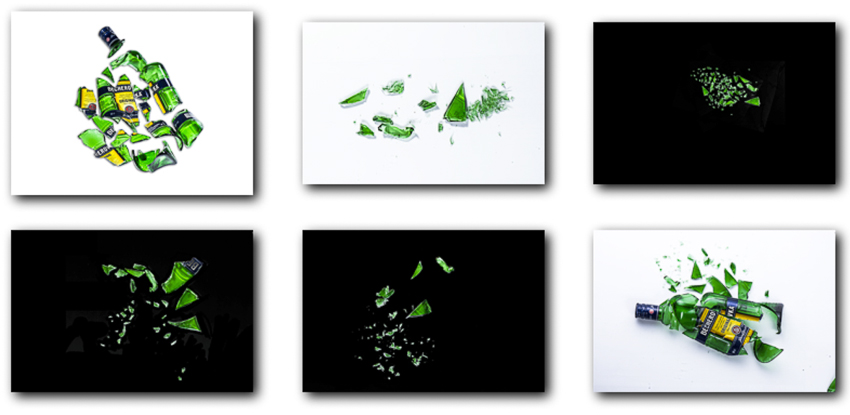
Next, I have removed the background of the photos that I have chosen. Now they are ready to be placed together and unite with the bottle. So far, lets see what we have in hand : a whole bottle photo, photos while breaking and broken pieces, all ready for a composite shot. There is only the splash left.
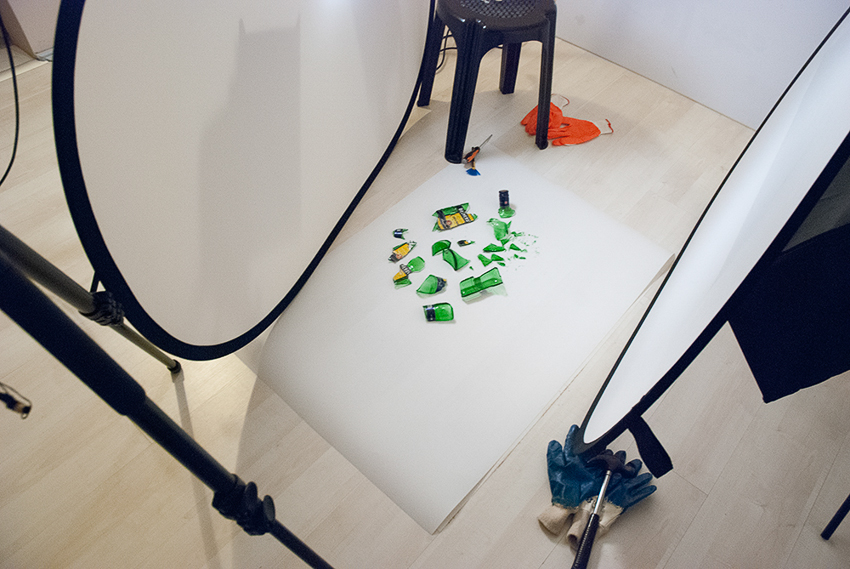
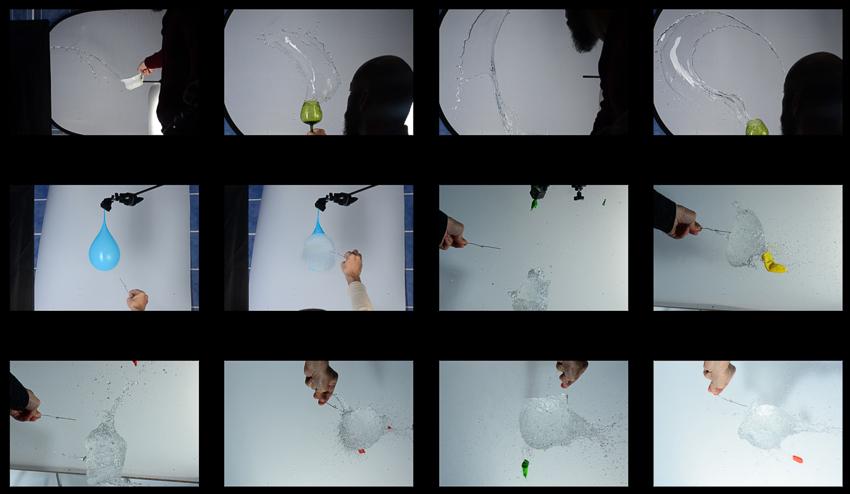
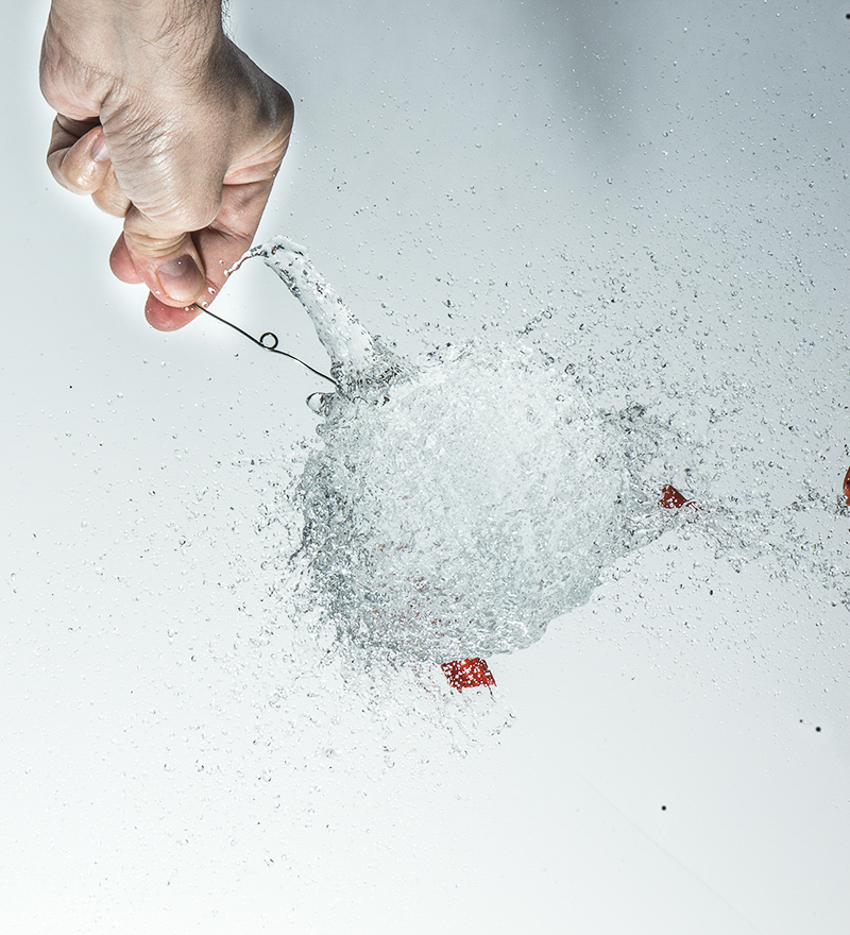
4. The Splash
Gear :
Einstein with strip box
Einstein with reflector
One piece of Savage Plastic as a diffusor
Layout For Splash
The layout I usually use ; one diffusor at the back with a strobe behind it, a strobe on the right and a reflector on the left. I only have two Einsteins, thus I mostly use this layout. However you can always try different setups.
Figures :
105mm, f29, Shutter : 1/200, ISO 100, White Balance : Manual
FINAL STEPS :
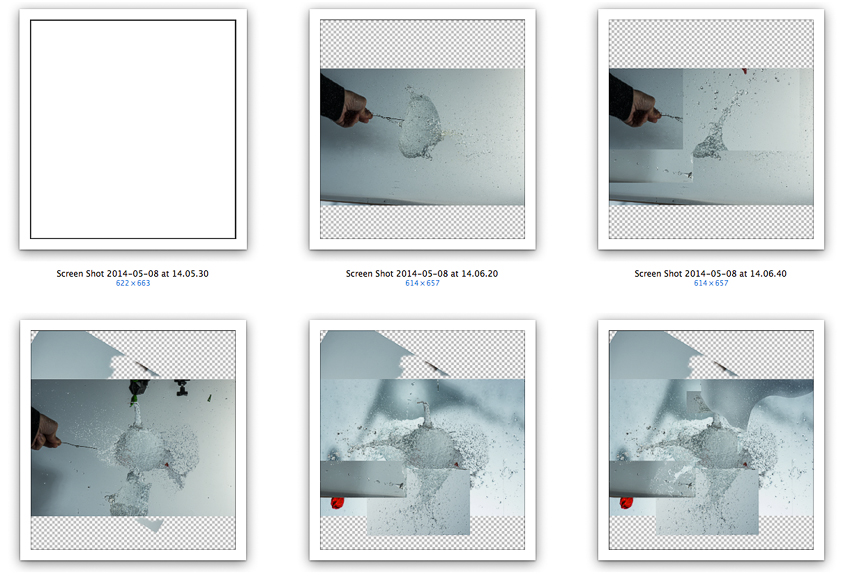

Here I was not sure whether I should put in some green liquid too, however after a little discussion with friends in the Photigy Facebook Group, I changed the green colored liquid to orange, too.
After that, as you can see from the last picture above, I add white liquid to make it look more realistic, to get the foam effect of the drink.
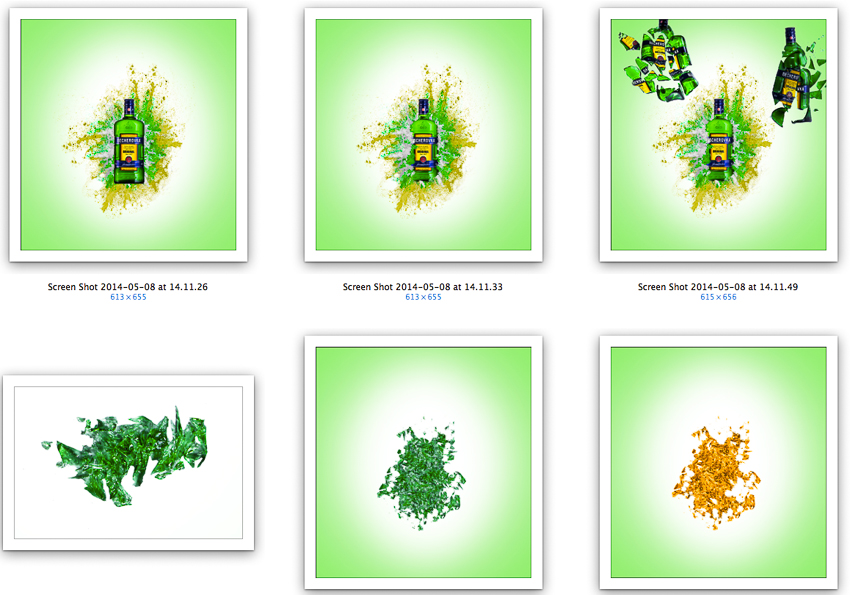
Hint: In these 3 photos above, I have duplicated small broken glasses to create a liquid flow effect. Then changed their color to orange to catch the same color of drink. Then I added them behind the bottle together with real splashes.
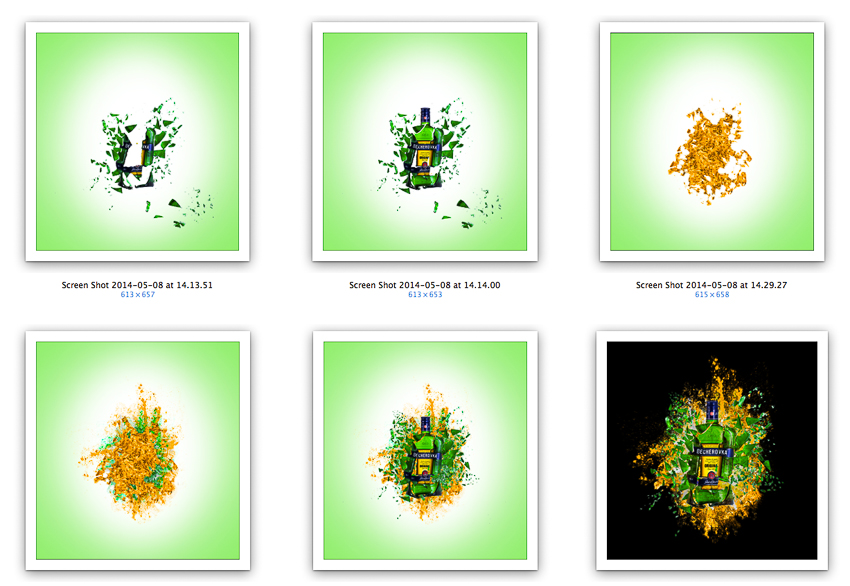
After that, I placed bottle and broken glasses accordingly. Then added the splash, viola !!!
I hope you enjoyed the tutorial!
 |
In the Gearbox |
Cameras & Lenses: Nikon D800
Lighting , grip, accessories and software: Strobes: PCB Einstein E640 x2 and Hensel Integra 1000 plus x2 |