Studio in your hands:
Portable lighting setup for event photography
I am not an event photographer, but like any of you I enjoy shooting events I participate in. Let me show what I use to get studio-like lighting in any regular size room (for a bigger ceilings, 30 and more feet it won’t work that good).
The main idea is to have more than one light sources: one for a model and the second one is for reflection and the rest of the room. With only one flash attached, even if used with light diffuser, you can’t have good light spread. The best you will get in a relatively large room is a flat looking model and some shadow behind.
Dual dedicated flash setup for canon
Much better results will be by using 2 light sources:
One to highlight the model, and a second one to bounce from a walls/ceiling and highlight the model from aside and behind. The biggest advantage over diffusers (which is basically doing the same, by separating light impulse into two different directions: front and perpendicular to frontal direction 360 degree spread), because you can manage split ratio between group of flashes. By selecting how much light we want to use to highlight the model and how much for a background /side reflection we can imitate at least 3 independent light sources: one front, one fill light and one counter (hair) light from behind. Obviously, we need to have white walls to work as a fill light, and something bright on top/behind.
I was using 2 Canon Speedlite 580EX flashes, one was set to a master (group A) and second one (Group B) to a slave mode.
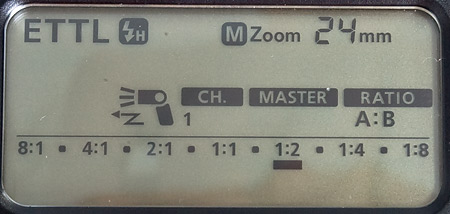
This is how it looks on a flash LCD screen. Master, group A:
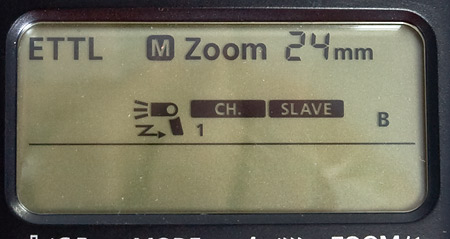
canon speedlite 580ex master mode. Slave, group B:
Canon speedlite flash slave setup
On a master (A group) I selected output power ratio shift, making side flash to work with more or less power than slave unit. I was using 2:1 power ratio. However, any other, less expensive flash will work well, you just need to have a manual mode to set side flash to fire with 2 or 3 time more power (depending on how far you’ll be from a walls and ceiling) than a front one.
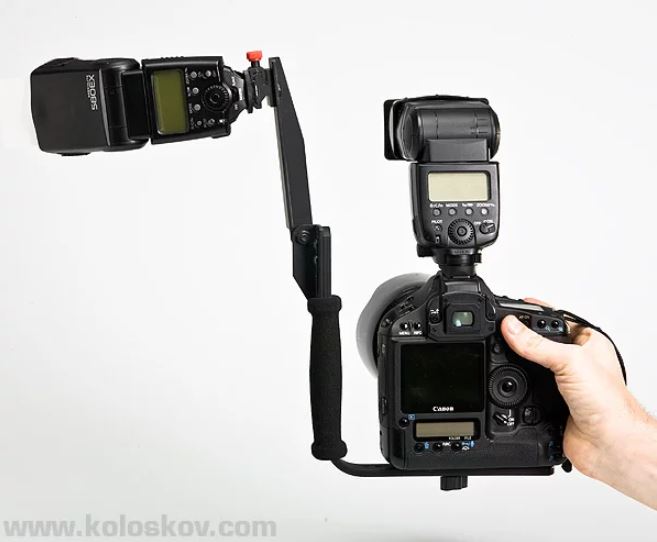
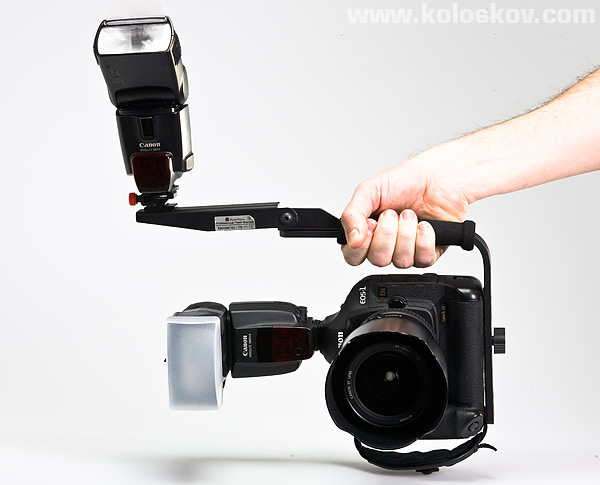
Dual flash setup on canon, one master one slave
Also, I’ve used a diffuser for a front one to soften flash beam even more. Slave was tilted to about 65 degrees out.
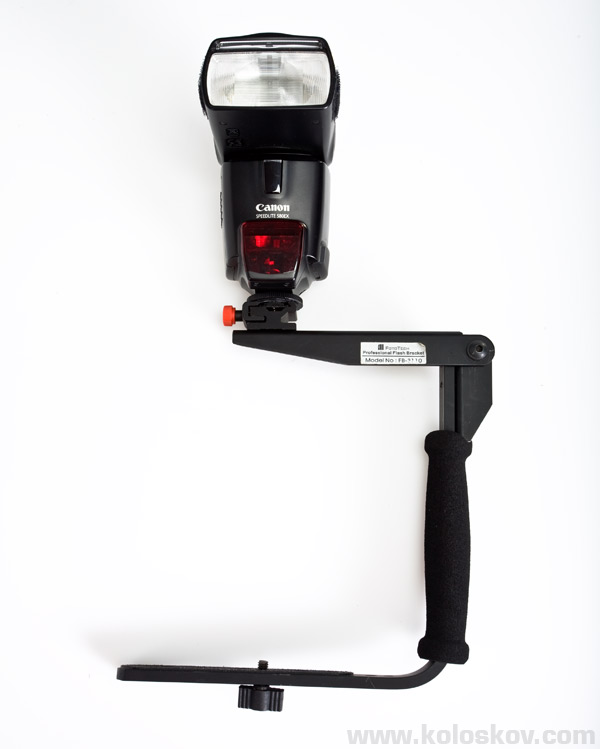
I have some really cheap flash grip, far from the best and most convenient you can find on the market, but I am completely fine with it 🙂
Hot shoe grip for DSLR flash
I prefer to use it to shoot vertical (see photo below),this way secondary flash bouncing from a ceiling, creating similar effect I described earlier, shooting a business portrait with beauty dish in a studio. If we set secondary flash unit for 3:1 or even more power ratio (3 times or more power shift compare to frontal flash) and tilt it’s head to about 65 degree with maximum zoom (105 mm for 580EX) to create a snoot-like light beam, we can hit ceiling and walls behind model with really intense light without highlighting the model at all.
Which is exactly what we need: virtually we’ll have 2 or 3 independent light sources: front, fill and hair light, all in your hands. Yes, you’ll need both hands, it is really heavy 🙂
Dual dedicated flash setup for canon vertical
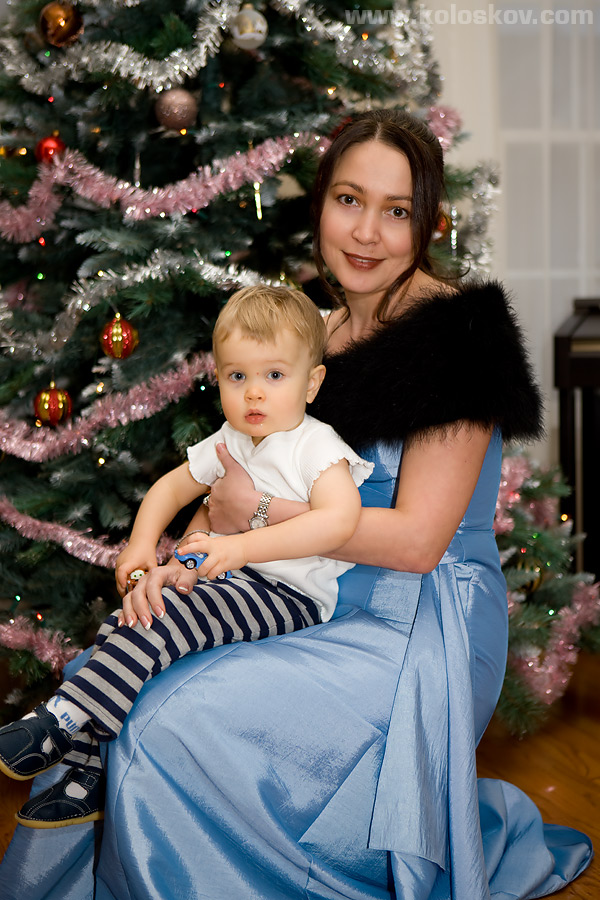
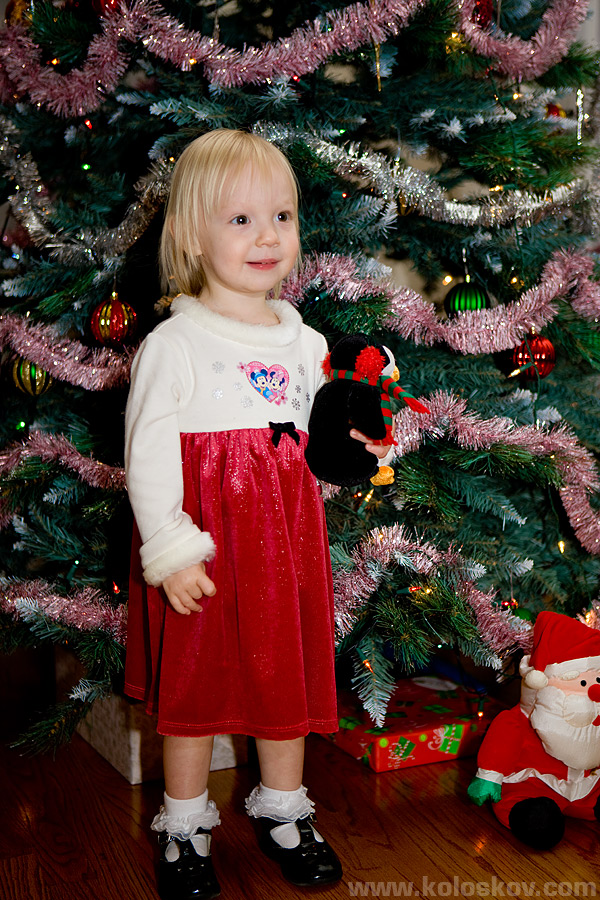
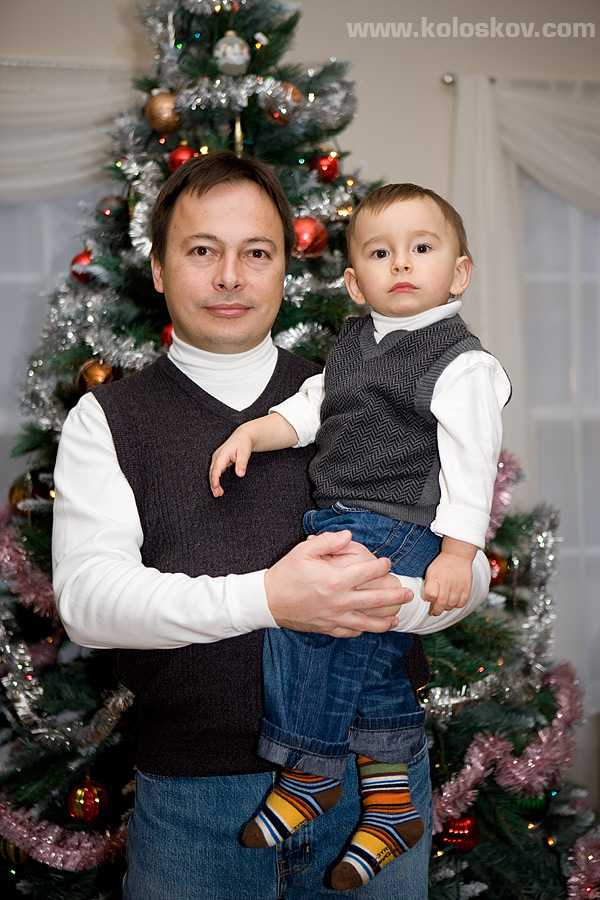
Below are several examples from a Christmas eve we’ve been celebrating in our friend’s house. All portraits were done in a dark, really dark room at 1/60 sec and f4.0, with 24-70mm Canon F2.8 L lens attached to 1Ds mark III body:
Studio like portrait with dual dedicated flash attached to canon
Studio like portrait with dual flash canon
Studio like portrait with dual dedicated flash attached to canon
Let me know if i miss anything here, would be glad to know about your ideas, especially if you professionally shoot events.:-)


