How to Shoot Food with Your iPhone
iPhone photography from Tilo Gockel


Inspired by Alex’s cool iPhone vs Hasselblad whiskey shoot, I decided to try it out myself, to see, where exactly the limits are of a smartphone camera!
In my case it’s an iPhone 4s, but I am quite sure, that almost any other phone will be better. :- )
In this episode, I will try and shoot some tasty food under natural light with that iPhone.
How to Shoot Food: Here we go:
Imagine, you are sitting in a posh restaurant, the dishes look just great and you want to capture that with your smartphone. And then this is, what happens (yuk):
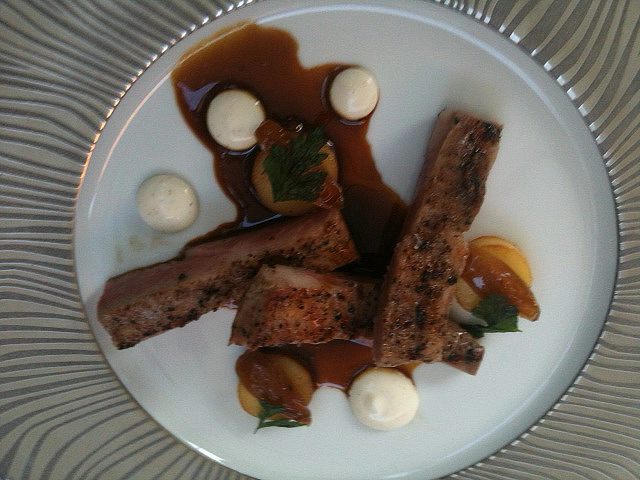
Really not so tasty, is it?
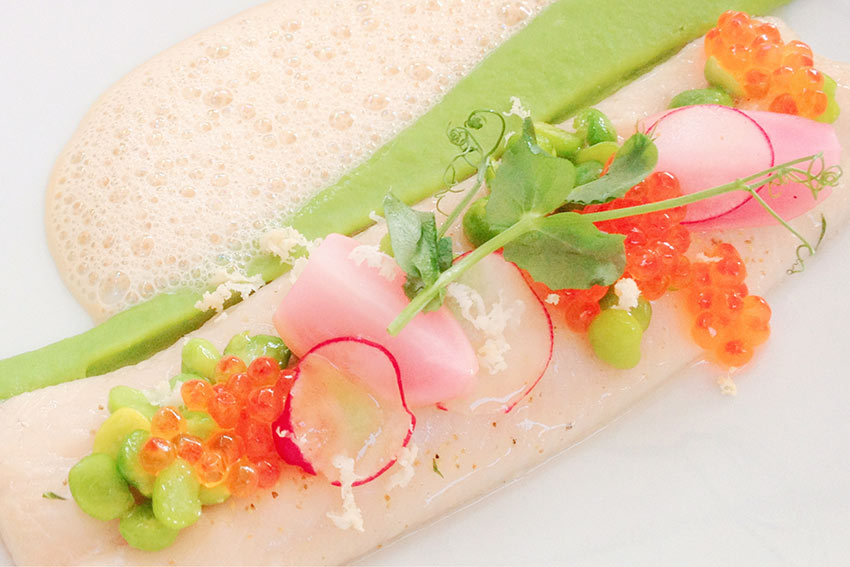
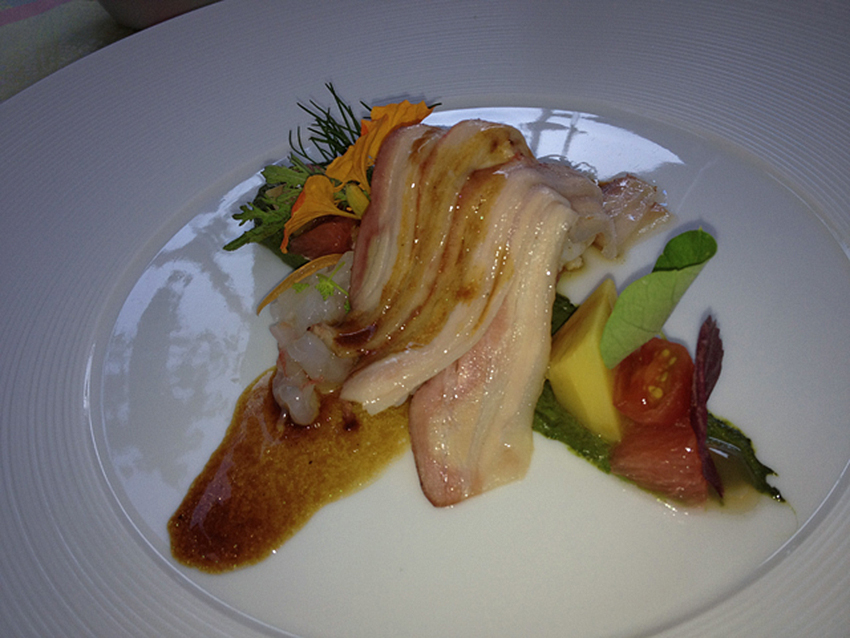
But we will fix that, and then, the same scene, shot with the same smartphone, will look like this:
PROBLEMS & SOLUTIONS
So what exactly were the problems with the ugly shot and how can we solve these to get the second and nicer shot?
First of all, the ugly shot is obviously underexposed. This is an easy fix, if you are using a more capable app like Camera+, AlmostDSLR or 645 Pro. I used the latter and adjusted the EXPOSURE using Exposure Compensation.
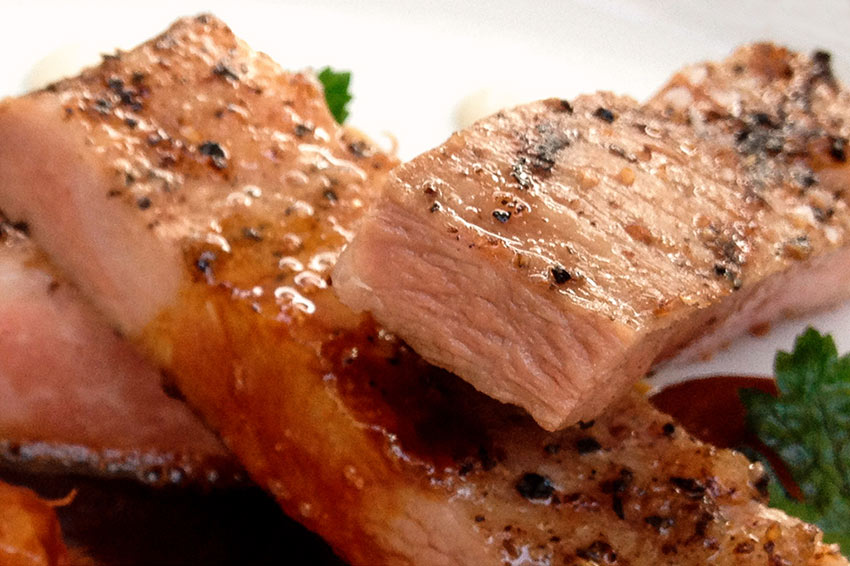
Then, as always, the light is important. All shots were taken on a terrace and under a sunshade, what normally delivers a nice SIDELIGHT for the dishes. But you also have to choose the camera’s angle right, to get that sparkling on the steak strips. And if you now think about using your little LED-FLASH … please don’t. This would look like this disgusting shot:
The next problem to address is the WHITE BALANCE. I always carry a little graycard in my wallet, but the tablecloth or a paper handkerchief will work just as good, and with an app like 645 PRO Mk III you can easily store a special white balance for a whole series of shots.
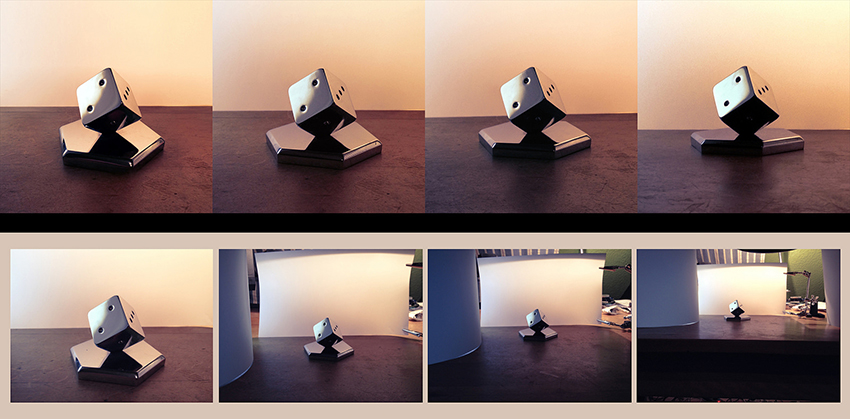
And then again, the 35 mm-like PERSPECTIVE of the iPhone is not really suitable for food shots. But there is an easy trick: Just choose a larger distance and crop the photo later-on in Photoshop. This will deliver a perspective like from a 60 or 80 mm lens.
In the next little photo series, you can see, how the distance to the object affects the perspective – from a wide-angle perspective to a telephoto look. The upper row shows the shots after the crops.
Now you might be concerned, that this tight crop costs too much resolution. This depends on the application, but even when a highrez image is needed, there might be a way around: Just shoot not one but let’s say eight or twelve similar shots and combine these using the software PhotoAcute. PhotoAcute implements a sophisticated Super Resolution algorithm and therefore can at least double the resolution. Sounds interesting? Then lets have a look at this quick TEST.
Also it is worth noticing, that PhotoAcute sells a cheaper version of the original software, which is designed especially for the use with smartphones.
And, as always, at the end there is a tiny little bit of PHOTOSHOP stardust needed. I only used Adobe Camera Raw for the teaser shot. You can see the adjustments and also the crop in the two screenshots. As you might notice, these tiny adjustments make quite a big difference.
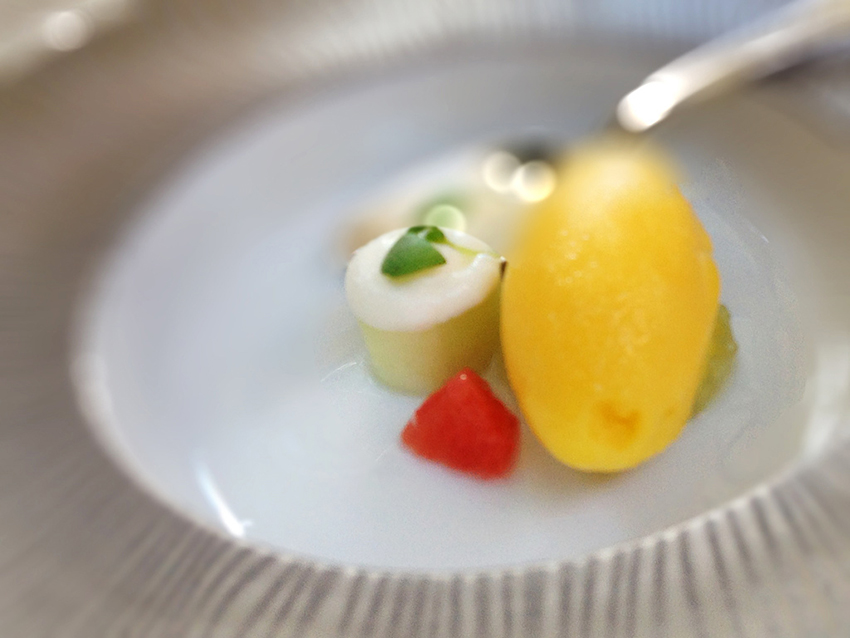
And now I already hear some of you crave for BOKEEEEH BUBBLES ….
There is no easy way to get a really small depth-of-field when using a smartphone, but you can try the app TADAA SLR. With a little patience and with a good image to start from, the synthetic bokeh effect, which TADAA delivers, can be quite nice.
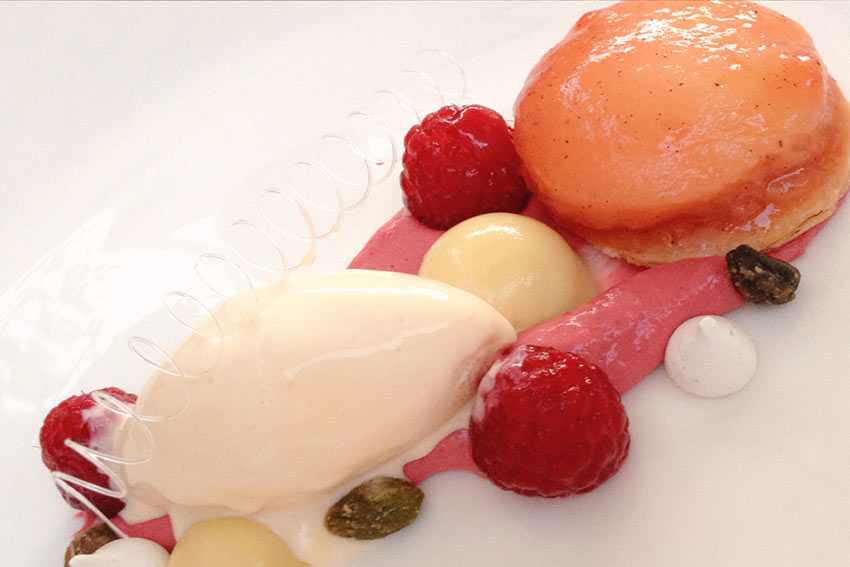
ONE MORE EXAMPLE OF An iPHONE SHOT FROM TILO:

Check out Tilo’s Flickr stream to see more awesomeness: https://www.flickr.com/photos/galllo/
More articles from Tilo Gockel:
Product Photography Using Your Smartphone: The Lighting Matters, Camera Does Not
CONTACT
Tilo ~gallo~ Gockel, [email protected]
Also visit Tilo’s blog, fotopraxis.net, which offers numerous tips and tricks learned from his extensive experience with photography. (in German)
