Food Photography With Speedlites:
How to take food shots on location

Hi! Hope you’re hungry, if you aren’t continue reading this article.
I would like to present a simple and effective way to get awesome shots of food on location. And what’s more important, you don’t need a lot of equipment, with a setup which you’ll see below you can shoot almost any type of food and beverages. It’s easy to set and takes only a few minutes to get prepared for the photoshoot.
If you sometimes shoot food on the location you probably know that timing is very important. Greens fade quite fast, soups get unattractive membrane on its surface, meat dries and looks terrible.
A lack of space in some restaurants is an additional obstacle on your way to perfect the shot. But with this killer setup, you’ll get an outstanding result straight out of the camera. And please shoot tethered to impress your client even more.
The main idea is to create the nice soft kind wrapping light for our food. In most cases, we don’t want to have harsh and odd shadows. So I prefer to shoot mainly with back or side light and use white or silver cardboards to fill desire areas.
You can even use light from a window, but we are going to use more advanced and precise technique. Check out this amazingly universal scheme below.
Food Photography Lighting Schemas
As 1st light source, I use Savage translum roll as diffusion panel and Canon 580 EX II behind it. I position it approximately 45 degrees to the dish and behind it.
To vary the hardness of this light source you can use these things:
- Change distance between Speedlite and roll (closer to the roll – harder light, further from the roll – softer light)
- Change distance between the roll and the object (closer to the object – softer light, further from the object – harder light)
Evaluate this light source as a softbox but with the opportunity to change the distance of Speedlite relative to the diffusion surface (in our case it’s translum plastic).
It’s not necessary to use fancy Speedlites like Canon 600 EX-RT or Nikon SB 910, any type of light source will work. You can even grab table-lamp and you’ll be fine with it.
If you don’t have a softbox yet, just cut a few feet from diffusion roll and use it as the 2nd light source. It’s not as controllable as softbox but works pretty well though.
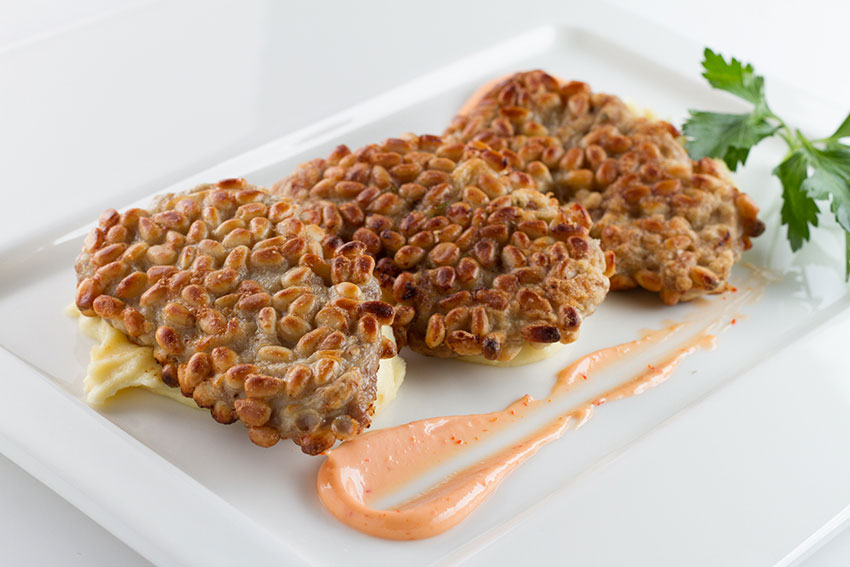
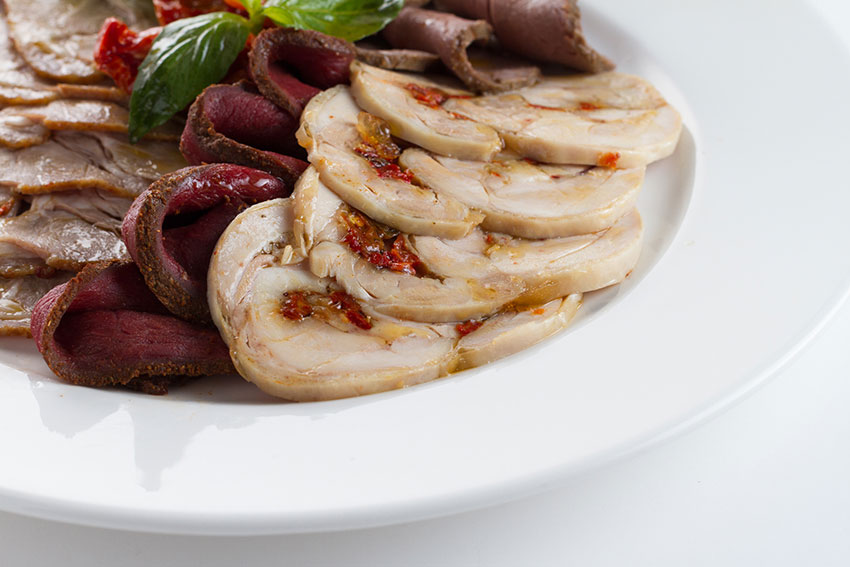
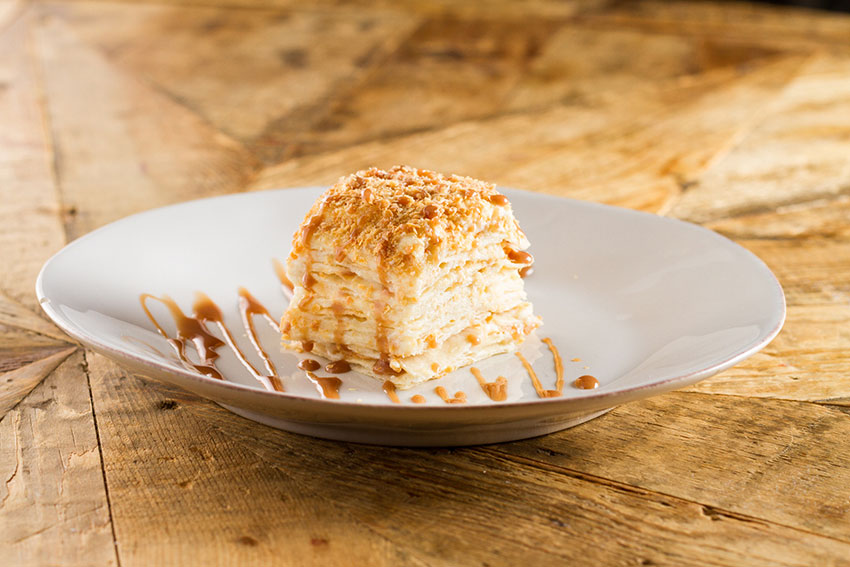
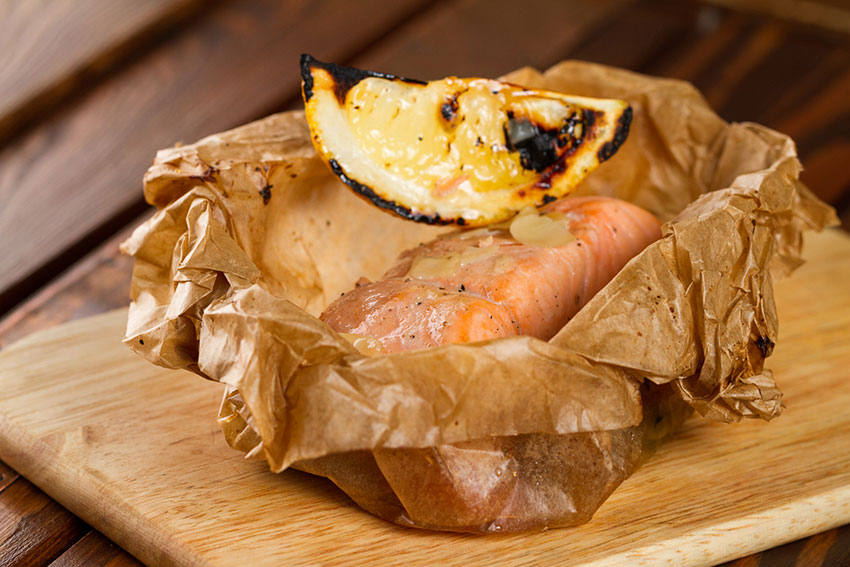
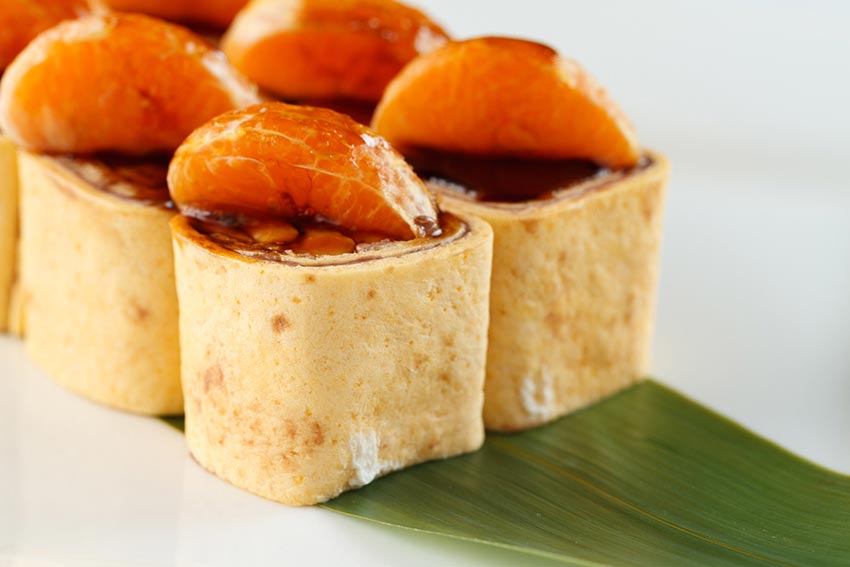
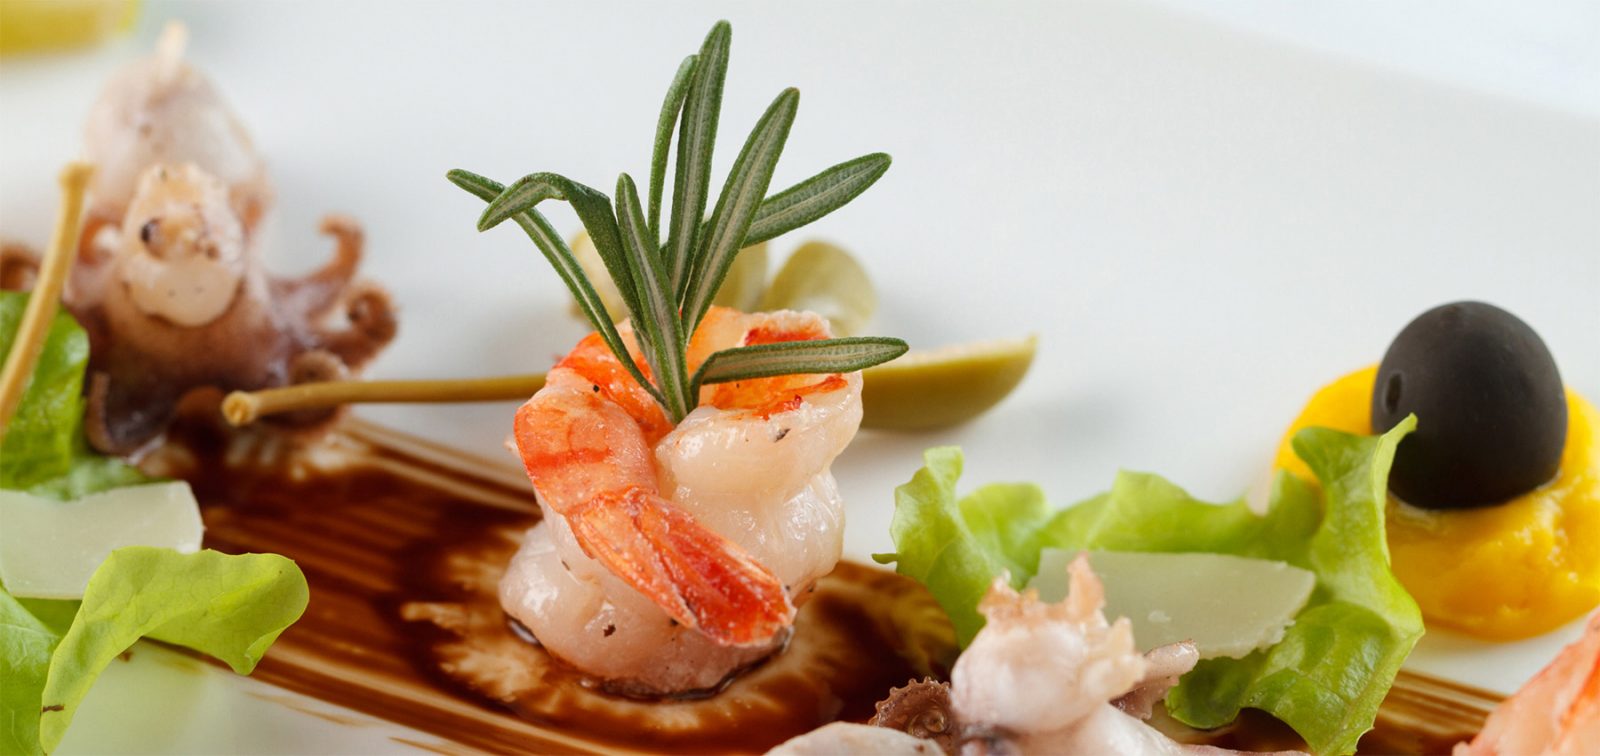
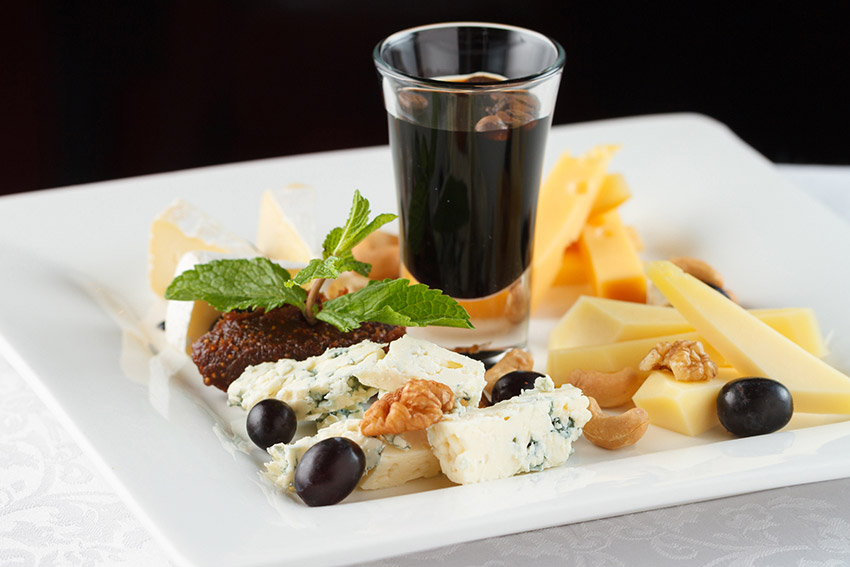
Here is the actually SOOC shot. For my workflow, I often slightly overexpose images, because in one session I have to shoot 100-300 shots and it’s physically impossible to retouch each shot in Photoshop.
So I want to get image to be print ready as much as possible.
Positioning light in the way I showed gives nice highlights and gradients if the dish is served well. If you observed that food looks dull, just use a little bit of oil to pop some areas up.
Visualize how your food reflects the light and use it for your purposes.
Very minor changes can dramatically improve or destroy the mood of your images. Playing with camera angles, a position of lights helps to understand how all things work together.
Similar setup, but instead of softbox I used stripbox 8.8×36″. A narrower spread of light gives you precise control.
I just wanted to mention that this is my daily work. I should produce a kind of stock looking images for restaurants, cafeterias, bakeries, etc. Sometimes I get 3 sessions in one day in different places, so my workflow supposed to be pretty straightforward without doubts.
If you aren’t in the rush as me, you could use some props to create more complicated compositions. Improvise with camera angles, shooting from the top is good if you want to define shapes and interesting elements.
In the Gearbox |
|
|
Canon 7D Canon EF 50 mm f1.4, Canon EF 100 mm f2.8 L IS USM 2x Canon 580 EX II Godox S-Type Bracket Savage Translum roll Softbox 24″ |



 Only for Pro Club Members


On your 2nd and 7th image, i see there is an additional light source right on top of the plate, is that another modifier?
Hi Ruben, this looks like a regular table lamp. And after what I can see it was turned off during the shoot 😉
nice tutorial! What f-stop do you recommend for food photography like the ones above. Were the photos above just post-processed in LR or C1?
Hi Yaneck, we have recently released a great course about food photography. I don’t know if you have seen it?
https://www.photigy.com/school/the-basics-of-commercial-food-photography/