How to shoot a beer can with speedlites
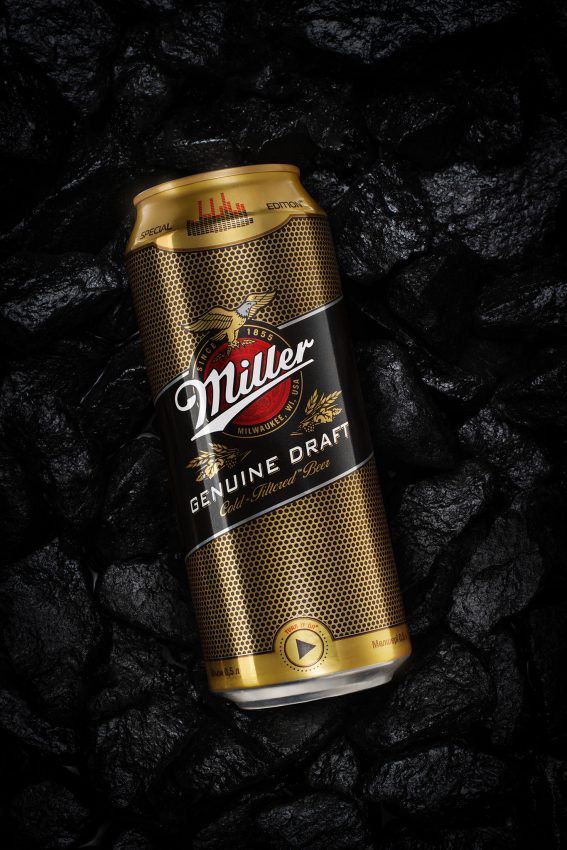
A studio shot of a can of beer requires more than just a few lights. It requires the knowledge to produce the right amount illumination in the right areas, to produce the desired effect. Another thing to note is that you should aim at capturing as much of the final image in-camera as possible. This ensures that you spend as little time as possible in post-processing. Arranging the lights for that perfect shot requires a lot of trial and error. It is painstaking work but it is also gratifying when all of it comes together in the final picture.
The technique Andrey using may be applied to any sort of cylindrical items, you name them. Lighting setup isn’t hard to recreate even with a single light source.
Optionally, you can get additional shots of a background to have a better control over it in post-production. There are also a lot of ways to create a necessary mood using a different position of light sources.
Post-production
The whole process is divided into 4 main parts:
Creating a background;
Compiling different elements of a can;
Retouching;
Color correction;
By following a quick walkthrough video above you’ll understand how I moved through the whole structure.
 |
In the Gearbox |
|
|
