Meet Harold Ross – a master of light painting
Interview with professionals series
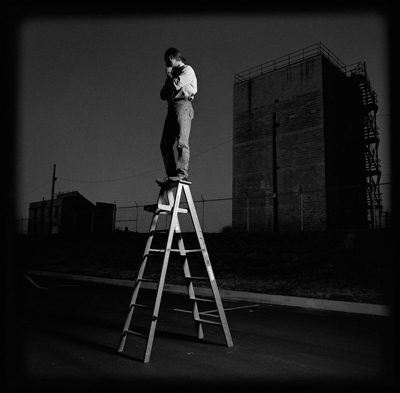
Born into a military family in 1956, Harold grew up in New Mexico and Germany. His parents were adventurous, and took the family on outings almost every weekend… hiking in the desert, horseback riding and camping in the mountains, exploring castles and old gardens in Germany and camping in Italy. These outings, of course, left many lasting impressions.
After moving back with his family to the U.S., Harold began photographing. As a young teenager, he bought his first camera, a GAF Instamatic. He still has the camera today.
Harold is deeply influenced by the work of Wynn Bullock and W. Eugene Smith.
He earned a B.F.A from Maryland Institute College of Art (MICA), after which he produced fine art and taught photography at the college level for several years.
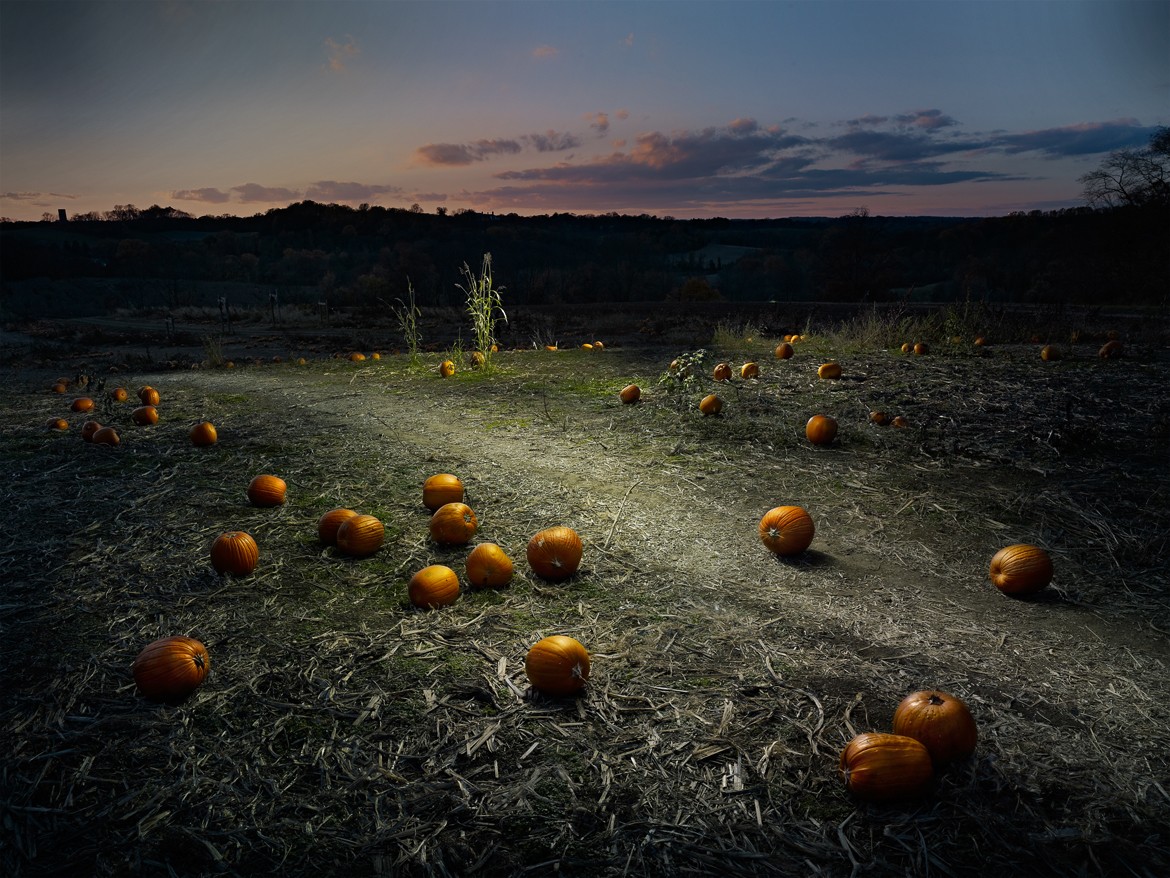
Since 1979, Harold has been creating distinctive work in the studio as well as in the night landscape. Harold specializes in Light Painting, a technique involving “painting” the light over a long time exposure, and which he has been using for over 25 years.
His large scale color work has been exhibited, published and collected in the U.S. and internationally. In 2011, Harold was invited to participate in an exhibition of landscape photography in Inner Mongolia, along with 10 other American and 20 Chinese photographers. Harold’s work was also published in Photo China Magazine as well as LensWork #93 and Ukraine Photographer. He was also chosen as one of four photographers to exhibit in the inaugural FRESH 2011, at Klompching Gallery in Brooklyn, New York.
Harold is represented by Susan Spiritus Fine Art Gallery (CA), Gallery-50 Contemporary Photography (DE), and High Noon Culture and Art (Beijing)
Photigy Interview with Harold Ross
Harold, the first question we wanted to ask you today may sound unusual, not serious , or even like a joke. But it’s not. The question is – why photography?
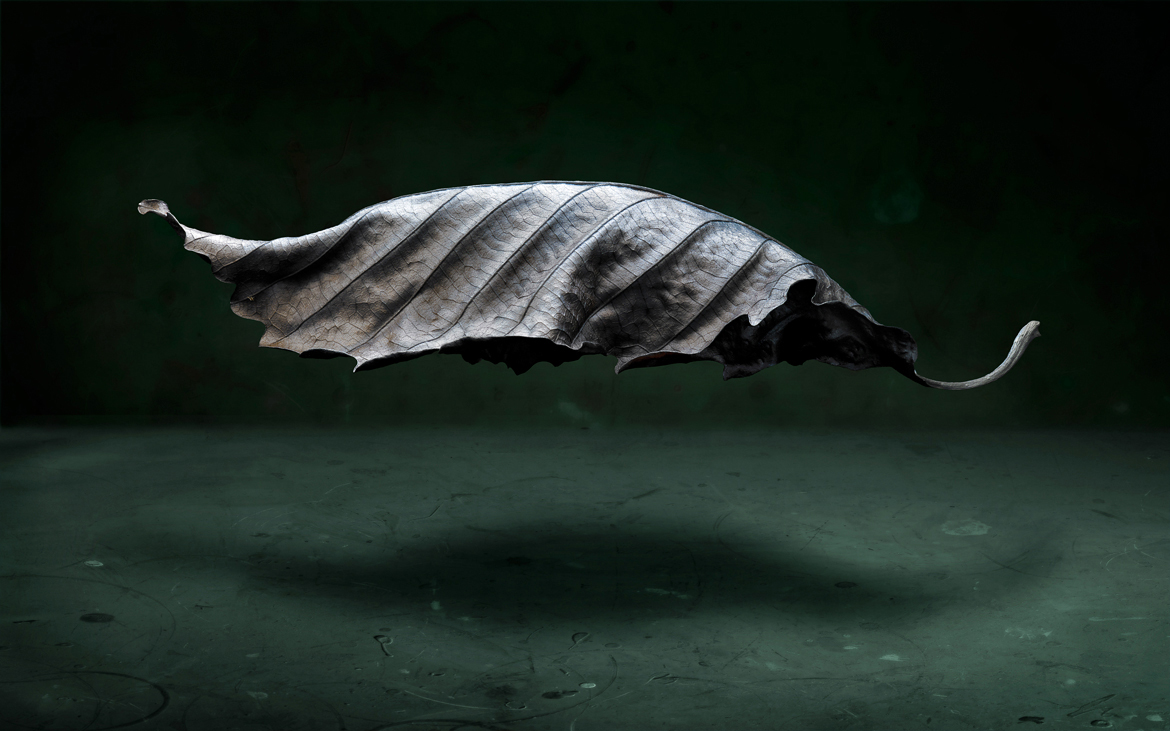
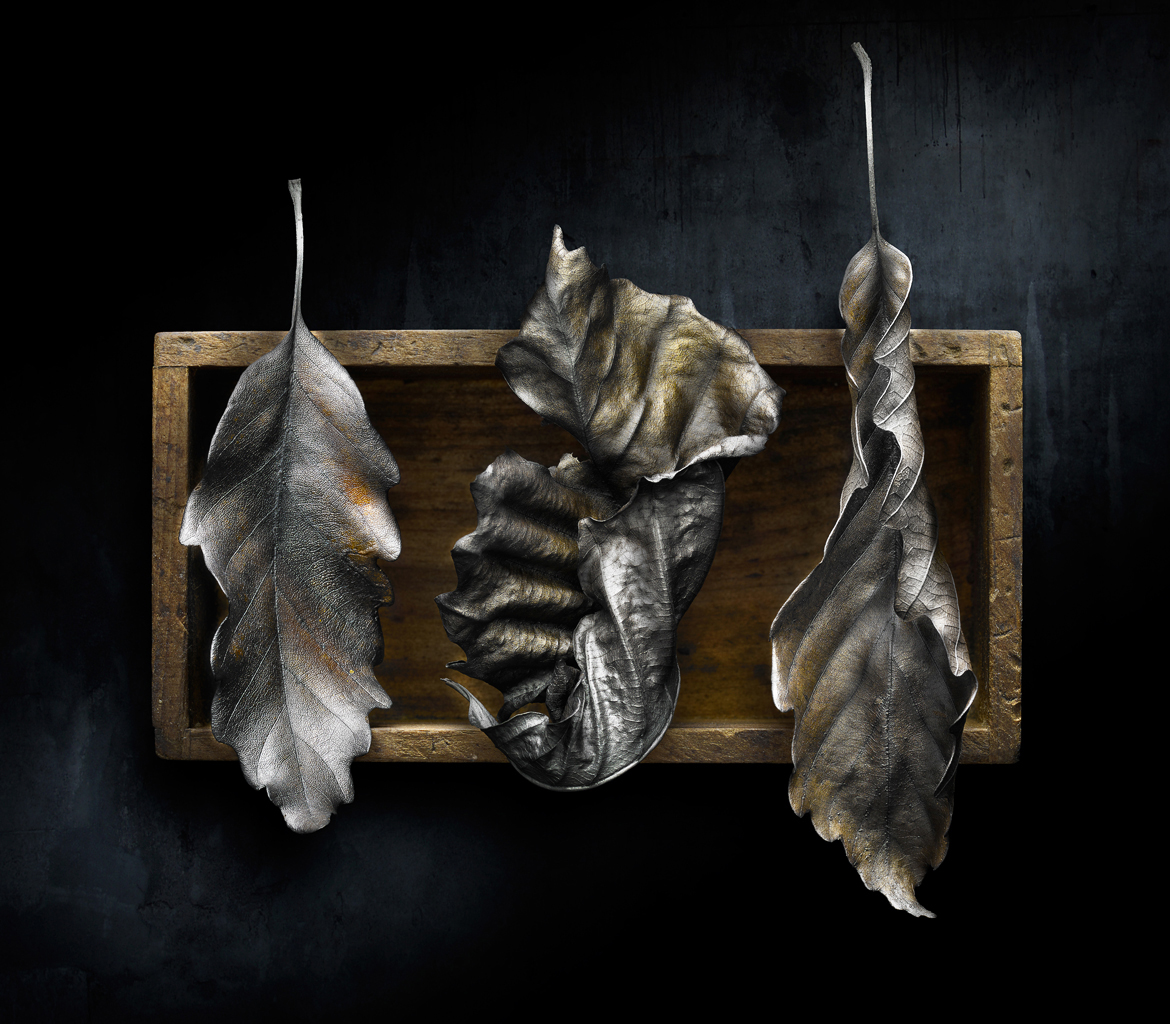
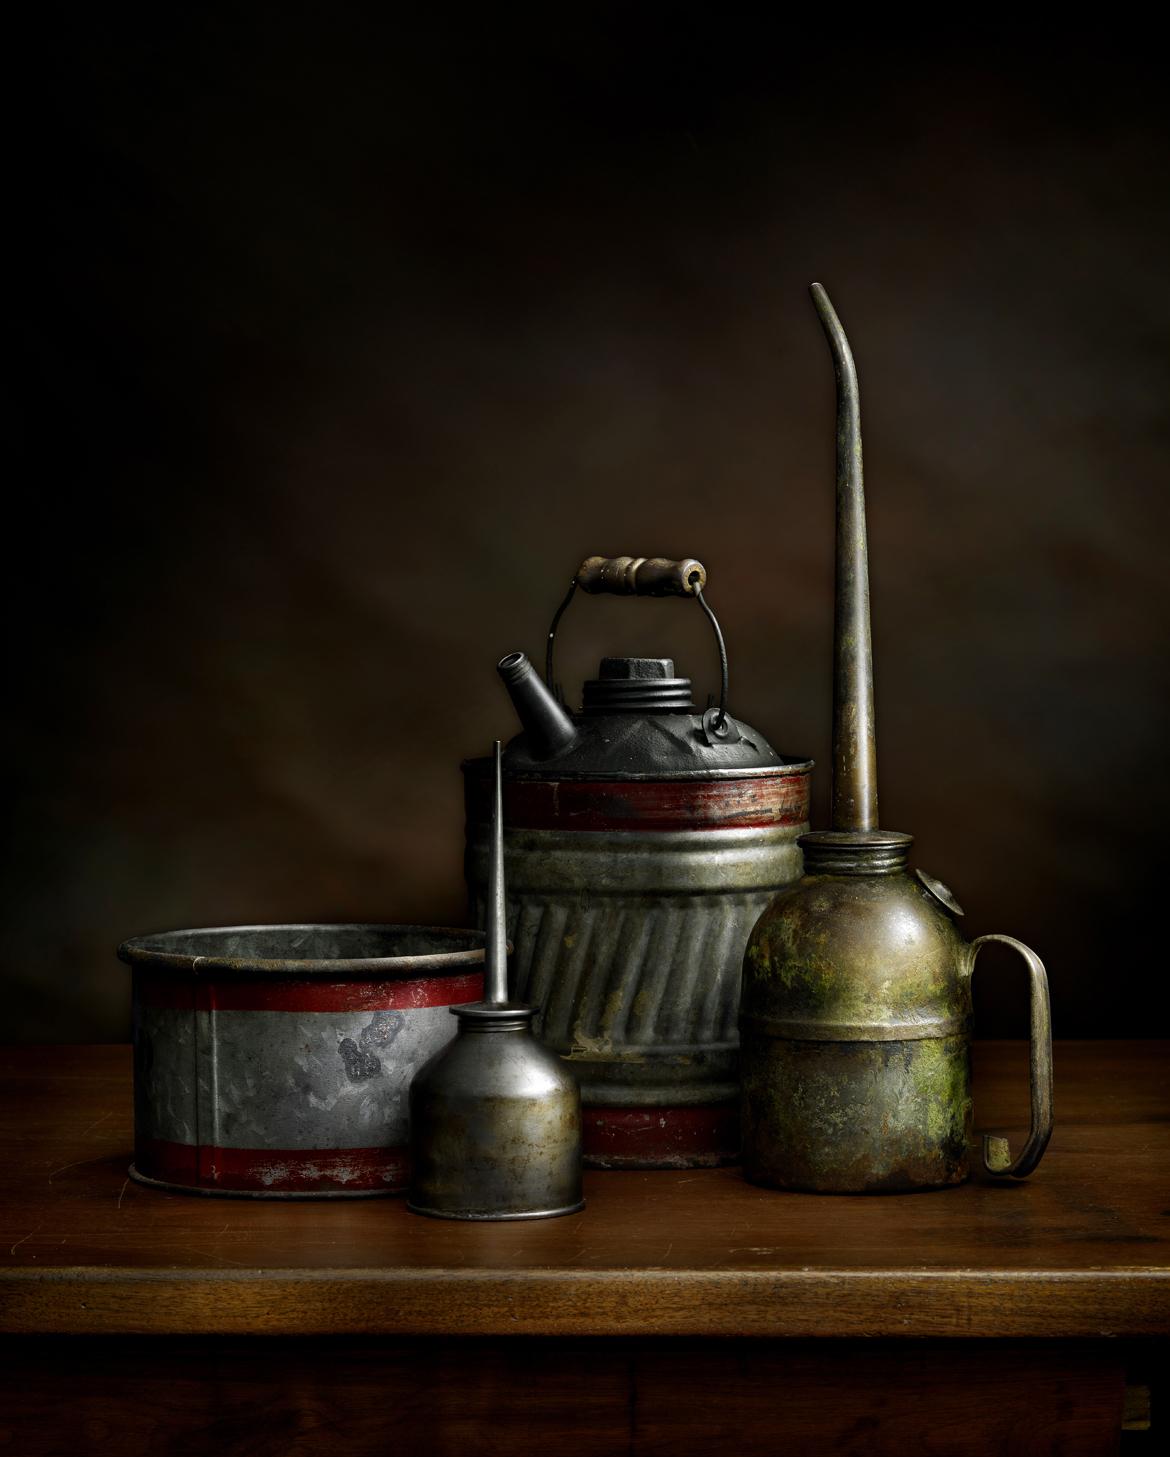
I began making photographs when I was very young because I wanted to somehow communicate how I saw things. Of course, this is what most photographers do, and probably why most photographers get into the discipline. I believe that things hold a certain beauty… and that it isn’t always obvious to the casual viewer. I try to use photography to reveal the beauty in every day objects, and even objects that are “past their prime”, and I believe that photography is the only way to achieve this.
You are considered a light painting expert and have years and years of experience behind your belt. Could you briefly describe light painting technique for some of our readers that may not be familiar with it yet?
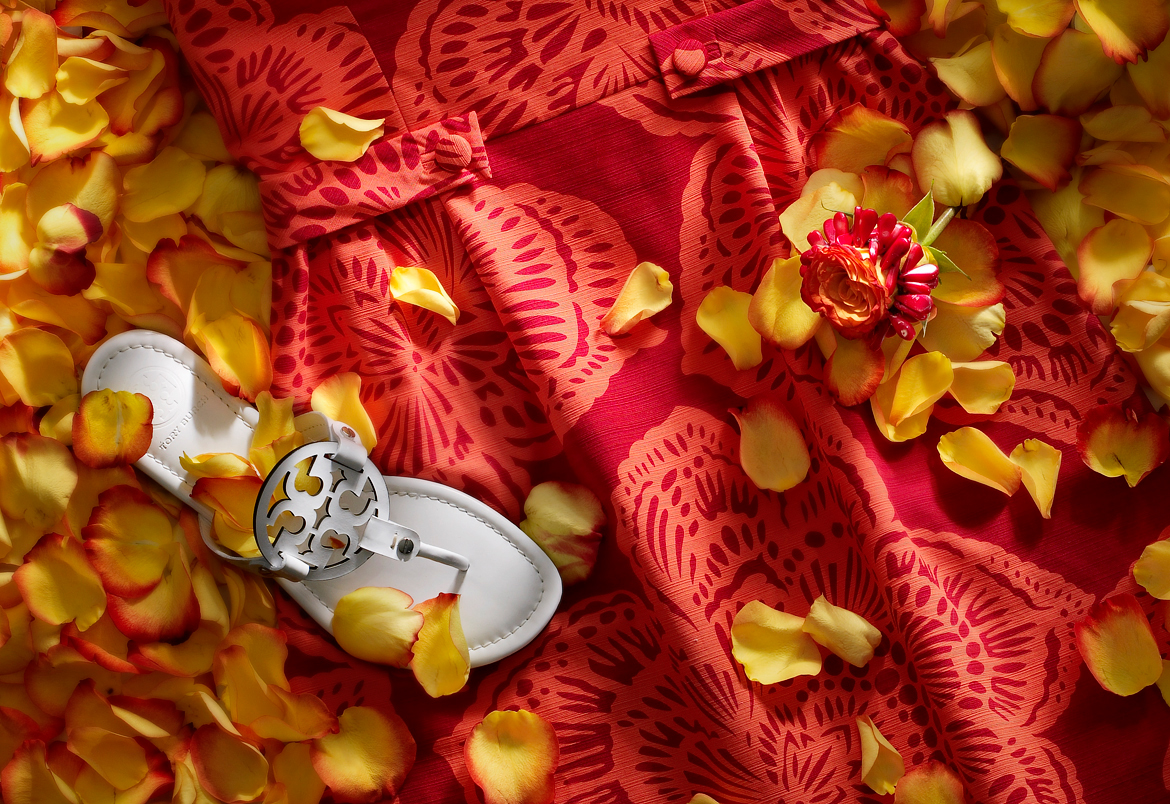
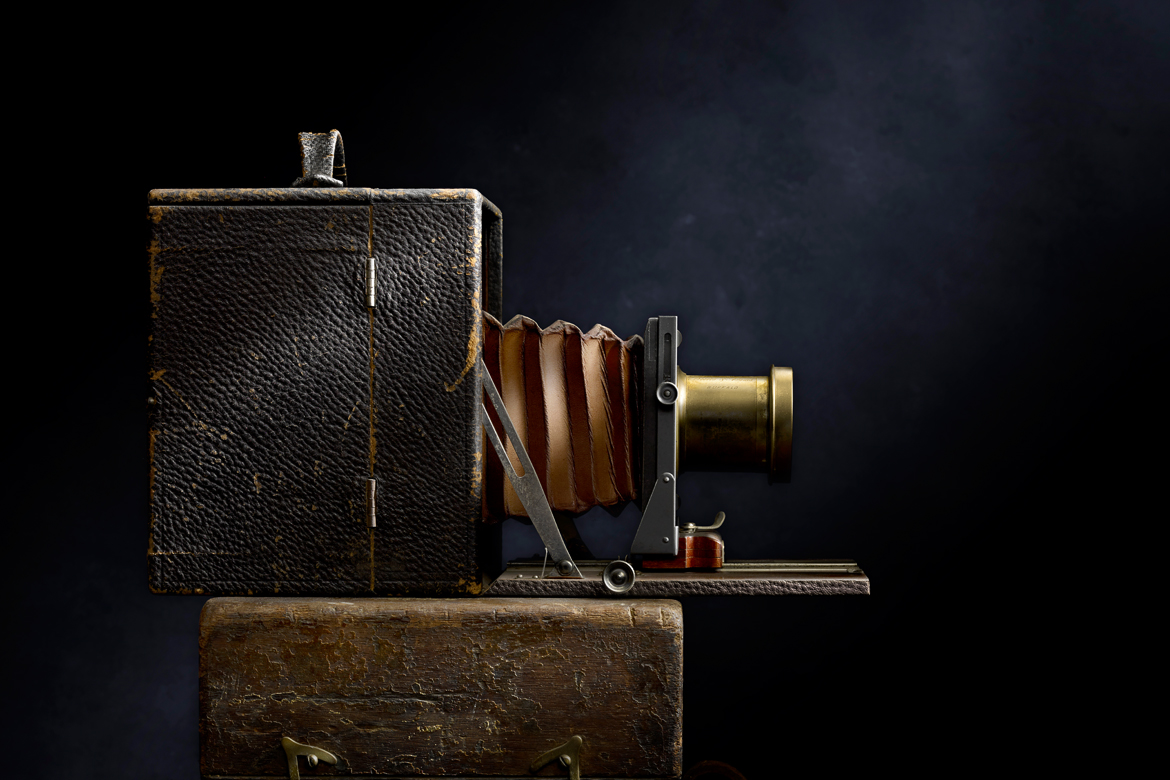
Light painting is a very powerful and transformative technique. I actually like to refer to it as “sculpting with light”. Basically, in a darkened environment, I “paint” light onto my subjects in a very thoughtful, controlled way. I think it’s interesting to point out the difference between light “painting”, and light ”pointing”. Opening the camera and pointing a light at the subject is not what I do. Instead, I use the carefully thought out angle, direction and movement of the light to enhance and reveal shape, dimension and texture. If done well, the technique can reveal to us things which we don’t even see as we observe the subject casually.
When did you first start using light painting? What was the primary reason or inspiration and when did you switch to that type of photography and why?
I first began painting with light over 25 years ago. I was a commercial photographer, producing images for advertising. My background in photography, however, was in fine art. I had graduated from Maryland Institute College of Art, and soon after that, I did some teaching for a while. After getting into commercial photography as a way to make a living, I became a little frustrated with the lack of creative input from the photographer’s point of view. Of course, I was shooting to a layout, and there was the art director and the client, both of whom were making decisions about the content and layout of subjects in the image.
I realized that lighting was something that I had total control over, and that if I could find a way to make it creatively satisfying, I would get a lot more out of what I was doing. So, I began using a small flashlight in my work. At the time, of course, I was shooting film (transparency film), and so I had to use filters over the light to balance the color to the film emulsion that I was using. Also, the images had to be completed in one ”capture”.
This was very challenging, and a very difficult technique. I was inspired by another commercial photographer, Aaron Jones, who was light painting at the time. His work was fantastic, and he developed lighting equipment specifically designed for painting with light. His design made the process more fluid and intuitive. I credit him with giving me both inspiration and a means with which to perfect my work.
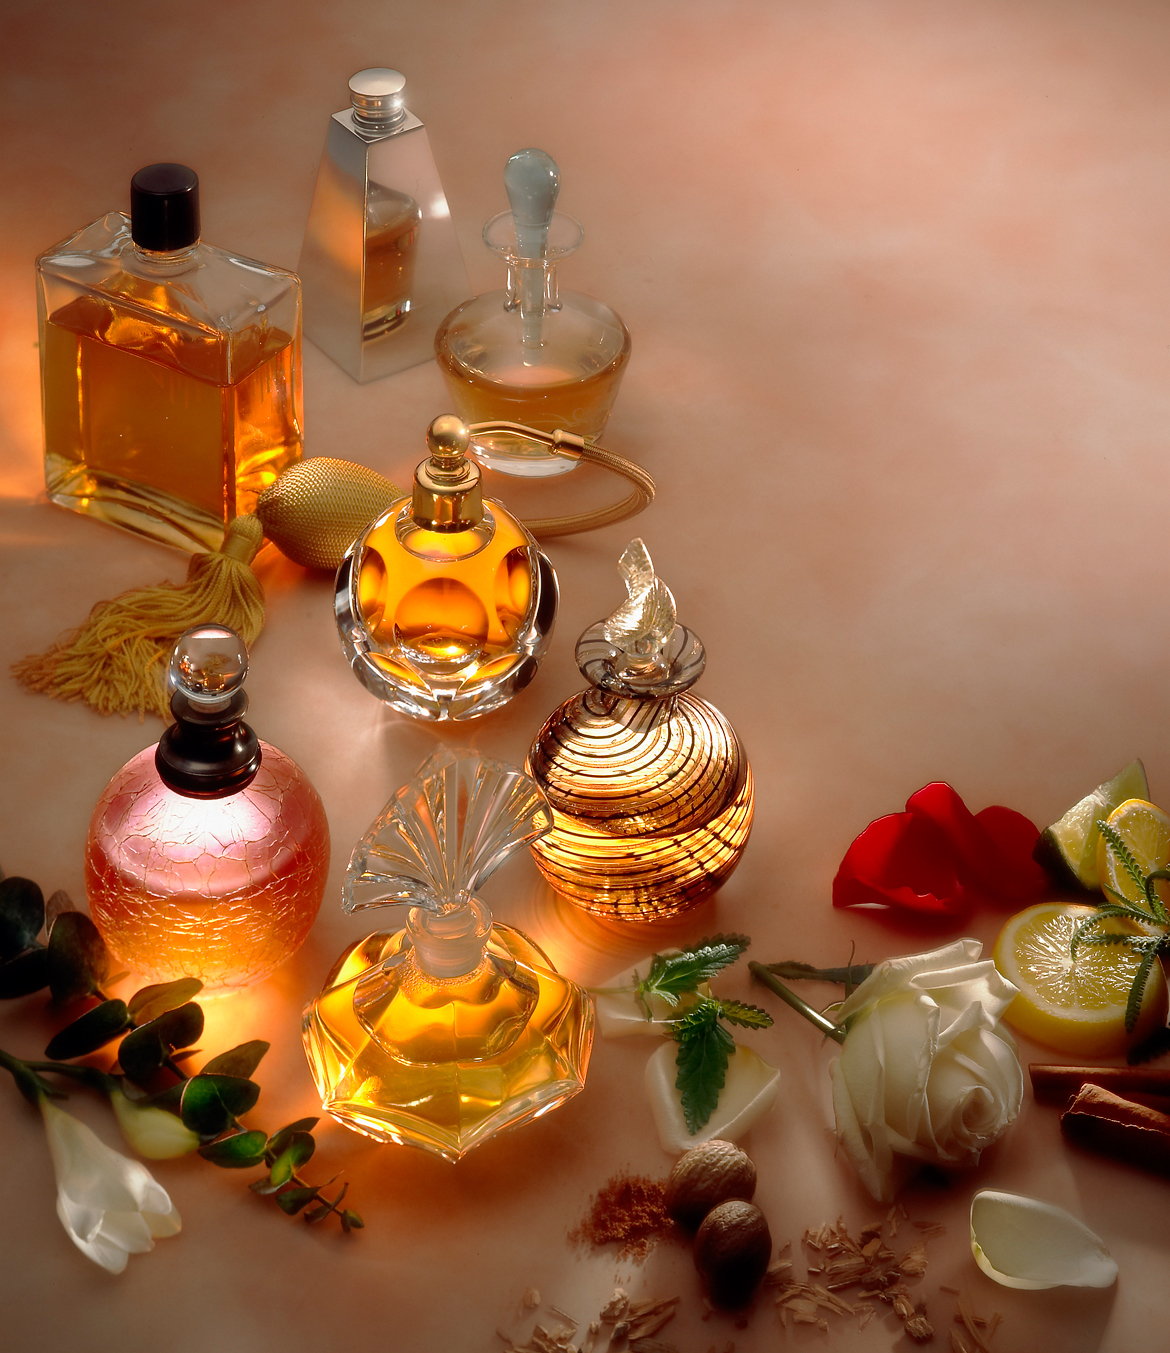
“Perfume Bottles”, image shot on film with Light Painting
You are using flash lights to do the painting. Could you recommend some specific flash light equipment? What are advantages and disadvantages of different flash lights used in light painting that are available in the market today? What flash light do you use for your shots?
Yes, I do use a flashlight for light painting my still life work. The most important thing about the light that I use is the way in which it is diffused. I designed a diffuser which effectively changes the size of the light source. An LED is approximately 0.125″ x 0.125″ in size. With my diffuser attached, the light source becomes a 1 inch diameter light source.
The size of the light is directly connected to the softness of the light, so increasing the size makes the light softer. In my workshops, I spend considerable time teaching what I call “The Six Principles of Lighting”. One of these principles is that softness is directly related to the virtual size of the light source.
For years, I used Surefire flashlights… they are virtually indestructible and they have always used a very high-quality LED in their equipment. Now, I am using the Olight M 10 Maverick, which uses a very high-quality CREE LED.
I would warn against using very inexpensive LED flashlights, as the color rendering index is not as good, and the evenness of color is not good. Many of these inexpensive lights have a very blue center with a warmer edge… And this will prevent one from getting correct white balance in the overall image.
Also, one thing I love about the M 10 is the small size, as well as the fact that the brightness control is on a separate switch from the On Off switch. This is very convenient. Furthermore, the light uses a terrific battery… the CR 123A Lithium. This battery has a 10 year shelf life! (of course, in my studio, the batteries get used rather quickly;-)
What are the typical exposures that you use for your light paintings? For still life shots, for nature shots? How may iterations do you have to go through before you get it right? It may take minutes or even tens of minutes for a single try – how long does it take you to produce an image with light painting?
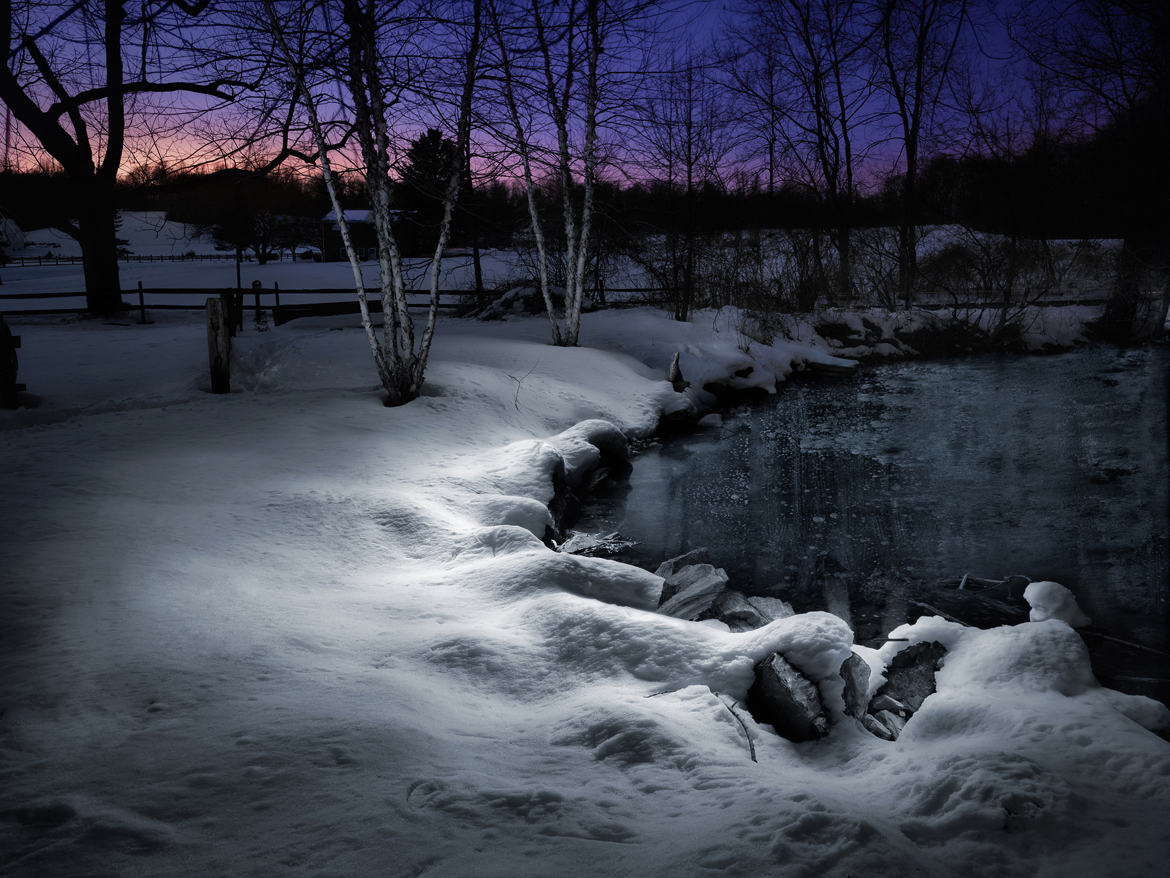
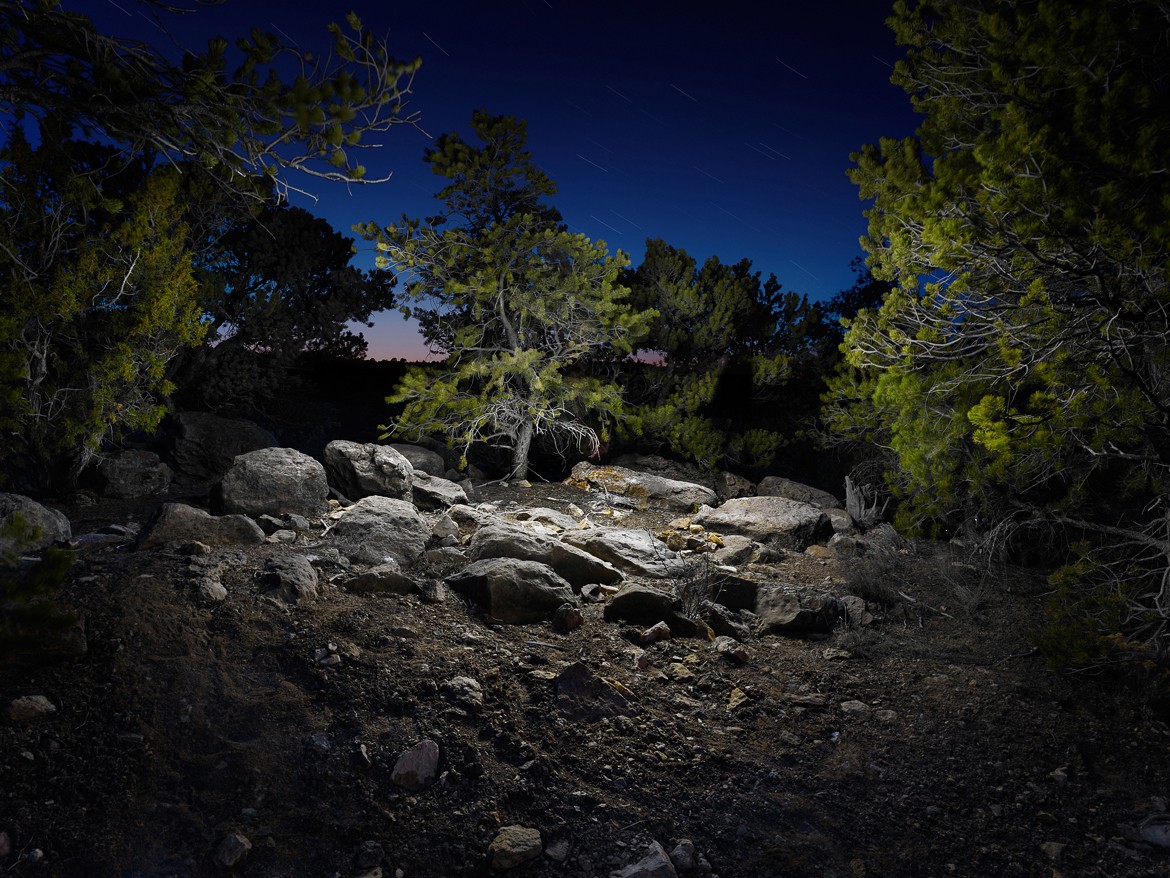
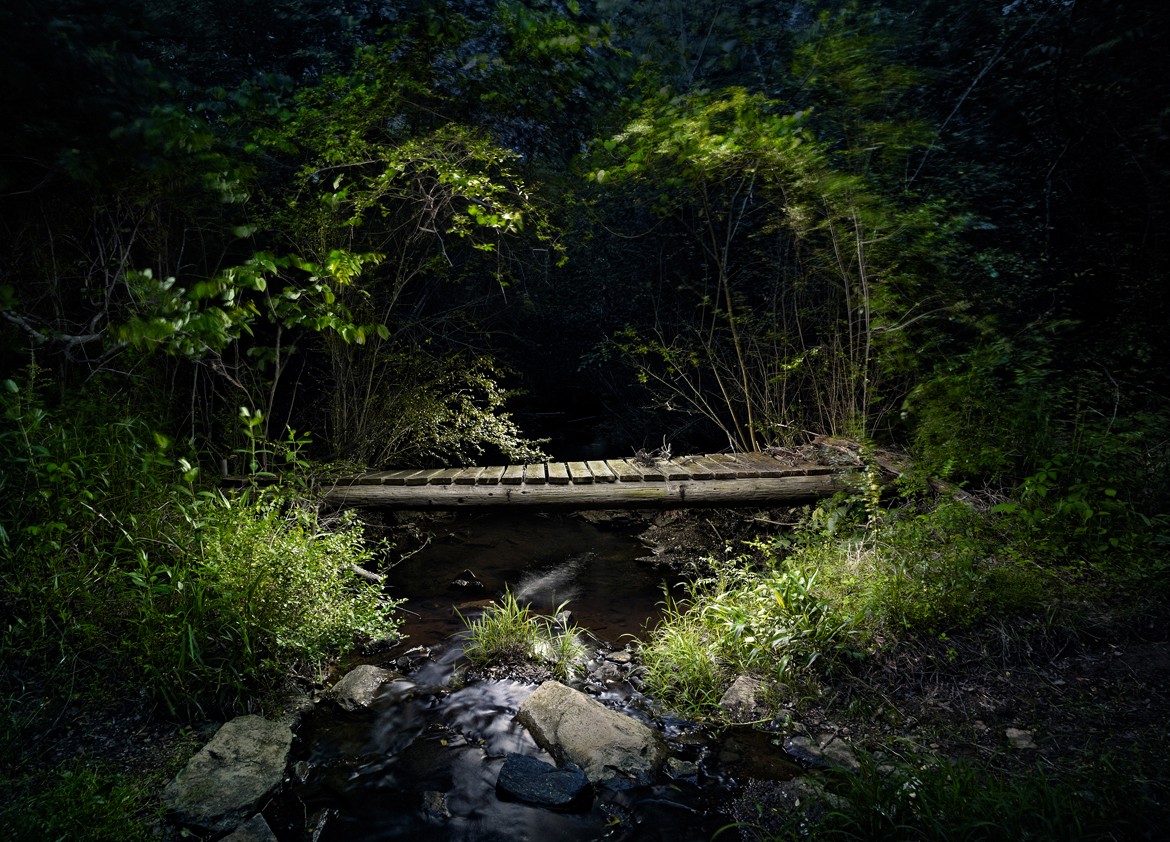
For still life images, the typical capture will be from 5 seconds to 30 seconds. In landscape work, anywhere from 30 seconds to 2 minutes. Typically, due to the long experience that I have with the process, I usually have a pretty good idea of the distance, angle and movement of the light to achieve the desired effect. I may have to take a few captures to get the exposure time correct. Of course, once you light one object, similar objects of a similar size and brightness will have a similar exposure. All in all, it probably takes an average of 2 to 4 hours to do a still life, and 3 to 4 hours to do a landscape. This does not include post production.
Could you describe your post production process? Tool, software, steps?
First of all, I use Capture One as my tethering software. I always shoot tethered… shooting tethered gives us the advantage of having an almost perfect light meter, if you will, in the software. This helps us judge the proper exposure, and also gives us a really good view on sharpness and composition. I then use Photoshop to blend the captures together into the final image. Basically, the light painted captures are brought into the image one by one, and using masking (I use and teach a very specific method for masking, in which brush technique is extremely important), they are combined into the final image.
I need to say that the process involves more aesthetic judgment than technical knowledge of Photoshop. This aesthetic sensitivity is something that is difficult to learn from a book, and the same can be said for the subtle brush techniques that allow us to create smooth transitions in the masking. I highly recommend a Wacom tablet in order to have the most control over the masking process. Personally, I use a Cintiq tablet, but the Intous Pro tablets from Wacom are also terrific, and we provide them to students for the workshops.
Do you do any work using other type of lightning technique – using continuous lights or flashes? Do you ever combine light painting with using strobes?
Of course, light painting requires a continuous light… that said, in some of my commercial work, I have used strobe lighting in addition to the continuous lights. This is helpful when photographing people in an otherwise light painted scene. My good friend and fellow photographer, John Corcoran, actually does beautiful portraits using light painting exclusively.
Tell us about your commercial product photography. Do you use light painting for those shots as well? – your product images look very interesting and unusual – in the best possible sense.
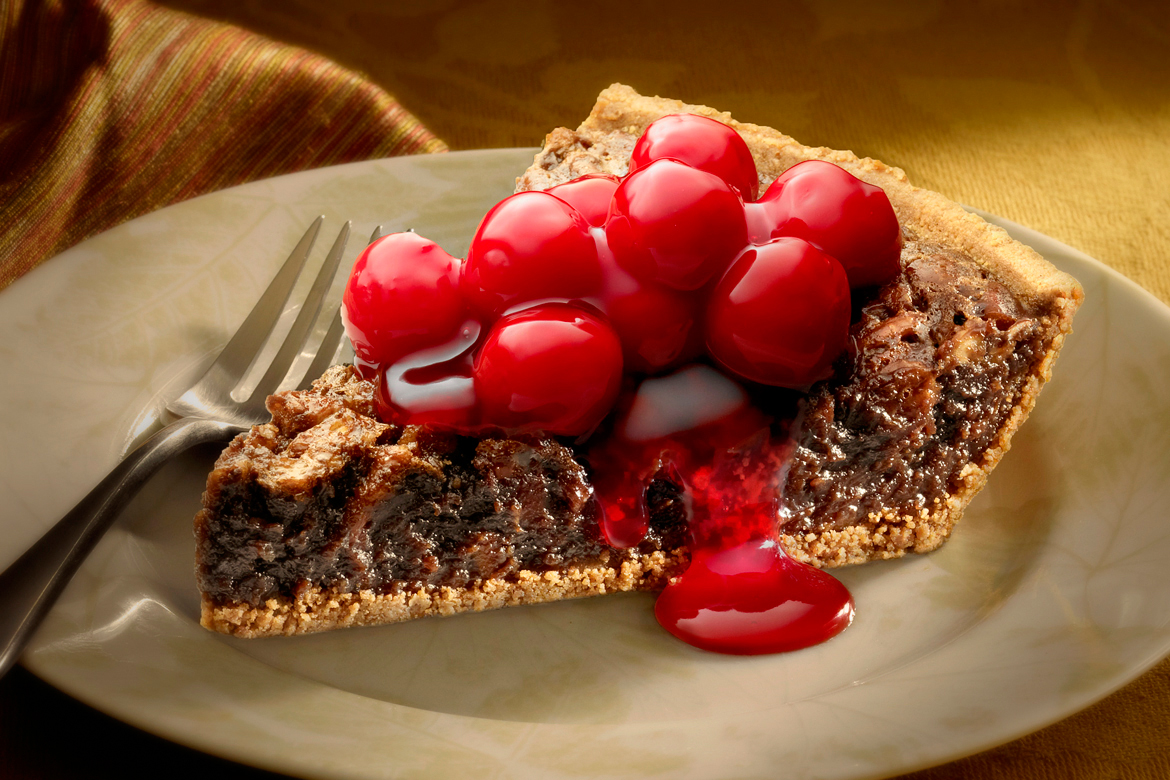
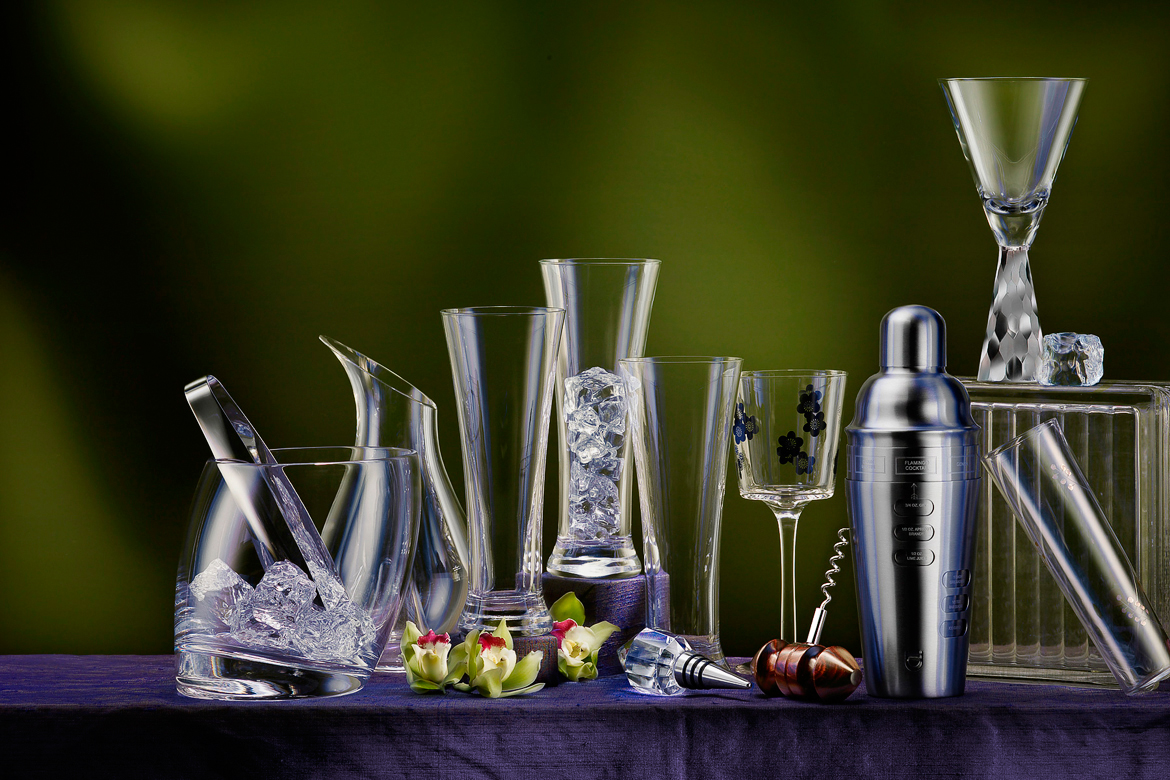
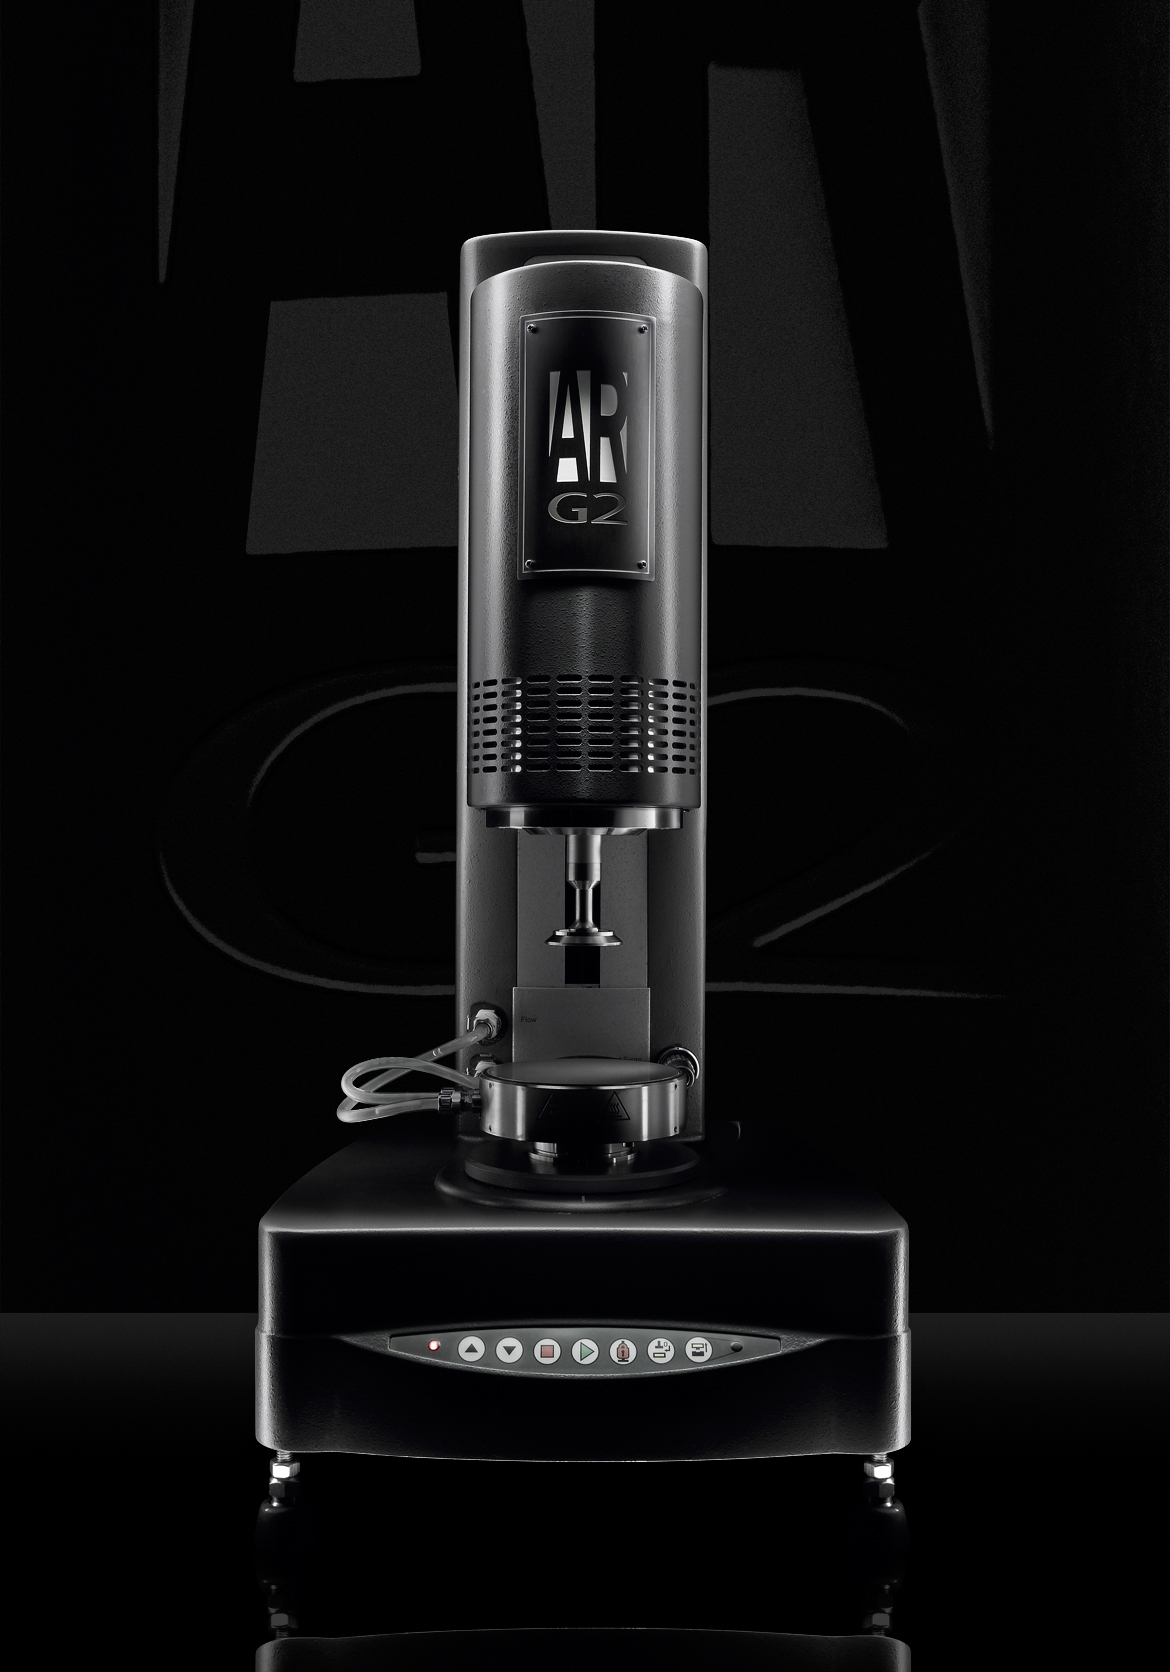
Yes, all of my commercial images are light painted. I feel that my process gives me great control, and it allows me to emphasize certain aspects of a client’s product or food item.
What is your favorite subjects for light painting – still life, nature, anything else?
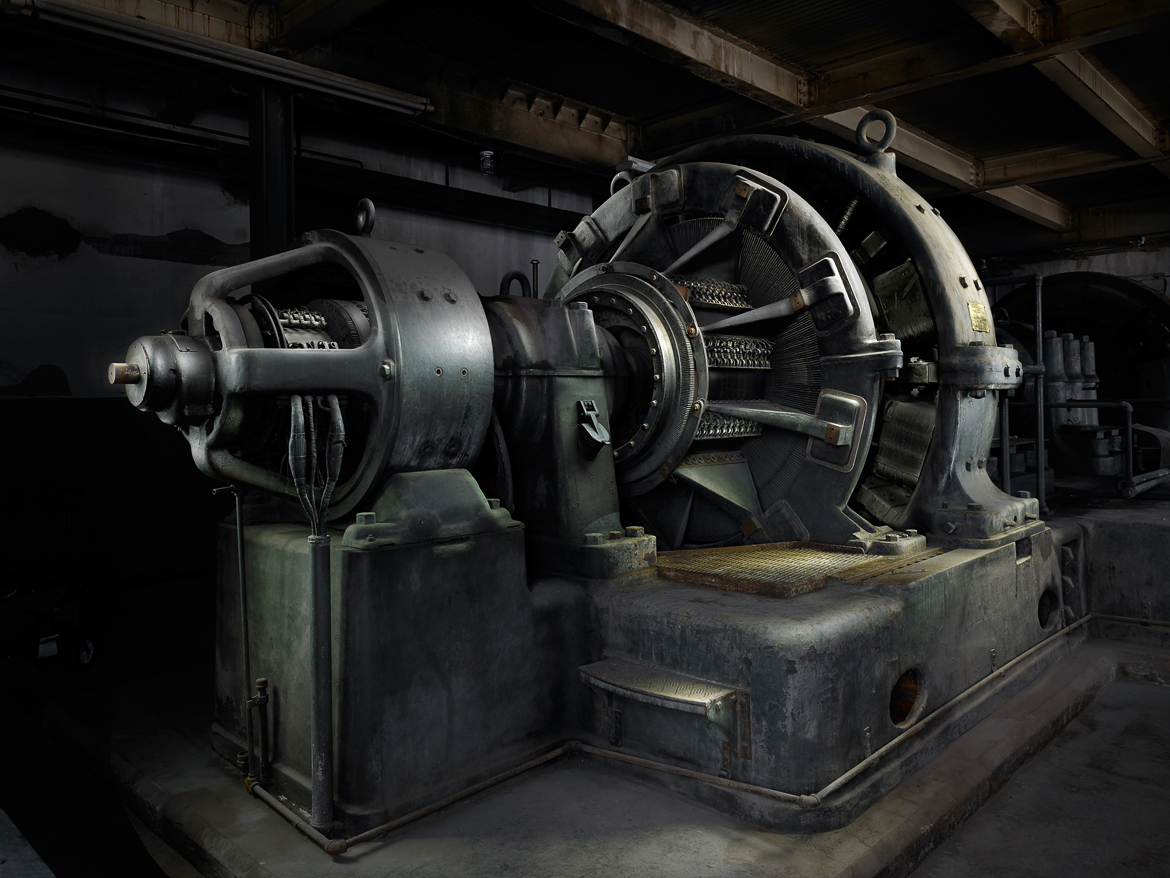
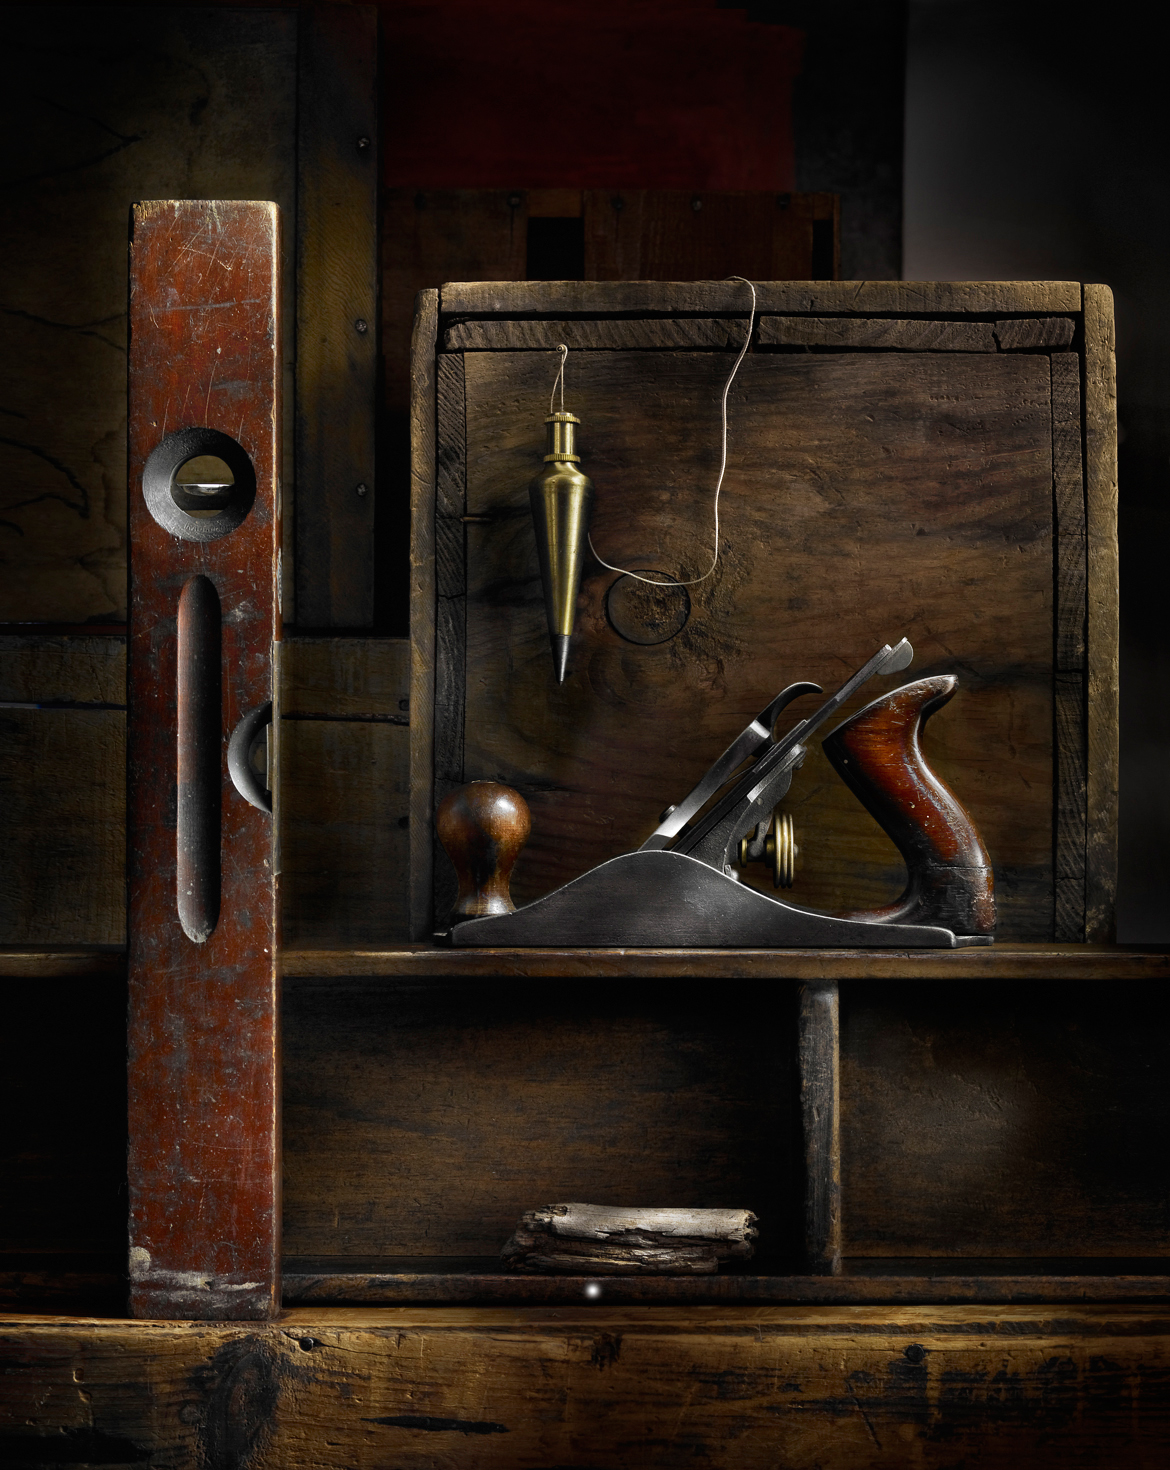
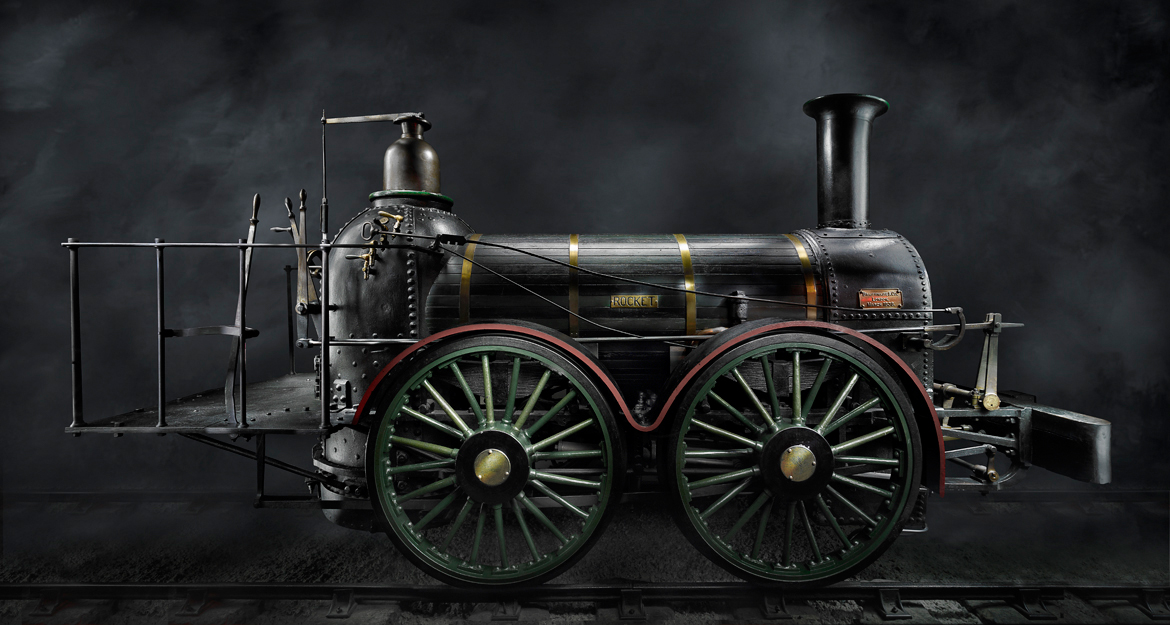
In addition to still life and nature, I love to shoot old machinery. I have a tremendous respect for the people who made things by hand. My grandfather, a Swiss blacksmith, taught me to work with metal and instilled in me a reverence for people who designed and built things with their hands. This is becoming increasingly rare… So many things today are made by machine and very few objects are made by one person.
Until recently, design was for the most part, not a major factor in the creation of a product. Many years ago, however, machinery was designed to be visually pleasing in addition to its functionality. These are the machines that I love to photograph. One of my images is of an automobile headlight alignment machine. I knew that I had to photograph it the moment I saw it, as the design is so beautiful and unusual.
You are conducting many different light painting workshops. Could you tell us about it a little bit? Do you teach them in a studio or out in the wild – shooting nature?
Currently, I only teach light painting for the still life. I did teach several nature light painting workshops, but for various reasons, I’ve decided that I would only teach still life workshops. The workshops span three days, and are quite intensive. Each student produces a photograph of a still life while learning my process.
This sounds rather simple, but the workshop is absolutely packed with information! I teach about the advantages to light painting, my “Six Principles of Lighting”, Visual Adaptation, and of course, the nuances of sculpting with light. Additionally, students learn layering and masking techniques, and most importantly, using proper brush technique on the masks for enhancing shape and dimension.
My workshops are explained on my blog here: http://haroldrossfineart.wordpress.com. Here you will also find lots of light painting tips and tutorials, and even videos on some of the postproduction techniques I use. On my blog, there is also a page dedicated to the images that students create during workshops. Also, there is a list of student testimonials here: http://haroldrossfineart.wordpress.com/testimonials/
To get your nature shots you go out to a lake or a forest – in complete darkness… with expensive gear – cameras, lens, probably laptops for tethered shooting… How does it feel? Can you share a scare or a funny story?
Yes, I do go out into the forest or desert or wherever… but I go during the daylight. This makes it more straightforward to compose, focus and to set up in general. After dark, I begin light painting.
Nothing terribly scary or funny, but there were a couple of occasions when interesting things happened. In New Mexico, I was light painting on the top of a ridge near Santa Fe. What I didn’t realize was that behind me there were hundreds of mice. Of course, I didn’t see them until I spun around and aimed my light at them. Immediately, they would scurry away only to return in the darkness. They were there to eat the pine nuts from the piñon trees.
Another time, I was with Vera, my wife, photographing in the woods when just before darkness we heard a very loud crashing sound coming toward us. Three very large deer were running directly at us, and at the last moment they turned away. I think they were as afraid of running into us, just as we were afraid that they would run into us!
We end up our interviews asking people for their words of inspiration and wisdom for those why are just starting. What is the most important thing that you have learned about photography and creative process that you would like to share?
I would say several things… Firstly, don’t get too caught up in equipment. What is going on in your head is much more important than what kind of camera you’re holding in your hand. Focusing too much on equipment can actually hinder the most important tool a photographer has… their vision.
That said, don’t underestimate the value of knowledge and experience. This can be said of any discipline… knowledge and the thought process are invaluable, as is vision, of course.
And another thought… great images are made, not taken. Look around you… amazing and beautiful things surround us everywhere, and all we need to do is look.
The Photigy Team would like to thank Harold for his wonderful interview. We look forward to seeing more of his awesome work in the future.
Connect with and find more of Harold’s works here:
Web site: http://www.haroldrossfineart.com/
Blog: http://haroldrossfineart.wordpress.com/
e-mail: [email protected]

