Food photographer in Atlanta:
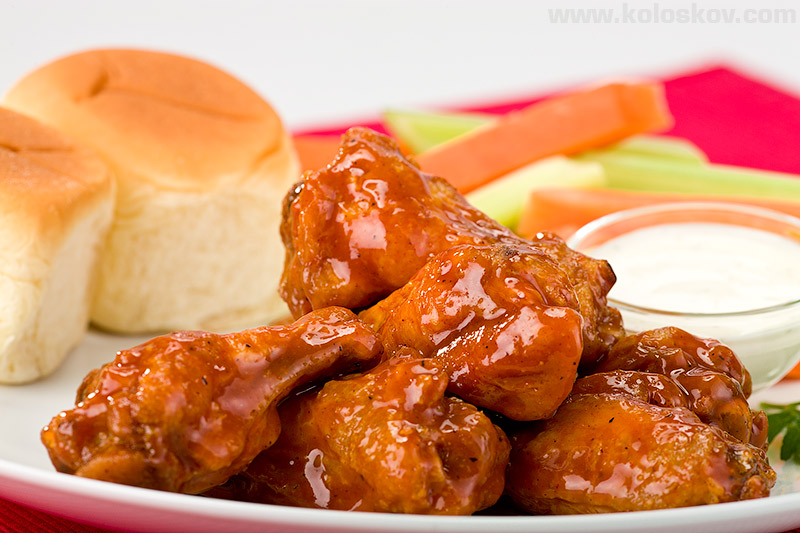
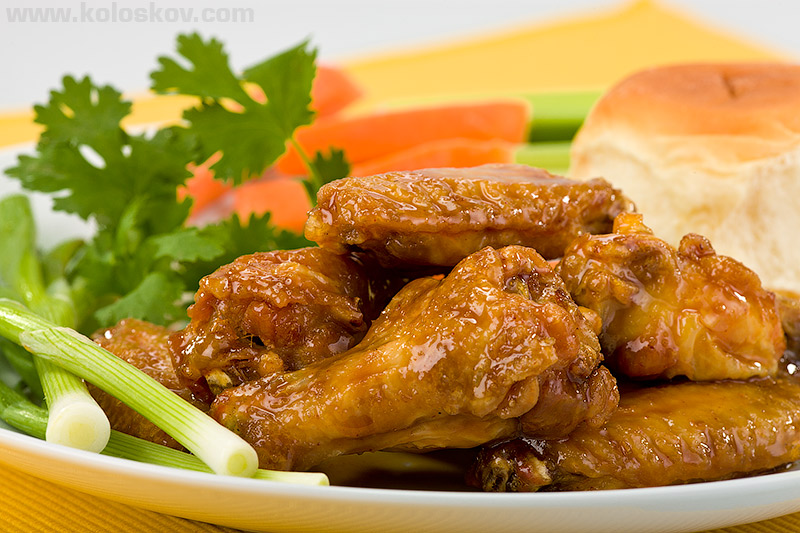
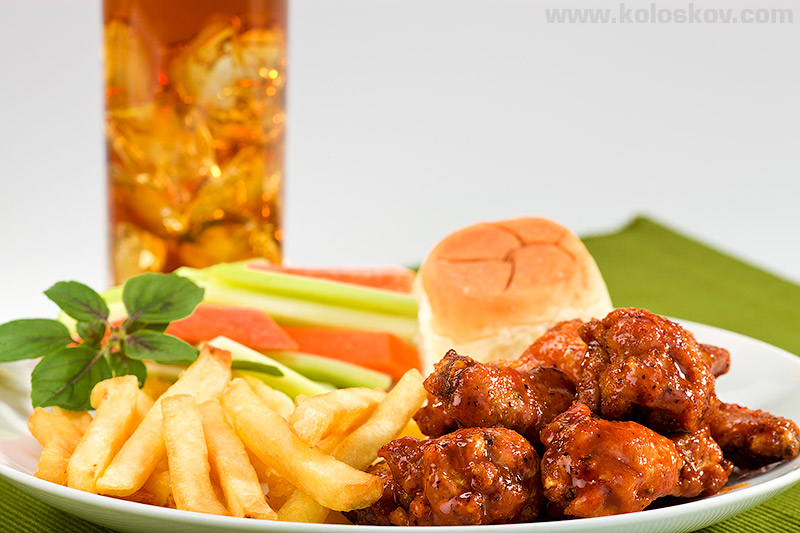
chicken wings, photographer, stylist and a sauce:-)
Jante has this great idea of very simple and inexpensive Take-Out restaurant with more money spent on the quality of the food instead of workers, the building and silverware. Therefore the photography should be the same: simple, but showing the best of the product for each menu item.
We were lucky to find a great food stylist, Nan McCulloch (www.nanmcculloch.com), she helped us a lot with the whole concept of the shoot, along with the styling for each dish.
Now, the lighting:
Lighting setup was relatively simple: I used, as usual, as many lights as I can fit around the product:-) Always prefer to have maximum flexibility and control in that area.
The lighting setup for this food photoshoot:
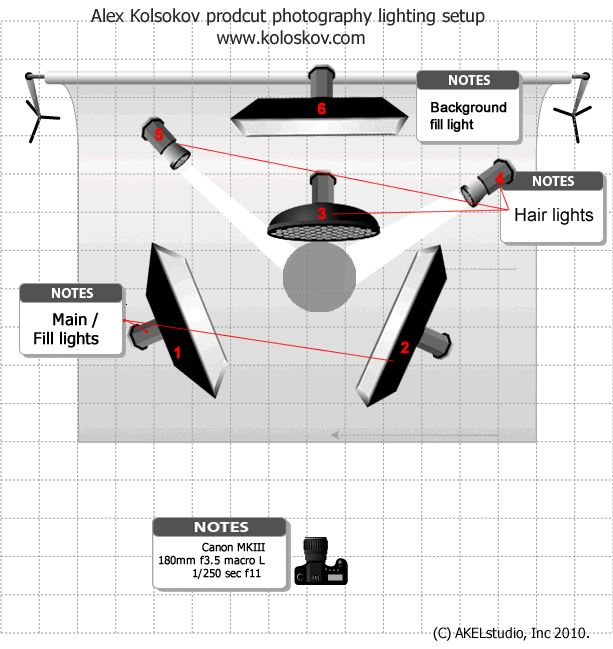
Lighting setup diagram
Lights 1 and 2 (both WL X1600) worked as main and filler lights, switched by the changing power ration between them. The most important lights were numbers 4 and 5( AB B400) with a little “filler” help from a Beauty Dish (number 3, AB B800) from top-behind: They were giving this tasty glare for the wings I was looking for.
Number 6 (WL UltraZap 800, one of the oldest units in the studio) was to highlight the background.
In general, I’ve used a combination of very intense directional lights (all lights except 1, 2 and 6 had 10 or 20 degree honeycomb grids) with soft (through soft-boxes) fill lights. This way I’ve got contrast and full of details photos, but still bright and simple (remember the idea of the shoot).
Few more real images of the lighting setup:
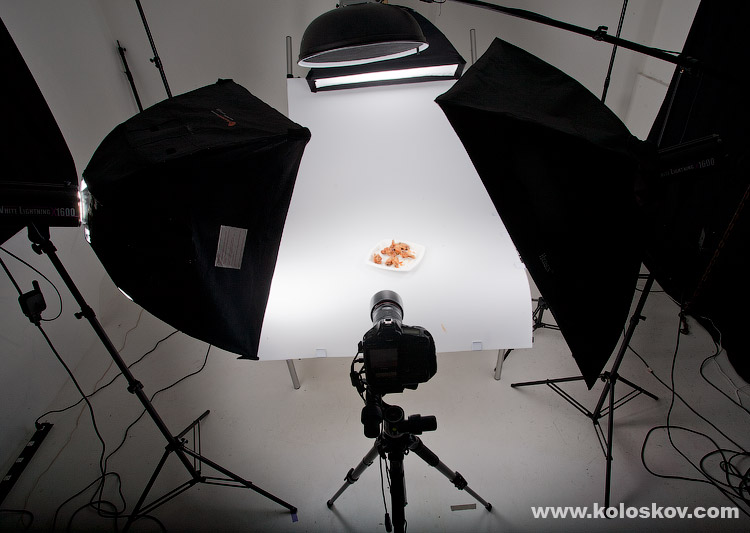
The same thing, left side view:

Highly recommend this to all who care about correct colors:-)
The composition:
For a food shots, blurred background (usually) is a good thing: it helps to focus on a main piece of dish (chicken wings), while showing some other “appropriate” stuff on a background: still visible, but not distracting.
Must to say I do not like that type of food shots where only tiny line of the dish in a focus: it may look nice first, but not sure if you ant to see something like this in a restaurant menu. We want to see what we’ll eat more clearly:-)
So, to make background blurred, I’ve used long focus lens, 180m f3.5 macro from Canon. However, DOF should be deep enough, therefore F11 aperture was set.
Many thanks for a great stylist, Nan McCulloch: she had great taste and professional feeling of how to arrange everything the best possible way, as well as exceptional coordinator’s skills. Thank you, Nan!
More photos from this photoset with before and after images is on our Atlanta retoucher’s blog. This mouse-over before and after photos are always among the most popular topics there:-)
Camera gear:
Canon EOS 1Ds Mark III DSLR
Bogen 055 XPROB Tripod with 405 geared head
Canon RS-80N3 Remote Switch
Canon Right Angle Finder
Canon 180mm f3.5 macro L
Lighting, light modifiers and accessories:
Paul C. Buff Lighting: 2×1600WS, 2×800WS, 2×400WS
AlienBees/White Lighting reflectos with various honeycomb grind
Paul C. Buff Cyber Commander 16 channels remote control with CSR+ receivers
Adobe Lightroom 3 as a remote capture solution for tethered shooting
Manfrotto (Bogen) shooting table
X-rite Color checker
All shots were done with: shutter speed 1/250 sec, F11, ISO 100.
As usuall, your feedback is highly appreciated!
~Alex
