Cosmetic Photography:
Lancome Mascara and Liquid Drops


Commercial Cosmetic Photography: Lancome Mascara and Liquid Drops
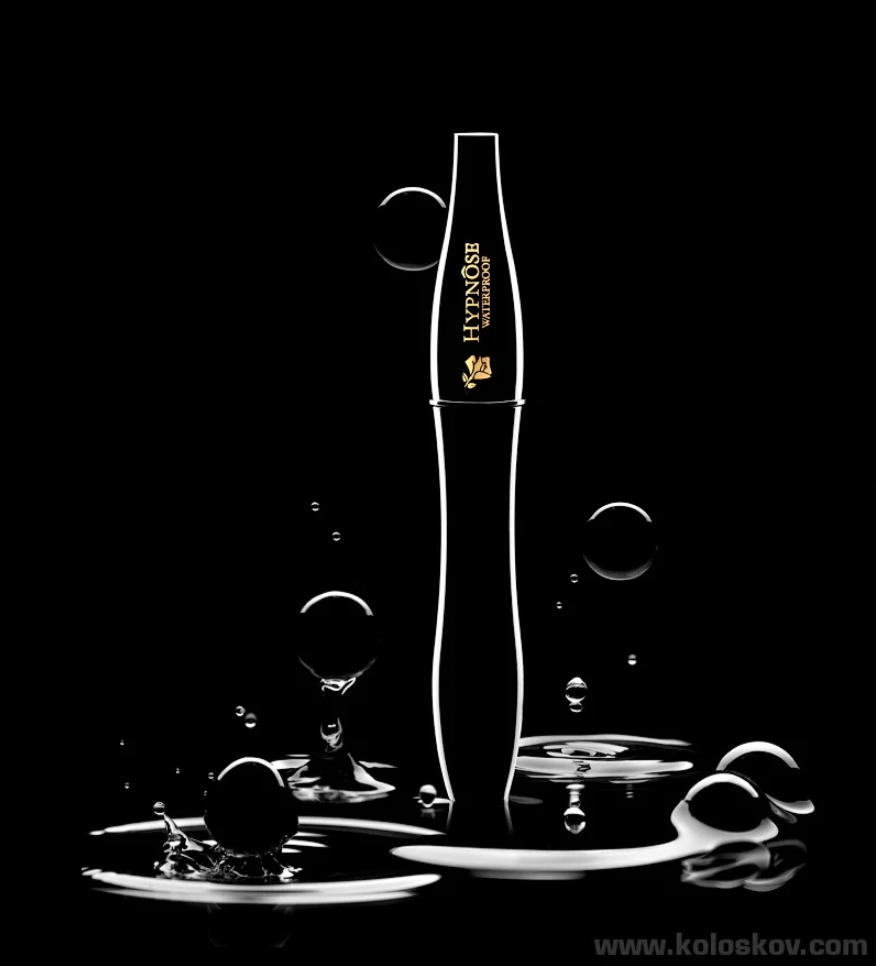
This is a quick walk-through for the cosmetic photography Lancome shot you see right below:
The Lancome Shot – Commercial cosmetic photography
The cosmetic photography shot was staged in 3 different sets: The mascara alone, then the mascara in a water and drops of liquid gels in a water. All of them were necessary and none of them could be combined in one shot.
Let’s go through each stage and I’ll you everything.
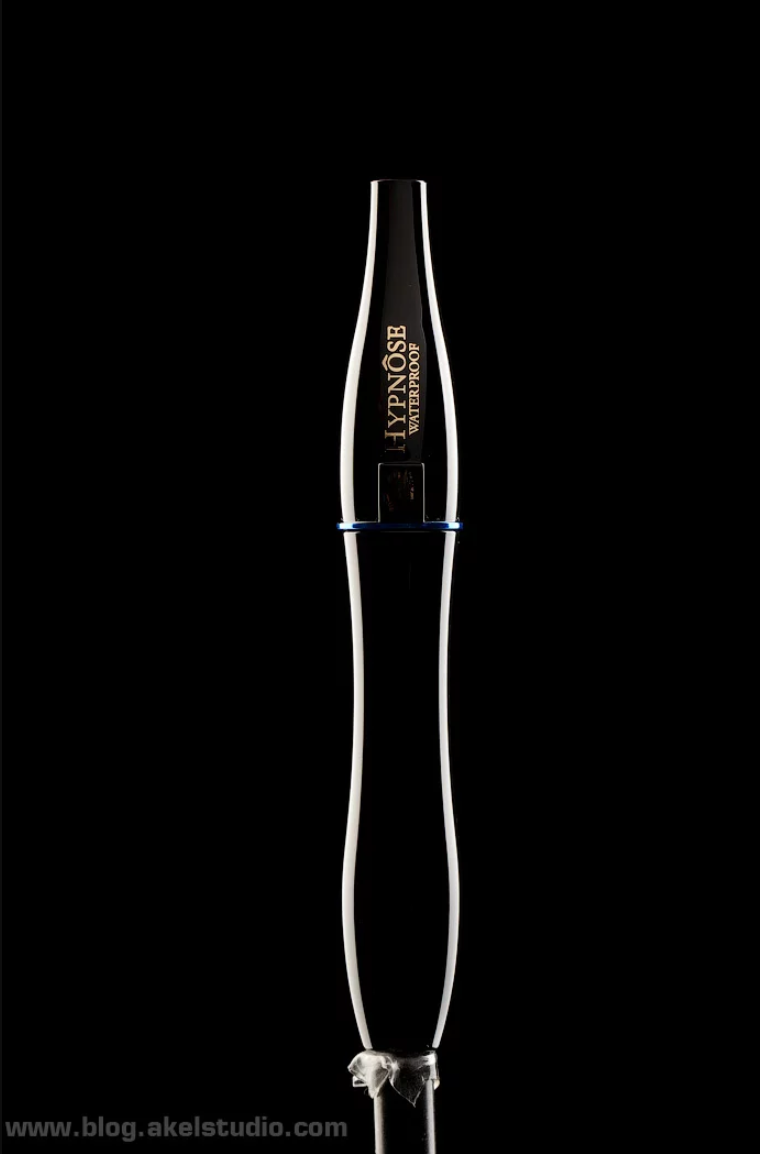
The first part of the photograph, the mascara tube.
The mascara tube itself is a combination of 3 shots. Here is the lighting setup of cosmetic photography:
 Only for Pro Club Members
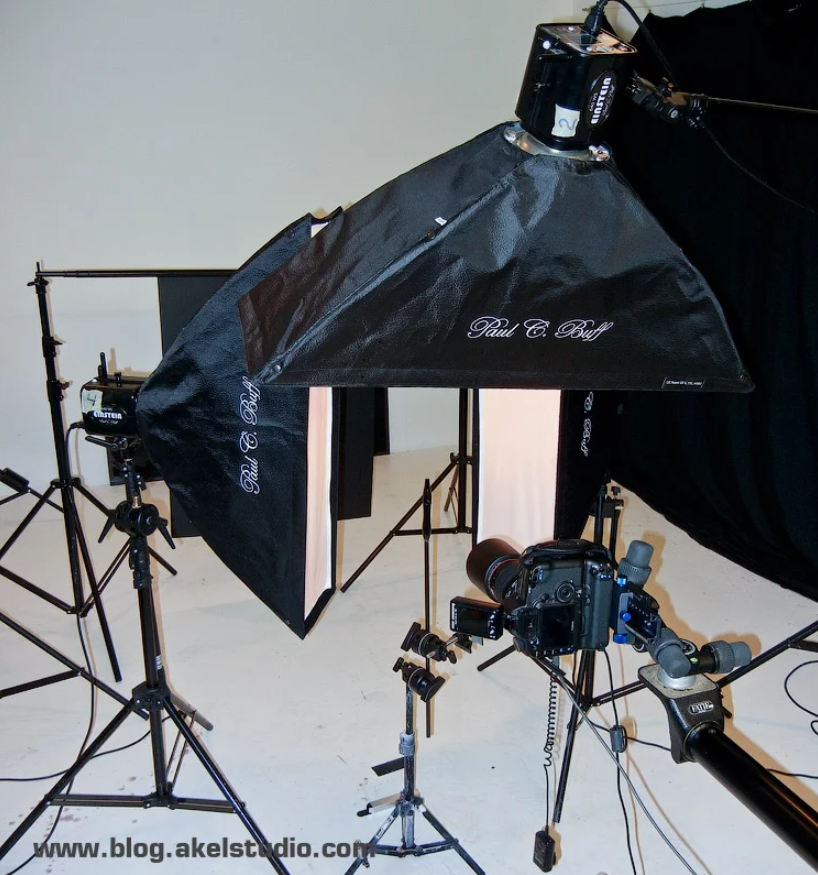
2 strip boxes on sides, slightly behind the tube created the edge reflection on our subject. I’ll talk about the top one later.
Because of the shape of the tube, I couldn’t have it on a table, as the bottom part of the tube was reflecting even the smallest table. Therefore a stick was used, a tube was standing on it. Exactly like this:
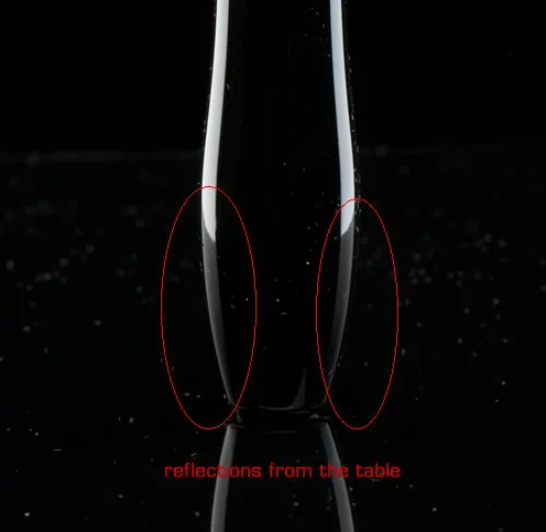
So, with 2 lights on a sides and tube on a stick we got this:
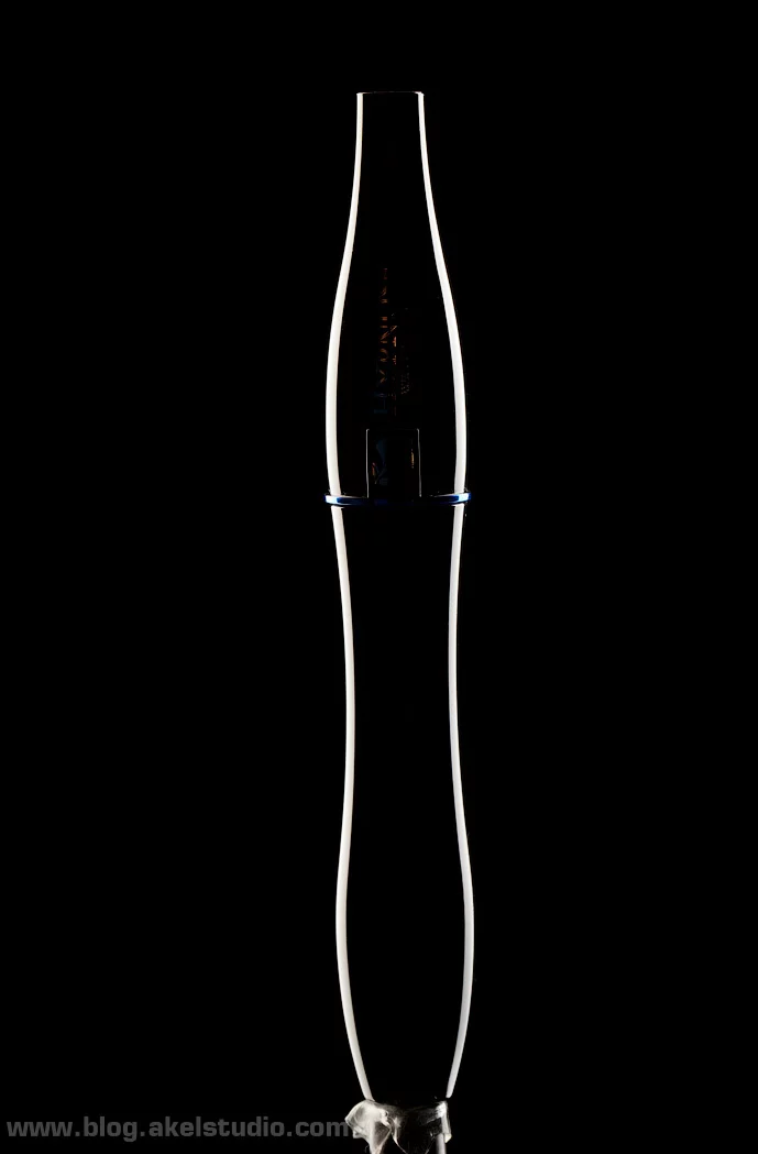
Almost everything looks pretty cool as-is, except for the golden label. Because it is engraved on the body, there was no way to get a reflection on it without getting the reflection on a tube itself. So, I did these two photo shoots, each had the top light turned ON and reflector on the upper portion (first shot) and a lower portion (second shot) of the frame:
Reflector clearly visible on both shots, it was Photoshop task to take labels from these shots and put them on a final composition.
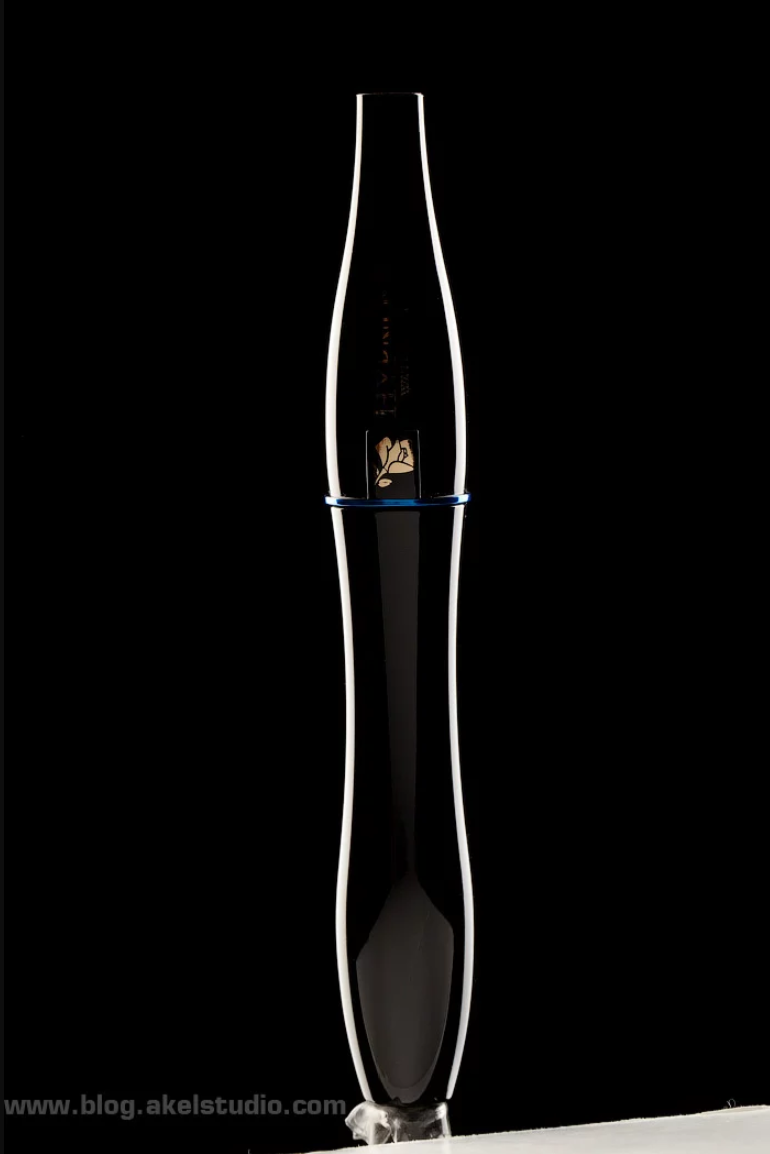
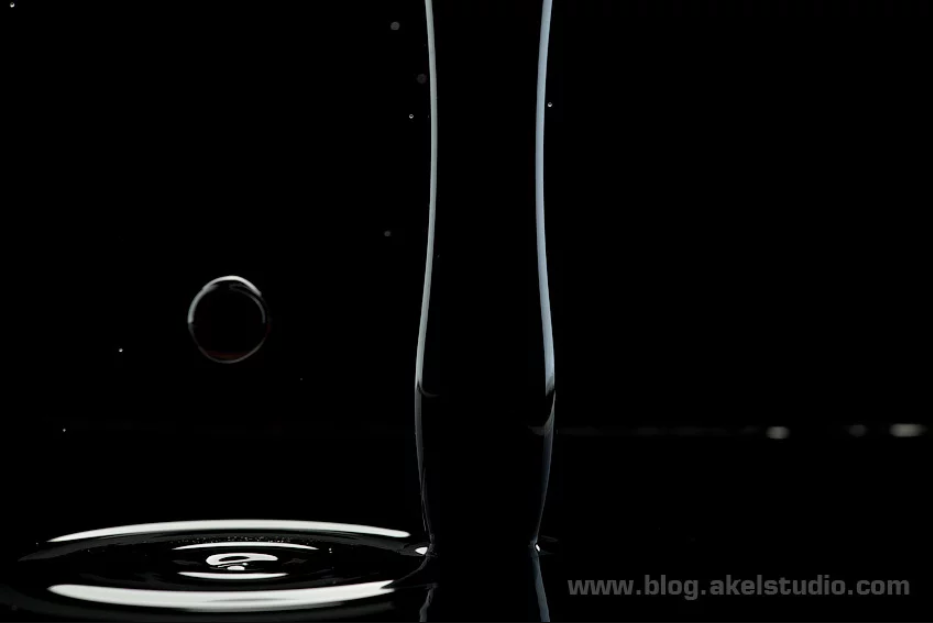
Second Part, the tube and the liquid.
Because subject supposes to be standing in the water, we did this additional shot of the tube on a black glass, covered with a tiny layer of the water. I’ve used a small amount of putty to create little borders on front and on both sides of slightly tilted on the front glass plate, making water to stay there.
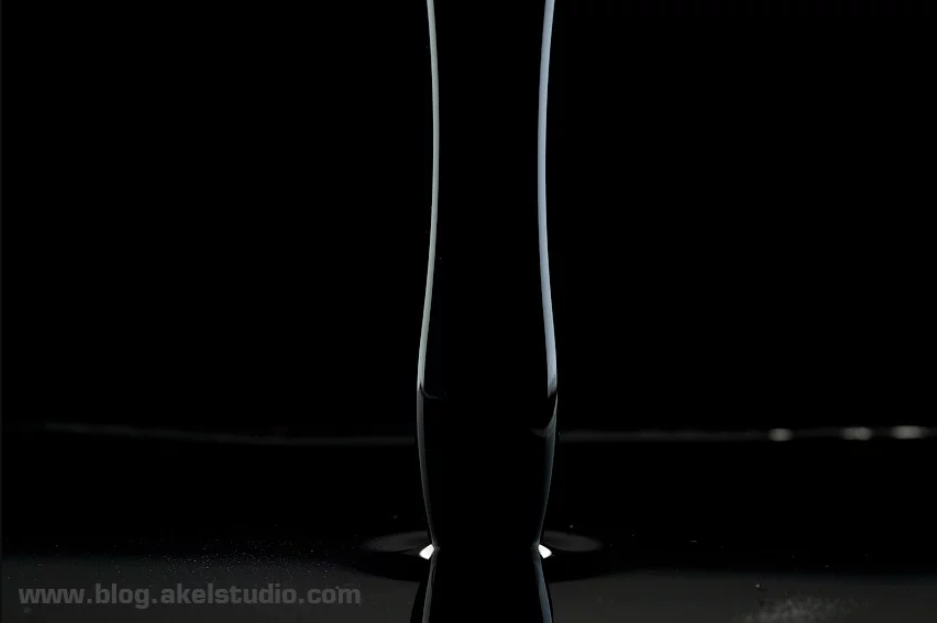
And below is what I was needed from this shot: the bottom of the tube, surrounded by the water:
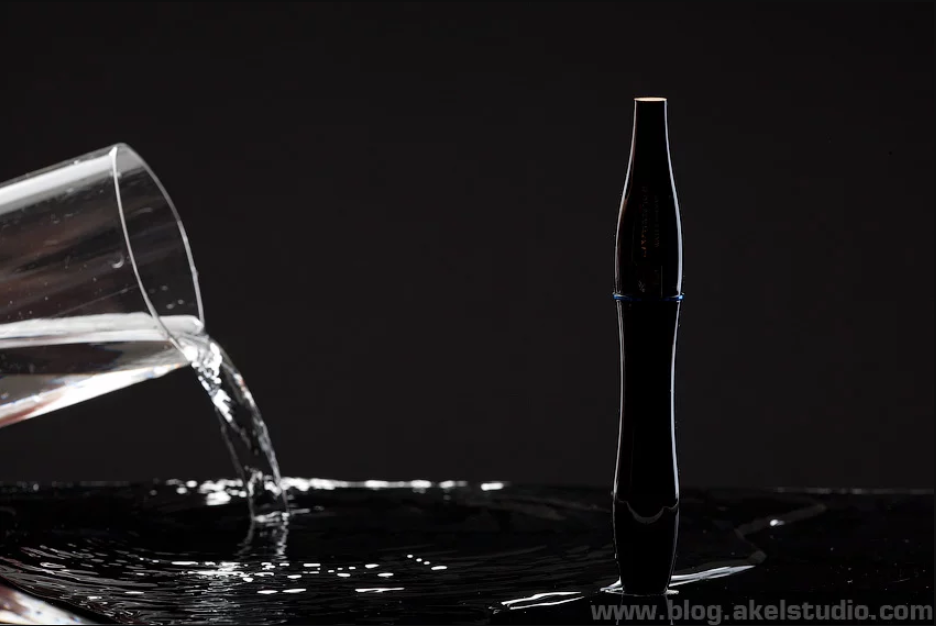
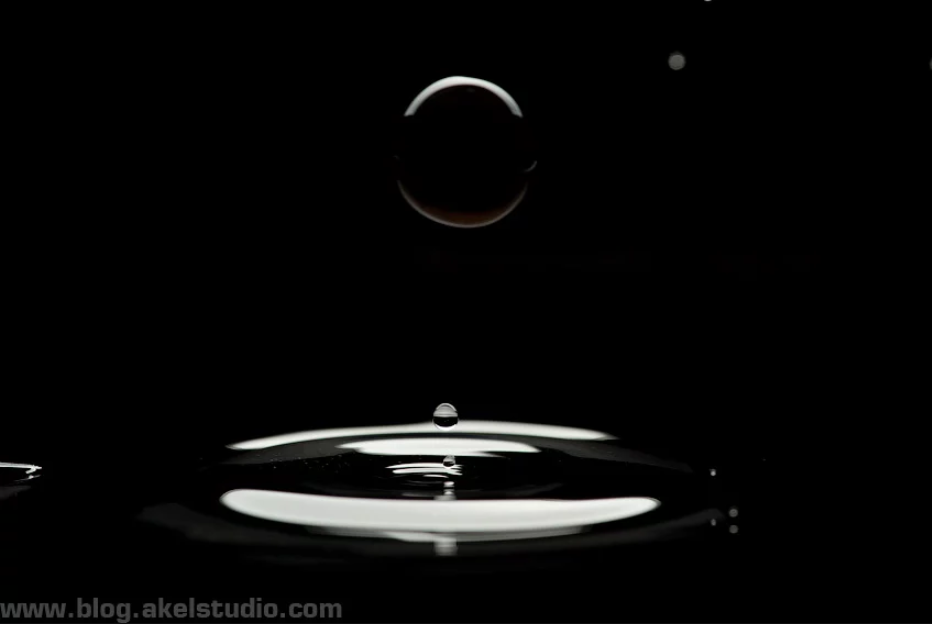
Third Part: dropping water balls
We used liquid gel balls, similar to these The mysterious water balls, but black ones. Unfortunately, the they are smaller than clear ones, and this was the reason why it was not possible to get a whole composition in one shot, as the the mascara looked disproportionally big for the gel balls. See it on a shot below:
As for the dropping balls part (he-he, sounds funny:-), we used the same piece of black glass (actually it was a regular mineral glass spray painted with black paint), filled with a layer of water.
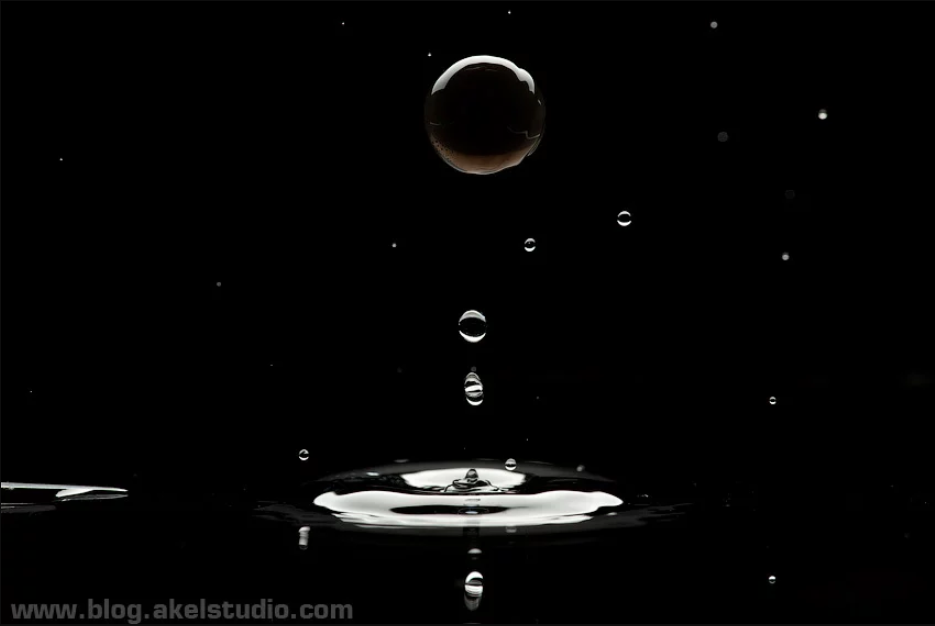
Only one stripbox, positioned on top was used. I’ve got it the way that the reflection was not visible on a flat water surface, but did appear on the waves. The same light from a stripbox created reflection on top of each gel ball:
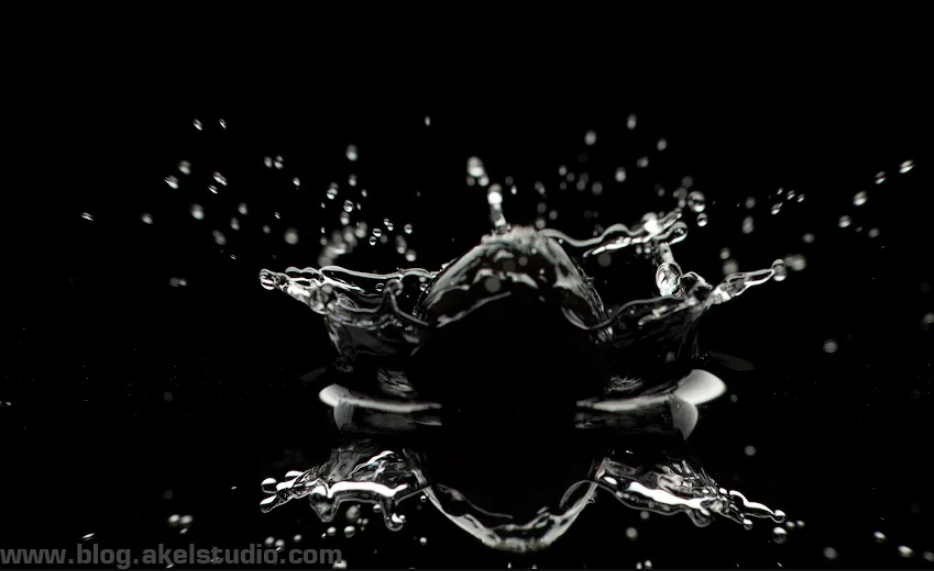
Below are few examples of those drops.
Water black gel drops in a water
Again, the final shot:

Now, if you enjoyed the article you may take a look at this photography video, where I and our Splash Master contributor, Dave Nitsche were talking about this and other Dave’s photo shot.
Photo Shoot specification:
Camera/Lens: Canon 5dMKII + 180mm F3.5L macro lens
Lighting: Einstein E640 studio strobes
Exposure: 1/200 sec, F13
