Select Page

Mastering Product Retouching with Artem Pissarevskiy

The Complete Bundle

BEGINNER – INTERMEDIATE -ADVANCED

🌟 SIGNATURE SERIES

Mastering Product Retouching Bundle

Mastering Product Retouching, The Bundle of 3 Courses

You have a solid foundation with product retouching and you’re ready to expand your skills to include the full range of techniques the pros use to create stunning commercial-quality images.

In Part 3 of this special series, professional retoucher Artem Pissarevskiy focuses on advanced product retouching, from texture recreation and Frequency Separation 2.0 to shadow reconstruction when compositing and advanced color grading.

It’s time to master product retouching and produce your best images yet.

Included into this bundle

Part 1  – Beginner

  • – How to setup your workspace
  • – Configuring your software and hardware
  • – How to create calibrated color profiles
  • – How (and why) to setup and maintain a non-destructive workflow
  • – The most efficient approach to cloning and healing
  • – The essentials of Dodging & Burning
  • – How to make selections using the best tools for the job
  • – The essentials of color correction
  • – How to make the most of luminance and contrast for images that snap
  • – The essentials of color grading your images
  • – The best options for outputting your files

Part 2  – Intermediate

  • – How to blend exposures
  • – The ins and outs of Blending modes
  • – Intermediate cloning techniques
  • – Tricks & tips for dust removal
  • – how to work with the Mixer Brush
  • – The essentials of micro Dodging & Burning
  • – How to make complex selections using a combination of tools
  • – The essentials of color correction
  • – Smart object manipulation
  • – How to use Liquify, Warping, and Puppet Warp to reshape elements in your image
  • – How to make nuanced adjustments to your image using a Black and White adjustment layer
  • – The pros and cons of three different sharpening methods
  • – How to create realistic grain to match your image

Part 3  – Advanced

  • – How to use Check Layers
  • – How to recreate/replace textures
  • – When and how to use Blend If in Photoshop
  • – How and when to use advanced Frequency Separation techniques
  • – How to create replacement backgrounds
  • – How to remove banding even when working with 8-bit images
  • – How to create realistic reflections in a glossy object
  • – How to build Actions in Photoshop to optimize your workflow
  • – How to reconstruct accurate shadows when working with composite images
  • – How to match color and values when compositing for a seamless final image
  • – How to use Color Range and Channels for making precise selections
  • – How to add snap to your image using an HDR adjustment
  • – The basics of Color Theory and how to perform advanced color grading using Curves, Gradient Maps, and LUTs

Duration

12 hours, 23 minutes

Level

Beginner-Advanced

Type

Online Video Course

At the End

Photigy Certificate

Course Highlights

Expand your retouching skills beyond the basic techniques to achieve professional-quality results.

Quick and easy-to-follow lessons. We know that you don’t have lots of time to spend, so we keep it brief!

Follow along by using the included practice raw file.

Ask questions on our online forum and get answers from our professional instructors.

Lifetime access to the course materials.

After course completion, you’ll have an option to submit your homework to be reviewed by the instructor – professional feedback is key to successful learning!

Who will benefit the most from this course?

Photographers seeking to expand their retouching skills to achieve professional-quality results with their own images.

Individuals interested in honing their retouching skills through methodical, guided instruction that expands their fundamental knowledge through the application of more advanced topics and techniques.

Anyone with an understanding of retouching fundamentals.

Course Curriculum- Beginner

Course includes more than 3 hours of instruction in 17 video lessons

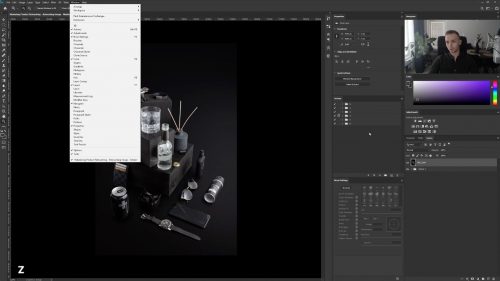
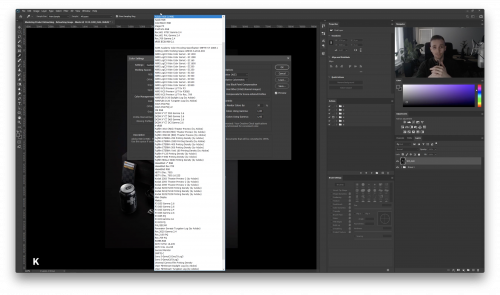
In this lesson, we are going to go through the basic parts of Photoshop and its user interface. It is important to set up the workspace and tools so you know where everything is and can avoid wasting time searching for things, which is disruptive to your workflow.


mastering-retouch-prodcut-course-lesson-1-workspace

In this lesson, we go through the various settings in the Preferences panel to make sure that Photoshop operates correctly.

mastering-product-retouching-course-lesson-2-preferences

In this lesson, we take a look at color settings in Photoshop and discuss why different color settings are used in different situations.

mastering-product-retouching-course-lesson-3-color-settings

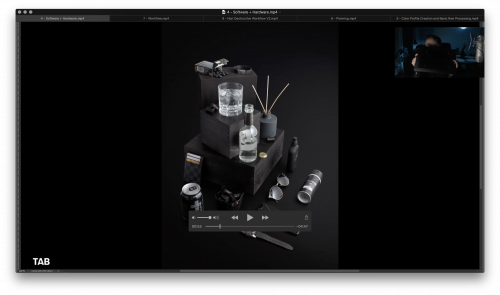
In this lesson, we explore the minimum required hardware and software you will need to get the most out of the course, from computers to tablets to Photoshop.

mastering-product-retouching-course-lesson-4-software-hardware

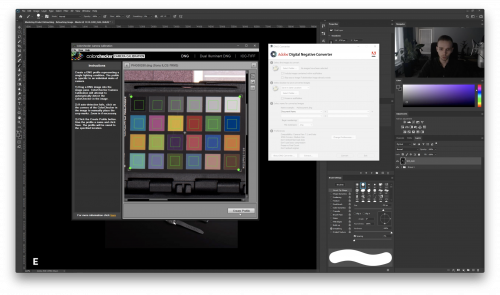
In this lesson we demonstrate how to create very accurate color profiles using a color passport and specific software for that action.

mastering-product-retouching-course-lesson-5-color-profile-creation

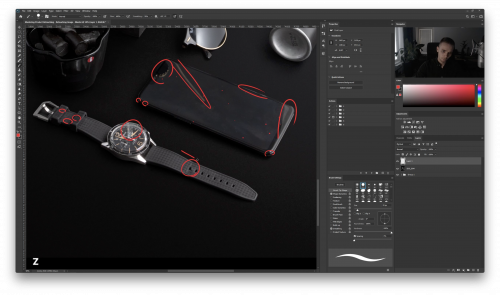
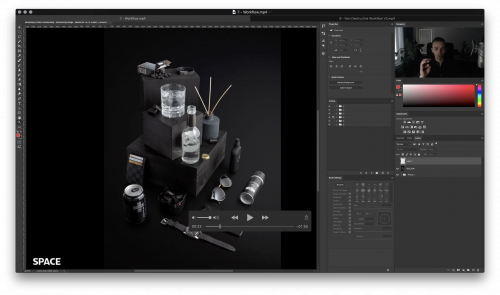
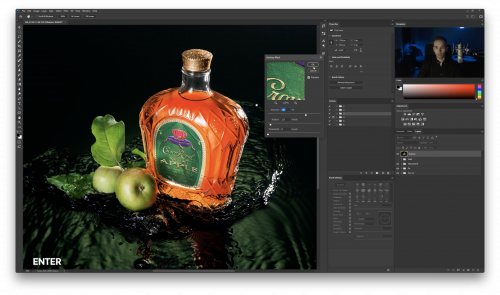
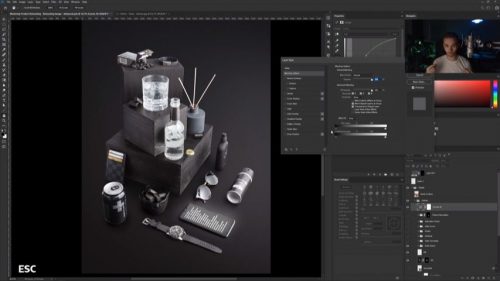
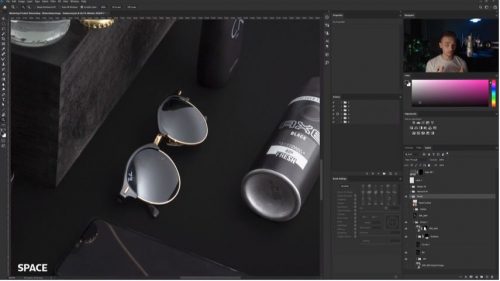
In this lesson, we go through the image and determine our plan for what needs to be retouched. By scanning through the image, we also establish key points for our workflow.

mastering-product-retouching-course-lesson-6-nondestructive-workflow

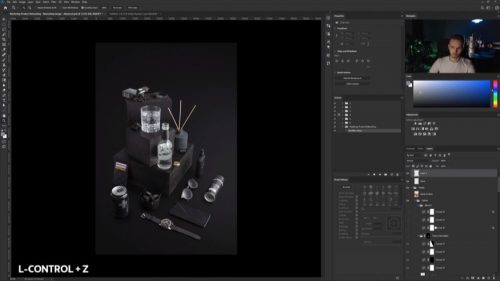
In this lesson, we take a look at basic layer structure for retouching. It is important to set up some layers for efficiency and speed when working on an image.

mastering-product-retouching-course-lesson-7-workflow

In this lesson, we go through important aspects of a non-destructive workflow and why it is important to maintain this type of layer management.

mastering-product-retouching-course-lesson-8-nondestructive-workflow

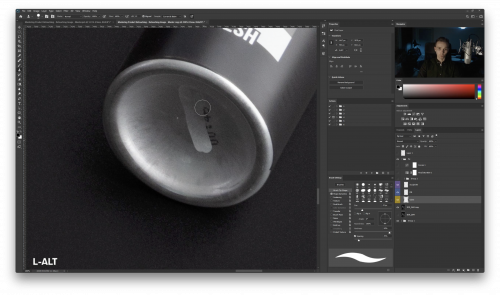
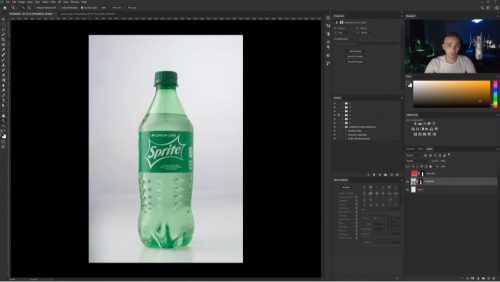
In this lesson, we take a look at some simple dust removal with different types of healing and cloning tools which are part of every retoucher’s essential toolkit.

mastering-product-retouching-course-lesson-9-cloning-healing

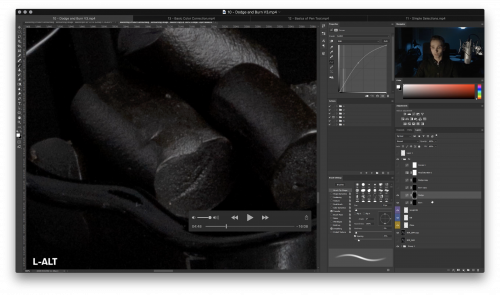
In this lesson ,we tackle the basics of a couple different Dodge & Burn techniques. We also discuss how they work, why they differ, and what is the purpose of dodge and burning when it comes to retouching your image.

mastering-product-retouching-course-lesson-10-dodging-burning

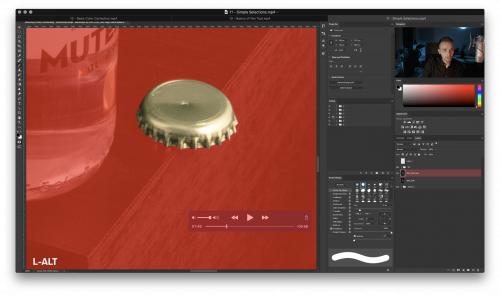
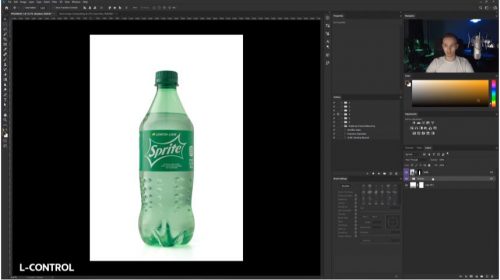
In this lesson, we go through the essential ways to select different sections of an image and how to use those selections in post production work.

mastering-product-retouching-course-lesson-11-simple-selections

In this lesson, we take a look at one of the most powerful selection tools in Photoshop and go through a quick Pen tool bootcamp.

mastering-product-retouching-course-lesson-12-pen-tool

In this lesson, we learn a couple of different color correction techniques and how to use them to correctly modify color in specific areas of the image.

mastering-product-retouching-course-lesson-13-basic-color-corrections

In this lesson, we go through the basics of some different luminosity adjustments, how they work, and where to use them.

mastering-product-retouching-course-lesson-14-luminosity-contrast

In this lesson, we look at the possibilities of color grading in Photoshop on a basic level, as grading is more of an artistic than technical approach. We also discuss how different color adjustment layers affect the image.

mastering-product-retouching-course-lesson-15-color-grading

In the last lesson of our beginner section, we cover how and when to use specific file types and color profiles when saving your image.

mastering-product-retouching-course-lesson-16-saving

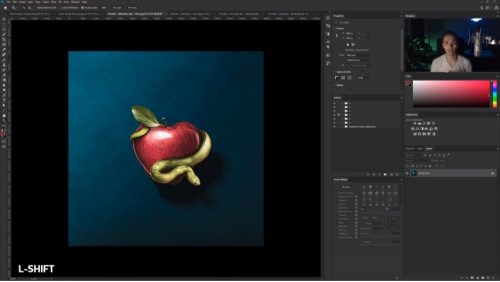
In this bonus lesson, we put all of the techniques together to perform a complete retouch of a colorful image.

mastering-product-retouching-course-lesson-17-bonus-complete-retouch

Course Curriculum - Intermediate

Course includes more than 3 hours of instruction in 15 video lessons

Artem introduces the course and sets expectations

In the first lesson, we are going to take a look at how to use multiple images and raw conversions to achieve desired exposure and lighting and make sure that we get the best starting point for our retouching process.

In this lesson, we go through the different blending mode options on how, when and why use them.

In this lesson, we revisit the Clone Stamp tool from the first part, but examine it from a different point of view and explore some additional features of the tool.

In this lesson, we take a look at a powerful and quick way of removing large amounts of dust particles and at the same time compare the pros and cons of this  specific technique.

  • In this lesson, we demonstrate how to set up the Mixer Brush tool and use it to smooth out surfaces which are not well-suited for other methods such as cloning or healing.

In this lesson, we once again revisit another technique from the Beginner course and continue to push the boundaries to see what this technique is able to do in other instances.

In this lesson, we show you how you can combine different selection and masking methods to achieve a flawless selection result that cannot be done with just one tool.

In this lesson, we go through an important technique that uses smart objects that can be updated later to replace real life elements such as bottle labels and phone screens while maintaining texture and reflections.

In this lesson, we demonstrate how to use the Liquify tool to fix organic flaws in the image.

Continuing on the theme of transforming, in this lesson, we show the capabilities of the Warp transform modifier and how to use it to your advantage.

To round up our transformation trilogy, we go through the Puppet Warp modifier to demonstrate how to use it in more organic transforming scenarios.

In this brief lesson, we take a look at some interesting ways you can use a Black and White adjustment layer for more than simply turning an image black and white.

In this lesson, we go through three most commonly used sharpening methods and compare them to each other to find out the major differences and their pros and cons.

In this last lesson, we learn how to create a photo-realistic film grain from scratch, and how to modify it and match it to an existing grain in the image.

In this special bonus lesson, we demonstrate the application of many of the techniques presented in the course to create a final high quality image.

Course Curriculum - Advanced

Course includes nearly six hours of instruction in 19 video lessons

Artem introduces the course and sets expectations


Mastering-Product-Retouching-Introduction

In this first lesson, we teach you how to create and use check layers to your advantage in retouching.


Mastering-Product-Retouching-Advanced-Lesson-1

In this lesson, we teach you how to replicate or replace a certain texture to match the original look using stock images and adjustment layers.

Mastering-Product-Retouching-Advanced-Lesson-2

In this lesson, Artem teaches you how to use the Blend If layer style option in different scenarios.

Mastering-Product-Retouching-Advanced-Lesson-3

In this lesson, you will learn how to use two different Frequency Separation techniques, how they differ from each other, and when to use them.

Mastering-Product-Retouching-Advanced-Lesson-4

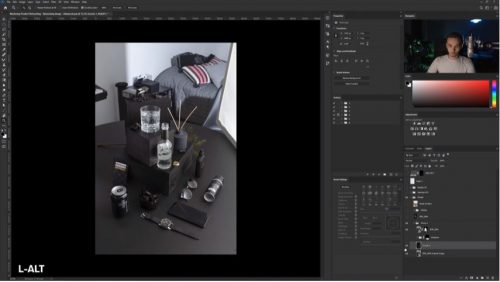
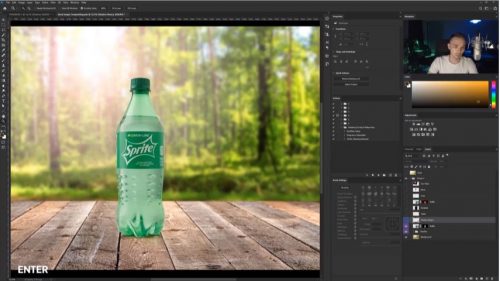
In this lesson, we take a look at a commonly used technique to replace backgrounds. You will learn how to create a background from scratch using a mix of colors and adjustment layers.

Mastering-Product-Retouching-Advanced-Lesson-5

Building on the previous lesson, we show you how to get rid of banding in your images to make them look more professional

Mastering-Product-Retouching-Advanced-Lesson-6

In this lesson, Artem demonstrates one technique for creating a realistic reflection on a glossy object while referencing the original object’s reflection and details..

Mastering-Product-Retouching-Advanced-Lesson-7

In this lesson, we show you how to create actions in Photoshop to help you automate common retouching tasks and speed up your workflow..

Mastering-Product-Retouching-Advanced-Lesson-8

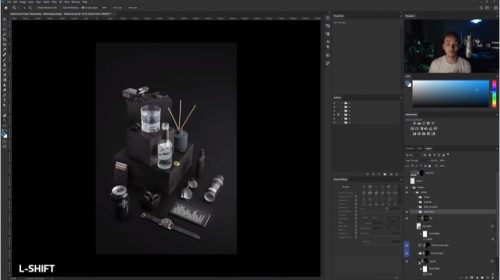
In this lesson, Artem introduces the plan for the next several lessons working with a composite image.

Mastering-Product-Retouching-Advanced-Lesson-9

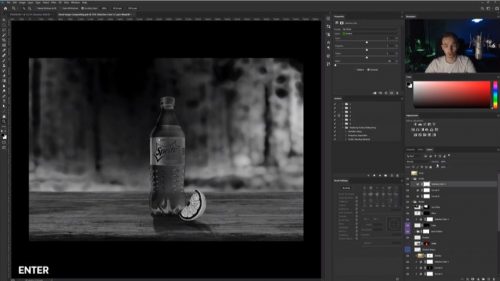
In this lesson, we show you how to extract shadows from our practice image and use them effectively in a composite image. We also take a look at proper layering technique.

Mastering-Product-Retouching-Advanced-Lesson-10

In this lesson, we talk about shadow theory and show you how you can easily create shadows to match your scene and make them look realistic..

Mastering-Product-Retouching-Advanced-Lesson-11

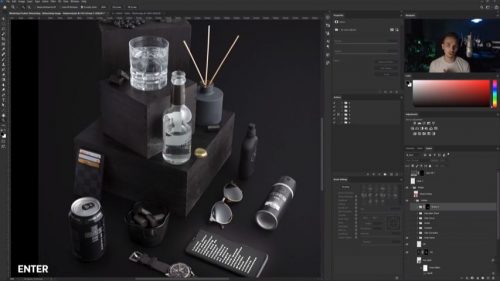
In this lesson, we combine multiple images into one and talk about what you need to take into account when working with multiple images from different sources

Mastering-Product-Retouching-Advanced-Lesson-12

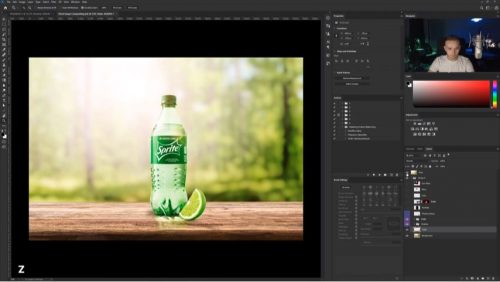
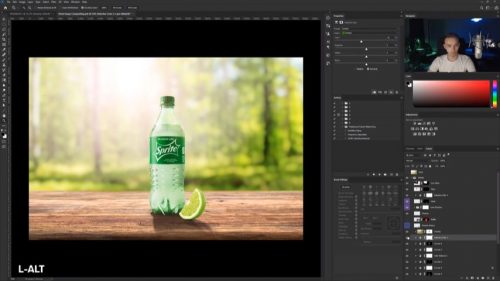
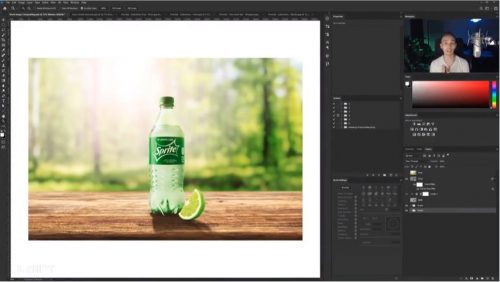
In this lesson, Artem continues working on the composite image by correcting the values and colors of the combined images from the previous lesson.

Mastering-Product-Retouching-Advanced-Lesson-13

In this lesson, we take a look at some alternative selection methods and how you can use them in different scenarios.

Mastering-Product-Retouching-Advanced-Lesson-14

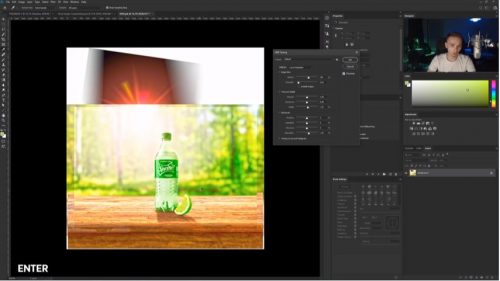
In this lesson, Artem demonstrates how you can utilize an HDR adjustment to spice up your image in a nondestructive way..

Mastering-Product-Retouching-Advanced-Lesson-15

In this lesson, we take a more in-depth look at color theory and different grading styles to enhance the look of your images

Mastering-Product-Retouching-Advanced-Lesson-16

In this lesson, we continue our color grading discussion and show you some alternative approaches to adjust colors in your image and achieve interesting results.

Mastering-Product-Retouching-Advanced-Lesson-17

In this final lesson, Artem reviews color LUTs, or Look Up Tables, and discusses how they work, when to use them, and how you can make your own.

Mastering-Product-Retouching-Advanced-Lesson-18

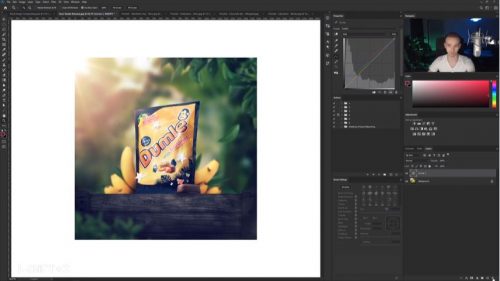
In this full retouch session, Artem takes into account all the techniques presented throughout the course and puts them into practice to retouch a more complex image with a lot of details to keep in mind.

Mastering-Product-Retouching-Advanced-Lesson-19

FAQ

Most frequent questions and answers

You will need a computer capable of running at least a relatively recent version of Adobe Photoshop and Lightroom, with sufficient memory and storage to accommodate working on and saving up to multi-gigabyte files.

Although you can work your way through the entire course without a graphics tablet by using a multi-button mouse, it is highly recommended if you plan to retouch a lot of images to invest in a decent graphics tablet as they make the entire process more accurate and efficient.

You will have 24/7 access to course videos, forums, and reviews on the Photigy.com website. It is optimized for mobile as well, and we stream from the worldwide cloud to ensure a worry-free learning experience.

You’ll have lifelong access to the course. There is no limitation on this.

All course students have access to a private forum dedicated to support. This is the place where Photigy instructors answer students’ questions, and students can share their own experiences and solutions.

It is highly recommended that you have a solid retouching foundation before starting this course. If you are completely new to retouching, start with our Mastering Product Retouching, Part 1: Beginner course; otherwise, jump into our Mastering Product Retouching, Part 2: Intermediate course so you will have the knowledge and skills needed to be successful with this advanced course.

Yes, all course materials are available to download and watch offline. Downloads include all videos as well as supplementary materials: PSD and RAW files for your own practice.

Special Bonus for Pre-Release Buyers!

Receive a full post-production tutorial from Artem Pissarevskiy made for Pro Club workshop #72!

Bonus includes: 1 hour 40 minutes of retouching the “Fire in Advertising Product Photography” workshop*

*Only available during pre-sale, offer expires April 17th 2020

Special "First Week Of Release" Price: save $100:

1
2
3
Contact
Payment
Delivery
USER INFORMATION
NEXT
ORDER SUMMARY
Mastering Product Retouching Course, Part 3
$195.00
Total
$195.00

Course Instructor - Artem Pissarevskiy

Artem is a 23-year-old retoucher from Finland, who has worked in the post-production field for six years. He sees himself as more of a technically-skilled retoucher than an artistic one, specializing in product and creative retouching. He enjoys problem-solving as it is a huge part of the post-production process..

artem-profile

REVIEWS

See what other people have to say about their learning experience.


BACK TO SCHOOL SALE:

Use Code “BACK2SCHOOL”

and get 50% OFF

Sale Ends In:

Days
Hours
Minutes
Seconds

Register FREE for this online workshop with Alex Koloskov and Artem Pissarevskiy