
High-key in Product Photography
The Complete Guide To Product Photography
1 |
Mark the Lesson as Completed |
Do you remember how I treat device called shooting tent or lightbox? Every time readers were asking about lightbox (light tent, shooting box, etc) I was saying that it is very limited and useless thing in our studio.
But now you can see yourself what unprincipled person I am: I just finished a shoot completely done in that light cube!
What a joke:-)
Because of the lighting tent, the lighting setup was not complicated at all: I have 4 light sources around the box, each pointed to a corresponded side of the cube:
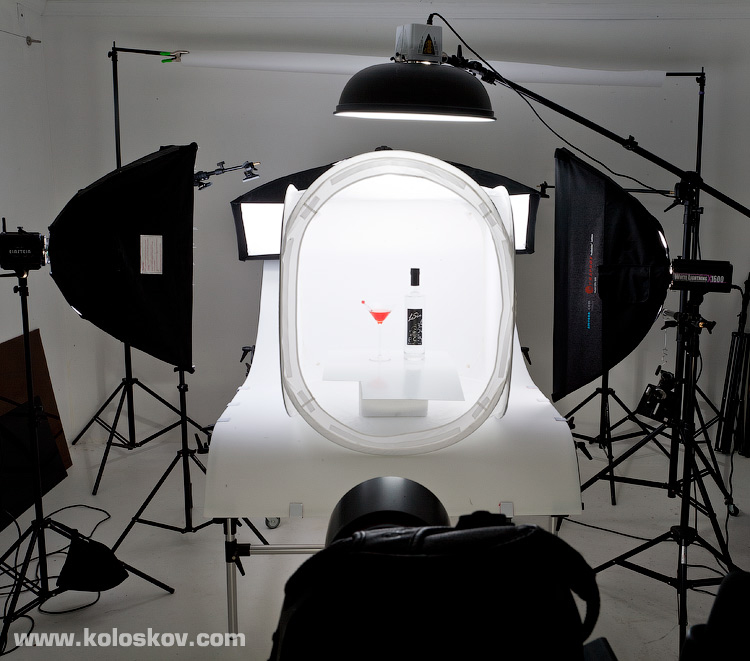
Fifth strobe (not visible here) was on the floor in front of the shooting table, highlighting the label on the bottle. Exactly the same way it did it on the “black” photoshot. As you can see, I’ve used softboxes on each monolight, as a standard 7” reflectors tend to make spots on the lightbox, and I was needed more uniform light spread.
If you wonder why I have a separate light for each side of the cube, the answer would be the same: uniform light filling of the cube. More lights allowed me to balance strobe ratios the way I want.
Also, both side light were pointed to the rear part of the cube: I need rear area to be much brighter than the front of the cube. The “rule” (I hate this word:-) is the same for the glass and other transparent subjects: lit the background, not the subject.
Ok, when I’ve got my lights balanced, the outcome was this:
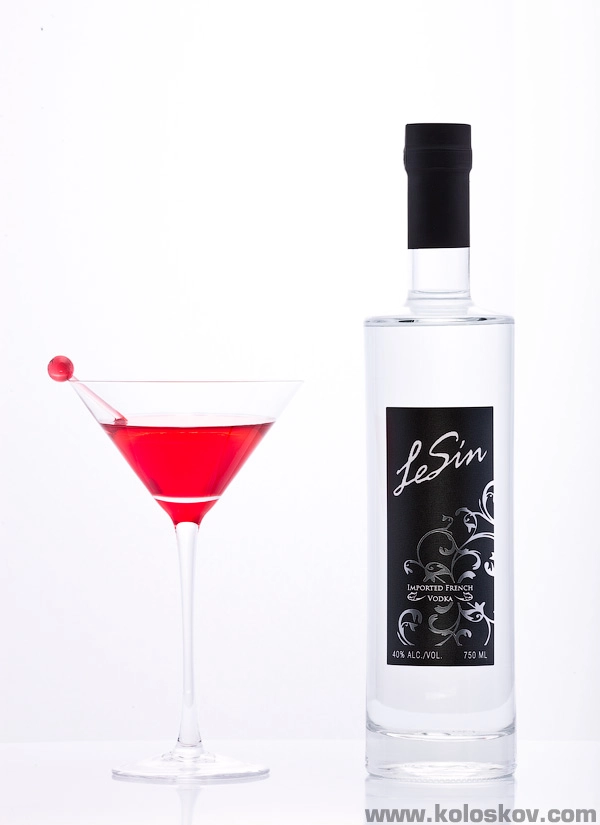
This is an as-is image from RAW converter, and the background is not completely white. It is easier to fix such image in a post-processing in RAW converter rather to shoot it overexposed to something like this:
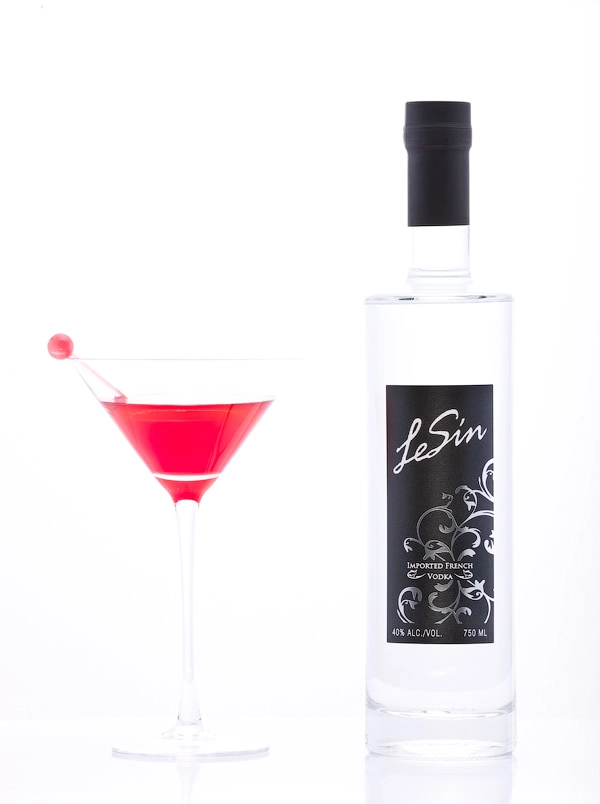
Martini glass is almost invisible, and this is not good at all. I would need to dial exposure down (it will bring brightness to a previous shoot level), or… retoucher will say me something very unpleasant:-)
Now we needed to add black edges to our subjects to separate them from the white surrounding.
I’ve used 2 pieces of black cardboard, inserted into the box to be behind the bottle:
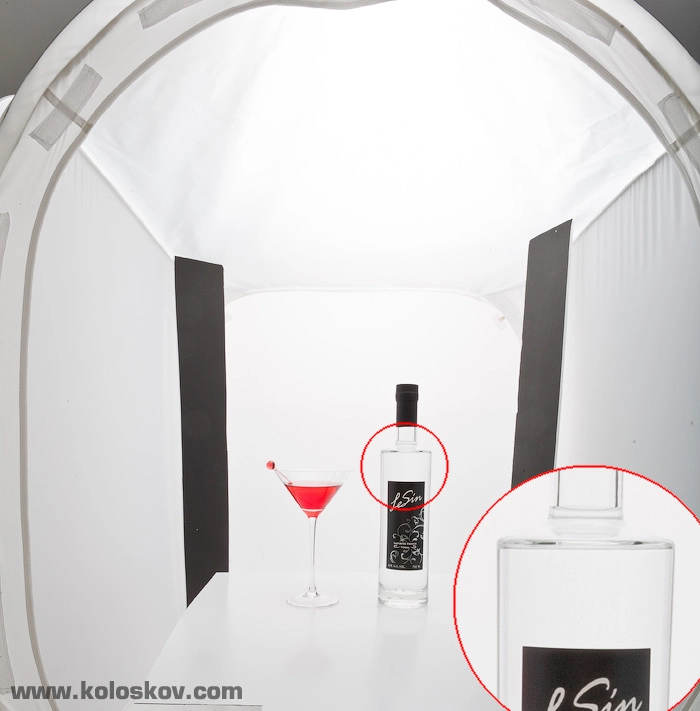
You can see how the bottle looked at 100% crop in a corner of each setup. We can manipulate with the thickness of the edge lines by changing size of the black screens or/and their position:
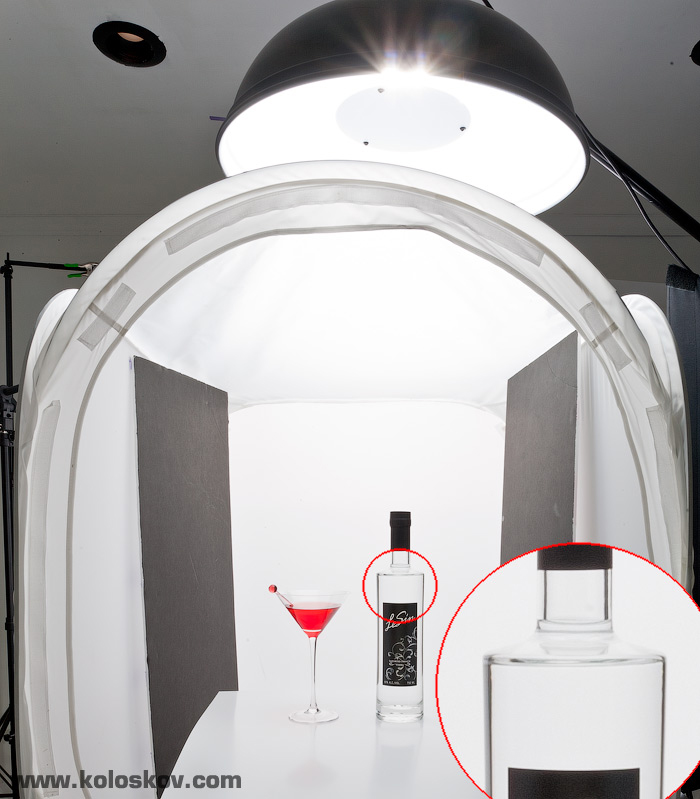
The full image below, move sliders to see before and after the insertion of black screens:
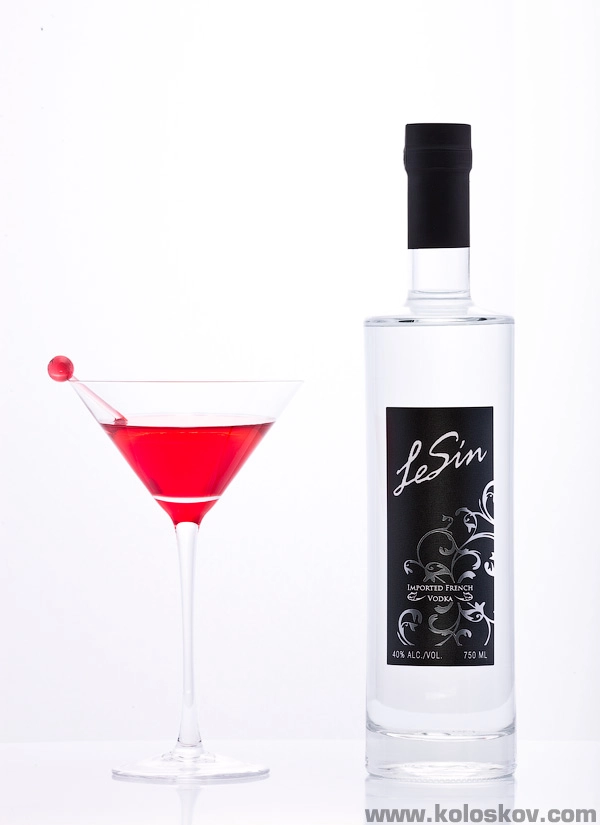
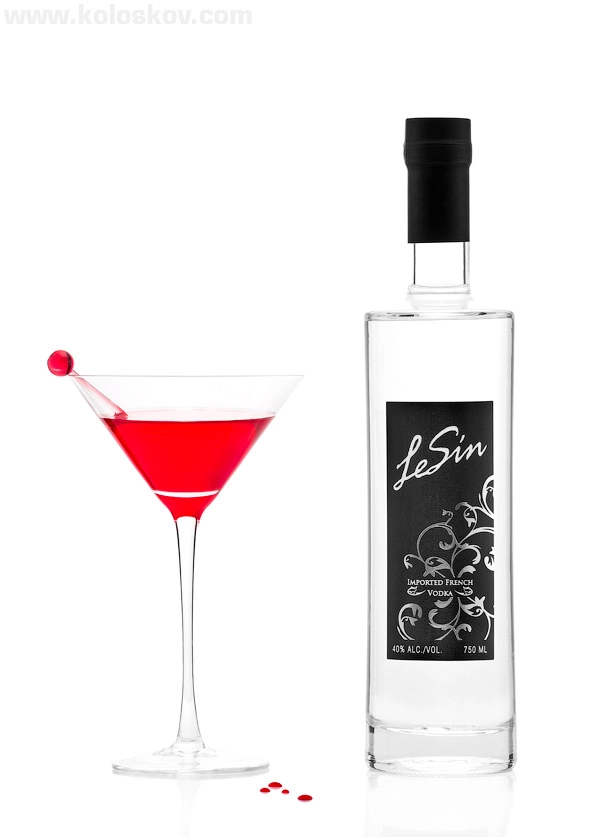
The result, correctly exposed, converted and cleaned during the post-processing is on top, at the beginning of this article. When we got our desired photo, it looked nice, but somehow plain, even considering that this was not an artistic shot. So, we added few drops of the syrup to a table and it was that last but very essential “drop” which finished the composition!
BTW, I did not give up my idea of NOT using a light tent, and tried alternative way to get the same result by building this:
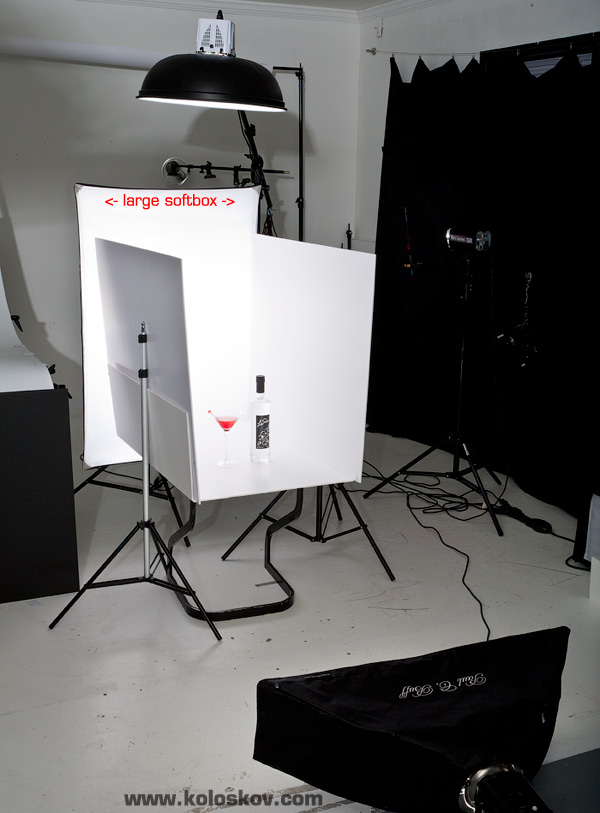
The same idea, but with little less control of the brightness, as I’ve removed 2 strobes from both sides, replaced by white screens. In general, this produced the same result, but it was easier to work using the shooting box. I still think that lightbox is not good for most of my studio work, but sometimes it can be very helpful. Cases like this, when I need to fill everything with the light. So, we do not listen to anyone, and use whatever will work the best for a given task… agree?
In the end, I’d like to show you one more shot.
I’ve done it with a very simple modification of the lighting setup above, but the outcome was changed dramatically, check this out:
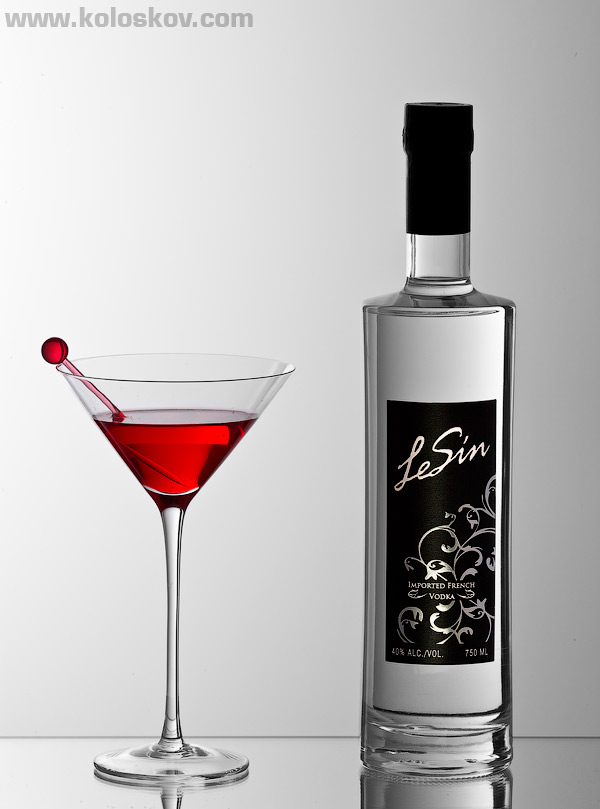
Truly speaking, I like this image more than the white one. A smooth gradient is more pleasant to my eye, and I like how bottle had this gradient “reversed”. Glad I spent those few extra minutes to get it done!