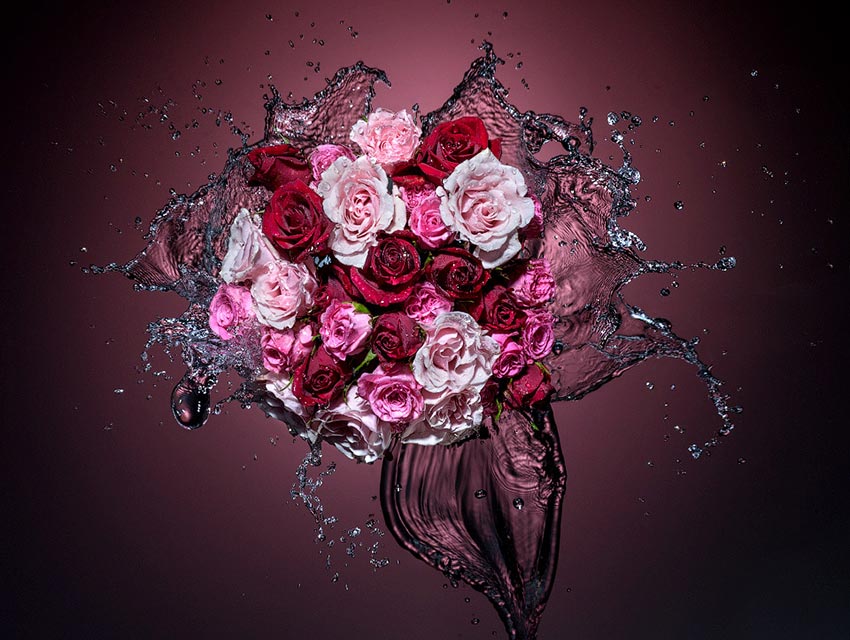
Splashing Roses Liquid Photography
by Alex Koloskov, behind the scene

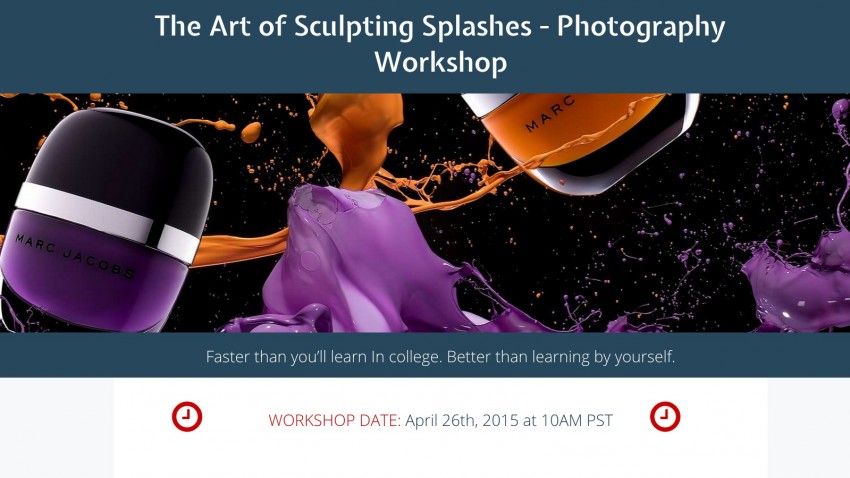
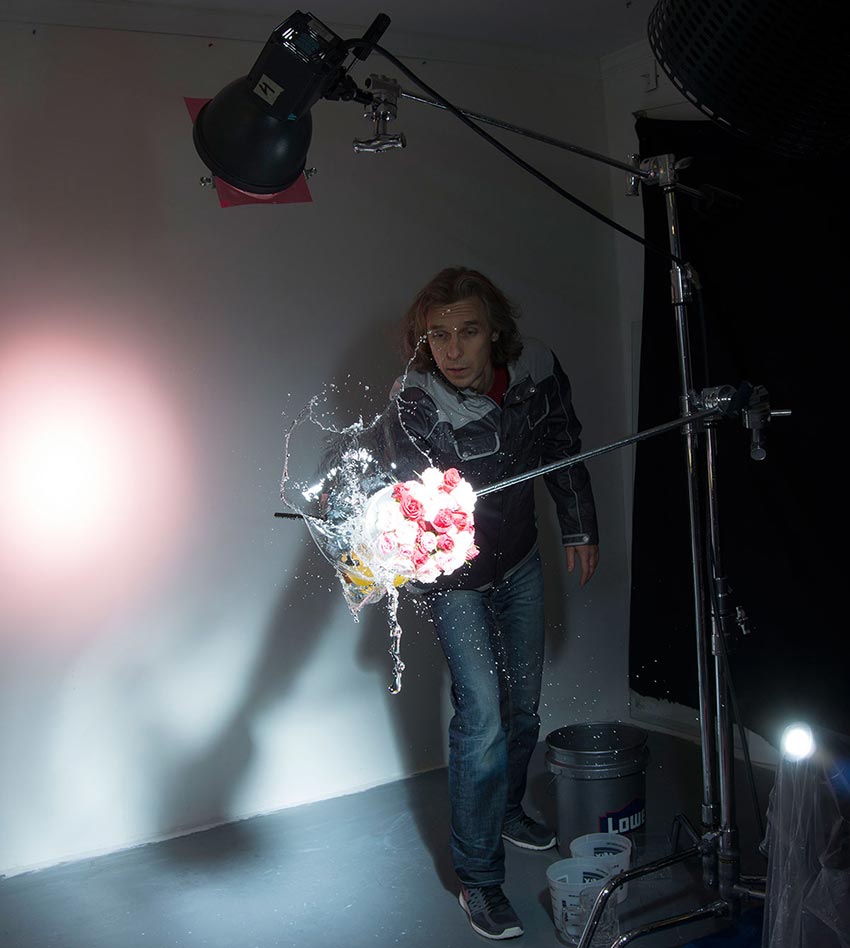
Behind the Scenes of a High-Speed Liquid Shot
Preparation for a splash/liquid shot
Before any actual shooting began, we covered the studio with drop cloth.
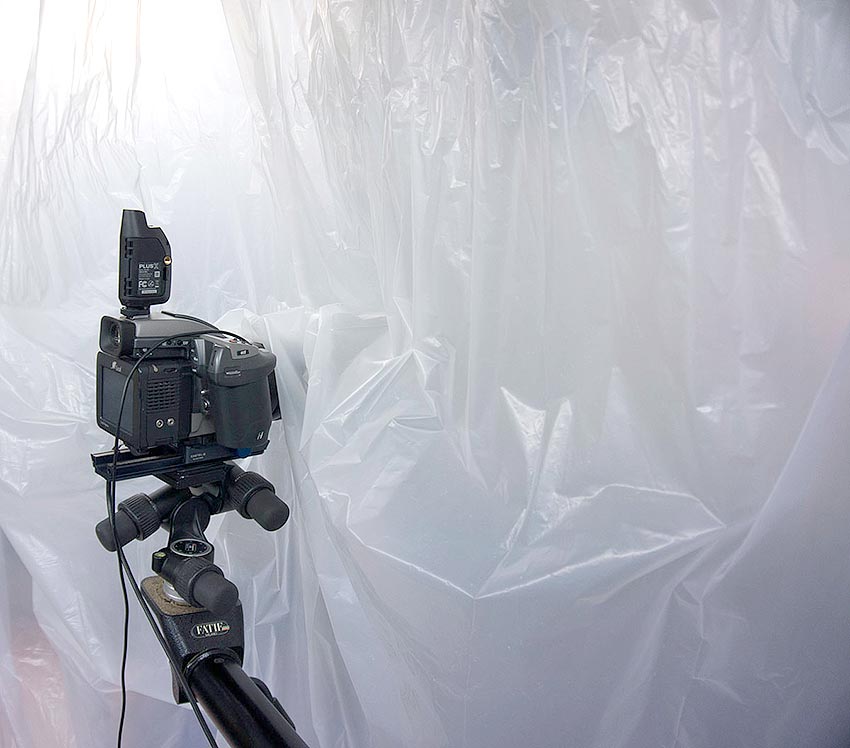
It’s vitally important that all of your gear is protected from any stray splashes that may damage it. We took the drop cloth we had and attached it to the ceiling to create a wall of coverage, protecting our computers as well as the camera.
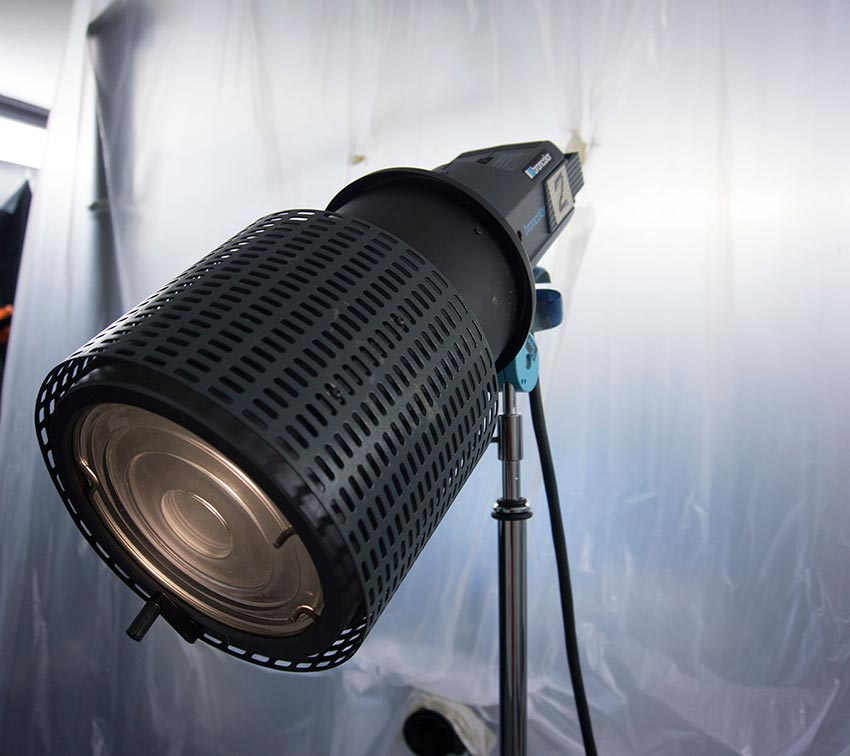
For this shot, we use 3 spot lights. below is the lighting setup.
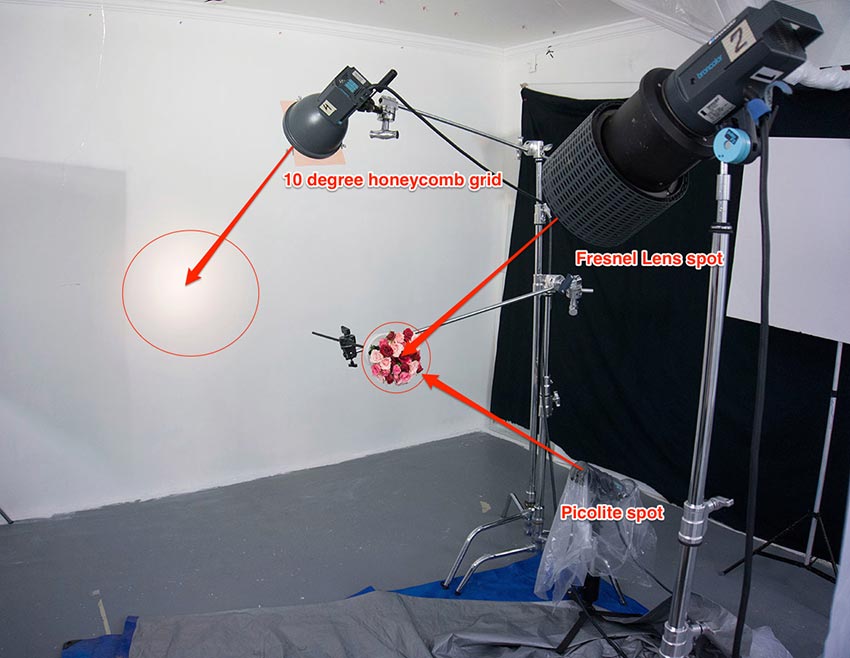
One gridded light with a colored gel is used to create a nice gradient spot on the background of the image.
The Key light is positioned at an angle slightly below the background spot (as to not interfere and wash out the spot we created on a background). This light has a Fresnel Lens attachment for Broncolor Pulso head, and it was necessary to use it so that we could precisely light only flowers and not have any additional light spilling onto the wall.
A third light was used to highlight the flowers from the bottom.
Fesnel lens attachment for pulso head:
We used Broncolor Grafit A4 and Grafit A2 packs, because they are able to shoot at a very short flash duration. For this shot we set both power packs to 1/2000 sec flash duration.
This flash duration allows was short enough to completely freeze any high velocity action. We shot a subject at F25 to have deep enough DOF to have in focus not only flowers but a splash behind them, and we needed a maximum possible light power from our strobes.
So, the optimal settings was about 450WS for each flash head with 1/2000 of flash duration.
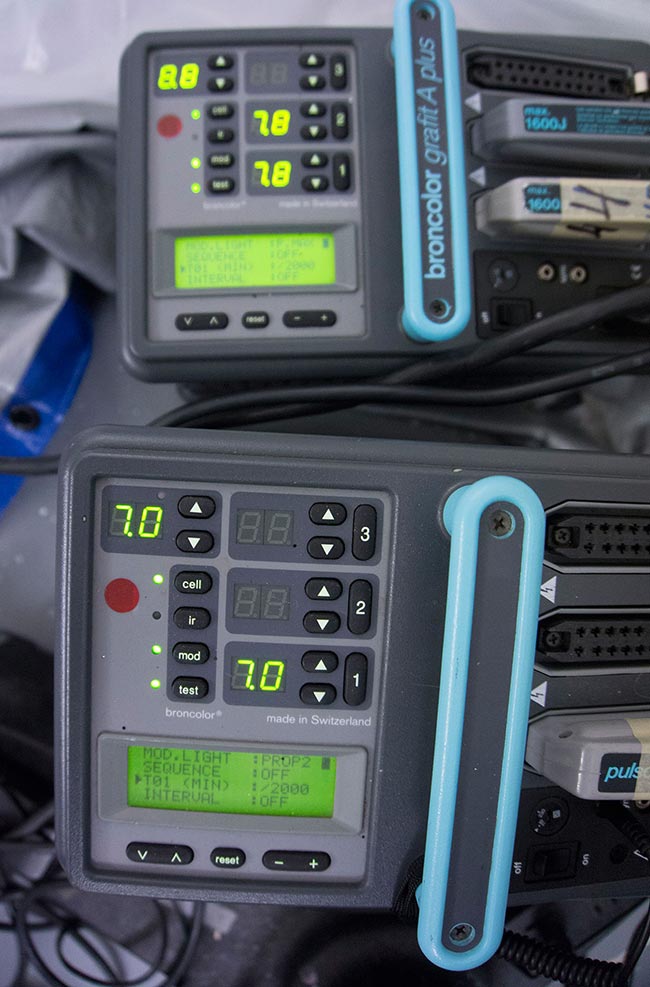
It’s important to know that the flash duration and not the shutter speed freezes the action. We set the camera’s shutter speed to 1/200 sec (can go up to 1/800 with Hasselblad X-sync speed) to demonstrate that it is not a shutter speed freezes the action, but a short flash duration.
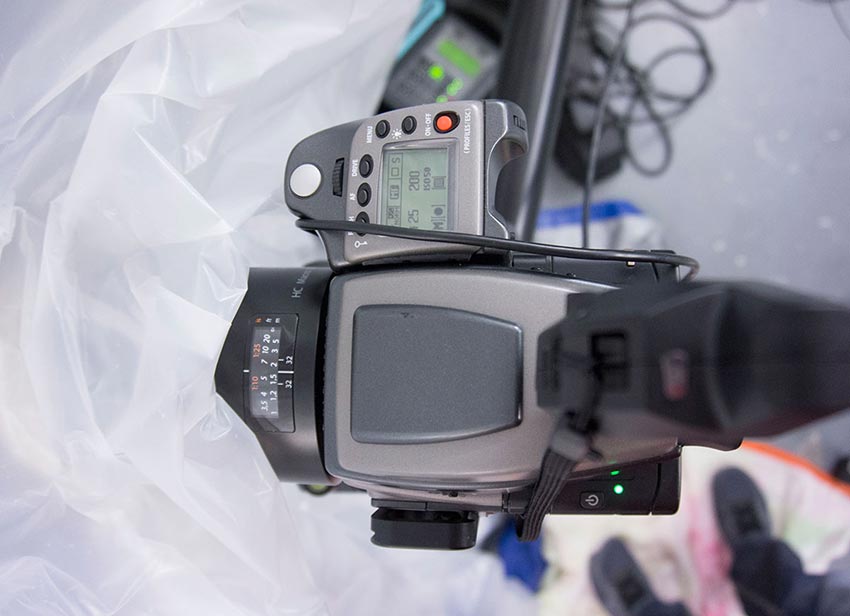
Before I started shooting we used an atomizer to create little water droplets on the flowers themselves to give the shot a more authentic look.
We set the camera’s focusing plane on the edges of the flowers in order to get as much of the splash as sharp as possible. Because the water was being thrown behind the subject, it was essential to set the focusing plane as close to where the water would be.
The Shot
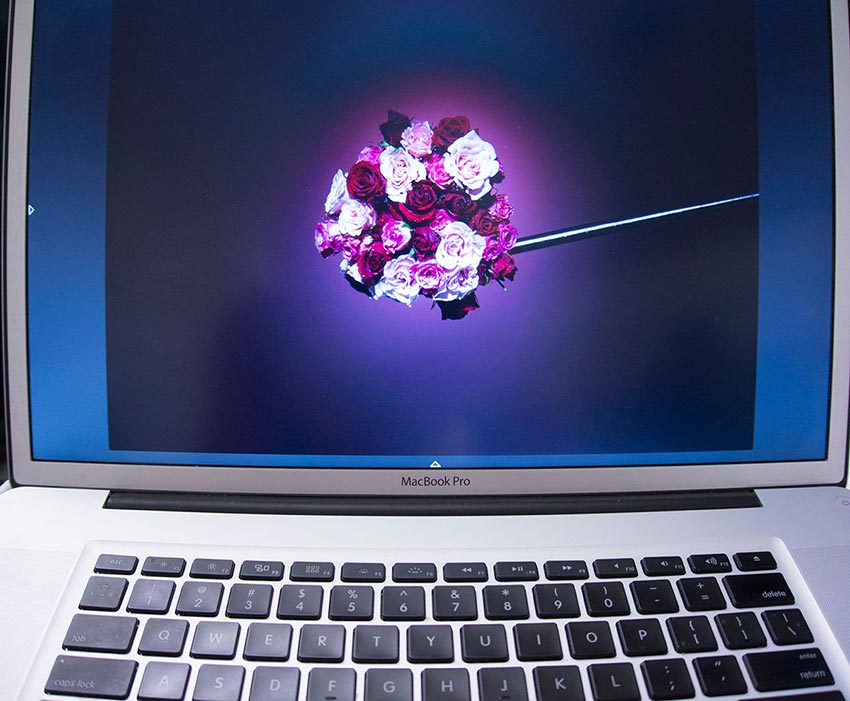
Here is an example of the shot before we added splashes. The bouquet is lit the way I want it and there is a nice aura around it, created by the gelled background light.
After everything was set up, we started the fun part. Throwing the water. It’s always good to have an assistant when shooting to fire a shot at exact moment needed, but it takes time to practice to work in sync.
Many photographers uses smart triggers to fire a camera, and I have a quite good experience with a device called “Triggertrap”.
You can see how it works on this test I did a while ago:
Water Splash Photography: Does Elinchrom Ranger Quadra RX stop the action?
In our case, I have a pretty good sync with our team and we were getting splash shots at right moments every time, without using any triggers except a human eye and reaction.
This is how it was happening:
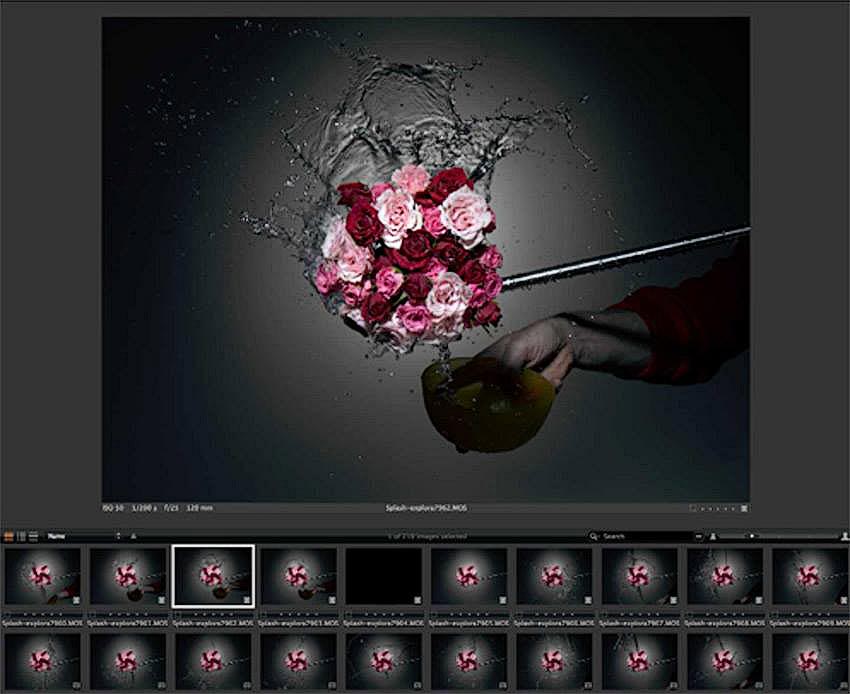
Below is one of “out of the camera” shots we were getting.
I used Capture One software when I took these images, to help me organize and shoot tethered.
Post Production
In order to create the image that I wanted, I had to take multiple shots of splashes, pick the best ones, and composite them into the final image.
After the best splash images were selected. We brought them into Photoshop and began masking and editing the splashes that we loved most, creating our final composite shot.

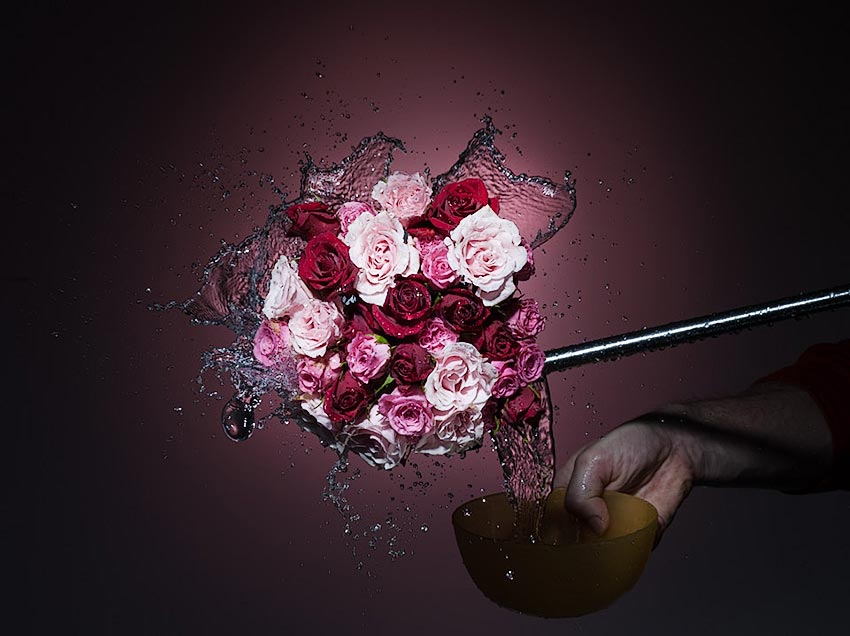
The Final Image

Images like this can be created not only with expensive gear like Hasselblad Cameras and Broncolor lighting. I have several tutorials on Photigy showing how to do hi-speed splash photography with any DSLR and speedlites (or much less expensive studio lighting).
If you interested to learn splash and liquid photography on more advanced level, join us on the upcoming “Art of sculpting splashes” workshop: