7 Tips for Better Food Photography
Author: Rob Andrew at www.robandrewphoto.com
For the past couple of years, many of my monthly photography assignments have been food related. This type of assignment has its benefits! Aside from eating really well, and discovering a ton of great new restaurants, I’ve been able to gradually raise my food photography game with the best possible coach- experience.
Here are seven basic tips to help elevate your food photography game.
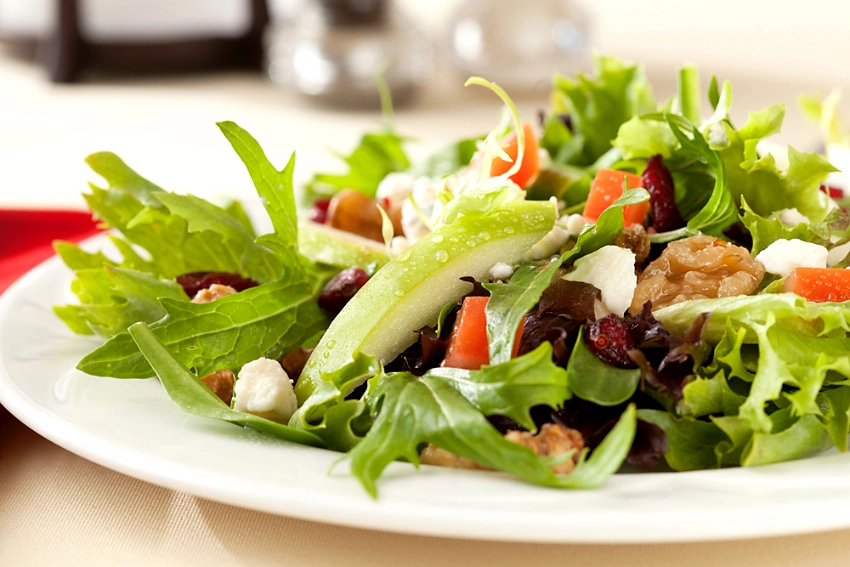
1. Fill the frame
Beautiful, sweeping table scapes a la Pottery Barn are always cool, but often times restaurants and environments where you would shoot food commercially just don’t have the beautiful, highly styled environment to make a zoomed out shot work. Closeups are usually more appetizing and get your idea across more quickly and effectively. How to shoot an effective closeup?
Choose a featured item (in this case the beautiful slice of fresh apple), lock focus on it, and build your shot around that. Use a shallow depth of field to de-emphasize the little bit of background that you will see. Side note: a red linen was used because green and red are a classic complimentary color paring and help balance the green and red in the overall image.
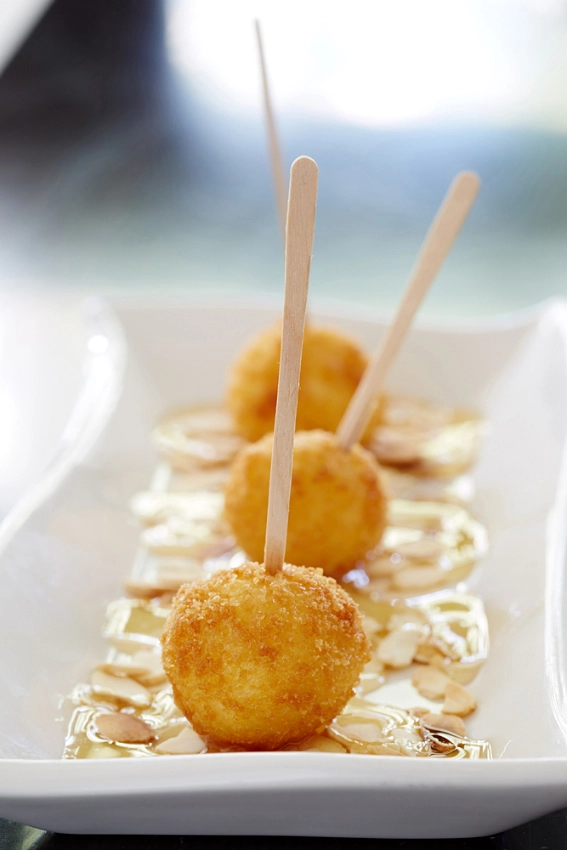
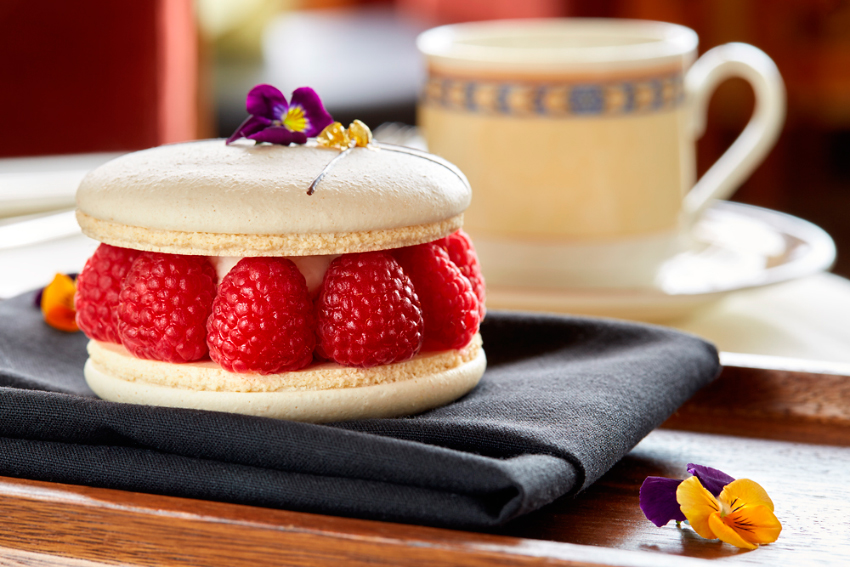
2. Go vertical
One thing I see beginning photographers doing a lot is shooting only about 10% of their shots in the vertical camera orientation. Do something different and shoot vertically! Some subjects like these “goat cheese popsicles” dictate a vertical composition by their shape.
Other times, it may not be as obvious. Magazines and cookbooks like vertical compositions because they can easily be a full page print or if you’re lucky, a cover shot which often times pays the photographer a usage bonus.
When in doubt, try to capture a horizontal and vertical version of the same dish and have both in your library. (Another common color wheel combination, is blue and orange).
3. Use the foreground and background for depth
In many cases, food photographers show background items out of focus (salt and pepper in this photo), to give a sense of place and context to the image. You can expand on that by adding the hint of an object like this glass in the foreground. This will help give your images a three dimensional quality and anchor the edges of the image visually.
Similar to landscape photography, think “foreground, middle ground, background”. If you have all three, you’ll have an enhanced sense of space and depth.
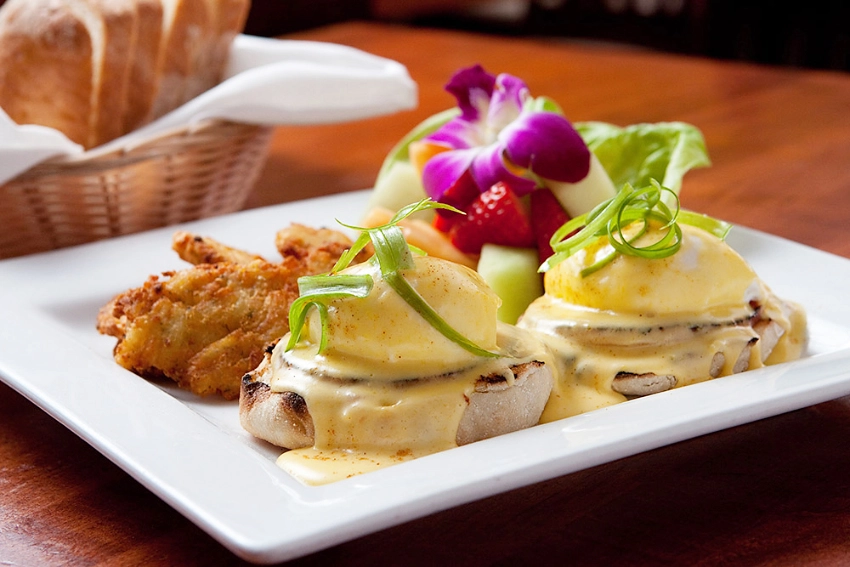
4. Backlight it
This eggs benedict photo was made with a very simple lighting setup- a shoot through umbrella from behind the food and a large handheld reflector in front. If you can use daylight through a window and a reflector in front, all the better. Soft backlight (light coming toward the camera) is probably the most common way to light food. Look at your favorite magazines and cookbooks and note the direction of the shadows. Backlight helps define the texture and edges of garnishes while not looking too flat or boring on the front of the dish.
Use a white or silver reflector to kick some light back in from the front (camera side) of the plate.
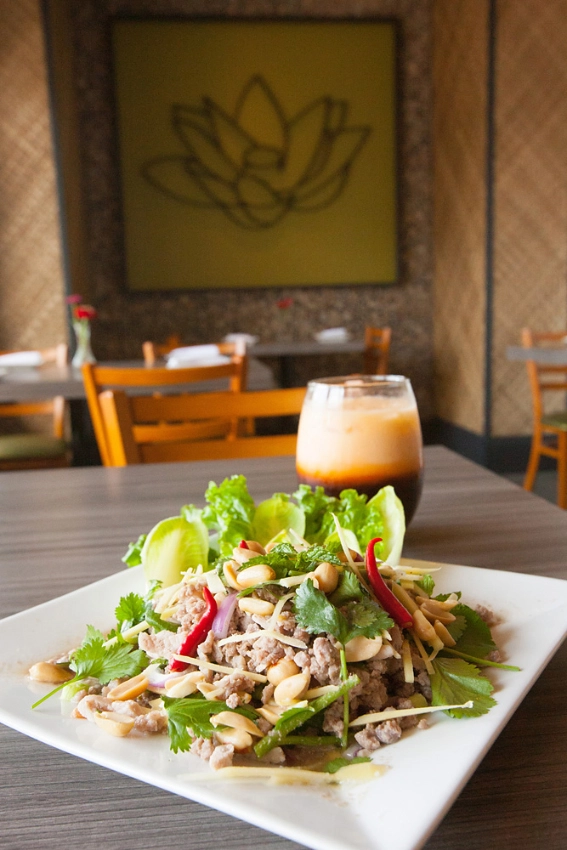
5. Experiment with focal length
There’s a big difference between moving in with your camera and zooming in with a telephoto lens. When we zoom out or use a wide angle lens and move physically closer, it’s easier to show more of the environment. This Thai restaurant had an environment that went along with the dish nicely and gave an editorial feeling.
If your goal is to isolate the dish and make a more compressed photo, move physically farther from your subject and let the telephoto lens do the zooming.

6. Act Fast
If you don’t have the benefit of a professional food stylist helping with the photo shoot, time is of the essence. Hot dishes make herbs and garnishes wilt quickly. Sauces can run away from you in a hurry and oils can separate out of them. Have a simple, reliable setup that you can execute quickly and without letting the food sit for too long.
Alternatively, you can shoot a “stand in” dish before bringing in the “hero” plate. Use a simple, repeatable lighting setup or daylight to speed things up. (see #4).
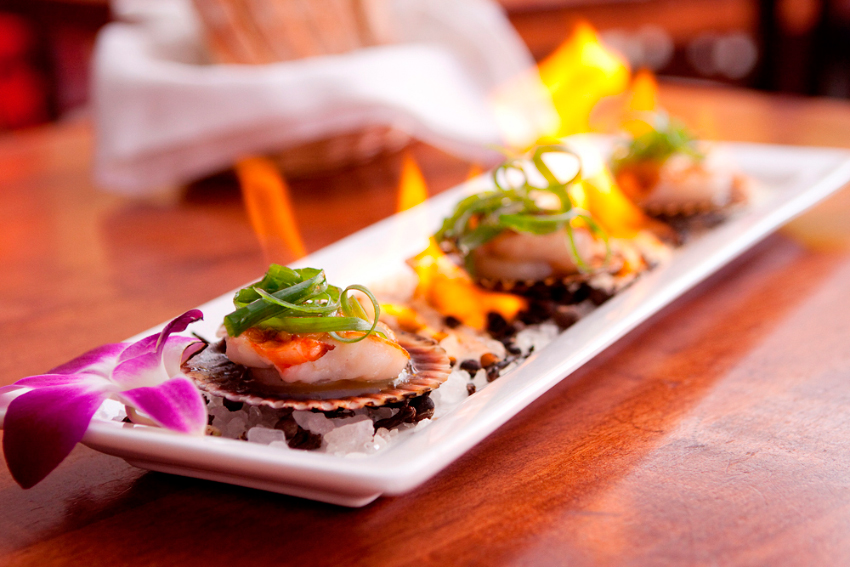
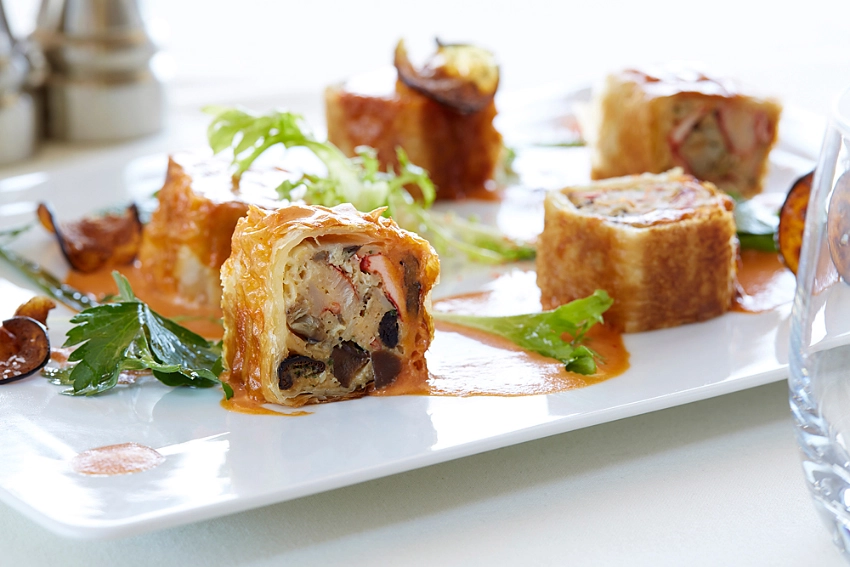
7. Include some action
When shooting static subjects, a bit of action can always add some interest and dynamism. Flames burning, liquid pouring, hands lifting something etc, can all add a spark of motion or interest to a still photo. Some off-camera flash mixed with a slow shutter made the above image an easy one to produce in a limited time frame.
About the Author
I live midway between San Diego and L.A. and operate a studio in Mira Mesa, CA. I’ve been a full time photographer since 2011. In that short time, I’ve been privileged to shoot for brands like John Deere, Perfect Foods Bar, Shakesmart, Gordon Rush as well as magazines like Westways, Woman’s World, First for Women, WebMD and more.
Read more about Rob on his portfolio page >>
Web: www.robandrewphoto.com
Instagram: www.instagram.com/robandrewphoto
Facebook: www.facebook.com/robandrewphoto
