Art Reproduction Photography:
lighting the masterpiece
There is the same requirements in both art and product photography : to show the best of the subject, its texture and shape at the best angle.
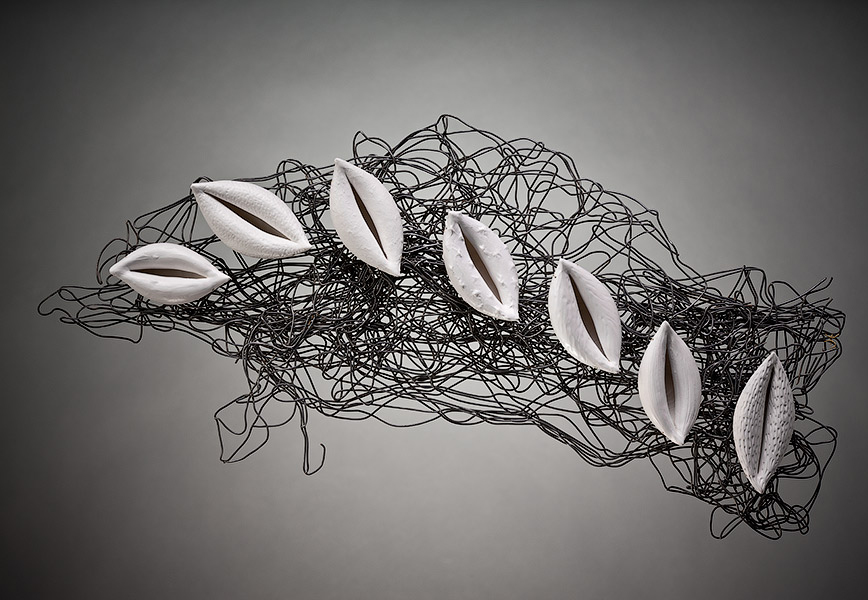
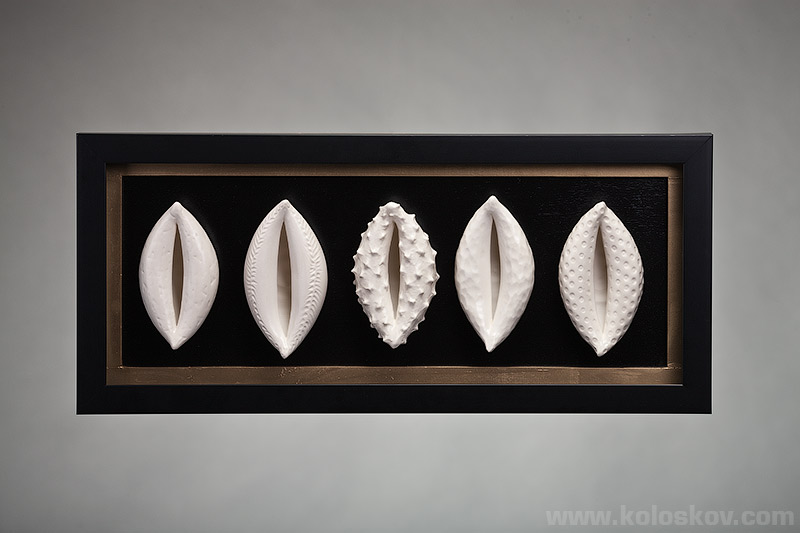
When I’ve received and opened the boxes with the art, I’ve already knew how I was going to shoot them: soft light (stripe boxes) from left, right and top with a nice gray gradient (spot from a 30° honeycomb grid to a charcoal gray paper). Below the outcome, enjoy:
Having 3 lights hitting the subject with the sharp angle gives me flexibility to choose from more textured or more brighter and shadowless look.
The spot on a background was necessary for the first art piece, wire mesh without a frame. I left it on for the rest two pieces, as it added one more dimension to them. It would be easy to crop the frame, when needed, but Janis agreed with me: background spot was a good thing to do:-)
Art reproduction studio photography
The lighting setup diagram:
Art reproduction photography lighting setup
I was using a backdrop support system, similar to this one to hang the frames using a thin wire. Fishing line was used to stabilize the frame, as it did not want to stay vertical: center of gravity was far from the center of the frame, shifted on front. The rest, I hope, will be easy to read from the diagram. Let me know if I am wrong:-)
Equipment and shooting spec:
Camera gear:
Canon EOS 1Ds Mark III DSLR
Bogen 055 XPROB Tripod with 405 geared head
Canon RS-80N3 Remote Switch
Canon Right Angle Finder
Canon 70-200mm f2.8 IS L lens, 100-150mm range was used.
Lighting, light modifiers and accessories:
Paul C. Buff Lighting: 2×1600WS, 1×800WS
LG4X 4 channel remote control for flash units
CyberSync™ CST Trigger Transmitter and CyberSync™ AC Powered Trigger Receiver
Adobe Lightroom 3 Beta 2 as a remote capture solution for tethered shooting
All shots were done with: shutter speed 1/250 sec, F16, ISO 100, Custom WB 6700K
Would be glad to hear your opinions on this.


