Creative Cocktail Photography Tutorial:
How to shoot a moody image
How to shoot a Creative Cocktail Photograph
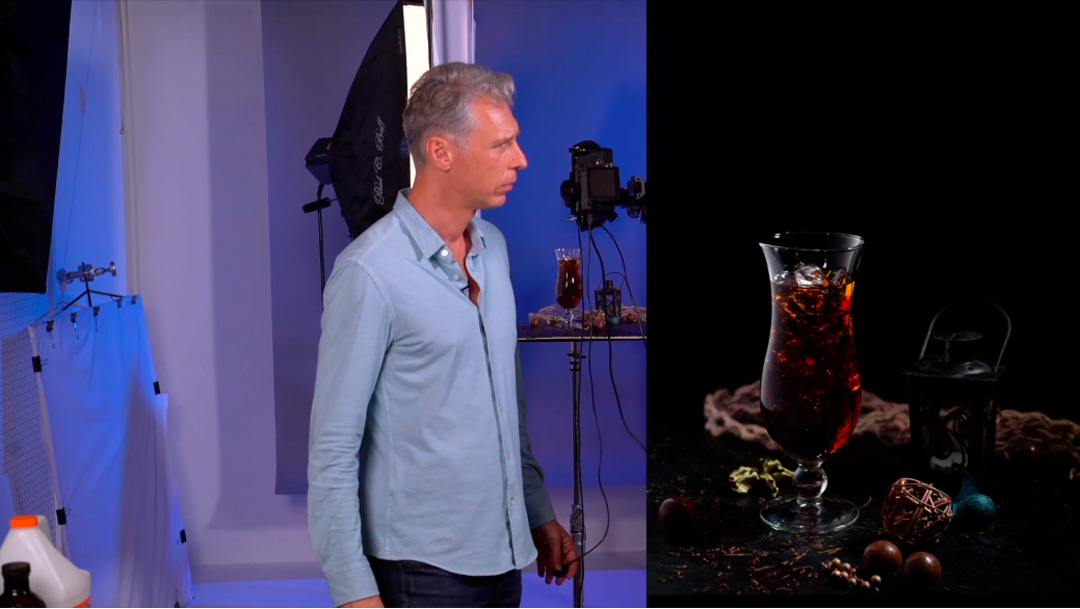
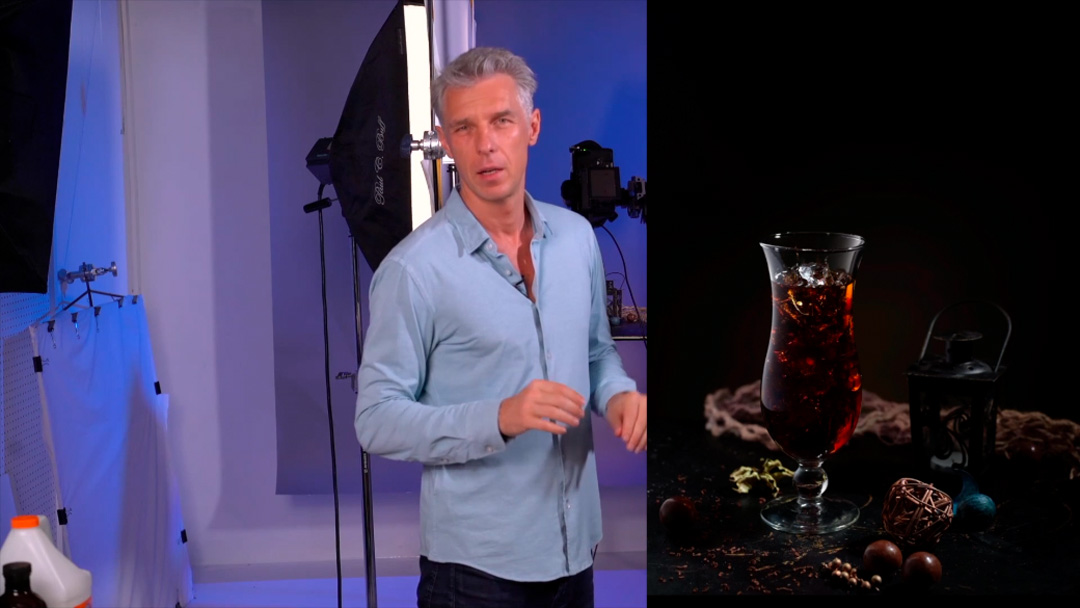
In this Creative Cocktail Photography Behind-The-Scenes Tutorial, we’re going to break down the essential steps necessary to create a stunning composite cocktail image. You’ll go behind the scenes with Alex to mix the perfect ingredients for a creamy coffee beverage and get an understanding of the lighting setup necessary to capture the basic image. Pro Club members can watch the complete creative cocktail photography tutorial to get an in-depth understanding of the whole process – from the ingredient composition and photography workflow to the complete post-production and composite work by Artem Pissarevskiy to create the final image.
It’s all about getting the ingredients right!
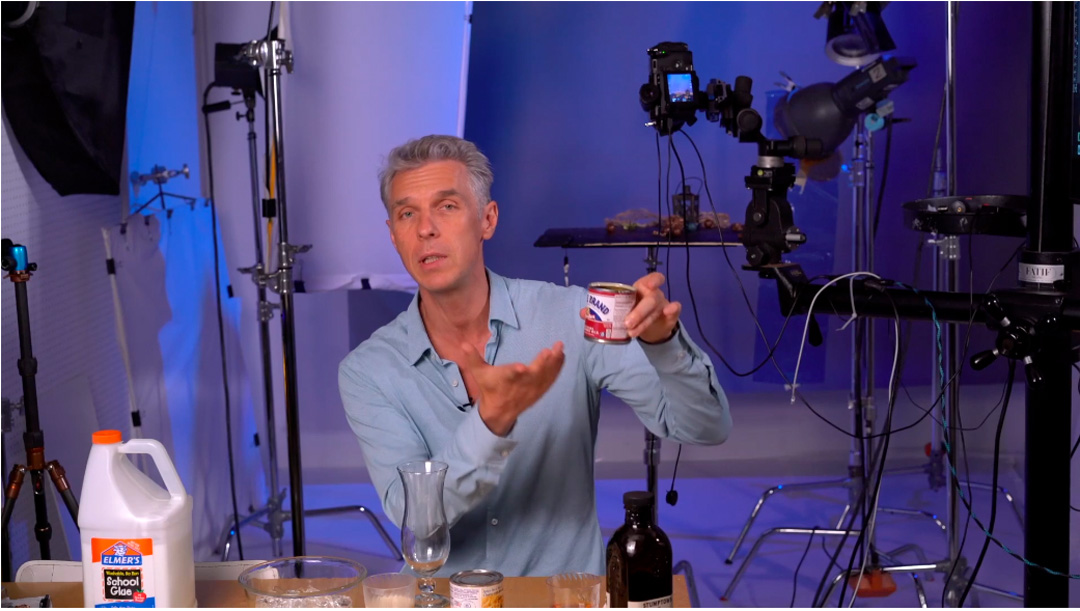
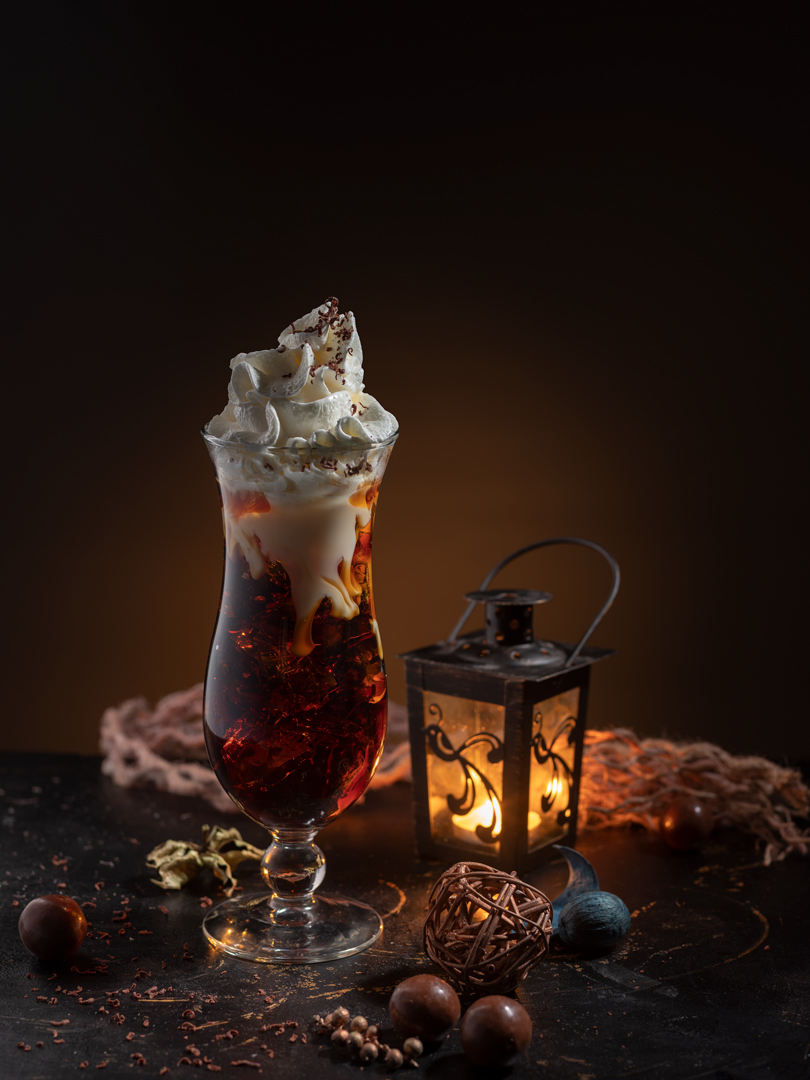
When is cream not simply cream? When you need it to behave in a specific way to capture the shot you envisioned. In this case, Alex had a very specific final image in mind for the creative cocktail shoot: A gorgeous and moody image featuring a tall glass of coffee seductively blended with liquid creamer, capped off with some inviting whipped cream and delicious chocolate sprinkles. Sounds easy, right? Just brew some coffee, pour in some creamer, spray on some whip cream and dust with chocolate shavings, then snap the picture and enjoy your decadent beverage! Of course, if you’ve ever tried your hand at food photography, then you know it’s never that simple. Our goal is to create the most compelling and idealized image of this creative cocktail, and that required plenty of experimentation to get the ingredients and their interactions just right.
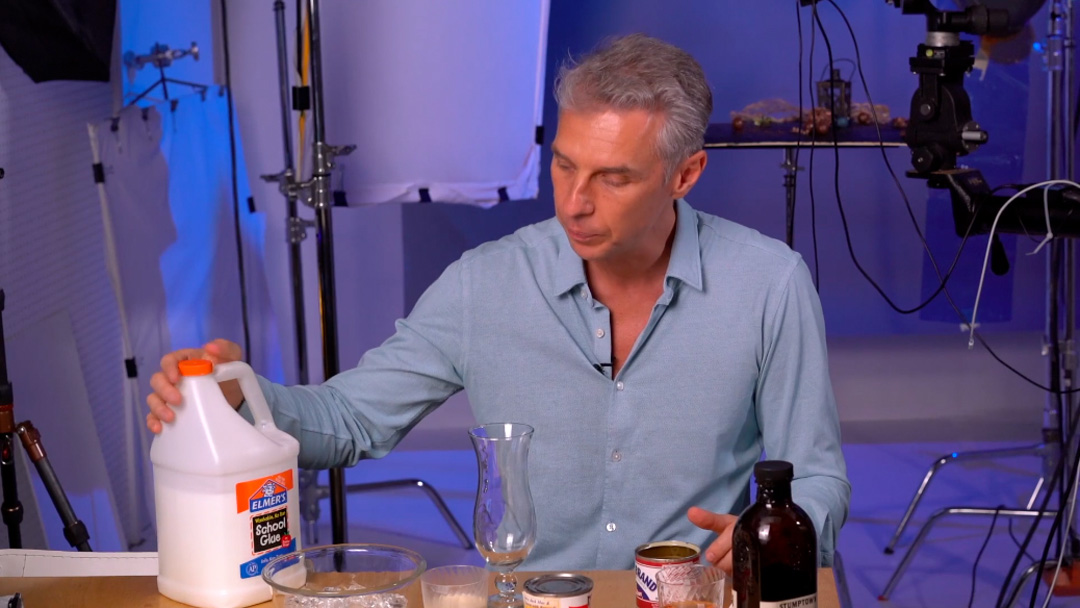
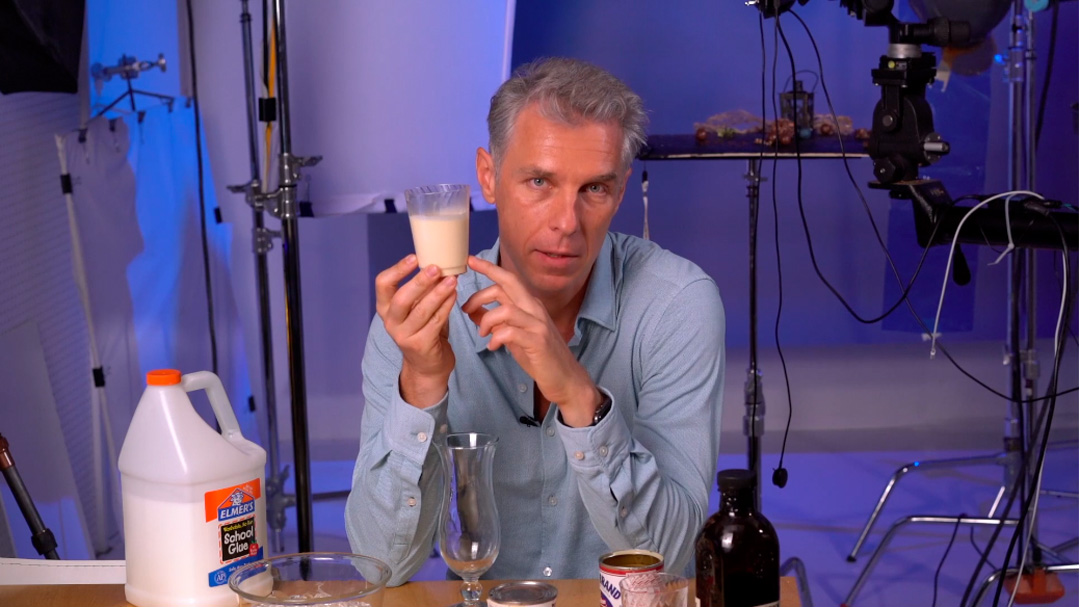
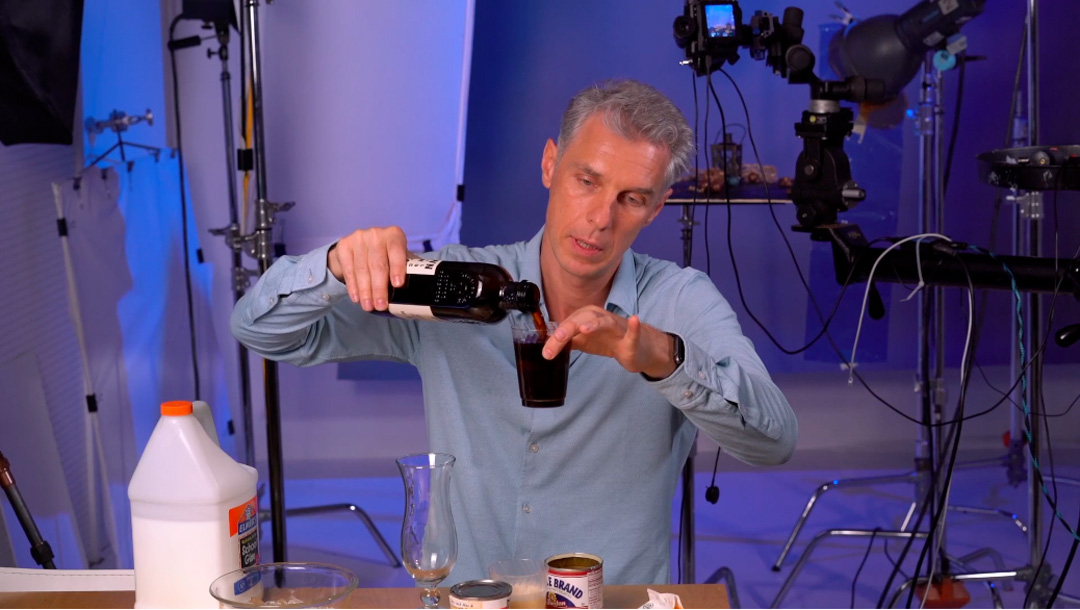
Creative Creamer
First, the mixture needs to look like actual creamer when photographed. Second, it needs to blend with the “iced” coffee in such a way that it looks great. And third, it needs to blend slowly enough that you can capture several exposures to use in post production. In other words, if it blends too quickly, you’ll end up with cafe au lait. If it blends too slowly, it may not travel deeply enough through the ice to make a compelling image. There are numerous ingredients you can experiment with. In the end, Alex settled on a blend of heavy whipping cream, sweetened condensed milk, and Elmer’s Glue.
The Final “Creamy” Blend
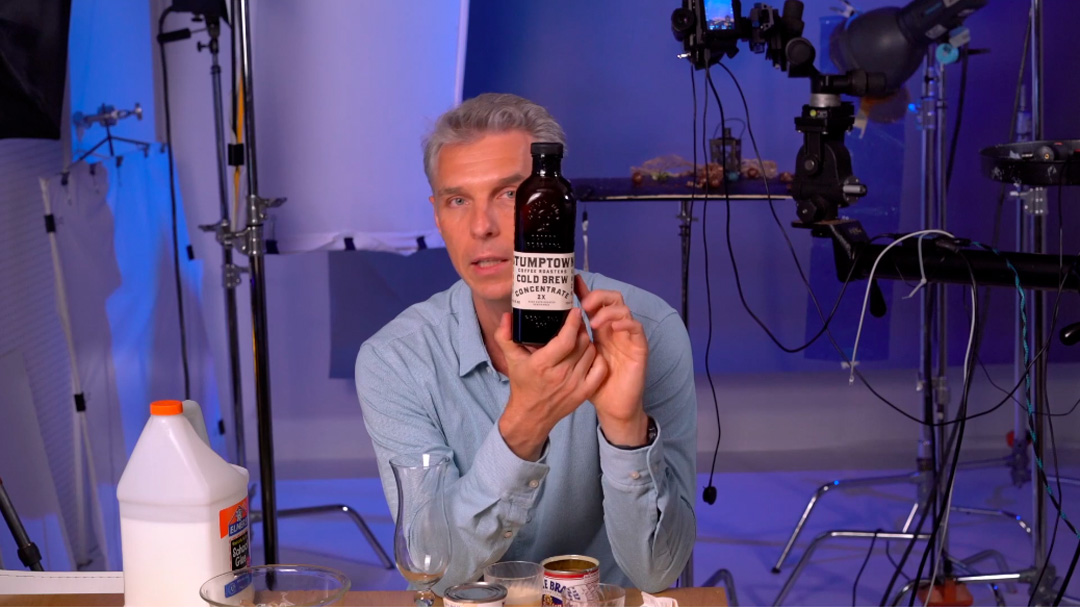
Achieving the Desired Look for the Coffee
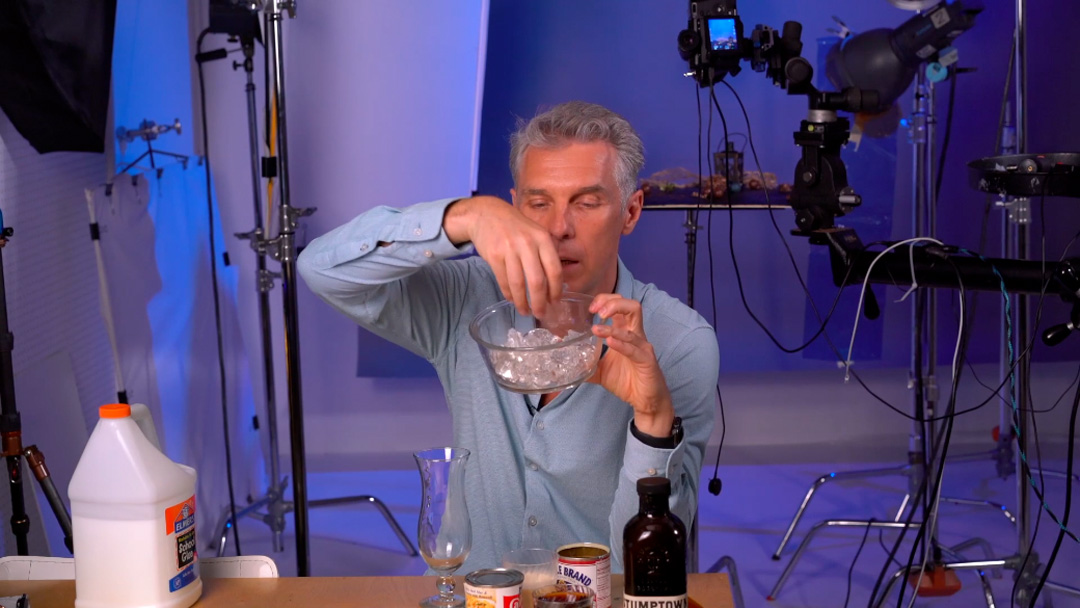
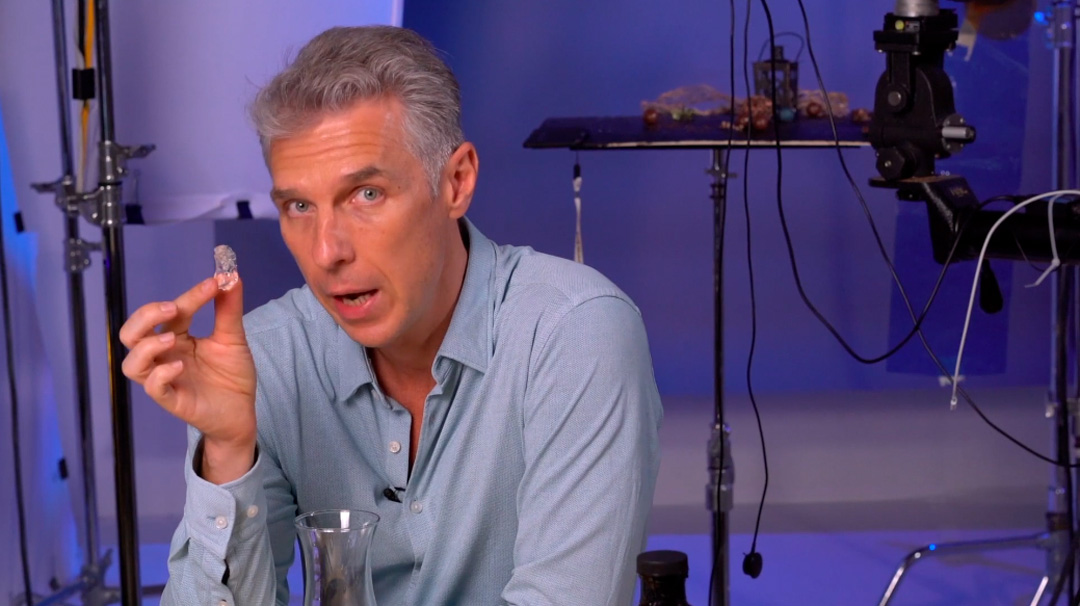
How to shoot a Creative Cocktail: Fake Ice
How to shoot a Creative Cocktail Photography: Setting Up
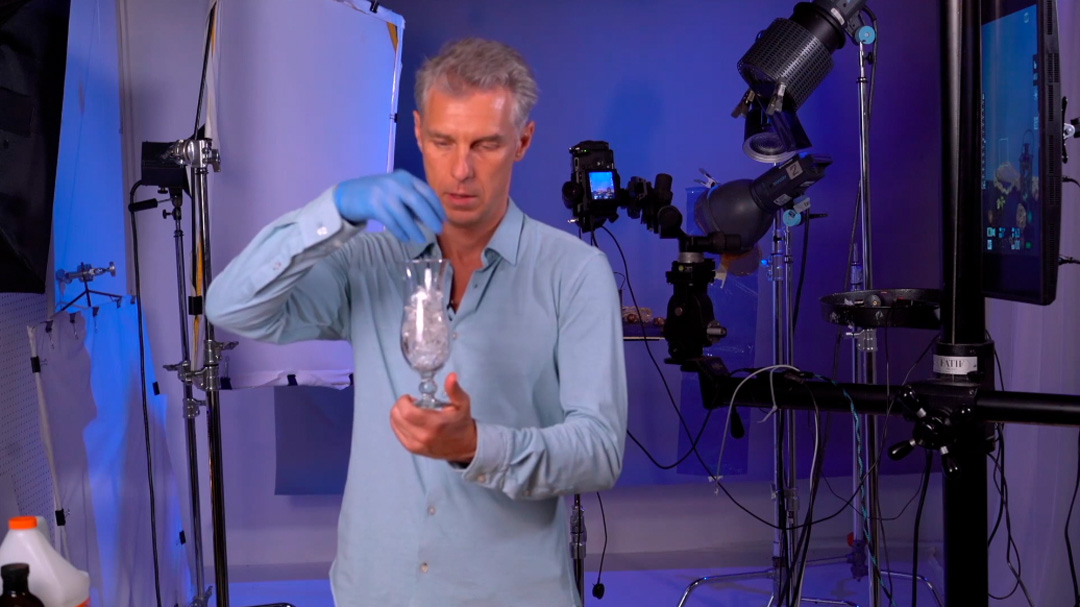
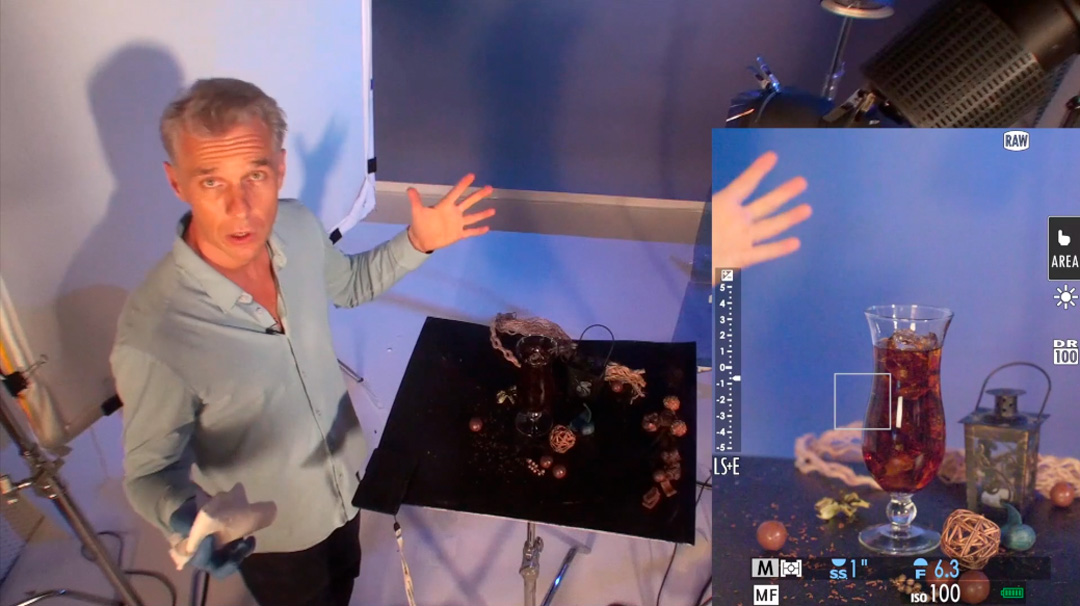
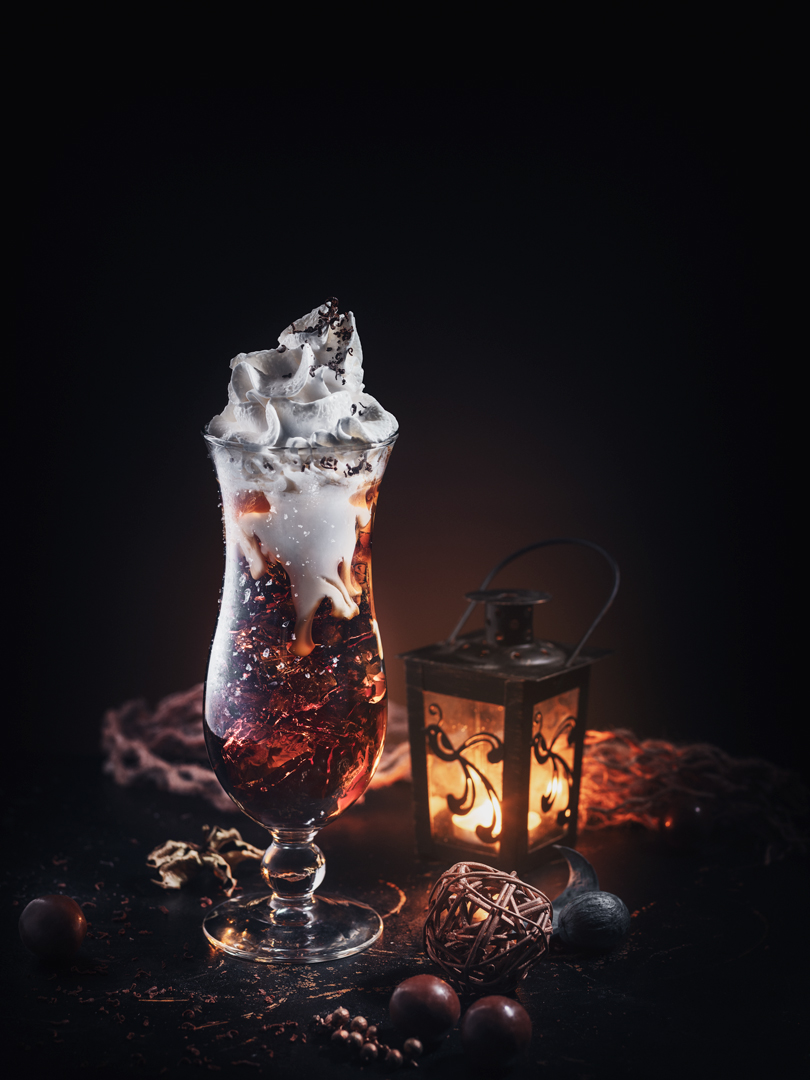
After you have created all the necessary main ingredients, it’s time to start setting up for the shoot. Start with a clean clear glass. Use a glass cleaner and lint-free cloth to clean the glass and remove any dust. Handle the glass with a pair of gloves (powder-free surgical gloves work well) to avoid getting smudges on the glass from your natural skin oils. Once the glass is clean, fill it with the fake ice until it is almost full, then pour in your coffee mixture, leaving room at the top of the glass for the creamer and the whipped cream:
Some Final Setup Notes
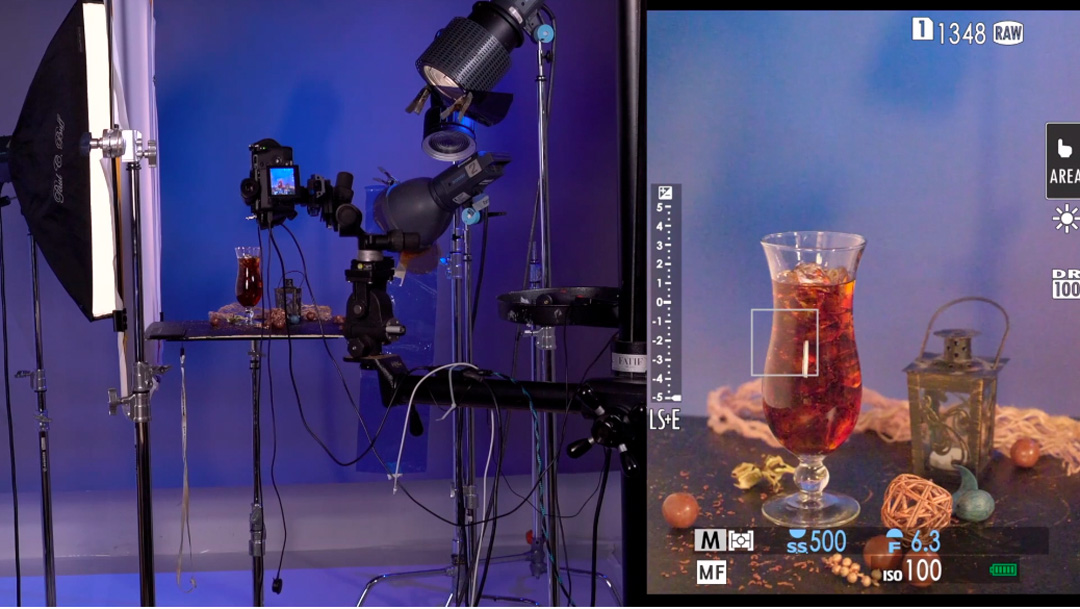
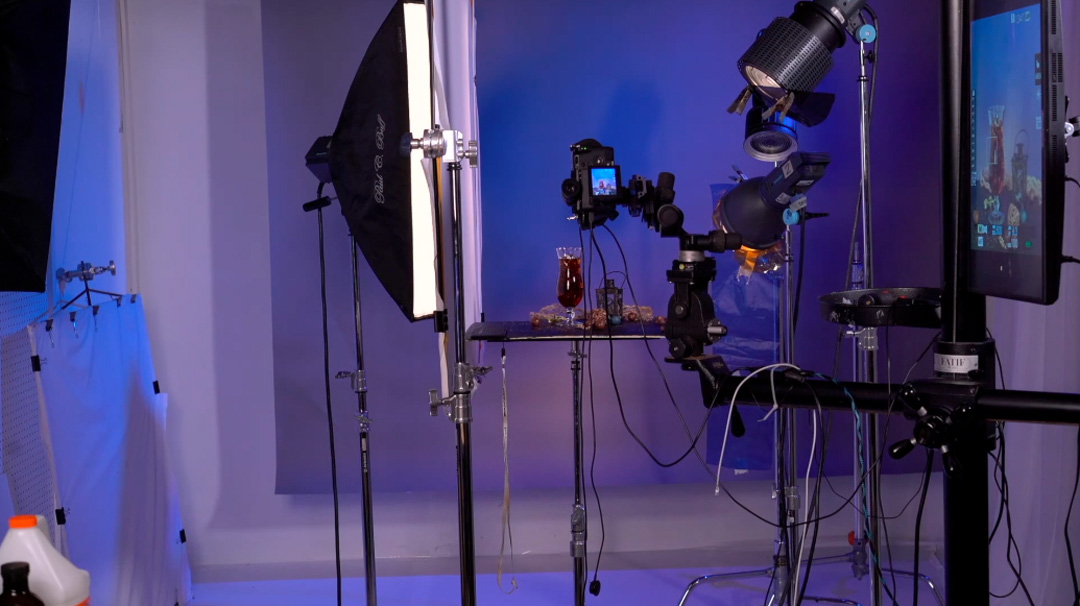
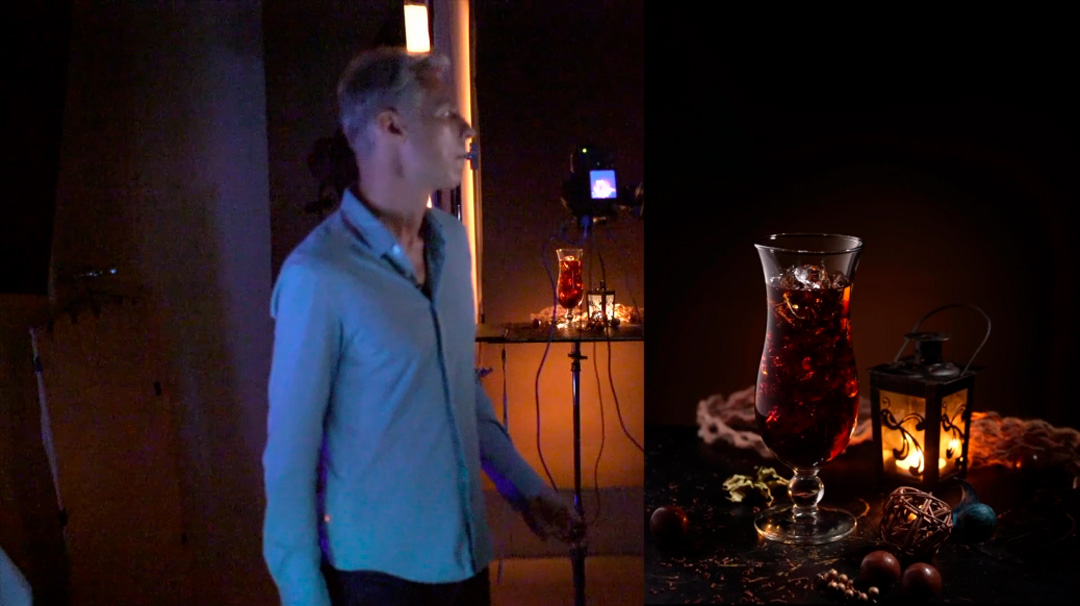
How to shoot a Creative Cocktail Photography Lighting
Alex uses a four-light setup to create the cocktail image, one of which is the candlelight in the lantern. Because of this mixed lighting situation, it’s best to nail down the strobe lights first since they will sculpt the glass and establish the essential lighting needed. The candlelight adds drama and nuance to the final image. Although Alex uses studio strobes, the low power required for this moody image can easily be achieved with speedlights.
LIGHT #1
As seen below, the first light placed is the commonly used stripbox-and-diffuser combination that creates a gradient on the glass to help define its shape and volume. Adjust the position of the stripbox to obtain a crisp edge on the glass.
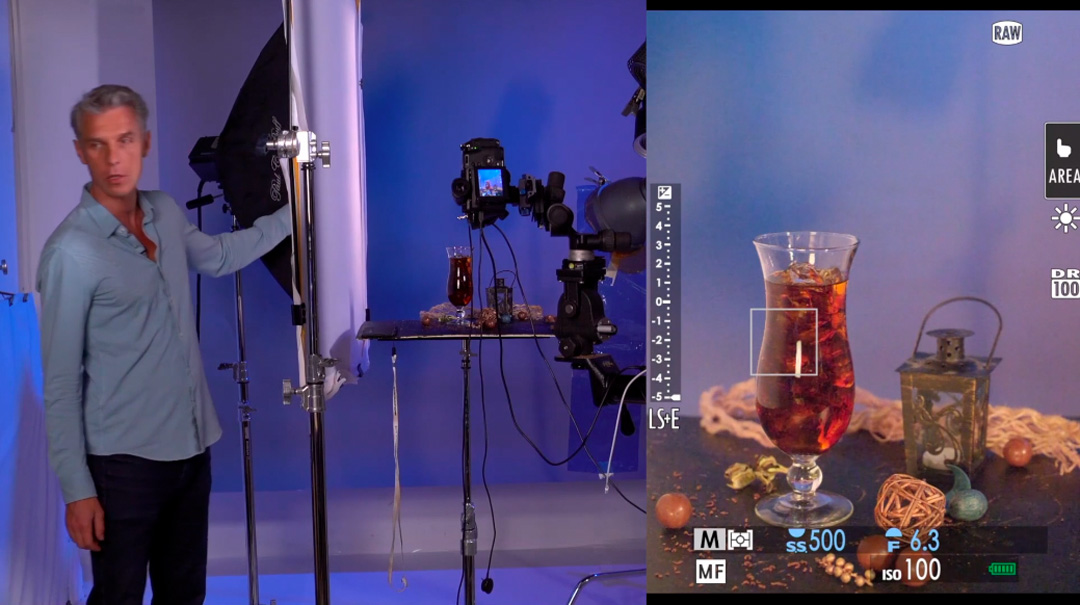
LIGHT #2
The second light Alex uses is a fresnel lens spotlight to illuminate the overall composition. You can accomplish a similar look using a honeycomb grid, possibly in combination with a snoot. Cinefoil works well for creating snoots on the fly. To maintain the mood of the shot, Alex uses a neutral gel to partially flag the spotlight. The flag keeps the desired brightness on the glass while reducing the intensity of the light on the surrounding environment.
LIGHT #3
The third light uses a reflector and honeycomb grid with orange and blue gels to create a subtle background light. Once you have this three-light setup dialed in, be sure to shoot the full setup with the gray card.
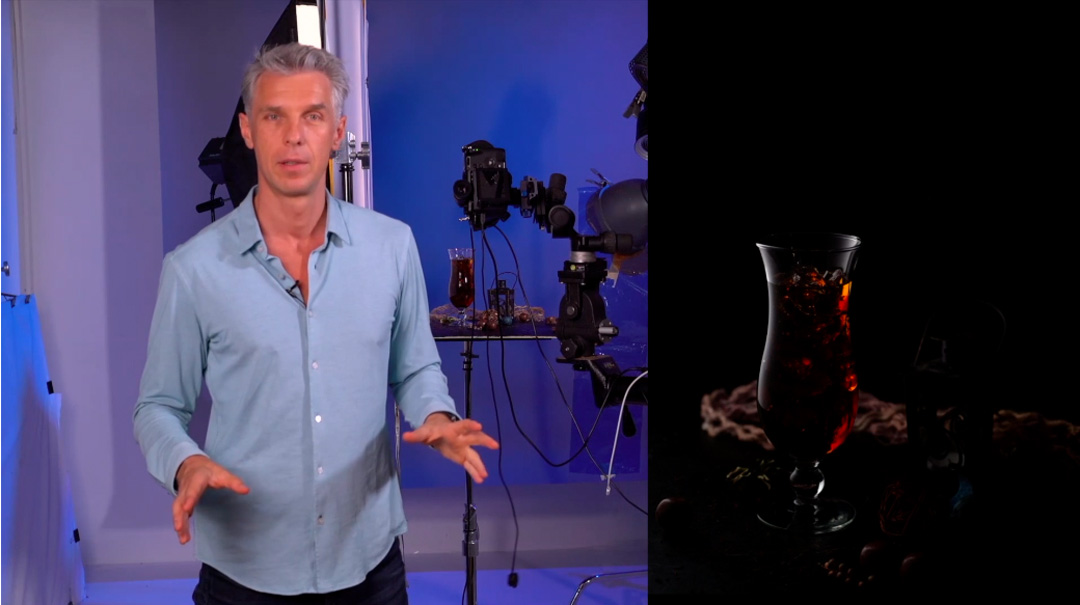
LIGHT #4
The final light is the candle flame in the mini lantern. Since this is a constant light source, you have to adjust your shutter speed (drag the shutter) to obtain a longer exposure. Your shooting environment needs to be dark so as not to cause light contamination during this longer exposure. With a four-second exposure, the candlelight adds nicely to the mood of the shot. Be sure to shoot this setup with the gray card as well to make it easier to obtain a good white balance of the composited exposures in post production.

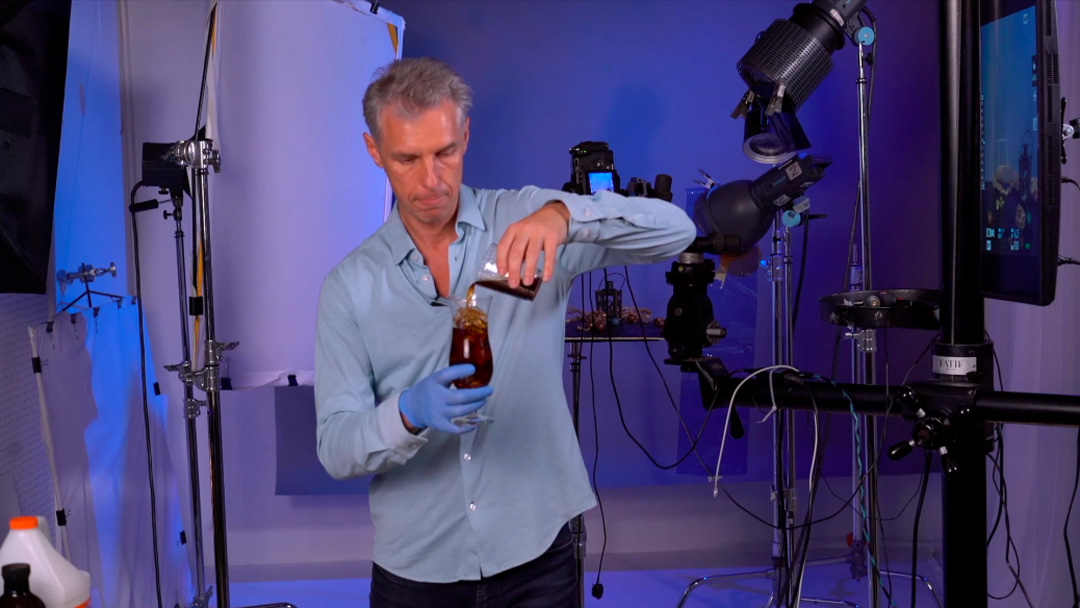
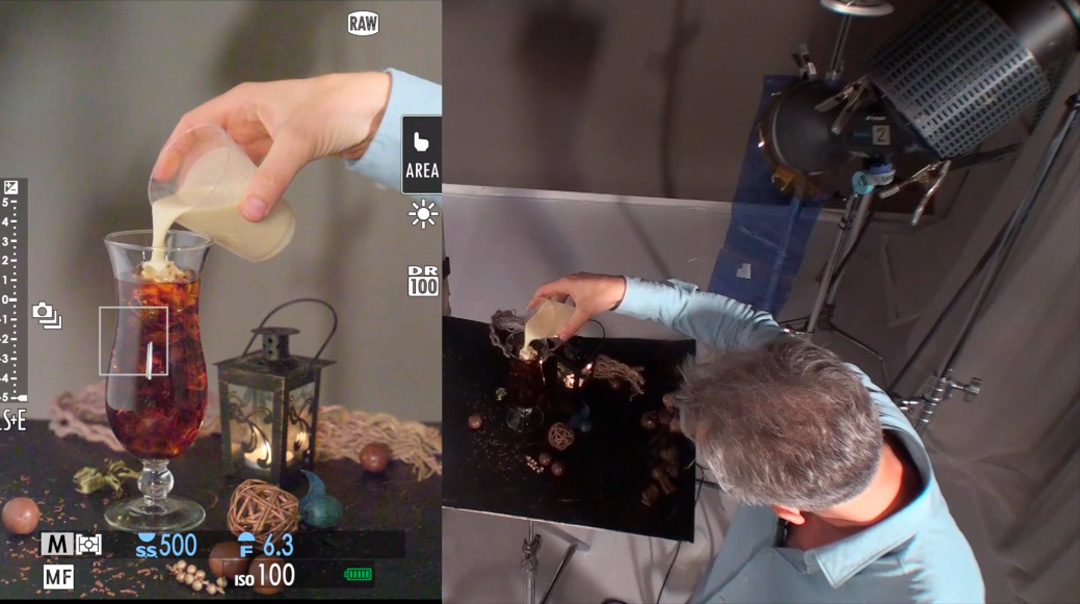
How to shoot a Creative Cocktail: Shooting with the Creamer
You only get one attempt after you add the creamer (without starting over with fresh coffee, clean ice, and a clean glass). Therefore, reset your camera’s shutter speed to the settings you used before with just the strobes. This will let you get crisp captures of the creamer as it travels through the ice and mixes with the coffee. After verifying your settings, switch to continuous shooting mode to capture several shots as the cream mixes with the coffee.
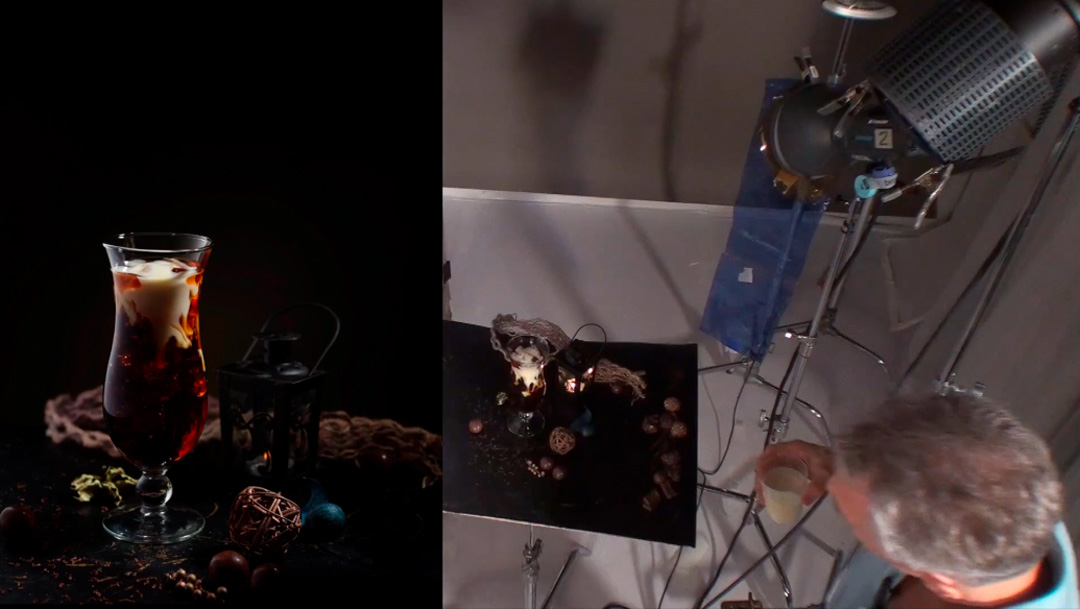
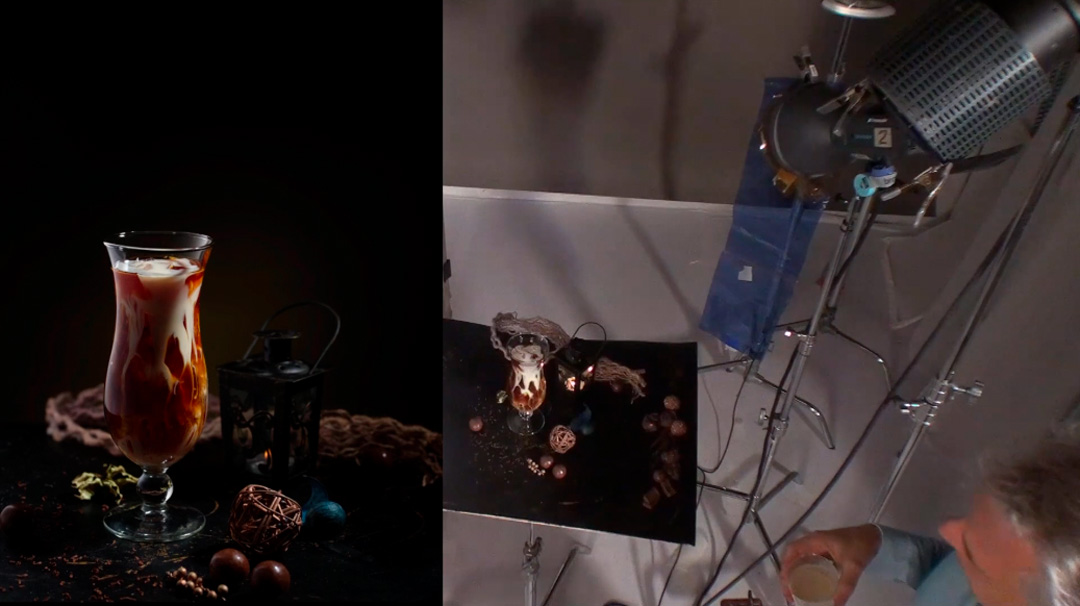
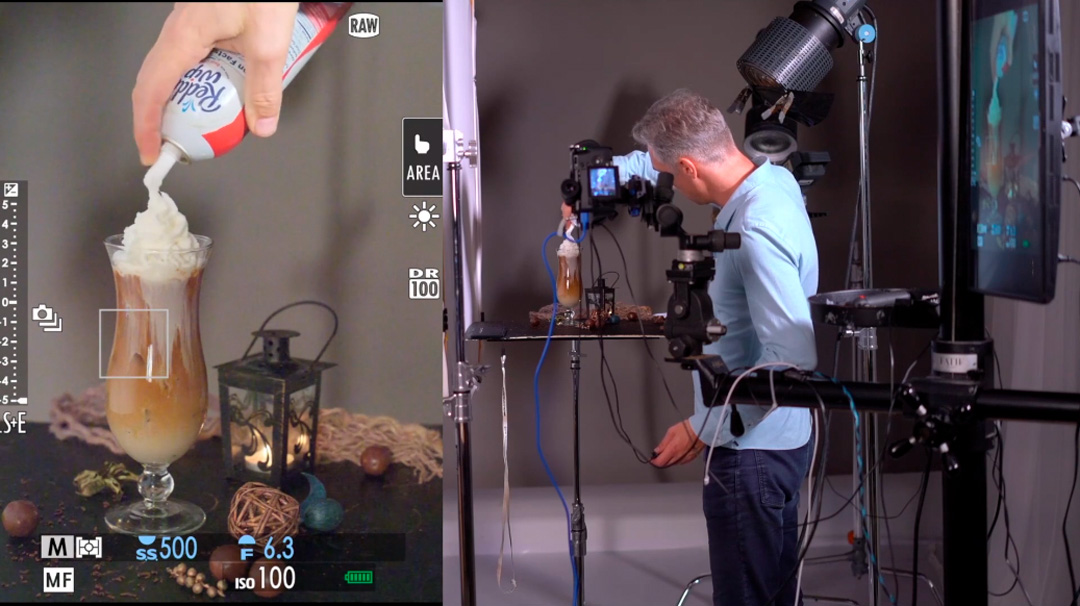
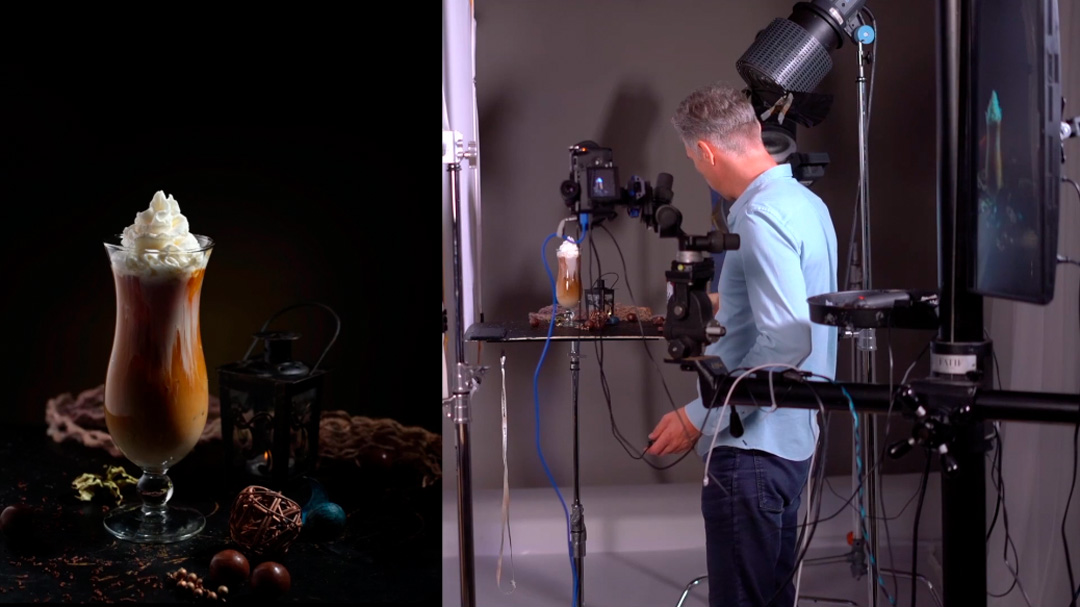
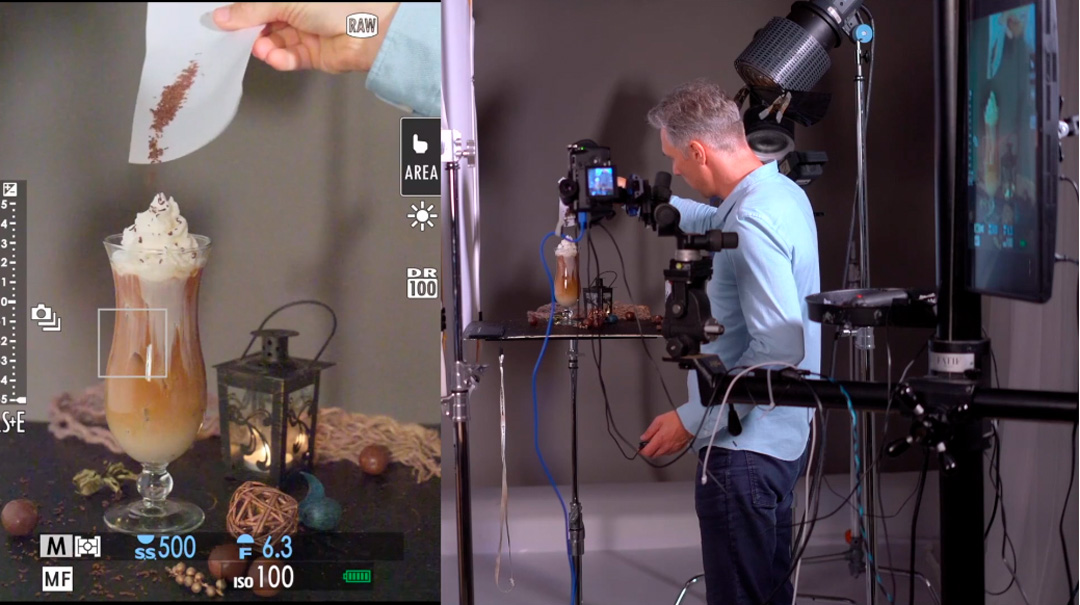
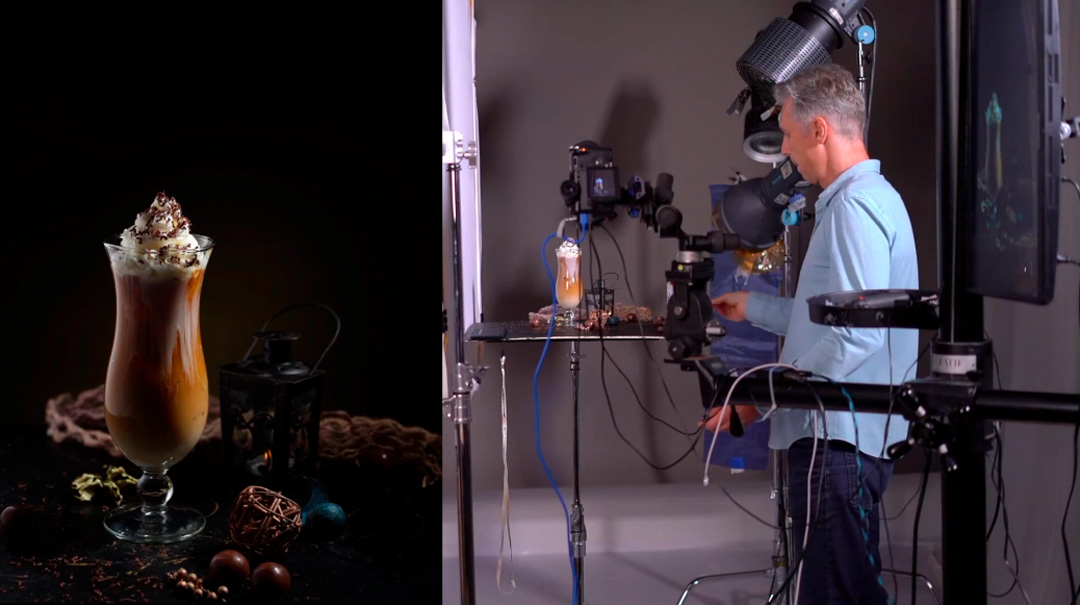
Finishing Touches: Adding the Whip Cream and Chocolate Sprinkles on Top
Time for the finishing touches, so get your spray can of whip cream and chocolate sprinkles ready. Alex adds some whip cream and takes a shot before adding the chocolate sprinkles. Keep shooting after adding the sprinkles because the whip cream can lose its form quickly.
Before And After The Post-Production
Full in-depth tutorial about Creative Cocktail Photography with post-production nearly two hours of video) is available here: Creative Cocktail Photography Workshop #73

Recent Product Photography Workshops

That was a great session today. I’m so happy I found Photigy and Pro Corner. Before I started this, I was only mildly interested in product/still life photography but always have been interested in broadening my photographic skills and knowledge. I’ve found that I really like this type of photography and am very grateful for your instruction and critiques.