How To Get The Best Image Quality with iPhone:
Exposure Fusion (DRI) technique
 Tilo Gockel – a professional photographer and expert in the field of lighting and flash lighting.
He has published countless articles on photography and image processing in popular magazines (digit, DOCMA, DigitalPHOTO, Photographie) and has written several books.
His blog, fotopraxis.net, offers numerous tips and tricks learned from his extensive experience with photography.
Exposure Fusion, also called Exposure Blending or Dynamic Range Increase (DRI), is an algorithmic approach to deal with scenes with dynamic ranges which overstrain the camera.
In comparison to HDRI (High-Dynamic Range Imaging), Exposure Fusion is much simpler. There is no reconstruction of the sensor’s curve necessary and there is no intermediate step in 32 bit. Instead, you just shoot an exposure sequence and let the software then choose the “best” pixels from each shot. These “best” pixels are selected dependant on optimal values for saturation, contrast and exposure.
THE SHOT
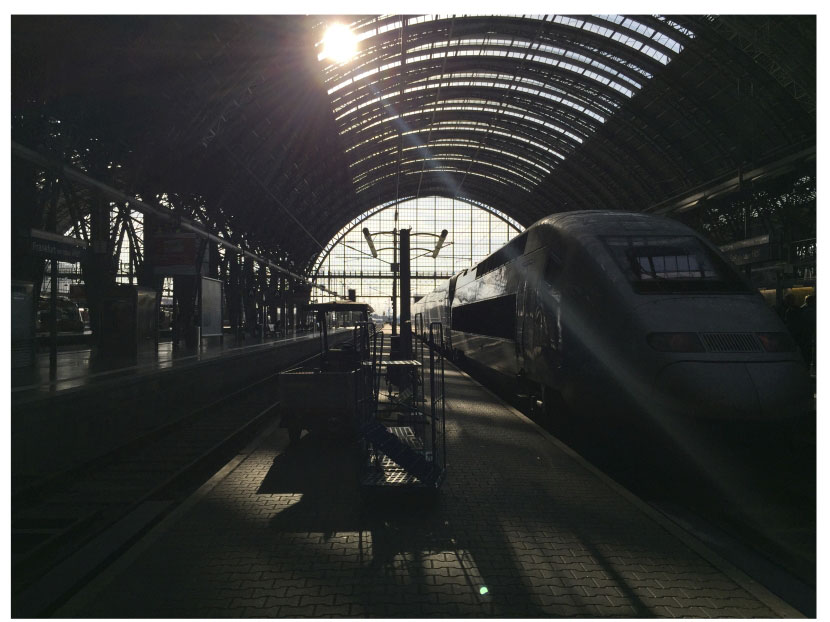
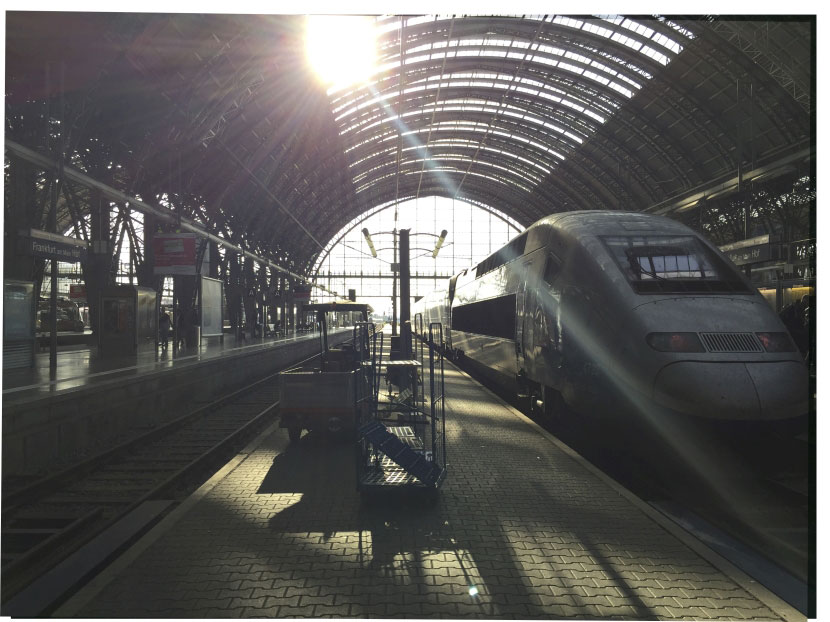
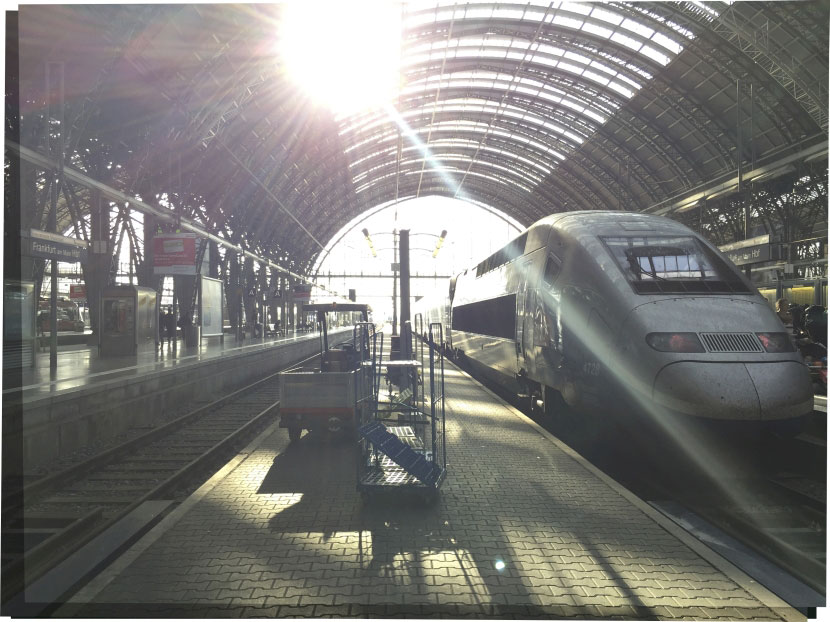
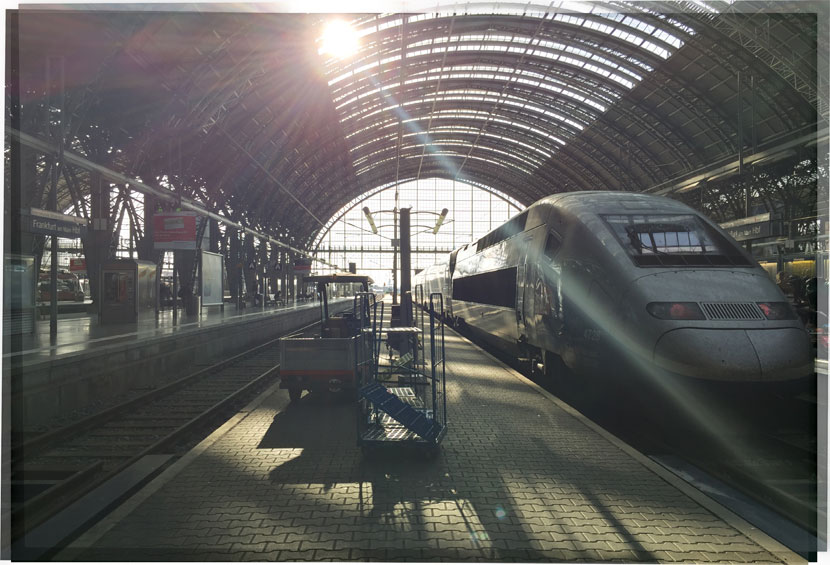
The three backlit shots from the Grand Central Frankfurt were taken handheld. To get different exposures, from dark to bright, I used the iPhone app “Camera+”.
This app enables the user to set a specific region to sample the exposure, just with the tip of his finger. So I just had to select a dark region (resulting in a bright exposure), a medium region and a bright region (resulting in a dark exposure) and take three shots.
I shot handheld, but was quite careful not to move the phone around too much.
THE PROCESSING
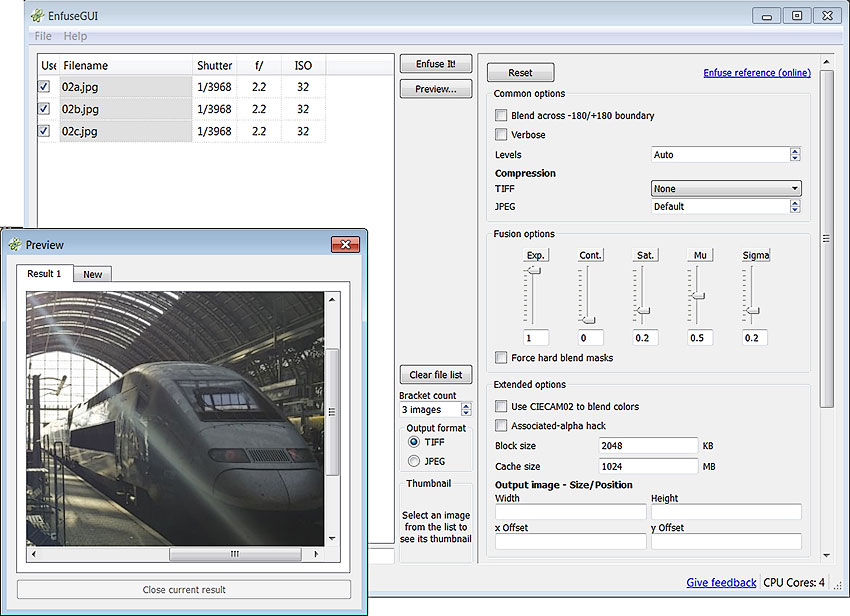
Exposure fusion can actually even be done manually (www.tiny.cc/7h883x), but of course it is much faster to use a special software for the job. And the good news is: it does not even have to cost you money––we used the free software “EnfuseGUI” to merge the shots.
But first we had to align (or “register”) the images. This can also be done with free software, e.g. with Microsoft’s ICE, but I simply used Photoshop for this purpose:
File > Scripts > Load files into stack
[x] Attempt to Automatically Align Source Images
This delivers a layer stack with aligned shots, which can be exported one by one as TIFF or JPEG again (note the white borders, which come from the alignment step):
Now it is up to EnfuseGUI: Just drag the three (or more) files in the software and start the processing.
The result may not look like much, but note, that it contains a lot more details than one of the three source files alone:
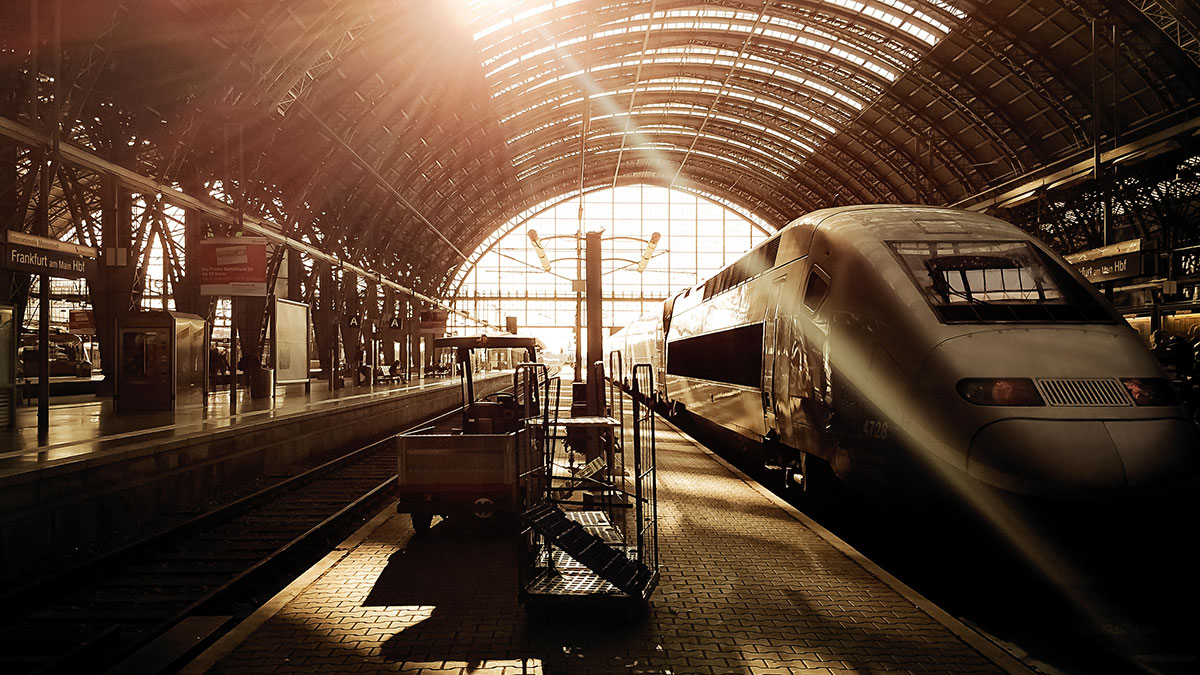
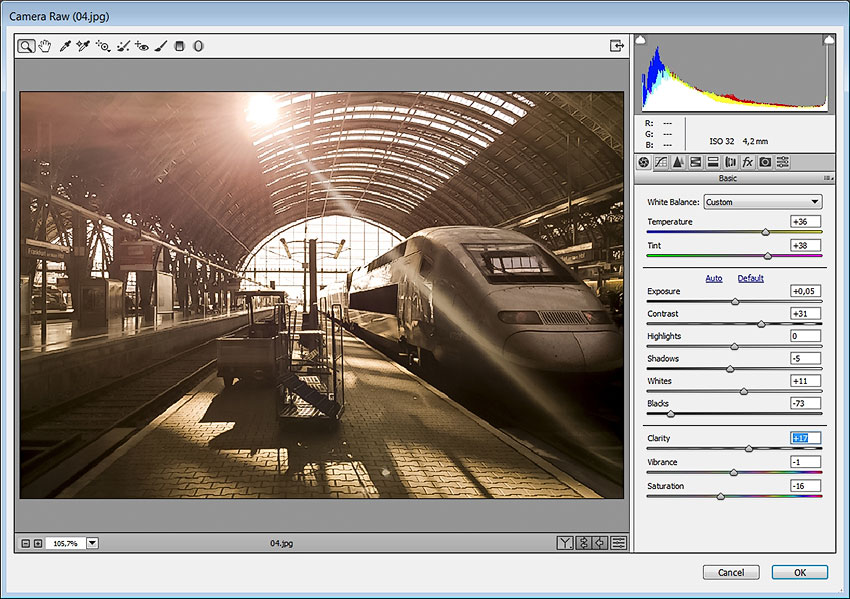
And now we let it shine. Just load the file in Photoshop (or Lighroom or Elements) and adjust contrast, exposure and color temperature. I used the Adobe Camera Raw filter via:
Filter > Camera Raw FilterThere I increased the contrast, adjusted the black point and chose to tweak the color temperature towards a golden haze.
TIPS & TRICKS
Enfuse GUI has a lot of sliders and input boxes and it is fun, to play with it. Just decide for yourself, if you say the “best” pixels are those, which are well-exposed, those, which are saturated or those, which show a high contrast.
Three images is not very much for this approach. You can also try four, five or seven. Contrary to the HDR algorithm, Exposure Fusion does not demand special EV steps. You could also feed EnfuseGUI with an exposure sequence like e.g. 0 EV, +1 EV, +3 EV, –1 EV, –1 EV,–1 EV. Regarding the multiple exposures at –1 EV: these do not hurt and can even help to suppress noise.
Final Image
Contact
Tilo ~gallo~ Gockel, [email protected]
Also visit Tilo’s blog, fotopraxis.net, which offers numerous tips and tricks learned from his extensive experience with photography. (in German)


