Product Photography Tutorial –
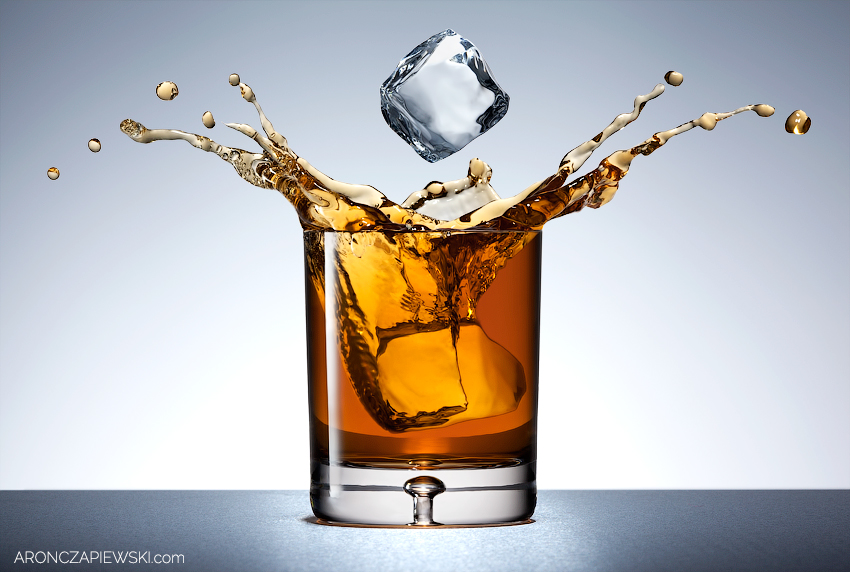
Glass of Whiskey with Splash and Ice Drop
Product Photography Tutorial – Glass of Whiskey with splash

Hello guys!
My name is Aron and this is my first BTS/product photography tutorial for Photigy. At the moment all the shots I am doing are in my flat and some shots are not easy when two cats are running between cables and photo equipment.
I started my adventure with product photography because each shot is different and each shot need to think about how build lighting setup – I like challenges 🙂
Glass of Whiskey with Splash and Ice Drop
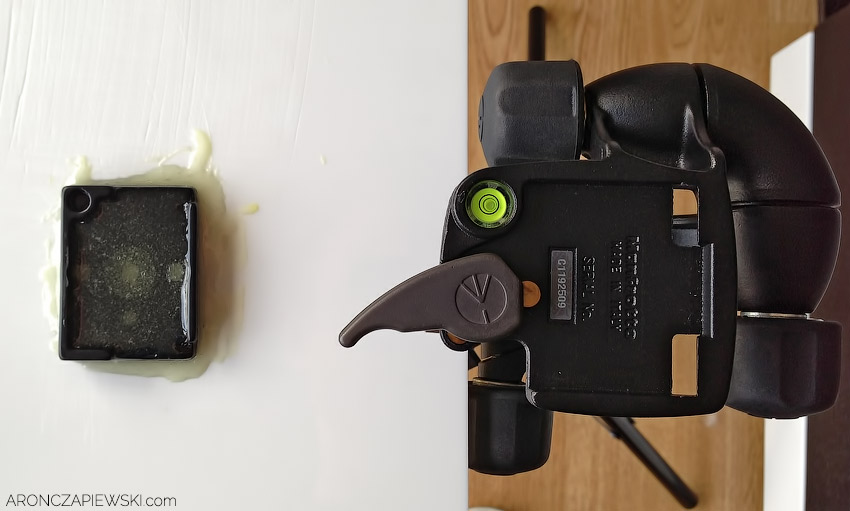
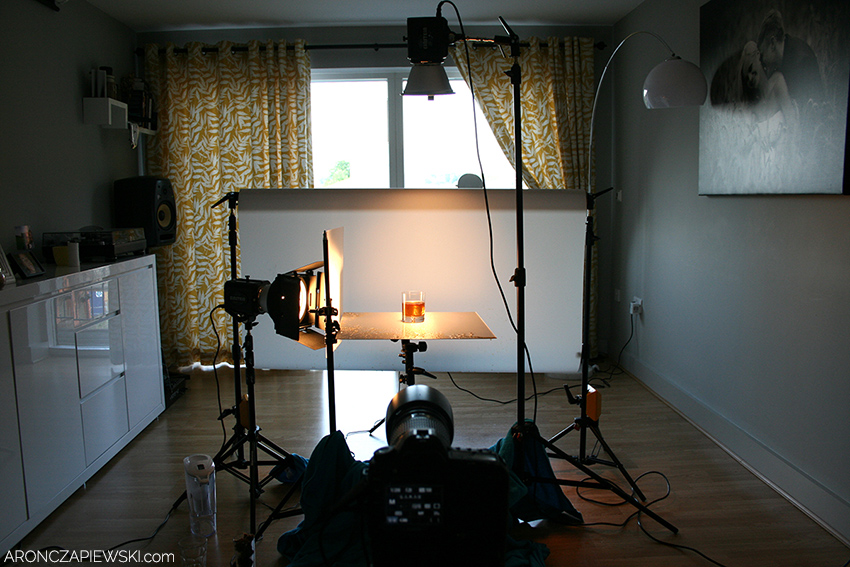
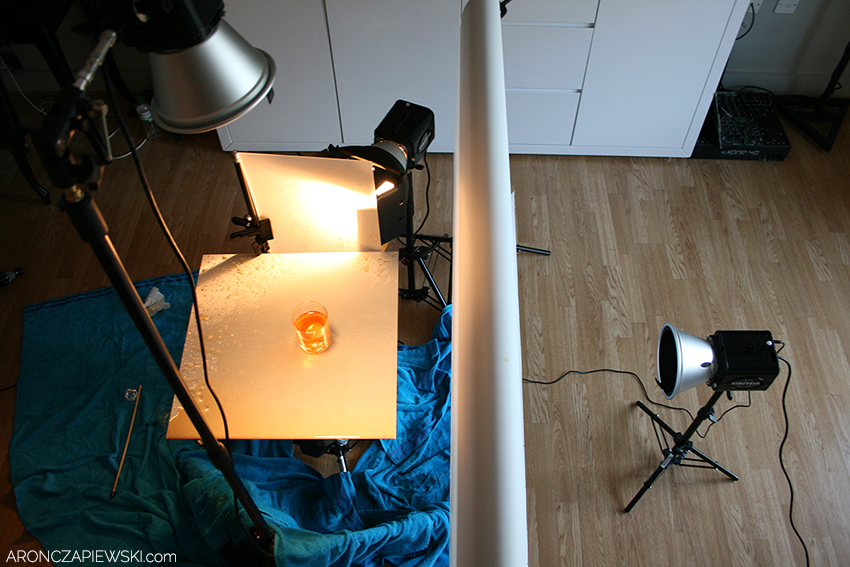
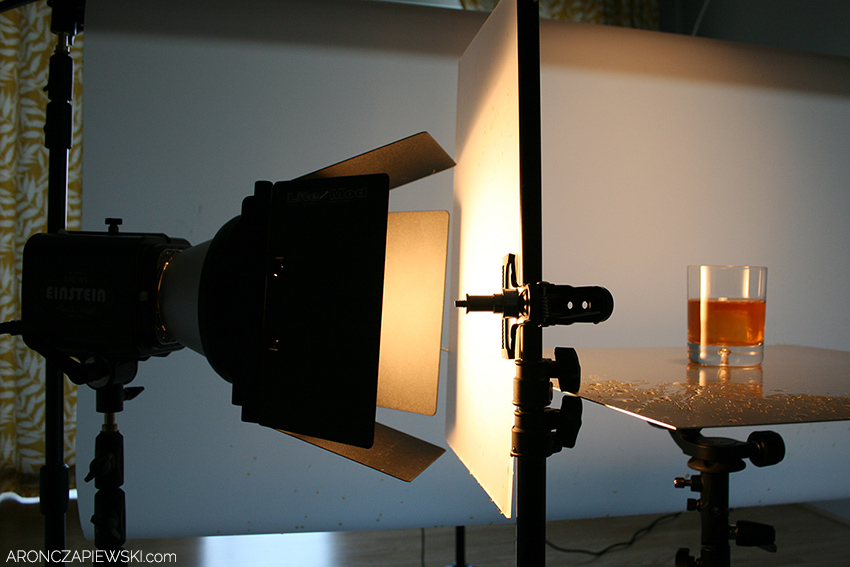
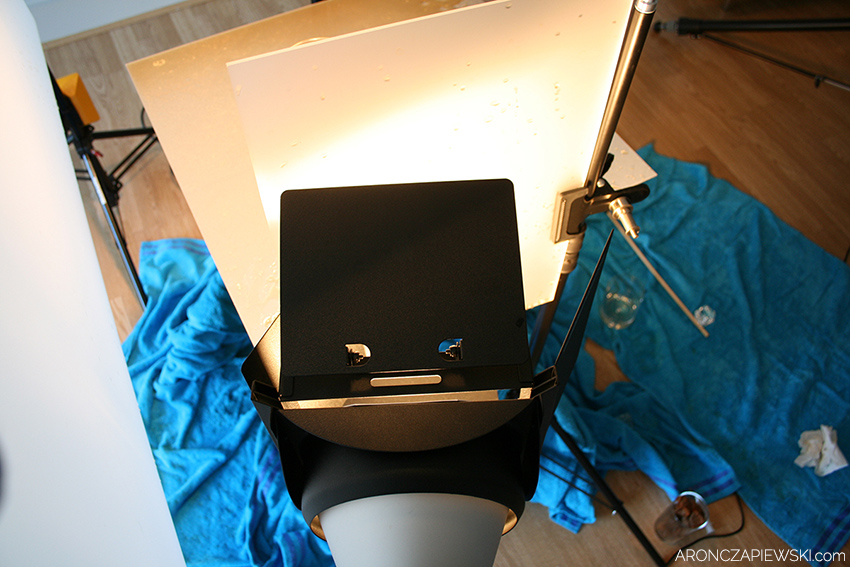
Shooting table
OK, lets start from shooting table. Everybody saw Alex’s shooting table made from old tripod. I using similar solution – light stand, tripod head and acrylic sheet glued to quick release plate. Tripod head is 3-way so adjustment to straight level is very easy task. I can put other surface on while acrylic sheet if I need diferente color.
 Only for Pro Club Members
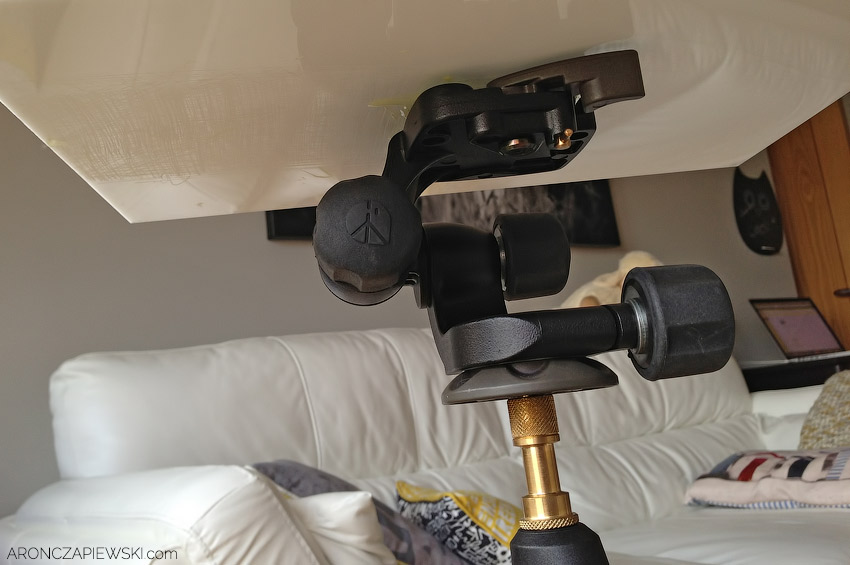
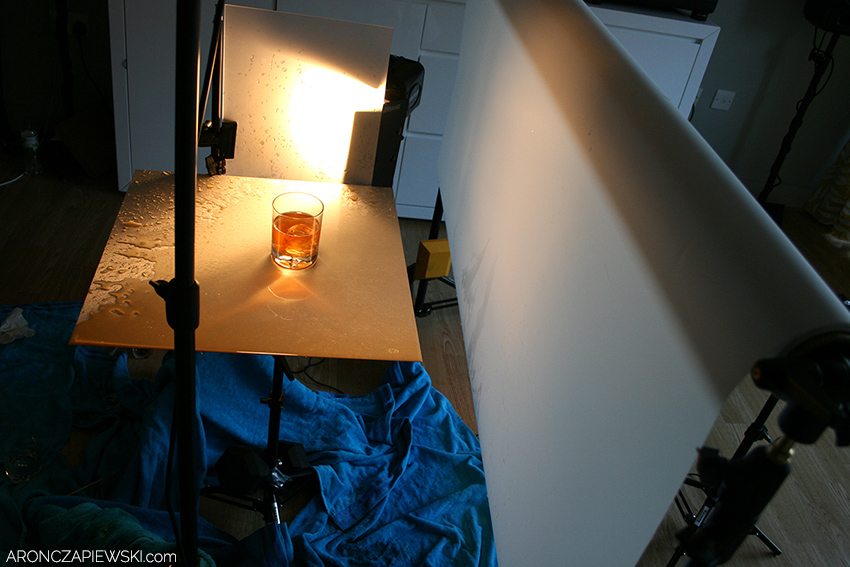
Background
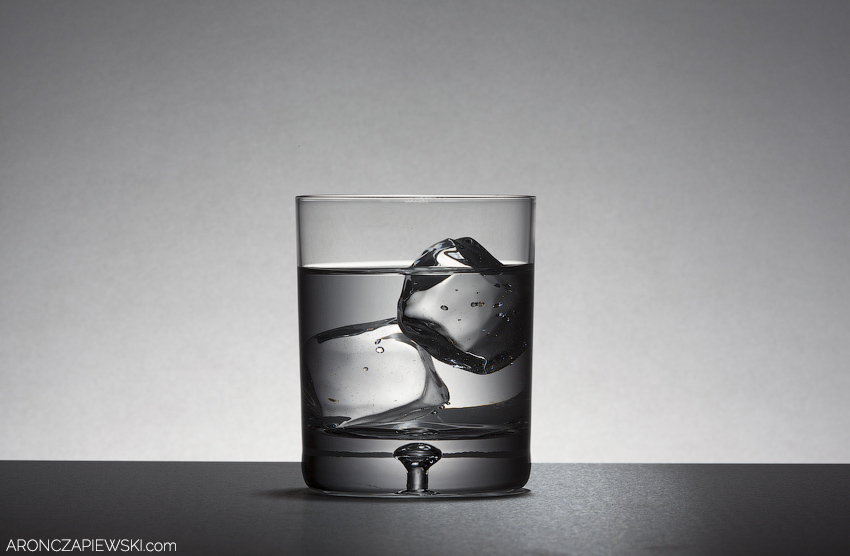
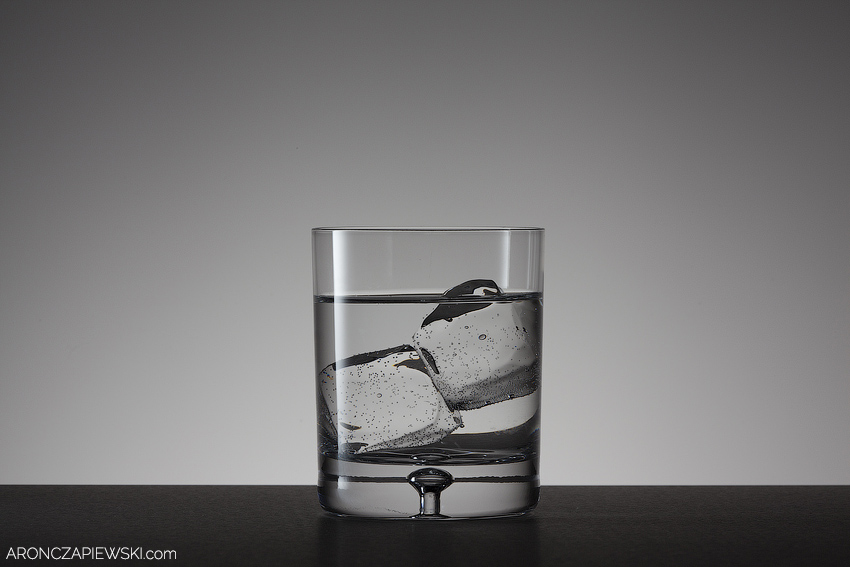
I used the very popular Photigy Savage Translum plastic as the background. It is seamless so the distance between subject and background can be very short even with F 20 which I used in that shot and there are no marks/pattern on background. It is water resistance so I don’t care if it is wet – it’s very easy to clean. I swapped background on Colorama Colortrace paper and the result as you can see below was not very nice (I like a uniform background with smooth gradient).
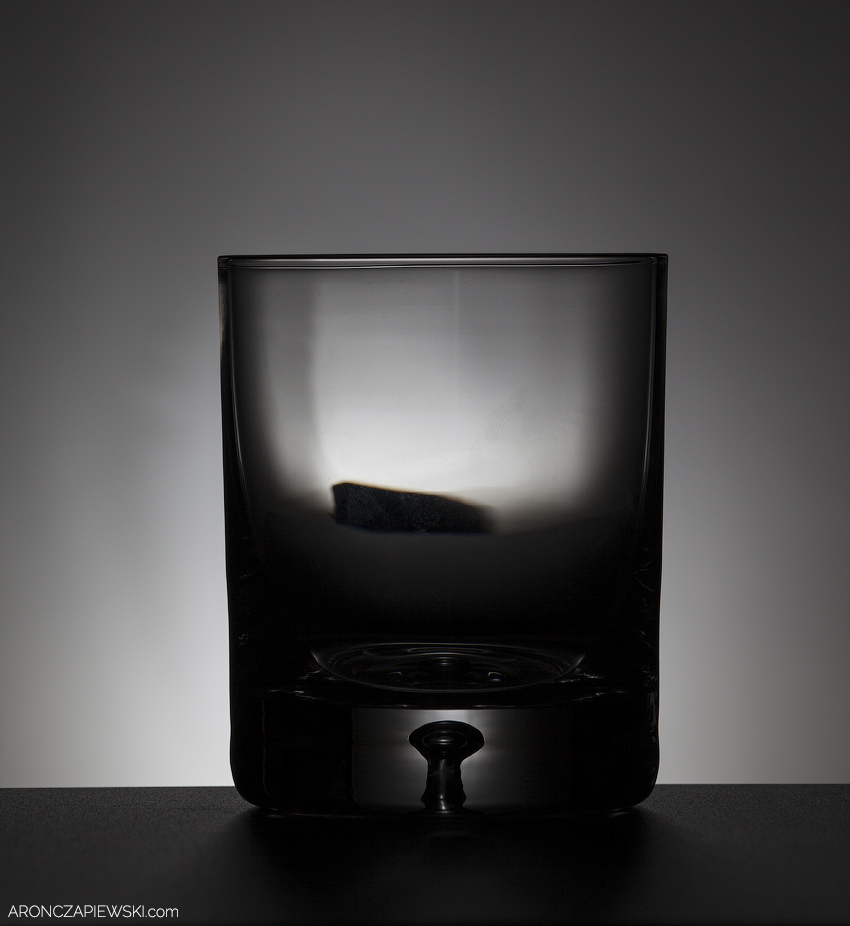
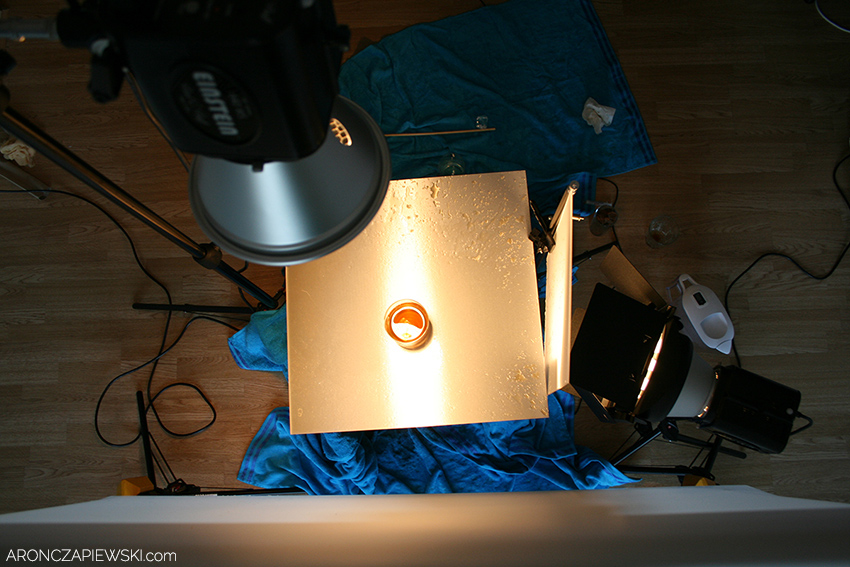
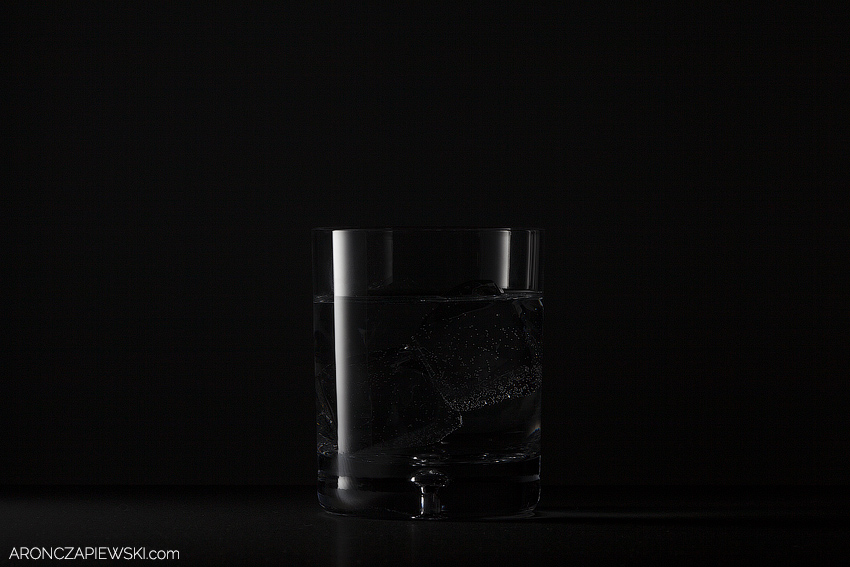
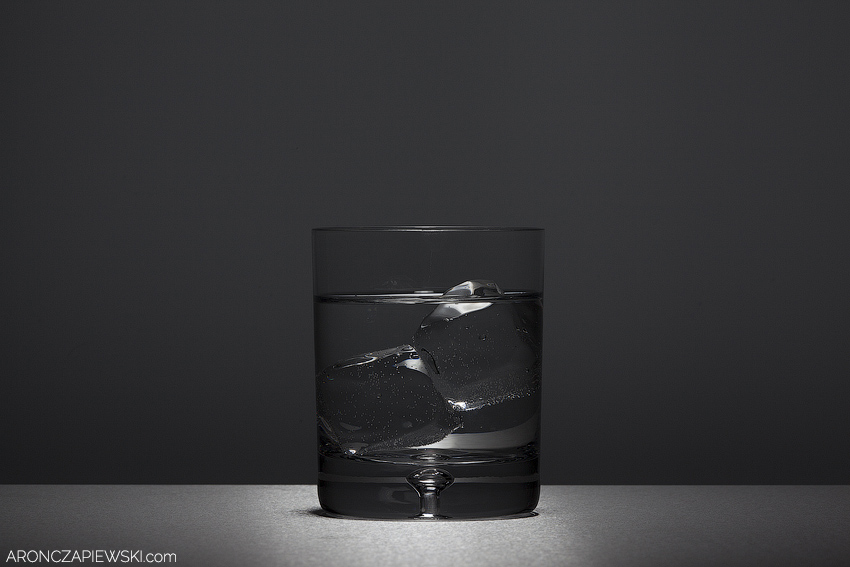
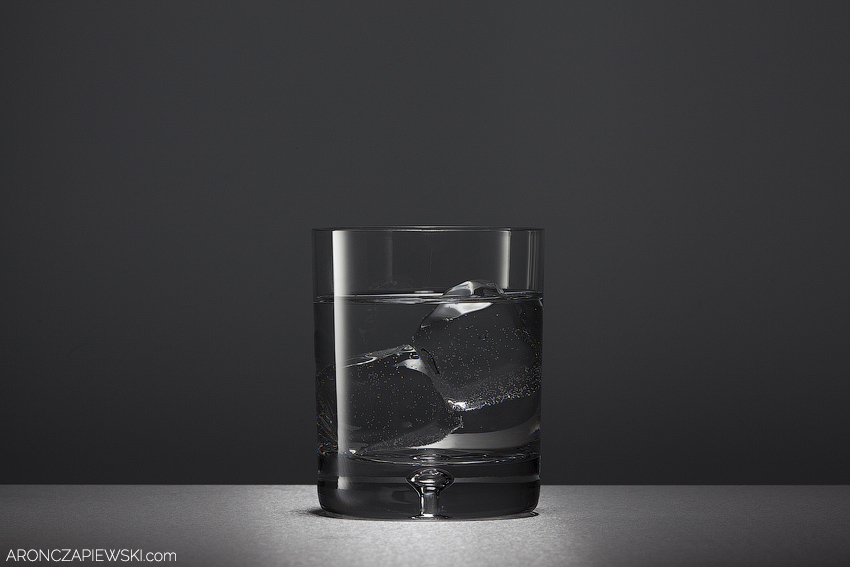
Because the glass have cylindrical shape and it works like a “wide angle lens” so the background must be wide otherwise there will be black areas on glass like on photo below:
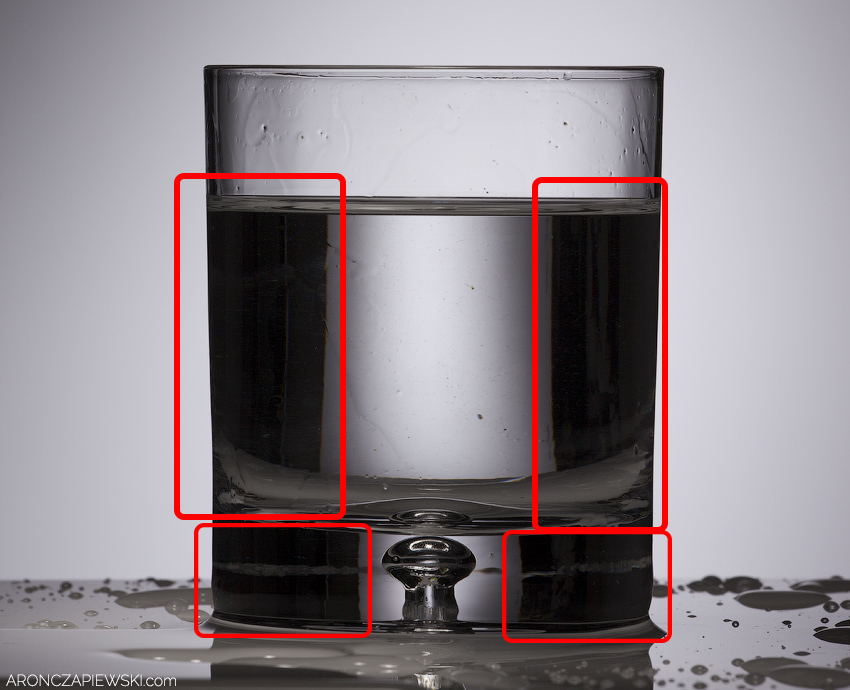
I used a spot on the background and that spot must be large otherwise the glass will be very dark.
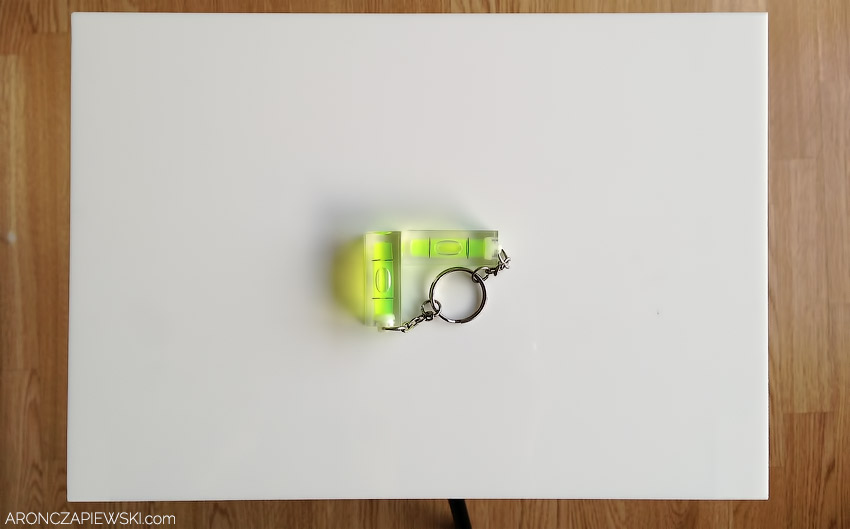
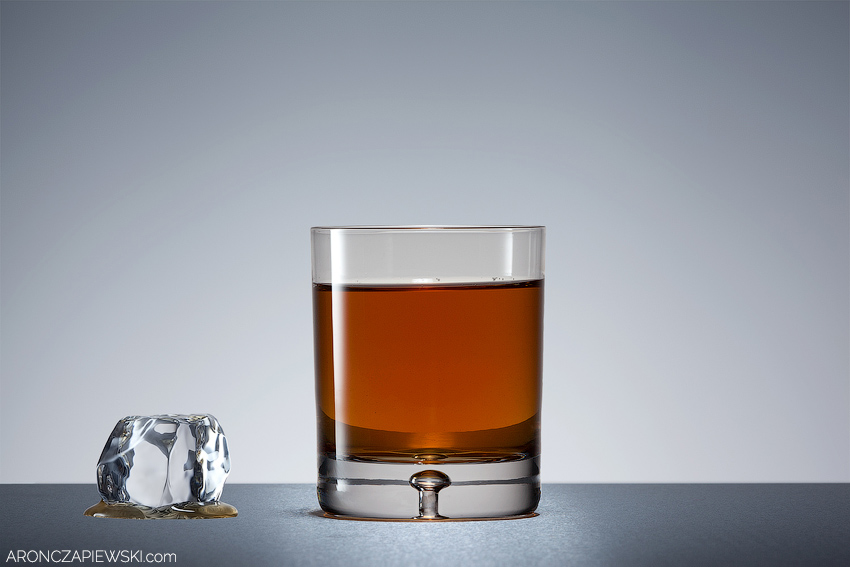
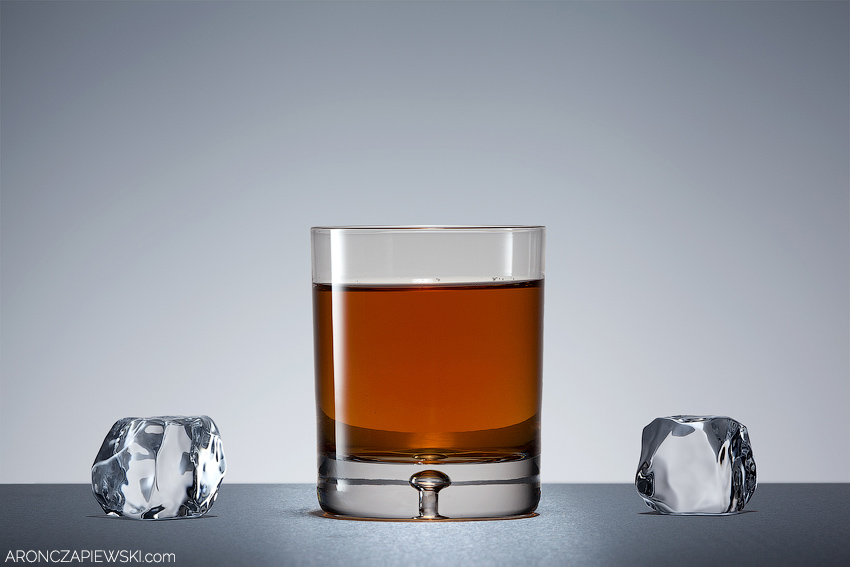
If you would like to have ice cubes above the glass and it’s hard to shoot, you can use clear adhesive tape and it will all be much easier.

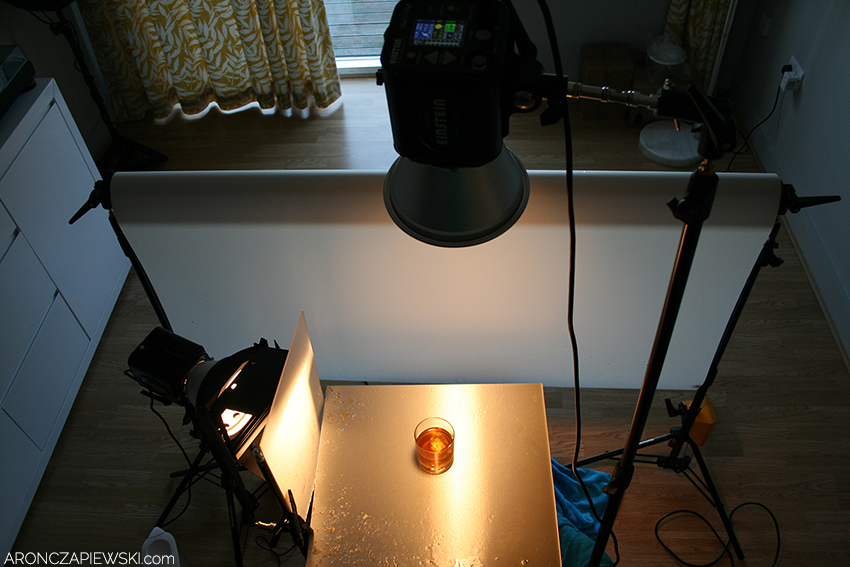
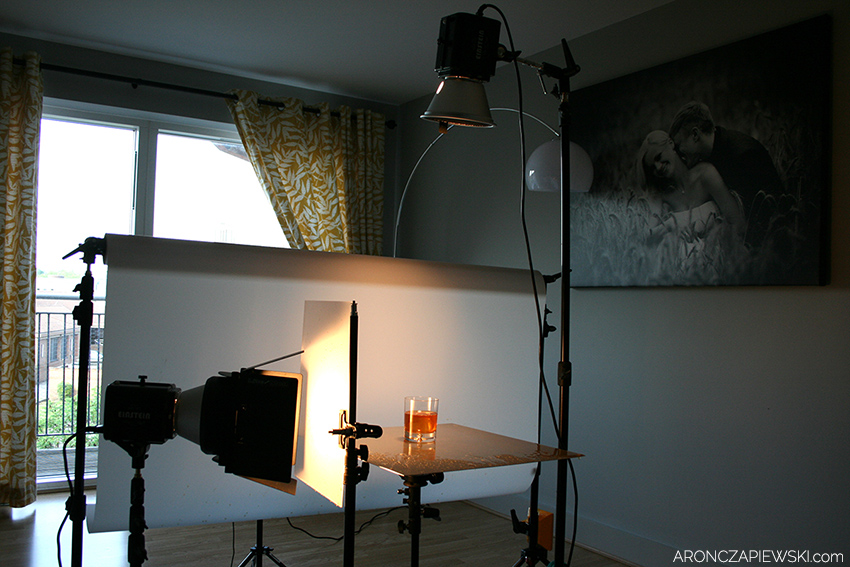
Product Photography Lighting Setup
To get the splash with no motion blur all the lights were in “action mode” with flash duration about 1/5000s.
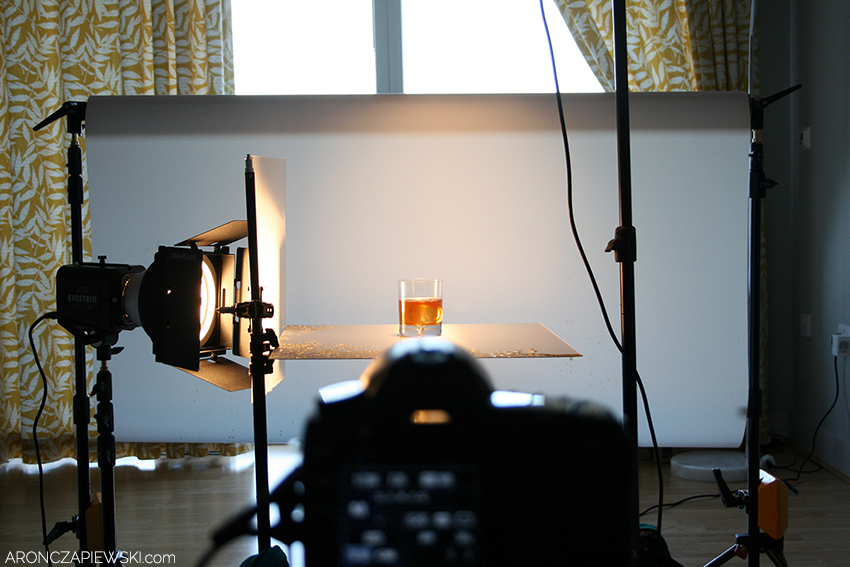
As you can see the distance between background and subject is short. That was important for me because the shorter distance meant less power on the background light. Less power = shorter flash duration so no motion blur.

How each light is effecting?
Left
Left + Background
Top
Top + Left
Top + Background

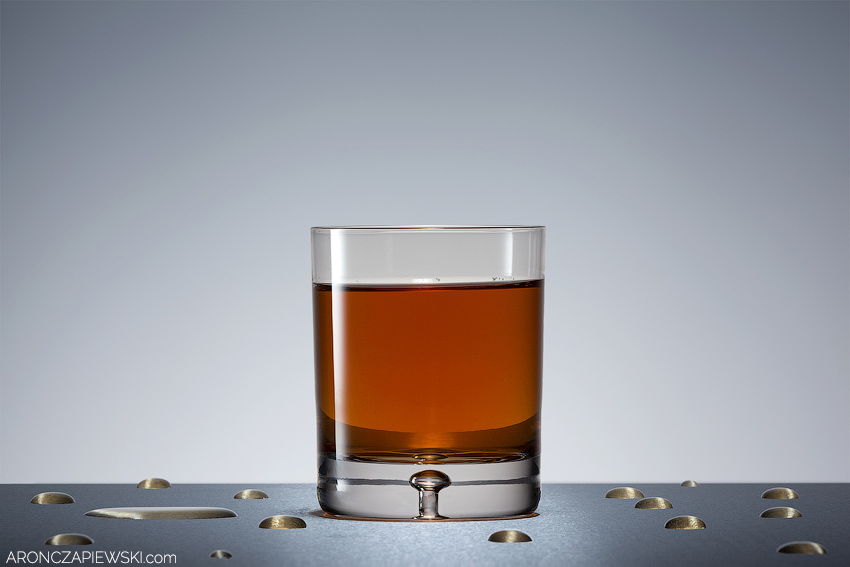
Before the splashes I did a few other shots which were not planned – just for fun 🙂
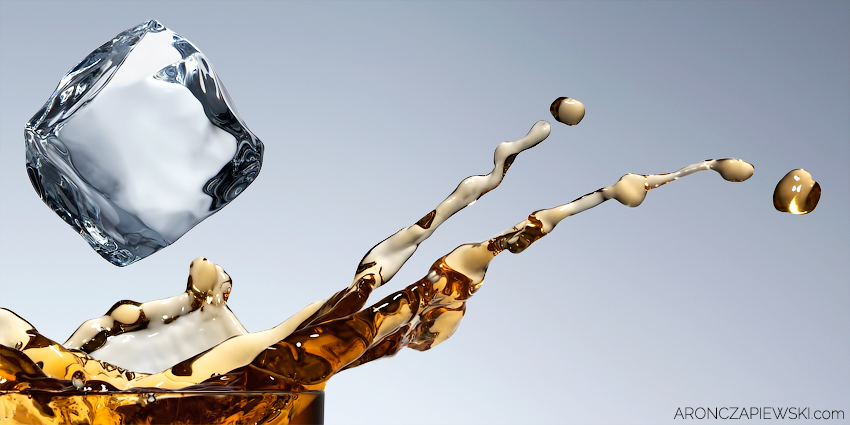
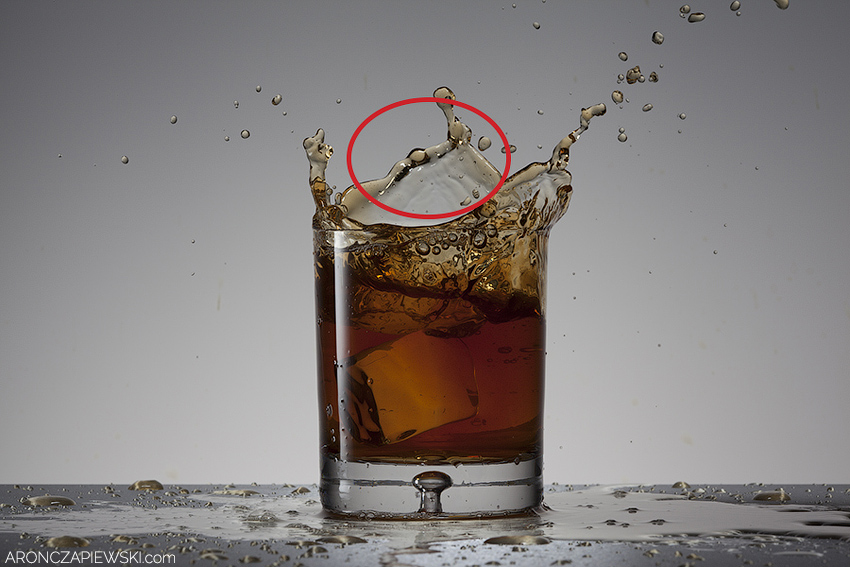
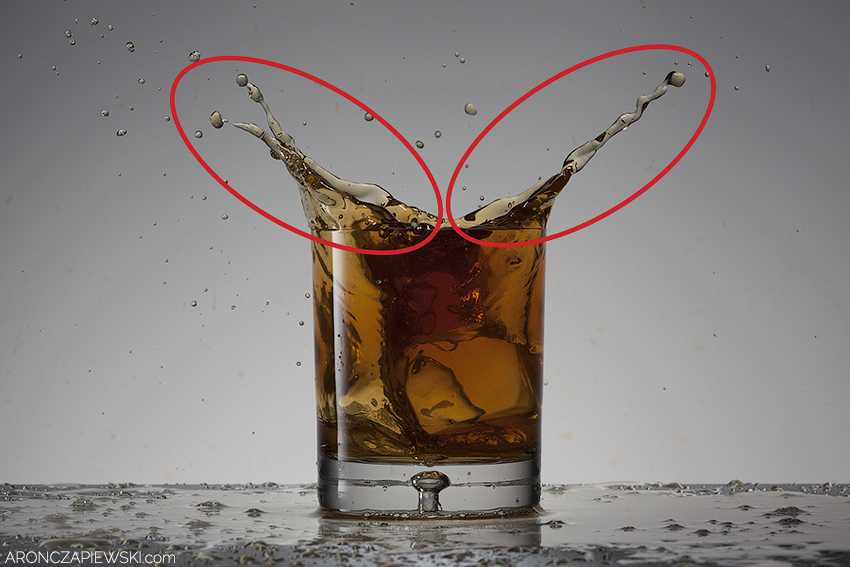
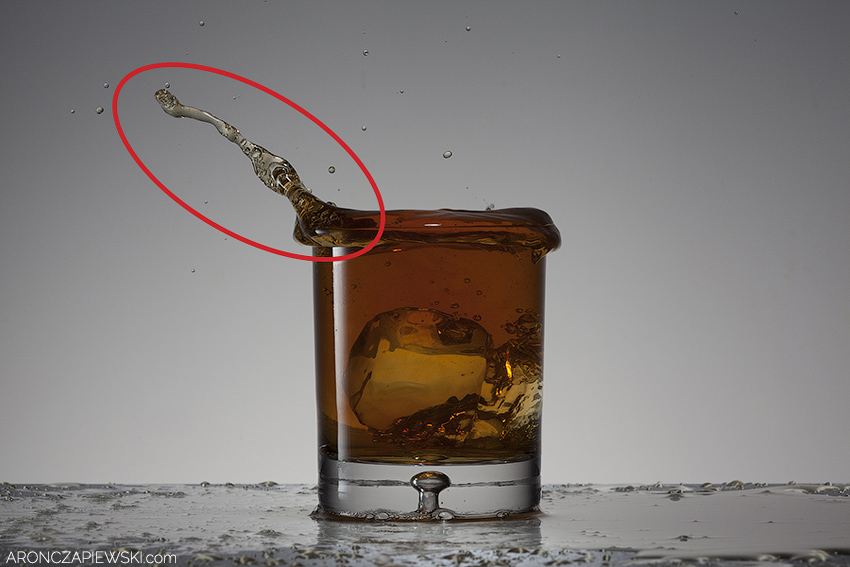
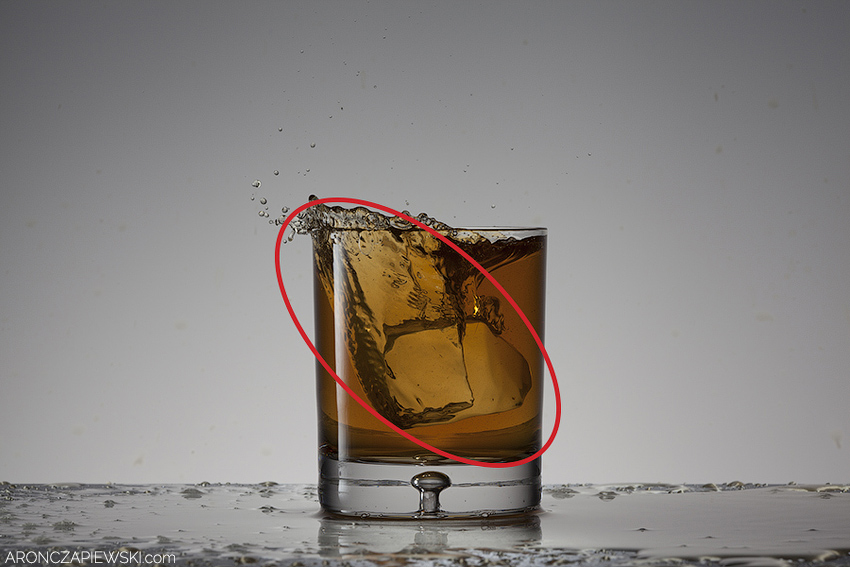
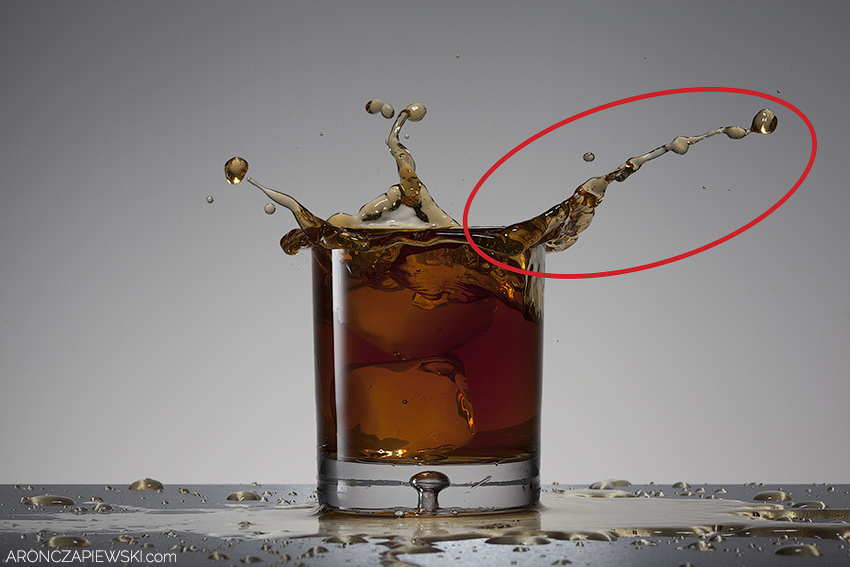
Splashes
Below you can see what shots I used to composite the shot.
Final Shot
And that’s it. I hope it was interesting. Any questions please leave a comment below!
Find more product photography tutorials
 |
In the Gearbox |
|
Camera: Canon 5D MKII Photo Lighting: Paul C. Buff Einstein E640 (x3) Grips and Stands: Manfrotto 058B Triaut Camera Tripod Light Modifiers: Savage translum plastic |
