Shooting Glass of Whiskey with Ice:
Online Product Photography Tutorial
Hi guys!
My name is Patric Bergkvist and this is an online product photography tutorial for my Whiskey with ice shoot.
First off, I don’t have access to a studio or a big garage or anything like that, so all of my shots are made at home. When I do product photography without any liquid splashes I mostly do it in my living-room, however, when I go crazy and photograph splashes I have to move down a floor level into the hallway. Because of this I’m always in a hurry when I decide to make a shoot. I do this after coming home from my job (this is only a hobby so far…), and always after my kids have gone to sleep.
The time it takes me, from the moment my kids go to sleep to me having cleaned everything up, is usually around 3-4 hours. If I don’t get the shot exactly as I want it during that time, I have to tear down the set and put it up again the next day in the same manner. Not optimal but shame on the one that gives up! 😉
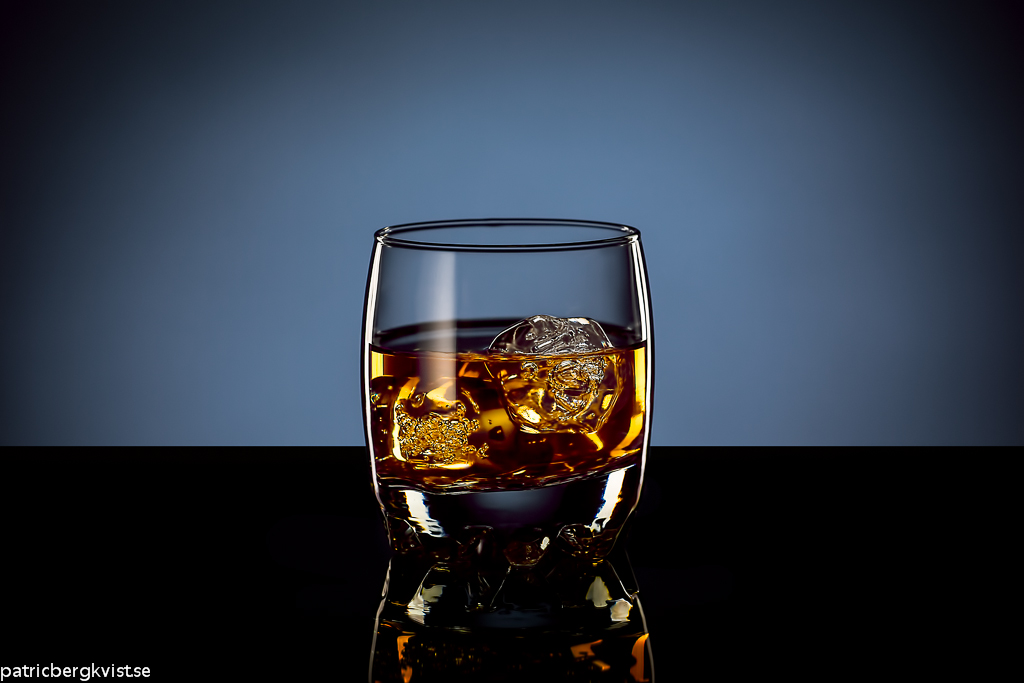
I am going to show you how I’ve created this image:
Whiskey on Rocks
Online Product Photography Tutorial
Gear Used for this Photo Shoot:
Canon 5D Mark III
Sigma EX 150 f/2.8 Macro
Canon 580EX II
Canon 580EX II
Canon 430EX II
Phottix Odin Flash trigger x3
Phottix 70×70 softbox converted to stripboxes x2
Home made grid
Lightstands
Old Manfrotto stand for the camera
Setting Things Up
I started by putting together the background stand for the background. For this shot I used the color Smoke Grey and the width of the background were 135cm. When the background was set I went downstairs and pulled out all the drawers from a small cabinet. I used the cabinet as a shooting table, however its color was white so I took a black sheet of paper and used it as a surface for the whiskey glass. I wanted to have a reflection of the glass so I had two options:
Add the reflection in post processing
Put a plate of polycarbonate above the black paper
I like to do as much as possible straight from the camera so I choose the second option and put the polycarbone plate on the black paper
I wanted the glass to have sexy glowing edges, and for that I needed two stripboxes, one for each side. However as I didn’t have any stripboxes I took my Phottix 70x70cm foldable softboxes and put one sheet of black paper (that is 50x70cm on each softbox) and fastened them with clothespins and TADA – now I got two stripboxes that are 20x70cm.
For the background I wanted to have a blue color because I wanted the whiskey to stand out. As a final adjustment I made the background a circular shape to make the whiskey pop out a bit more. I made a round grid a couple of months ago with a round box and some black straws. (it’s shown a little later in this article)
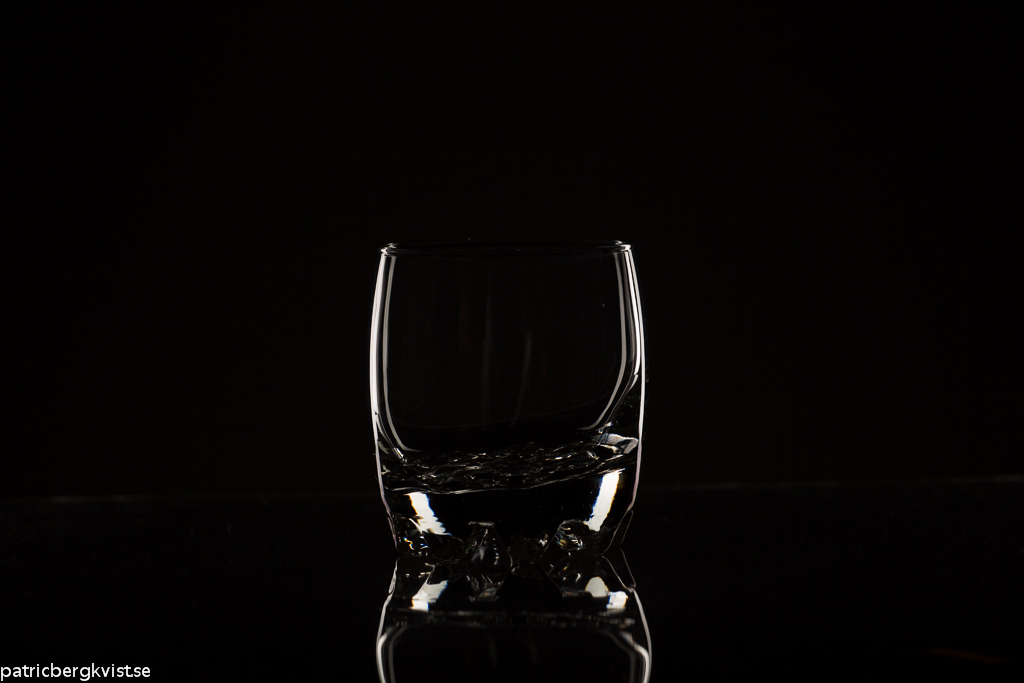
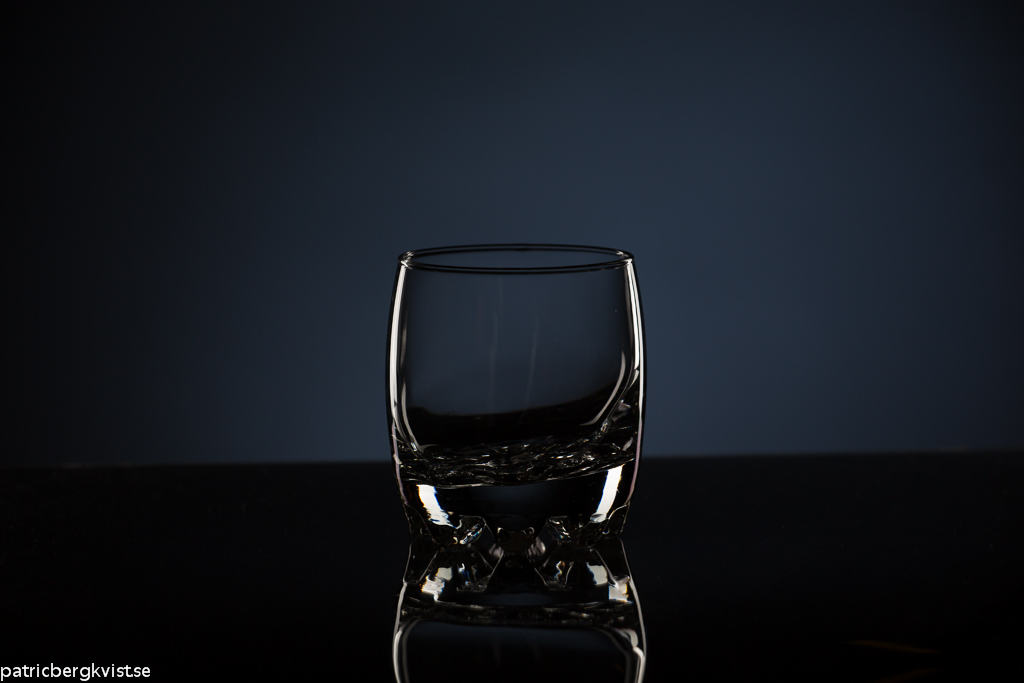
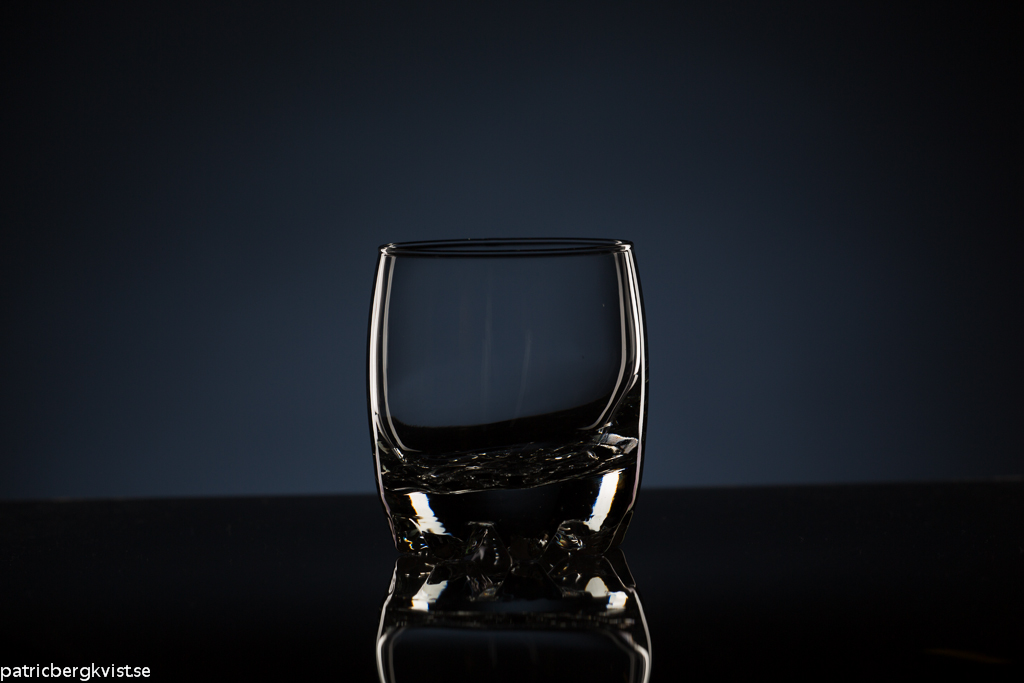
The camera was on a tripod, the glass was on the table and the first thing to set was the stripboxes. It took me a couple of shots to get the edges as I wanted them. It’s actually small adjustments of the stripboxes that makes big differences in the reflections on the edges.
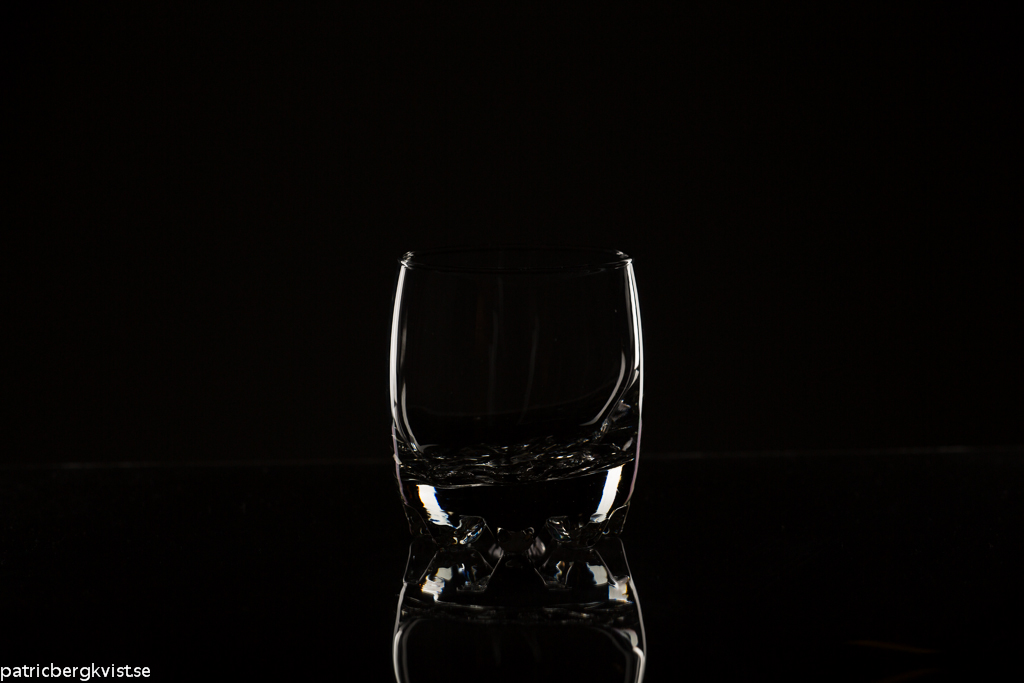
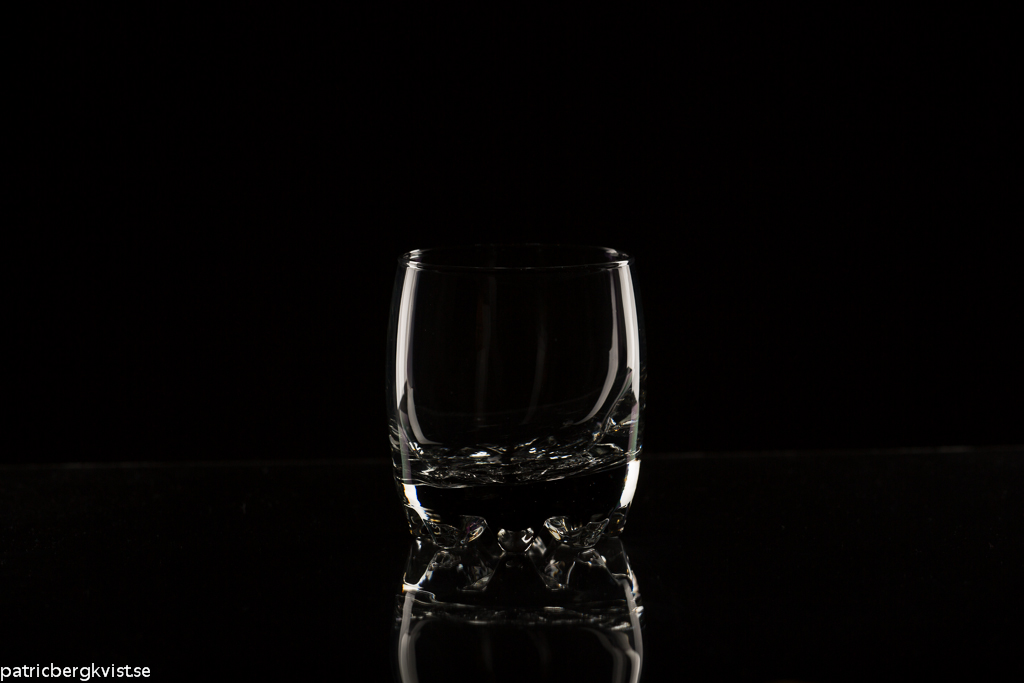
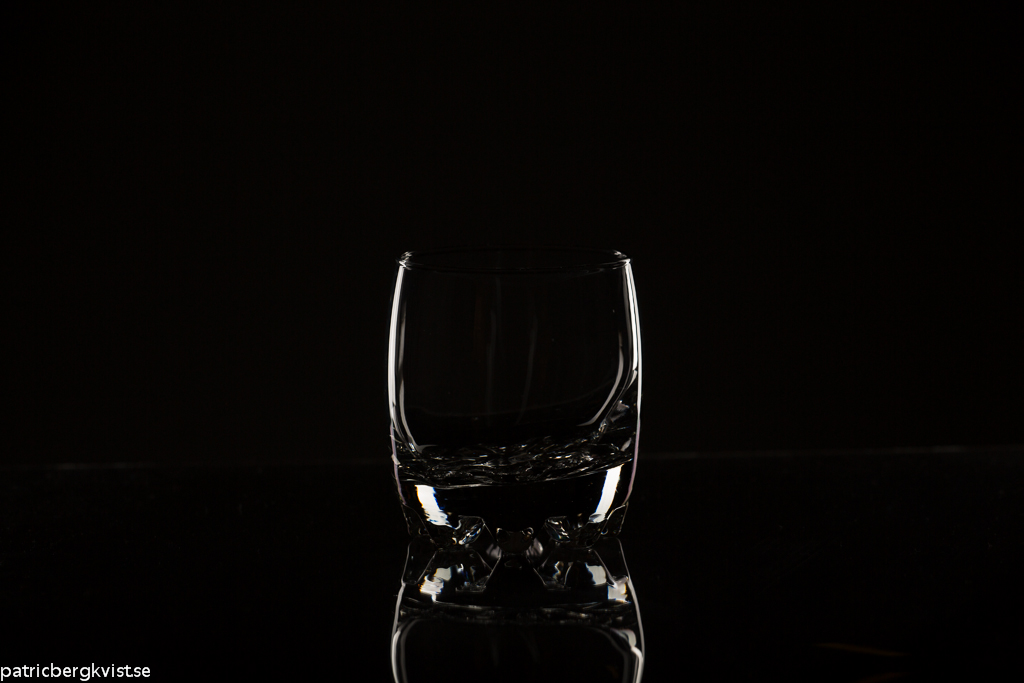
Here I’m showing you some of the adjustments shots. The only thing I did between these shots was to move the stripboxes a couple of cm in different directions.
After this I changed the angle for the camera and adjusted the stripboxes a few more times and then I got this:
Changed the camera a bit higher
(All those shots are RAW-files straight from the camera, non edited)
Background Light
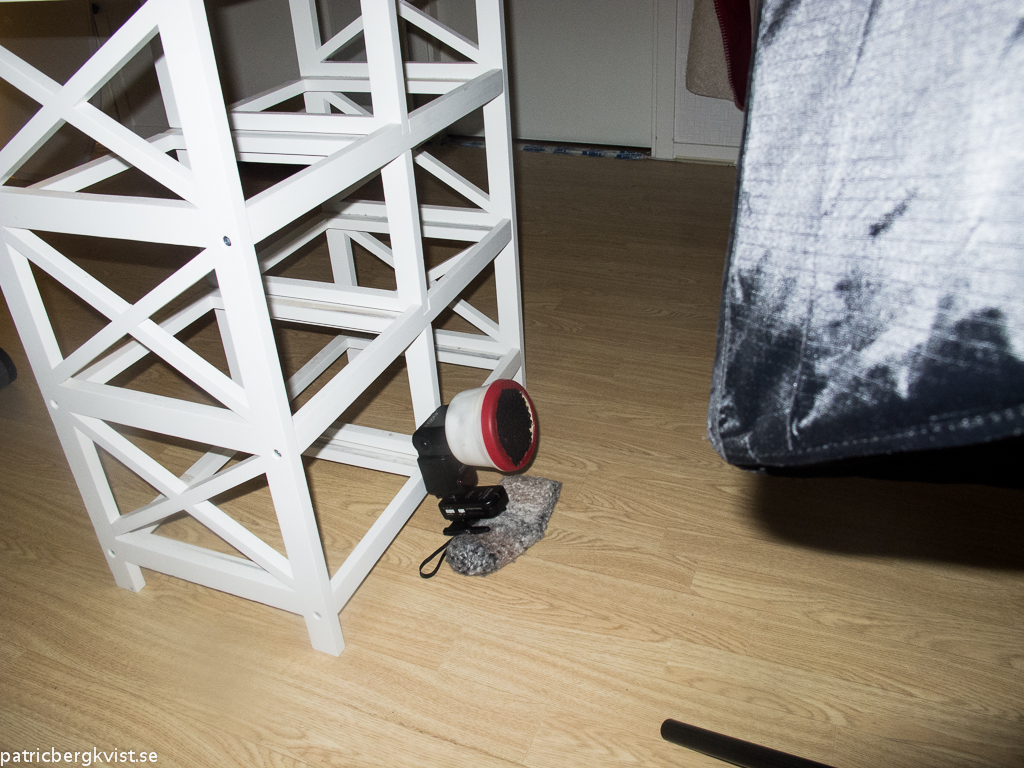
Next step was to get the background as I had in mind. I used two quarter blue gels on the flash, and choose two quarter blue over one half-blue because I found that it gave a more matte look to it, not as saturated. The flash was placed exactly behind the glass on the floor and I used one of my kids’ socks under the front of the flash to get it to point up a bit:
Canon 430EX II with home made grid on the floor behind the glass pointed at background
The first shot looked like this:
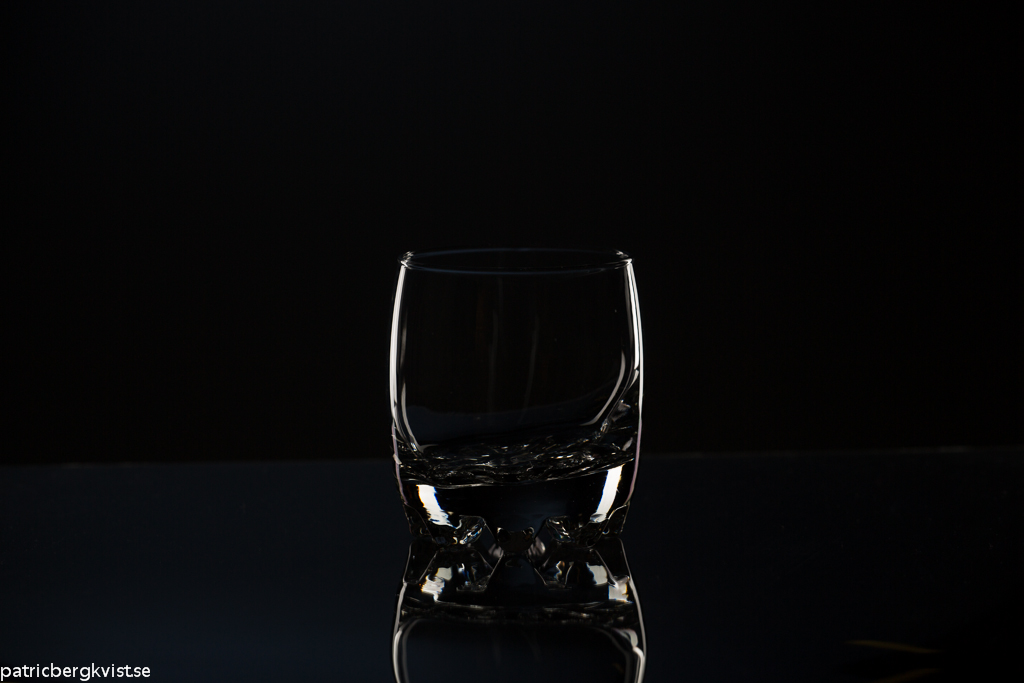
Background light way to high up
As you can see the background light is way too high. So I exchanged the sock to a smaller one and got this:
Lowered the backlight:
Now I’ve got the light at the height I wanted and just needed to get it behind the glass so a few more shots were required to get there.
Backlight moved slightly to the right:
Backlight moved slightly back to the left:
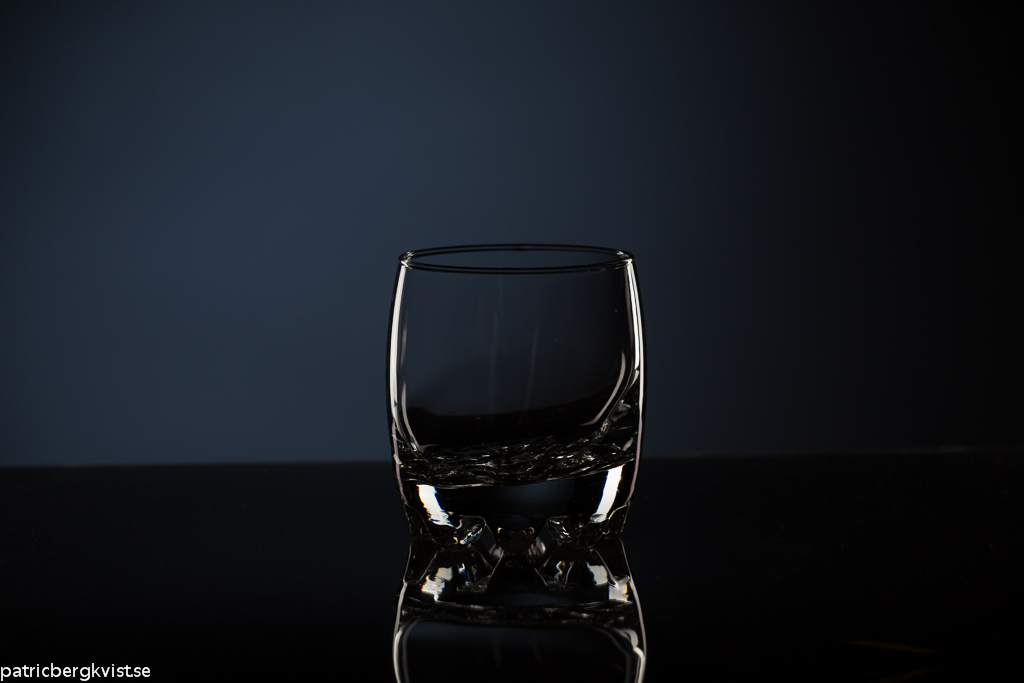
Backlight moved slightly back to right and now it’s in place:
The “Whiskey”
The background light is now where I wanted it so next up were to fill the glass with some liquids!
I did want to try out a trick I learned here on Photigy earlier this year. Alex used tea instead of whiskey for a liquid pour shot he did. I boiled some water and used two bags of earl grey tea. This is how it looked compared to a bottle of whiskey:
Glass of tea beside a bottle of whiskey for color comparison
I added the acrylic ice cubes nicely into the glass. I poured the tea into a water bottle so I could pour it more carefully into the whiskey glass and not get any drops splashing inside the glass.
Regular water bottle with tea to pour into the glass.
Online Product Photography Tutorial: The Lighting Setup
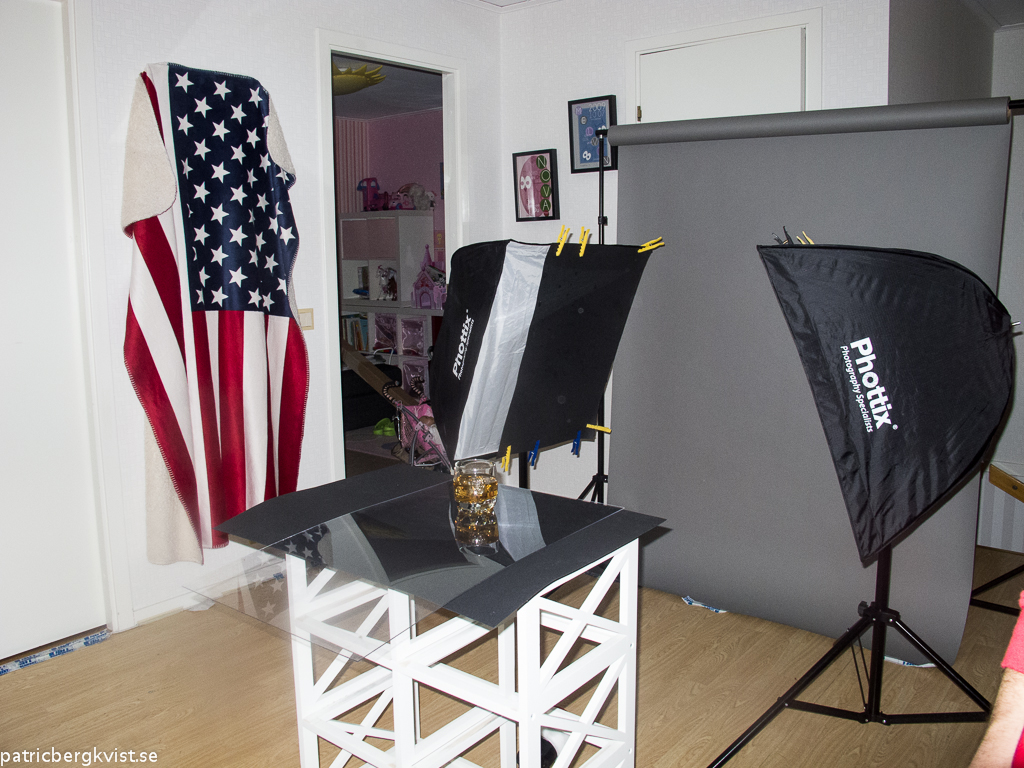
And now, before I go on with the shot I will show you how the lighting setup looks like:
Setup
The flag is a blanket that I hung over two mirrors so they wouldn’t cast reflections all over the place.
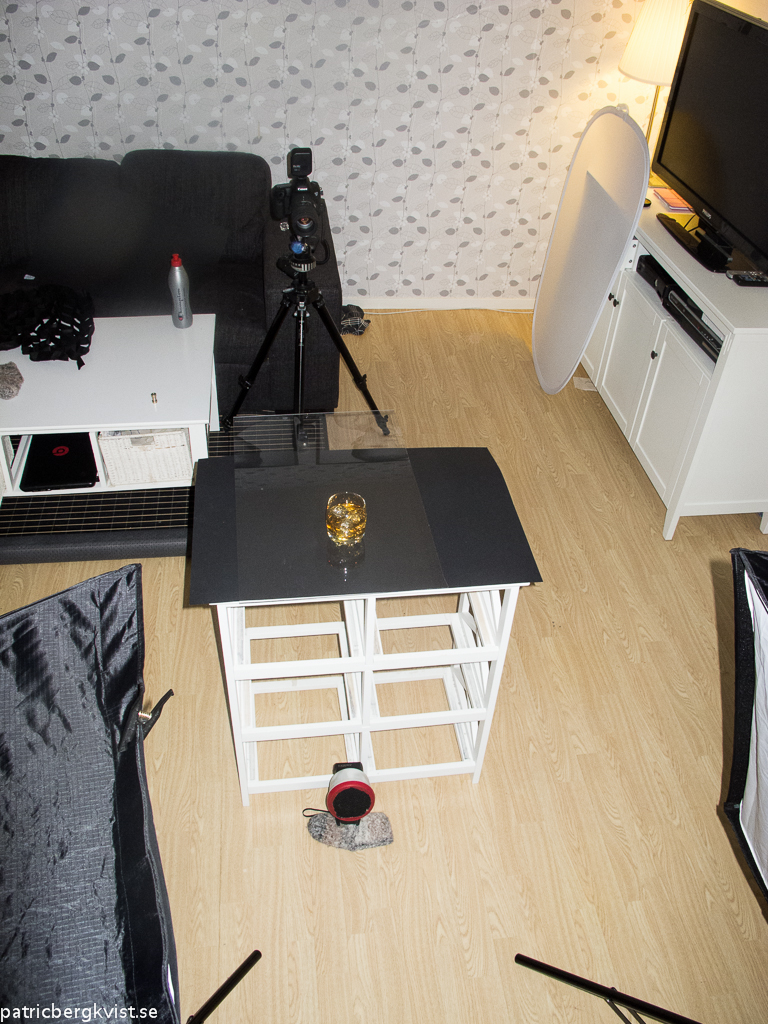
Setup from behind
This shot was taken after I was done with the shot, I did try out a couple of things with the ice cubes and some pouring, which is the reason for the dirty glass 🙂
The final shot is a composite of three images because I don’t have more than three flashes. For the first shot I used the setup you can see above.
For the second shot I wanted to highlight the ice in the glass some more, so I took the left stripbox and held it above and behind the glass, displayed below:
Stripbox held above and behind the glass to highlight the ice
Third shot were to create the front reflections in the glass and for that I used a technique that I learned from Tim here on Photigy.
This time I took the left stripbox and placed it in front of the glass and held a white diffusor panel straight down, don’t know how to explain it so I did a lighting diagram for this:
Stripbox with diffusor infront for the gradient front glass reflection:
Stripbox position and angle for the front reflection shot
Stripbox position and angle for the front reflection shot
The outcome
Here are the three shots I used for the final image (Lightroom adjustments is +1,19 exposure +48 clarity on these):
First setup shot
Second setup shot
Third setup shot

